2024 LC-250 Premium,

Corbet

Moderator
Staff member
Joined
Oct 24, 2006
Messages
10,519
Location
Durango, Colorado
Can’t really comment if better than any other tube slider. Sometimes I wish I got the tube style but then I remember this is my wife friendly truck. I also needed to keep a useful step. Plus they are way better in the winter for reaching the ski box.
 

Slingwing

New-ish
Joined
Apr 4, 2026
Messages
16
Can’t really comment if better than any other tube slider. Sometimes I wish I got the tube style but then I remember this is my wife friendly truck. I also needed to keep a useful step. Plus they are way better in the winter for reaching the ski box.
Understood, I usually overthink these kind of things. I plan to meet with Brian at Slee and get as much info as I can...really a formality since I like their product...a lot.
 

Corbet

Moderator
Staff member
Joined
Oct 24, 2006
Messages
10,519
Location
Durango, Colorado
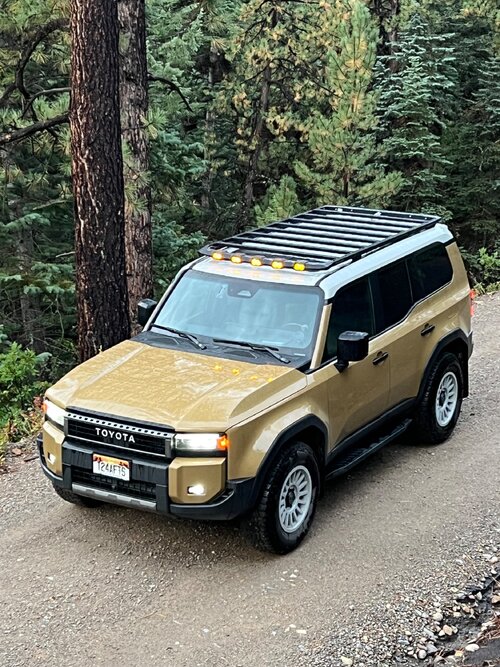
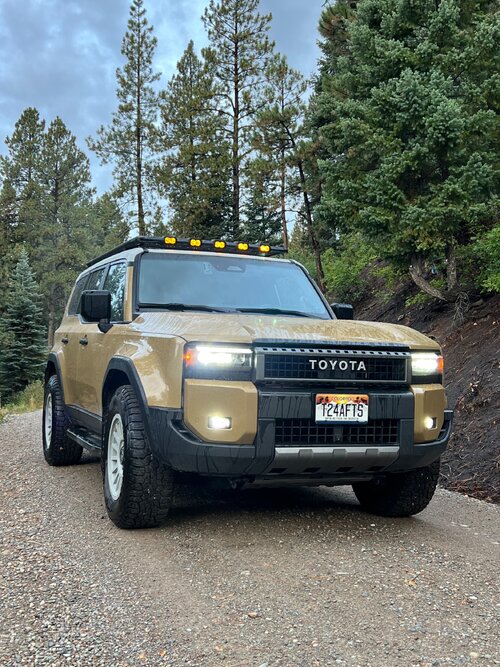
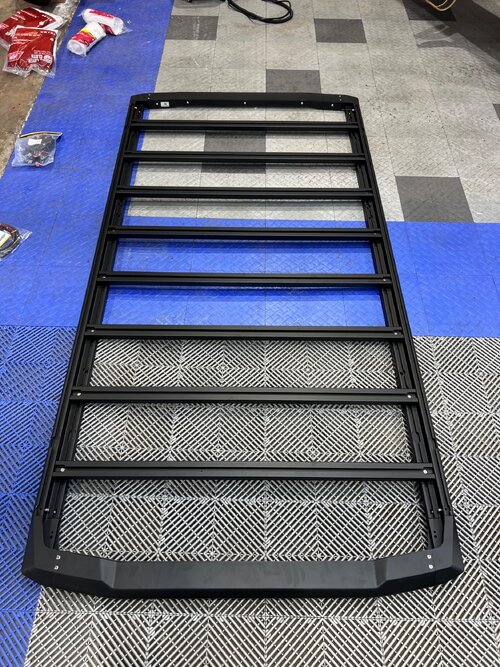
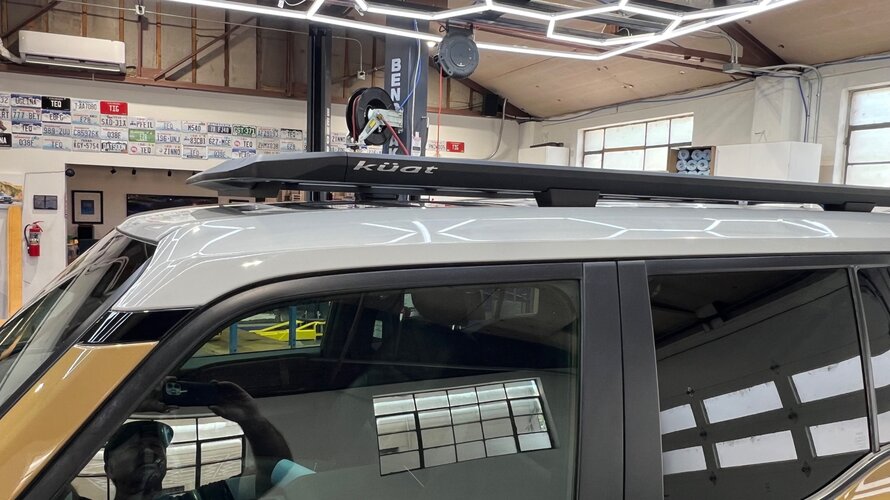
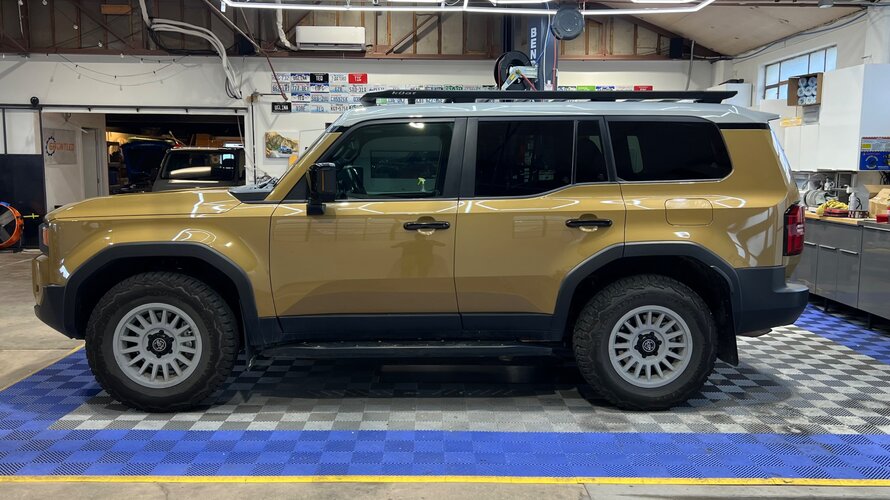
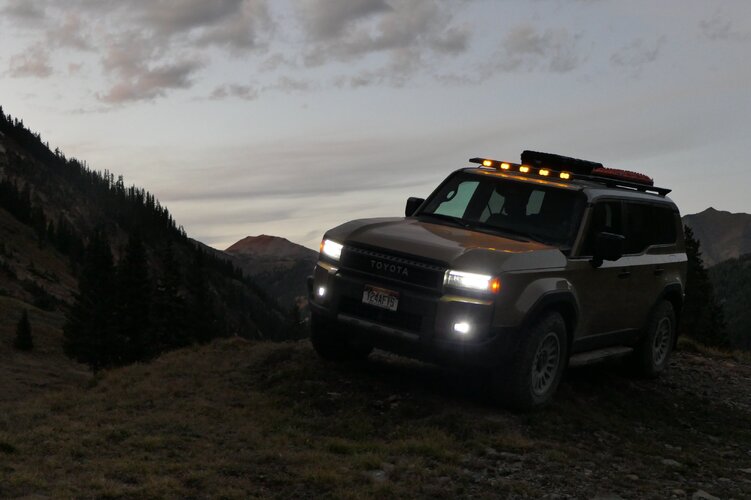
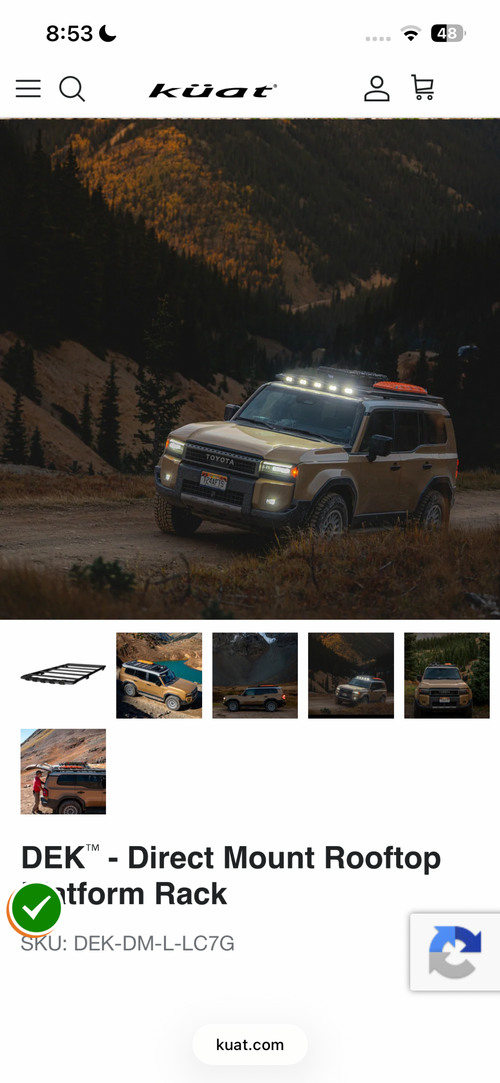
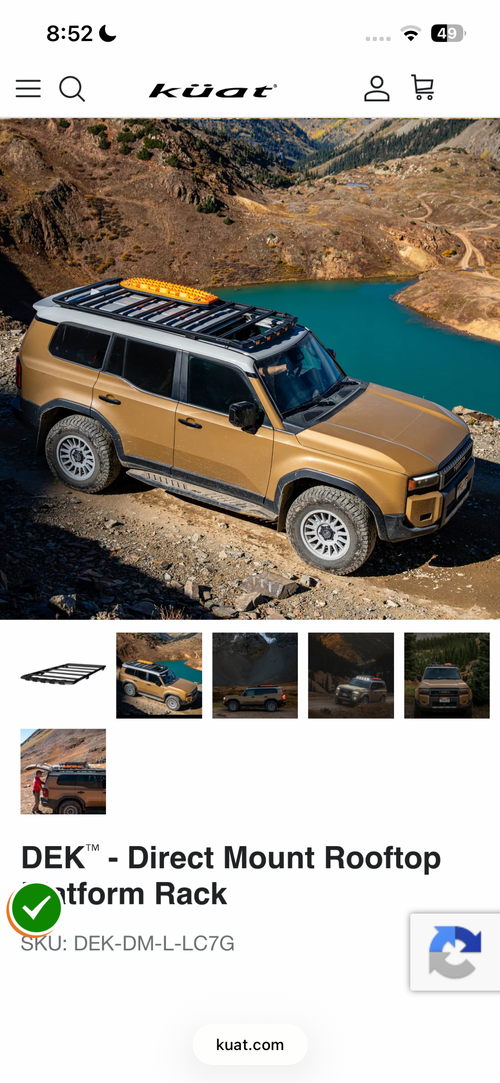
Installed a LandCruiser 250 Kuat DEK roof rack with the light bar option from Diode Dynamics. Lights have an amber backlight and 15,000+ lumens on white mains. Kuat is also offering this for the GX550, 4Runner and Tacoma currently. So far wind noise is minimal. I don't see 50MPH+ unless I leave town. My max so far is 65 and didn't notice muchwith the roof/shade closed. Sunroof open is noisy at speed. Weight rating is 300lbs dynamic and 1000lbs static. Rack is all metal. Extruded, t-nut design that most racks have adopted. Load bars can be positioned anywhere front to back. Did the install at the Gruntled Garage in Durango. (friend's shop)


#KuatDEK
#DiodeDynamics

IMG_3175.jpeg

IMG_3114.jpeg

I like the overhead light look.
IMG_3116.jpeg

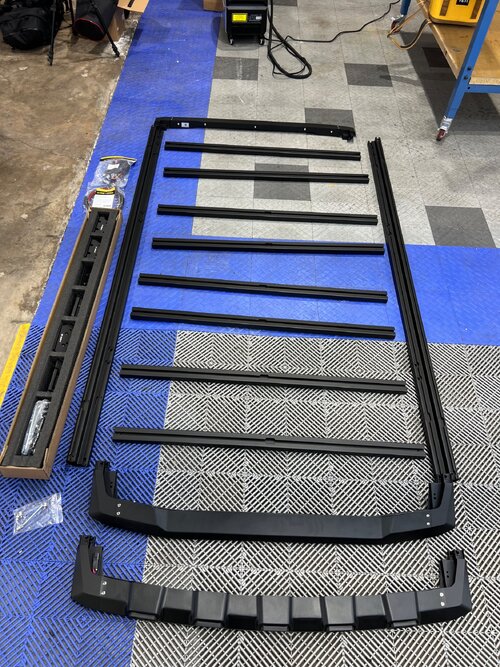
Rack laid out on floor for preassembly
IMG_3008.jpeg

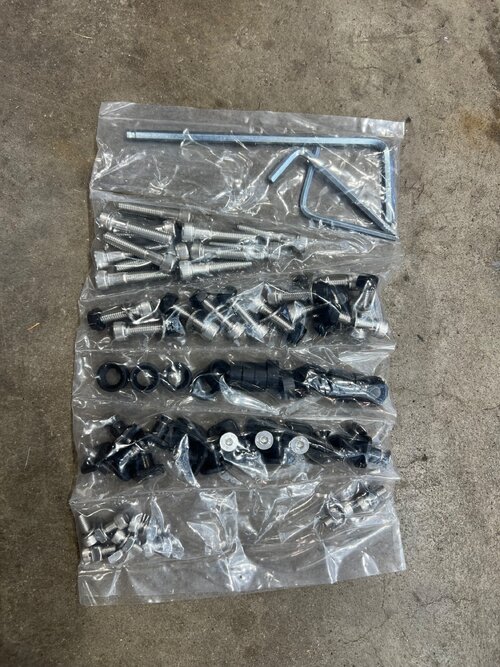
Well organized hardware kit.
IMG_3010.jpeg

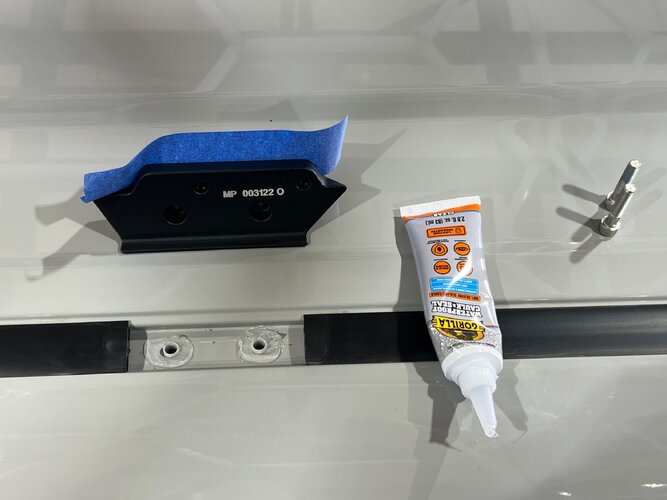
Sealing the mounting feet, blue tape is holding in the nyloc nuts that you won’t have enough space to insert once the foot is bolted down. One could argue this is a flaw but it is part of the super low profile design.
IMG_3011.jpeg

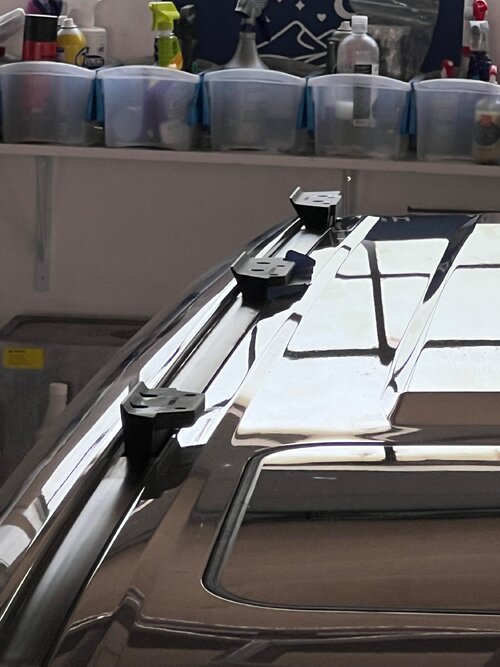
Driver’s side feet bolted down
IMG_3013.jpeg

Rack assembled and ready to set on the 250
IMG_3014.jpeg

Couple of profile shots without the lightbar
IMG_3018.jpeg

IMG_3023.jpeg
 
Last edited:

Corbet

Moderator
Staff member
Joined
Oct 24, 2006
Messages
10,519
Location
Durango, Colorado
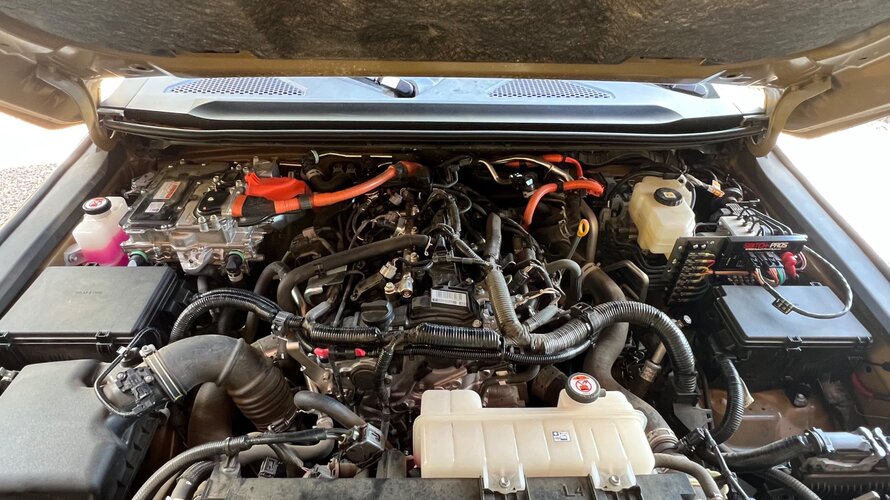
With the Kuat rack I needed power for the lights. The rack came with a very nice harness but a boring universal switch. I could have sourced a OEM switch but decided to install a Switch-Pros system. I’ve had this for a few years and planned to install it into the 80-series. But the availability of a custom dash bezel to hold the switch panel made the decision pretty easy. At some point I’ll probably want to add a winch to this truck and I’ll have to run power from the rear of the truck. I tried my best to make this install as reversible as possible. I’ll have to replace a couple fuse block covers to do so. But the actual fuse block boxes are still factory. If I run winch power I'll move this over to it in the future.

SDHQ bezel. https://sdhqoffroad.com/products/sd...70084&pr_ref_pid=8142492893284&pr_seq=uniform
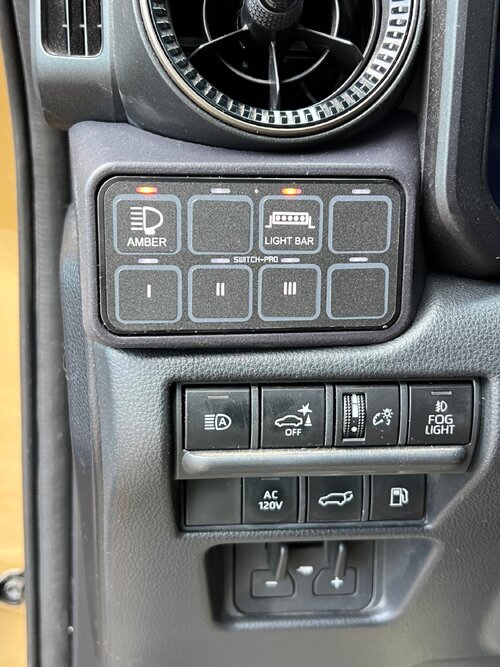
IMG_3107.jpeg

Completed Switch Pros install
IMG_3097.jpeg

Mounted the Switch-Pro to a Slee driver’s side bracket.
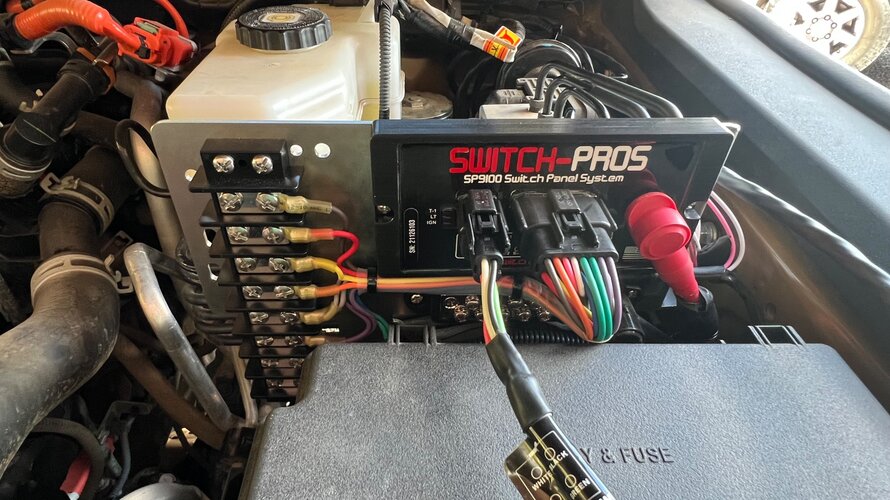
IMG_3099.jpeg

Inline 125amp fuse, included with switch pros. I had to extend the main 4awg power cable to cross over the engine.
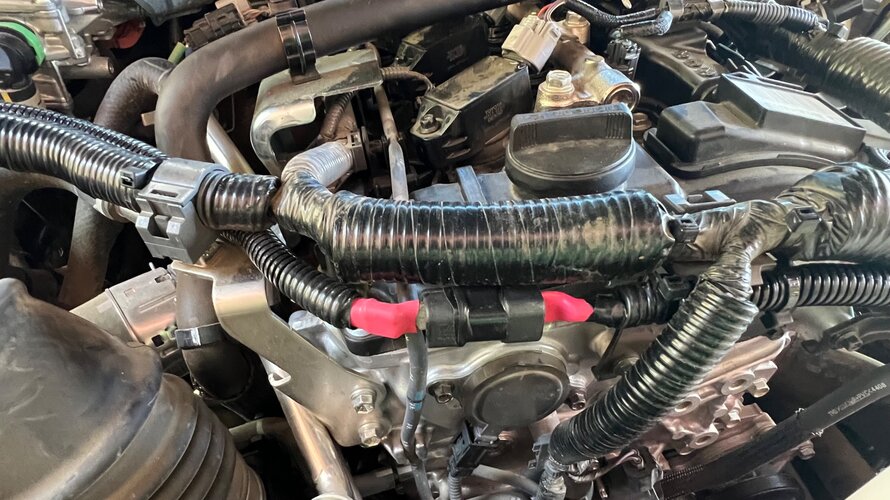
IMG_3098.jpeg

Used some bus bars to terminate circuts as I only have two current needs. Didn't want 6 pigtails hanging out.
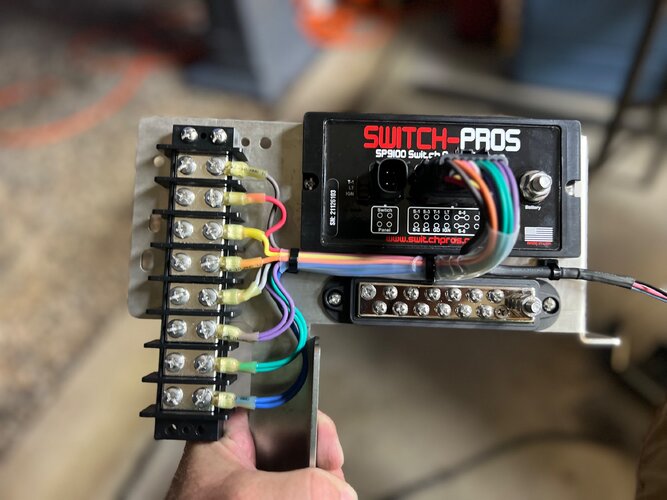
IMG_3094.jpeg

Dash was pretty easy to access. Except for the fasteners. Small hands would make it easier.
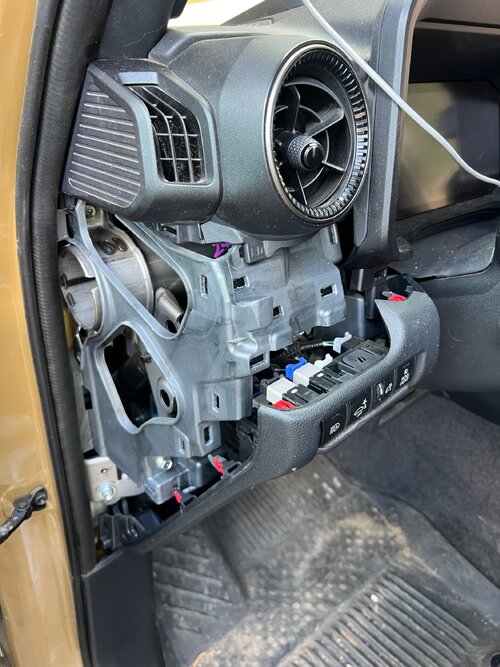
IMG_3087.jpeg

I tapped the passenger side fuse box for power.
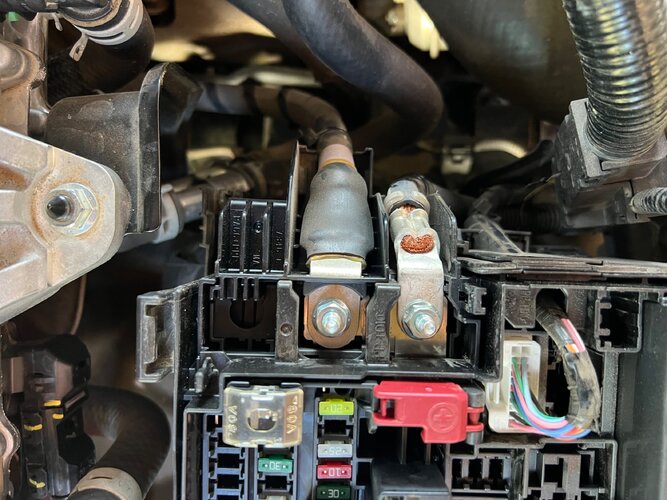
IMG_3073.jpeg

Had to trim some plastic to get the terminal lug to sit flat. Also picked up a hydraulic crimp tool to properly connect the lugs. You can see the hex shaped crimp here.
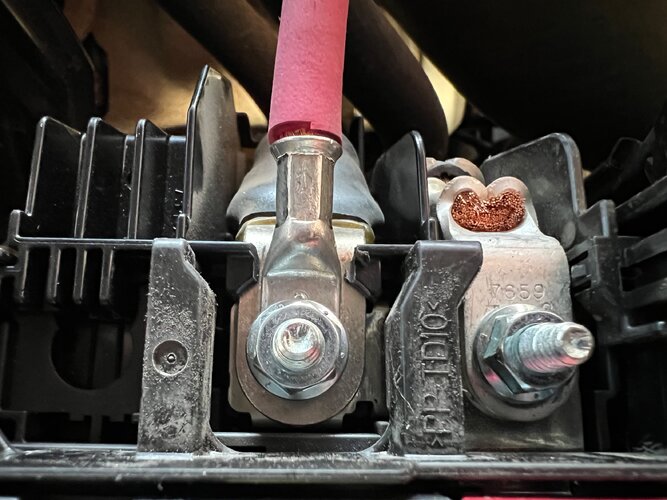
IMG_3078.jpeg

Passed the power supply through the terminal cover. Backside took extensive dremel work to clearance.
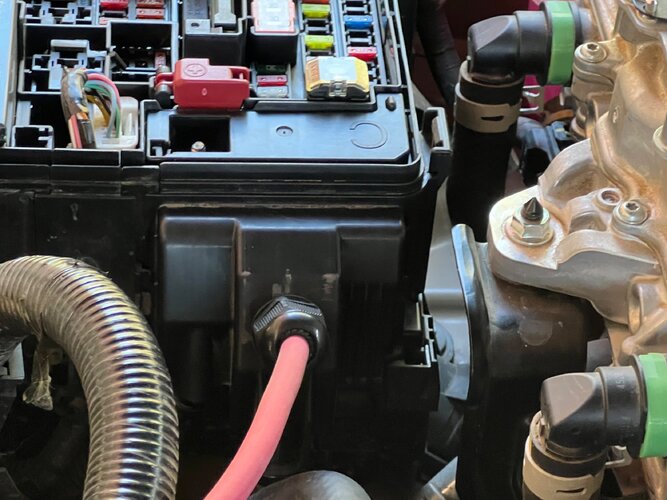
IMG_3081.jpeg

Cut up the supplied harness from Kuat to wire up the lights
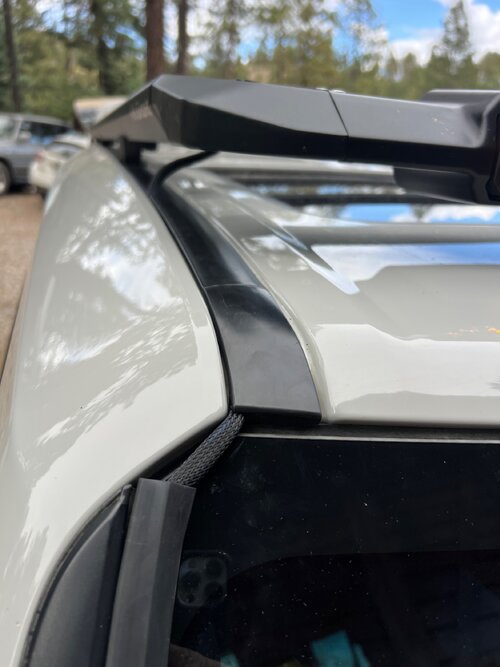
IMG_3104.jpeg

Kit came with the rubber trim to hid the harness. Slight contact with wiper.
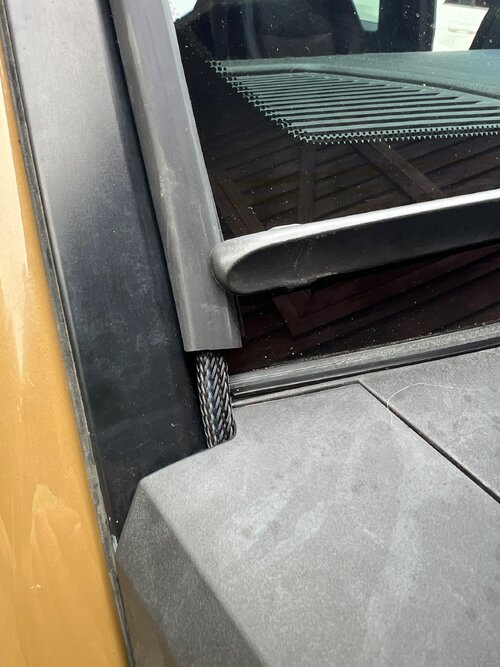
IMG_3106.jpeg
 
Last edited:

DaveInDenver

Rising Sun Ham Guru
Joined
Jun 8, 2006
Messages
14,347
Location
Grand Junction
@Corbet, curious about the rubber gasket to hide the wires. That's a clever solution. Are they fairly sizable wires (as in they couldn't be snaked behind a factory trim)? Think it'll hold up to snow scrapers? I've found over the years, at least with mini truck/Tacoma stuff, that often the people who come up with them are in SoCal and what-not and sometimes things like winter don't cross their minds. Always keeping an eye out on novel ways to get from topside down, not everyone wants to poke holes in their sheet metal or toppers for antennas, solar panels, etc.
 

Slingwing

New-ish
Joined
Apr 4, 2026
Messages
16
I like the low profile, clean look and using the existing mounting holes is always good..no drilling. Do you plan to use a roof tent....think I saw that in your Alaskan photos. Can you mount recovery boards if you wanted?
 

Corbet

Moderator
Staff member
Joined
Oct 24, 2006
Messages
10,519
Location
Durango, Colorado
@DaveInDenver. The 3 wires bundled together are a little smaller in diameter than the 4 AWG main power cable for the Switch-Pro. So pretty sizable. We’ll see what winter brings but I like this solution over pulling the windshield trim. It seems like the more you remove OEM things they don’t like going back on. I can say that for the roof channel trim above that I hide the wires in. We don’t get as much morning ice on the windshield as you’d think. I’m pretty gentle when scraping.

@Slingwing I have not explored mounting anything up there yet but it’s basic t-channel so RTT or recovery boards shouldn’t be an issue. Kuat’s accessory list is currently pretty short. I’m sure it will grow. But other vendor stuff should also work just fine. I might build my own super low profile RTT mounting brackets.
 

Corbet

Moderator
Staff member
Joined
Oct 24, 2006
Messages
10,519
Location
Durango, Colorado
She’s featured on Kuat’s website now.


Couple examples
IMG_3378.png

IMG_3377.png
 

BMFS33

New-ish
Joined
Apr 28, 2026
Messages
14
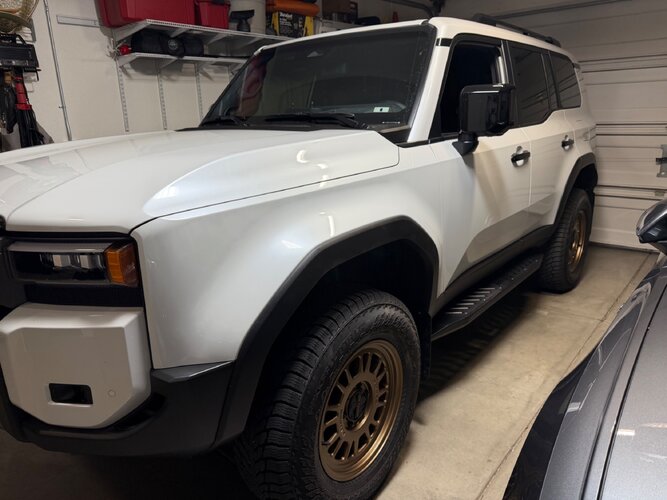
Off with the running boards on with the sliders. Slee Offroad sliders to be exact. We all know the quality of product that Slee provides so I won’t dwell there. Install was pretty easy solo. I got the lighting kit but will wait for better weather. I’d had enough laying in the cold snow & ice for the day. If I had any criticism of the design it would be the overall length front to back. I’d like them to terminate closer to the wheel wells. Front is OK rear could easily be an inch or more longer.

IMG_5886.jpeg

IMG_5911.jpeg

IMG_5910.jpeg

IMG_5908.jpeg

IMG_5909.jpeg

Huge fan of these.
 

Attachments

  • IMG_6787.jpeg
    IMG_6787.jpeg
    775.3 KB · Views: 6
  • IMG_6761.jpeg
    IMG_6761.jpeg
    1.1 MB · Views: 6

BMFS33

New-ish
Joined
Apr 28, 2026
Messages
14
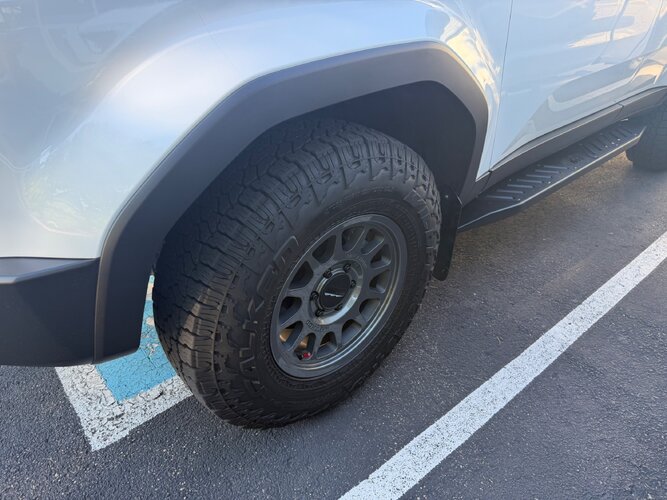
In an effort to save my trailer from rock hits I got some wider mud flaps. They don’t hang as low so it could be a wash overall. I have rubbed the OEM flaps on rocks wheeling. So should improve that.


IMG_7340.jpeg

IMG_7339.jpeg

Fronts

IMG_7345.jpeg

IMG_7344.jpeg
Those are nice. I bought the Rock Blitz and I've been pleased with them. Agree with ripping off the OEM's on rocks. I had to get those off of there before they caused further damage when being ripped off the vehicle. Class is logo too. Those are cool.
 
Back
Top