Replaced nearly all the exterior marker light bulbs and installed a set of LED low beam bulbs. Kind of an experiment as LED’s have a poor reputation with beam pattern in the OEM housings. Everything came from Boslla
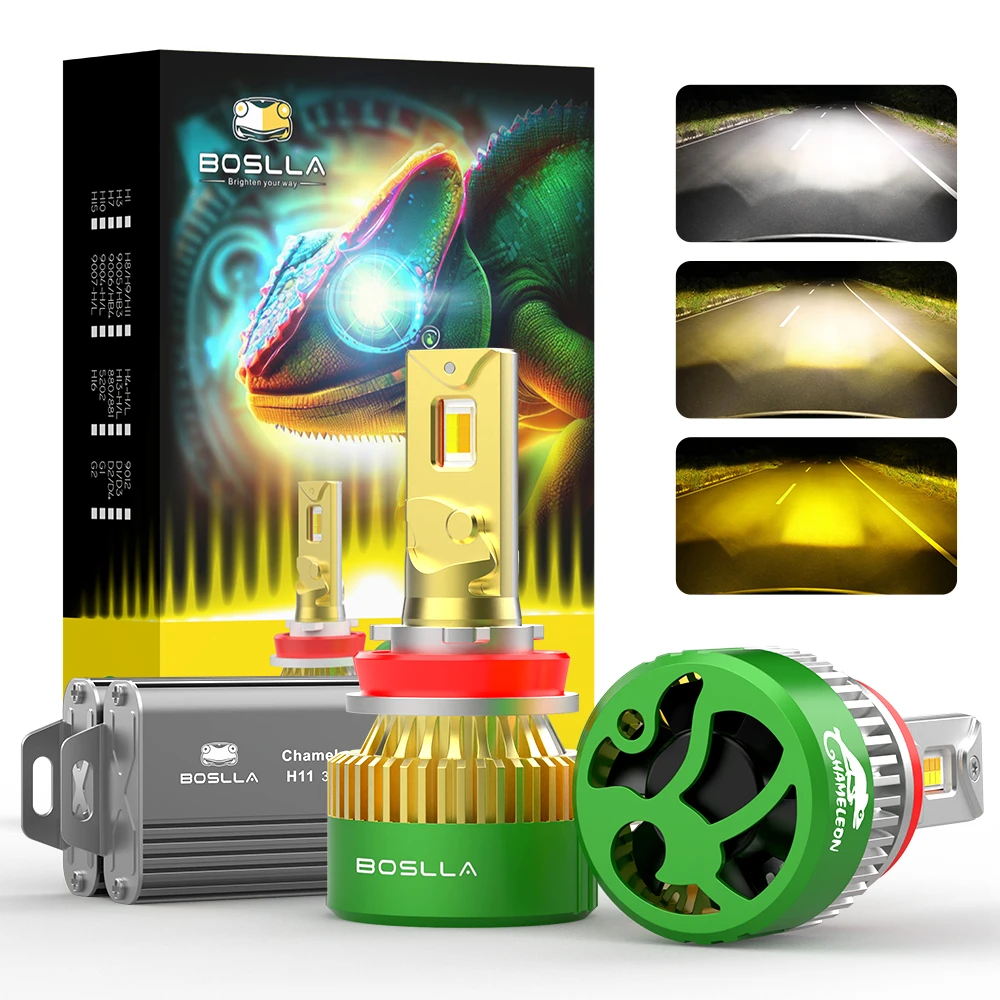
The low beam bulbs are their 50w each Chameleon bulbs that have 4 different settings. White, yellow, combined, and flashing yellow. The flashers could be cool for dusty desert runs. They boast “perfect beam pattern”. The bulbs can be clocked inside the housing to tune the cut off. But at 6000 lumens each I may have some disgruntle drivers regardless. Hard to tell in the daylight on my garage door but the cut off does not look too bad. We’ll see once I need to drive it in the dark.
Edit: Drove home finally in the dark. Cut off seemed as good as it could be for an old glass housing. No body flashed me. The brights don’t add much to these with HIR bulbs. They are definitely project higher but no longer “over power” the low beams. Might need to upgrade those next.
 www.boslla.com

HIR Halogen, used a level and jack as my driveway is on a slope.

White

Combined

Yellow

Adding some after dark shots. I’m yet to diver her after dark.


The low beam bulbs are their 50w each Chameleon bulbs that have 4 different settings. White, yellow, combined, and flashing yellow. The flashers could be cool for dusty desert runs. They boast “perfect beam pattern”. The bulbs can be clocked inside the housing to tune the cut off. But at 6000 lumens each I may have some disgruntle drivers regardless. Hard to tell in the daylight on my garage door but the cut off does not look too bad. We’ll see once I need to drive it in the dark.
Edit: Drove home finally in the dark. Cut off seemed as good as it could be for an old glass housing. No body flashed me. The brights don’t add much to these with HIR bulbs. They are definitely project higher but no longer “over power” the low beams. Might need to upgrade those next.
Tri Color LED Headlight Bulb 100W 12000LM | Boslla Chameleon C4
Boslla Chameleon LED headlight bulbs offer 6500k 4300k 3000k 3 colors to adapt dark night, rainy, foogy, snowy and all road conditions. 100 watts.
HIR Halogen, used a level and jack as my driveway is on a slope.
White
Combined
Yellow
Adding some after dark shots. I’m yet to diver her after dark.
Last edited:


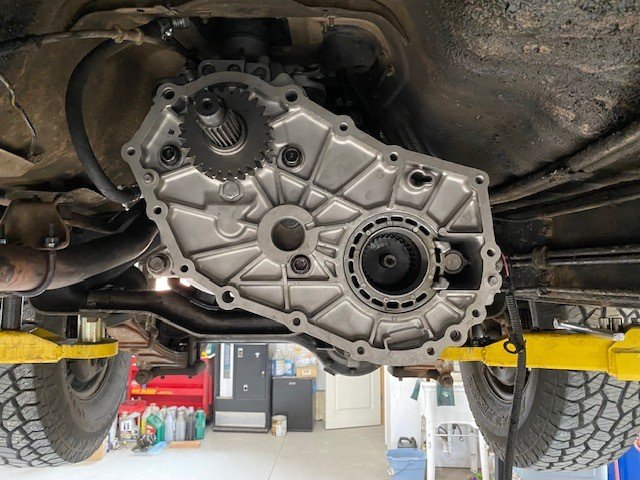
") High range is a 10% under drive so it turns a few more revs when driving 60 but it also gives it a bit more punch off the line.
High range is a 10% under drive so it turns a few more revs when driving 60 but it also gives it a bit more punch off the line.