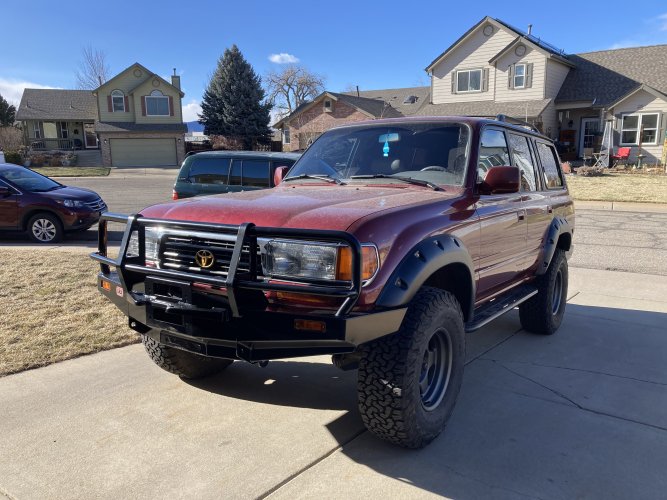
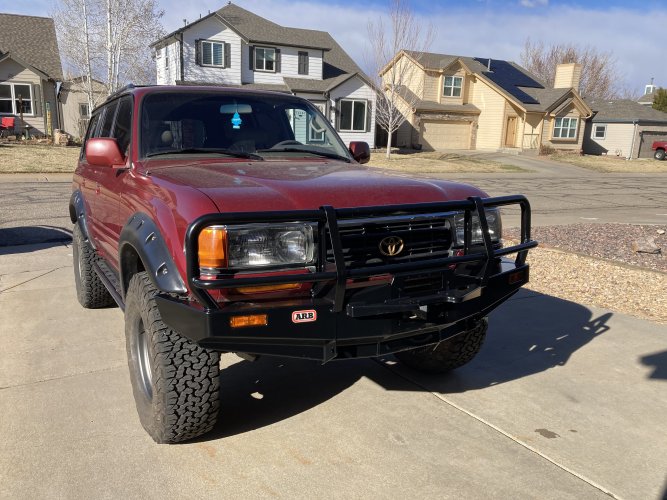
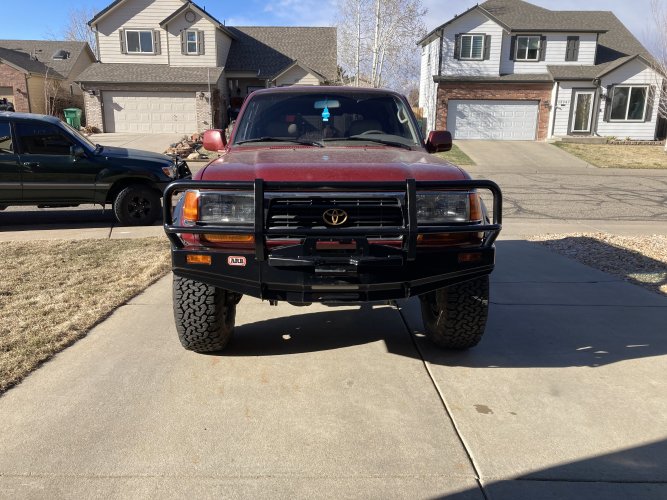
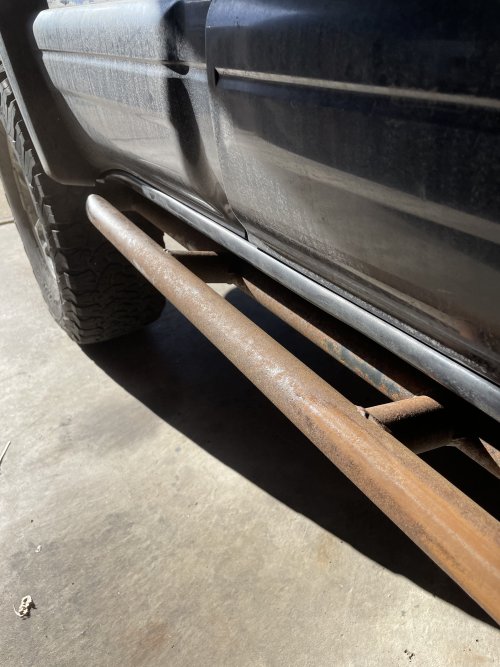
What have you done to your rig today?

HDavis

Hard Core 4+
Joined
Feb 13, 2019
Messages
886
Yeah I've 3 times had an issue with mine. All 3 times in single digits after just starting the truck. I think I've narrowed it down to the check valve just freezing open or closed but might not know for sure again if it doesn't get that cold again this winter. Basically first pedal is hard as a rock, pump it a few times and it works fine. Someone suggest spraying some silicon spray into the check valve. If we get another cold spell I'll have to do that
Your experience is common among 3rd gen 4runner owners. Mine did it for all 10 years I owned it in low temps.
 

rushthezeppelin

Hard Core 4+
Joined
Oct 14, 2022
Messages
557
The 100s have the eccentrics on the UCAs which in my life experience makes them vastly less susceptible to seizing. Mine have always been extremely easy to work on. But my FJ at 60k had to have the LCA eccentrics cut out. Lol
Yeah I wish 3rd gens had that >< would probably make it much easier to align for things like bigger tires and lifts without having to get something like the the SPC uppers.
 

SteveH

Hard Core 4+
Joined
Aug 10, 2006
Messages
2,793
Location
Colo Springs
Today, I took apart the '99 LX 470 Brake Master Cylinder motor. Brushed are gone, commutator destroyed. This explains the 'no warning' loss of brake assist. Note the commutator 'plate' in the 2nd photo, sitting to the left (and turned 90 degrees) from where it should be.
 

Attachments

  • IMG_0418.JPG
    IMG_0418.JPG
    1.3 MB · Views: 30
  • IMG_0421.JPG
    IMG_0421.JPG
    1.3 MB · Views: 29
  • IMG_0417.JPG
    IMG_0417.JPG
    1.8 MB · Views: 29

gungriffin

Rising Sun Member
Joined
Dec 4, 2017
Messages
959
Location
Denver
Today, I took apart the '99 LX 470 Brake Master Cylinder motor. Brushed are gone, commutator destroyed. This explains the 'no warning' loss of brake assist. Note the commutator 'plate' in the 2nd photo, sitting to the left (and turned 90 degrees) from where it should be.
2001LC on Mud seems to think that a lot of these failures are due to not pumping the brakes 25 times before topping up the brake fluid reservoir. Failure to do this causes people (often dealer techs) to overfill their reservoirs. The results in the fluid spilling out of the reservoir. He explained to me that the fluid is hygroscopic. This is a fancy term for absorbing moisture from the surrounding air. The moisture against the parts then leads to rust, contaminants and eventual failure of the motor.
 

rover67

Rising Sun Member
Joined
Nov 1, 2007
Messages
9,107
Location
Boulder, Co
looks like the brushes wore out and got sucked into the commutator after falling out of their holders ripping off the remanider of the worn out conducting pads.
 

60wag

Rising Sun Member
Joined
Aug 23, 2005
Messages
2,433
2001LC on Mud seems to think that a lot of these failures are due to not pumping the brakes 25 times before topping up the brake fluid reservoir. Failure to do this causes people (often dealer techs) to overfill their reservoirs. The results in the fluid spilling out of the reservoir. He explained to me that the fluid is hygroscopic. This is a fancy term for absorbing moisture from the surrounding air. The moisture against the parts then leads to rust, contaminants and eventual failure of the motor.
Why would the level of the fluid rise?
 

gungriffin

Rising Sun Member
Joined
Dec 4, 2017
Messages
959
Location
Denver
The accumulator holds a lot of fluid and releases back into the reservoir - if someone just tops the reservoir up without clearing the accumulator (extremely common) the reservoir overflows when the accumulator balances fluid
Exactly and said more clearly than I could have :D

On another note, I swapped out my trans fluid today. I was able to formulate a fancy funnel to swap my ATF fluid without having to drop my transmission pan!
PXL_20230314_222441762.jpg
 

rushthezeppelin

Hard Core 4+
Joined
Oct 14, 2022
Messages
557
Cleaned up my donor arms a bit, going to Ricardo's shop tomorrow to press out the two bushings that were being stubborn using the bottle jack method. Nylon cup wire wheel and some foaming degreaser were absolutely perfect for this job. Took care of all that grime way quicker than just trying to polish with shop rags alone would have done >< Debating now on wire wheeling and painting them which will take me a bit. Never really rattle canned anything in my life so this is probably a great project to learn on, especially considering my truck isn't on stands waiting for them. Did a little research yesterday andi think I got the right stuff? The rust reformer is basically a primer right? Do I need to use mineral spirits before to get a good surface to put this stuff on?
IMG_20230317_204033594.jpg
IMG_20230317_204104072.jpg
IMG_20230317_204134540_HDR.jpg
 
Last edited:

VoodooBlue_Vixen

Rising Sun Member
Joined
May 30, 2021
Messages
395
Cleaned up my donor arms a bit, going to Ricardo's shop tomorrow to press out the two bushings that were being stubborn using the bottle jack method. Nylon cup wire wheel and some foaming degreaser were absolutely perfect for this job. Took care of all that grime way quicker than just trying to polish with shop rags alone would have done >< Debating now on wire wheeling and painting them which will take me a bit. Never really rattle canned anything in my life so this is probably a great project to learn on, especially considering my truck isn't on stands waiting for them. Did a little research yesterday andi think I got the right stuff? The rust reformer is basically a primer right? Do I need to use mineral spirits before to get a good surface to put this stuff on?View attachment 113122View attachment 113123View attachment 113124
You can use SPI 710 or DX330 as a final wipe, or just somer rubbing alcohol to remove any leftover residue or grease. TBH though, since you didn't go all the way down to steel, I'd scuff the surface with a light sanding paper & just hit it with the enamel.
 

rushthezeppelin

Hard Core 4+
Joined
Oct 14, 2022
Messages
557
Thanks to Ricardo for the press time, got the other bushings out. Took the wire wheel and brush to them to get all the scale off and scuff the OEM paint. That paint is super tough stuff, only came off where there was rust. Next step is to degrease them and put a few coats of enamel on them.
IMG_20230318_155441973_HDR.jpg
IMG_20230318_155413635_HDR.jpg
 

BritKLR

Rising Sun Member
Joined
Oct 29, 2012
Messages
841
Location
ATC HQ - Nederland, Colo.
Added some spacers to install my original old school Hella 4000 on the ARB and adapted some Chevy k2500 recovery hooks ($10 from pick and pull) onto the front of the 60. They're mounted to the frame where the ARB is mounted and under where the OEM hooks are normally mounted. They're rated at 8000 lbs with the grade 8 bolts rated at 27,000 lbs shear strength. I like how low profile they are and should reduce the likelihood of a strap from coming off during s pull and are rounded so they will work nicely with soft shackles.
F8ED288B-B98D-423F-AEF4-0CD729479423.jpeg
1A164F77-44F2-4961-88CD-13388C92F0FB.jpeg
62D38928-C47E-4B4C-A4AE-FB593A71FDD4.jpeg
9FB209BB-0A9B-41B7-A87D-A20BFC824959.jpeg
78DBB8CC-7E92-4779-AD16-4D8B09CBA8E6.jpeg
8093A4BF-C5B1-4154-AC68-96B0903192F2.jpeg
805F10EA-1A4D-486C-A7D9-209B2040DAF6.jpeg
BEF98CFD-4EC2-46A4-A9BD-A2114BF5E0C9.jpeg
 
Last edited:

rushthezeppelin

Hard Core 4+
Joined
Oct 14, 2022
Messages
557
Added some spacers to install my original old school Hella 4000 on the ARB and adapted some Chevy k2500 recovery hooks ($10 from pick and pull) onto the front of the 60. They're mounted to the frame where the ARB is mounted and under where the OEM hooks are normally mounted. They're rated at 8000 lbs with the grade 8 bolts rated at 27,000 lbs shear strength. I like how low profile they are and should reduce the likelihood of a strap from coming off during s pull and are rounded so they will work nicely with soft shackles.View attachment 113164View attachment 113165View attachment 113166View attachment 113167View attachment 113169View attachment 113170View attachment 113171View attachment 113172
Those hooks are legit. Like how low profile they are
 

nakman

Club Secretary
Staff member
Moderator
Joined
Aug 23, 2005
Messages
14,108
Location
north side
new bumpers on the GX this weekend. 6 hours on Saturday night for the front, 12 hours yesterday on the rear. I still need to hook up all the lights, and figure out how to live without a rear exhaust hanger and likely just delete the resonator. But for today it's back at the high school parking lot. my body hurts.

IMG_8503.jpg

IMG_8502.jpg
 

VoodooBlue_Vixen

Rising Sun Member
Joined
May 30, 2021
Messages
395
new bumpers on the GX this weekend. 6 hours on Saturday night for the front, 12 hours yesterday on the rear. I still need to hook up all the lights, and figure out how to live without a rear exhaust hanger and likely just delete the resonator. But for today it's back at the high school parking lot. my body hurts.

View attachment 113214
View attachment 113215
That looks damn good!!
 

Notyourmomslx450

Commander
Cruise Moab Committee
Joined
Aug 4, 2014
Messages
2,565
Location
Westminster
new bumpers on the GX this weekend. 6 hours on Saturday night for the front, 12 hours yesterday on the rear. I still need to hook up all the lights, and figure out how to live without a rear exhaust hanger and likely just delete the resonator. But for today it's back at the high school parking lot. my body hurts.

View attachment 113214
View attachment 113215
Very nice
 

rover67

Rising Sun Member
Joined
Nov 1, 2007
Messages
9,107
Location
Boulder, Co
new bumpers on the GX this weekend. 6 hours on Saturday night for the front, 12 hours yesterday on the rear. I still need to hook up all the lights, and figure out how to live without a rear exhaust hanger and likely just delete the resonator. But for today it's back at the high school parking lot. my body hurts.

View attachment 113214
View attachment 113215
I'll take the resonator if you delete it and are willing to part ways!
 

rushthezeppelin

Hard Core 4+
Joined
Oct 14, 2022
Messages
557
Well got the arms cleaned up and a light coat of the rust reformer (did have a few drips trying to figure it out but not to bad I don't think). Hammock stand in my sunroom patio ftw. Keep it ventilated but out of the weather. Only problem is with the weather it looks like I'm going to have to wait maybe two days between coats. At least they are donor arms so I have time
IMG_20230320_154540480_HDR.jpg
 
Top