

You are using an out of date browser. It may not display this or other websites correctly.
You should upgrade or use an alternative browser.
You should upgrade or use an alternative browser.
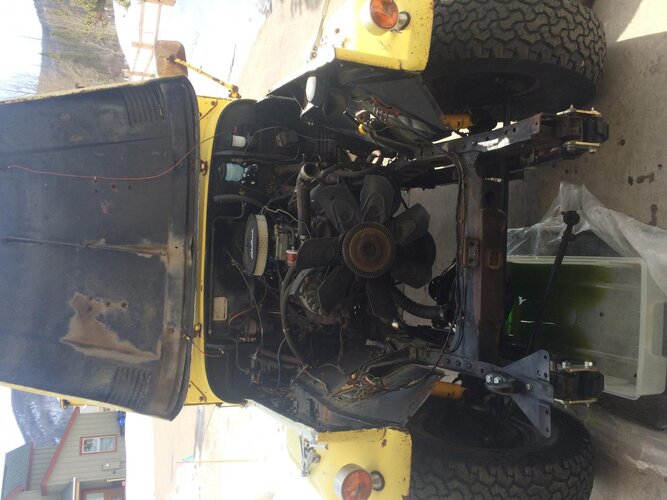
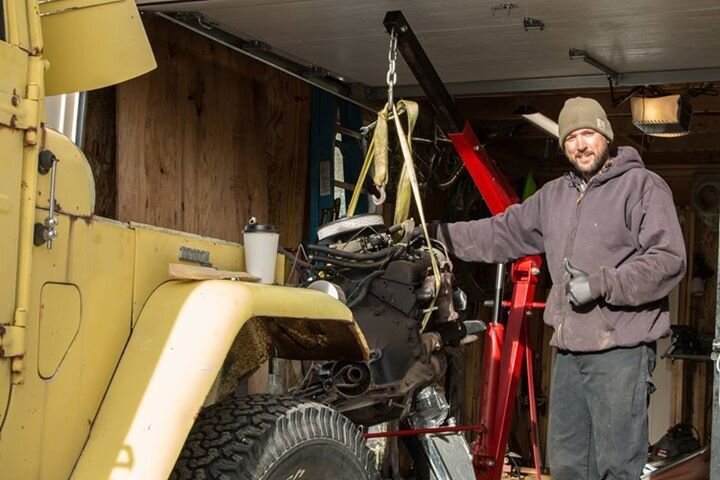
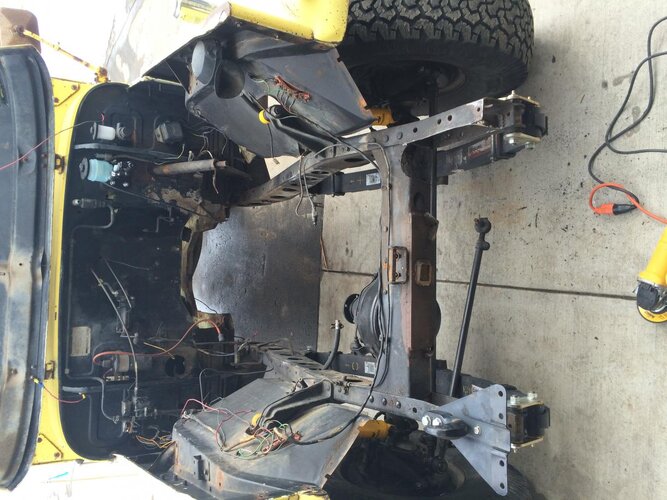
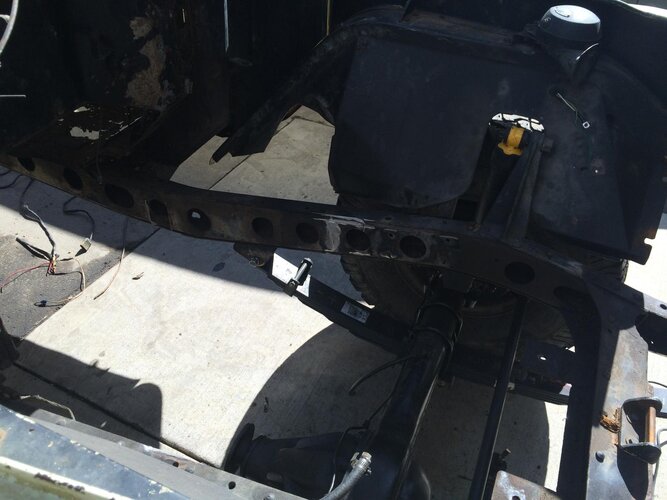
Fj45 it finally happend
- Thread starter rckhound
- Start date
rckhound
Rising Sun Member
rckhound
Rising Sun Member
rckhound
Rising Sun Member
rckhound
Rising Sun Member

justin4045
Rising Sun Member
Good work! Looks to have been a nice productive day working on the 45
tancruiser
Trail Ready
I did the same thing to mine 2 years ago ,thats alot of work but totally worth it.
rckhound
Rising Sun Member
Thread?
Do you have a thread on your build? What did your drive train end up consisting of?
I did the same thing to mine 2 years ago ,thats alot of work but totally worth it.
Do you have a thread on your build? What did your drive train end up consisting of?
rckhound
Rising Sun Member

rckhound
Rising Sun Member
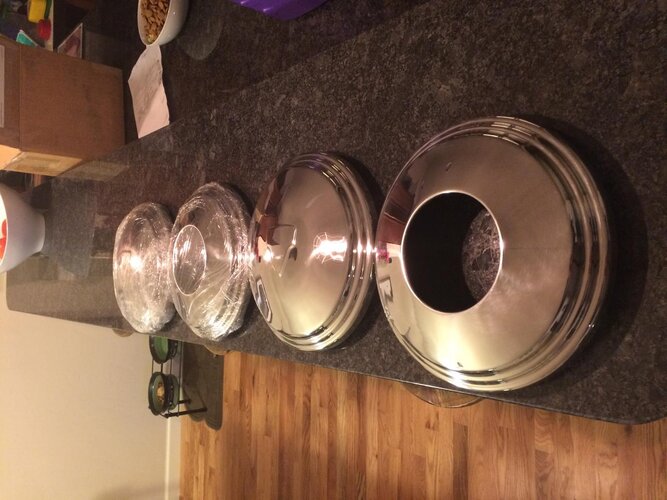
Great progress. Those hubcaps look very cool. I have a feeling this 45 is going to turn out really nice.
Thanks!

Wow, those are gorgeous!
rckhound
Rising Sun Member
rckhound
Rising Sun Member
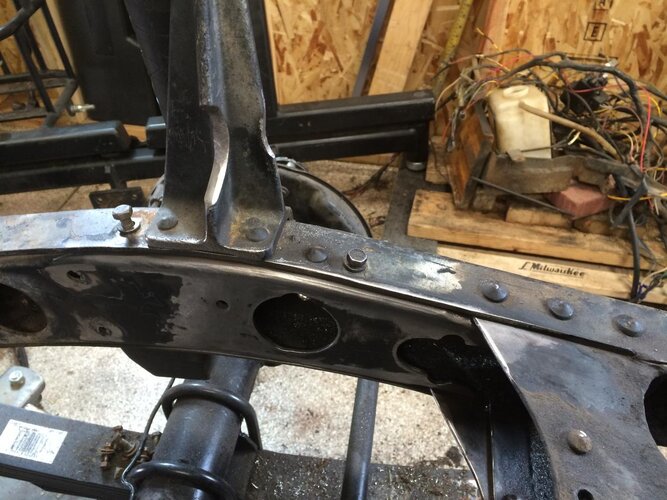
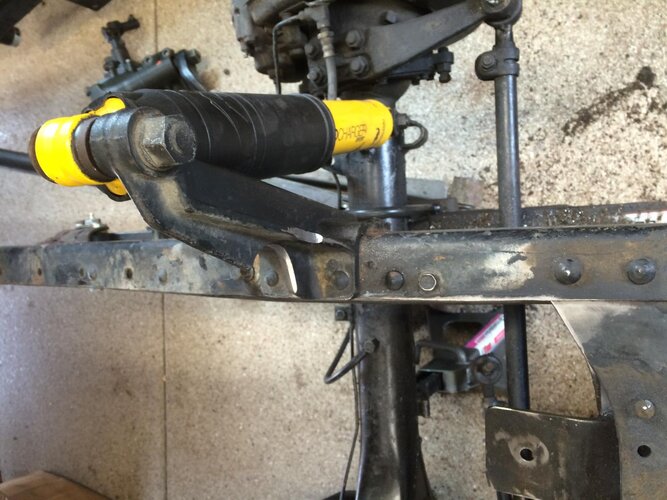
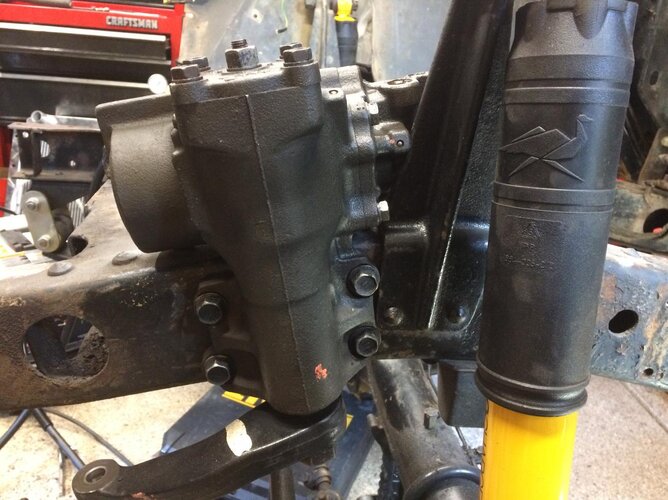
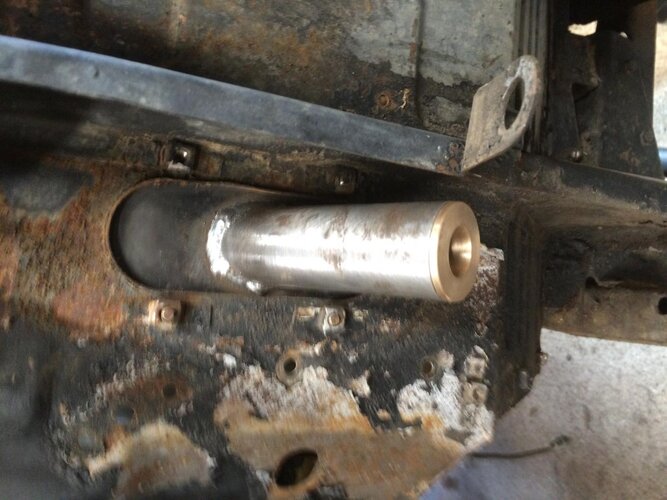
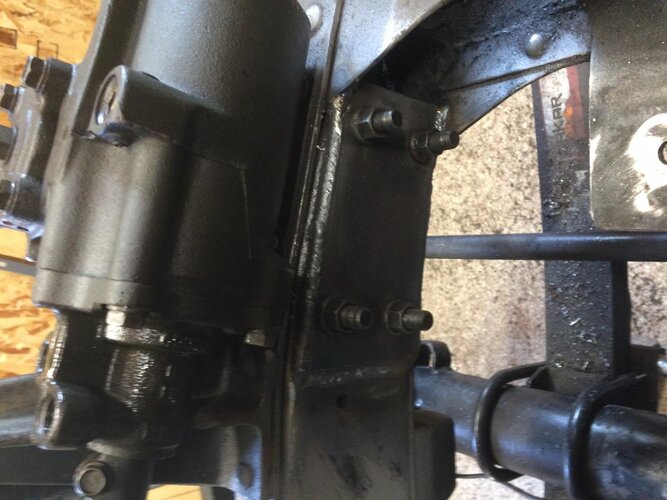
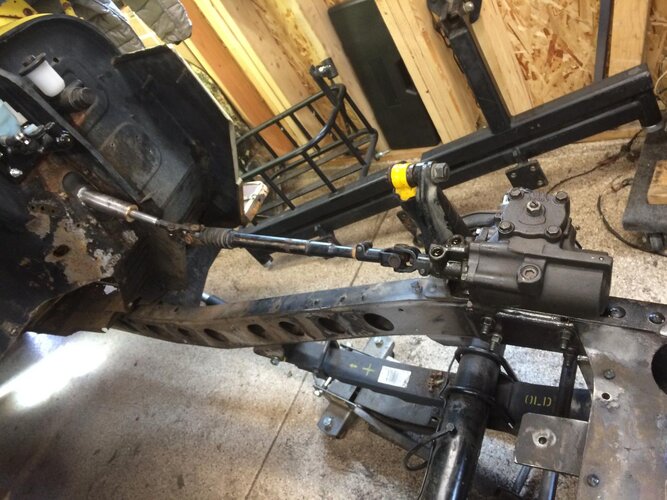
Updates. Adam and I worker on getting the steering on this weekend. I used an 80 series PS Box, a 60 series intermediate shaft thats collapsable, and part of a 2nd gen 4runner intermediate shaft. We cut back the steering column tube and used cruiser outfitters brass bushing for then end. The plate at the firewall is from cruiser outfitters also. We clearnaces the frame for the ps bix bolts that were from the 80 series and welded on a 1/4 plate for strength. Still need a 60 series pitman atm and 70 series relay rod. Turned out great and all Toyota!
Attachments
rckhound
Rising Sun Member
rckhound
Rising Sun Member
rckhound
Rising Sun Member
rckhound
Rising Sun Member
rckhound
Rising Sun Member
rckhound
Rising Sun Member
The radiator will need to be shifted slightly to the passenger side and the driver side parking light will need some modification to clear the steering box.
Similar threads

- Replies
- 12
- Views
- 456


- Replies
- 69
- Views
- 4,224


