Damn dude. I hope you have a giant, walk in beer fridge as well. I'll stop by...Again not a rig... but getting closer to being able to wrench on and park them

-
 COLOYOTA EXPO: Vote for your favorite shirt color.
Click here to see the options and place your vote.
You are using an out of date browser. It may not display this or other websites correctly.
You should upgrade or use an alternative browser.
You should upgrade or use an alternative browser.
What have you done to your rig today?
- Thread starter HoneyBadger
- Start date

KC Masterpiece
Hard Core 4+
- Joined
- May 4, 2019
- Messages
- 2,037
Rzeppa
Rising Sun Member
Replaced the smog pump with a Jim C pulley, then took it for a drive.
Ha! I just got done replacing my Jim C. pulley with the smog pump - because I'm planning on selling my 60 and whoever buys it is likely going to need to pass smog.
KC Masterpiece
Hard Core 4+
- Joined
- May 4, 2019
- Messages
- 2,037
Do you need any of the smog equip or intake you gave me?Ha! I just got done replacing my Jim C. pulley with the smog pump - because I'm planning on selling my 60 and whoever buys it is likely going to need to pass smog.
Rzeppa
Rising Sun Member
Do you need any of the smog equip or intake you gave me?
Thanks but no, the stuff I gave you was extra. I still have all the stuff from my 60.
Capriblue45
Rising Sun Member
- Joined
- May 28, 2023
- Messages
- 514
MDH33
Hard Core 4+
I finally splurged and bought a set of the revered non-usa fj60 mirrors. I've heard so many positives of these over the years I've always wanted to upgrade the crumby aftermarket fj62 knock-offs that were on my 60 that vibrated like crazy.
Wow, these definitely are nice! Can't believe I've been driving 60's so many years without trying these!
Found mirrors from seller in Japan.. NLA from Toyota I believe.. Gaskets are City Racer.

Dog and I on a test run.")

Wow, these definitely are nice! Can't believe I've been driving 60's so many years without trying these!
Found mirrors from seller in Japan.. NLA from Toyota I believe.. Gaskets are City Racer.
Dog and I on a test run.
Brucker
Hard Core 4+
Finally got around to completing the sink setup for the tailgating rig. I used the Cuisinart sink as our base.My partner in crime for the Broncos games came to me with an interesting idea. Not a new one by any means, but one we haven't really explored before. We have yearned for running water for our tailgating as it would help a lot with meal prep and keeping things sanitary. We have relied on Clorox wipes and bottled water for years and last year we bought a Rinse kit system that doesn't really serve our needs well. So he asked if there was a way we could make a self contained sink setup, and I got to work.
I realized having a self contained wash station would be VERY handy to have around my property as well, so I set out to build a cheap test bed that we could use before building a nicer setup for the tailgating rig. Whole setup cost under $150 but I had the 7 gallon buckets around already. Which is cheaper than just the sink cart my partner wants to use.
Cheap sink cart: https://www.amazon.com/dp/B0D7CC7983?psc=1&ref=ppx_yo2ov_dt_b_product_details
Cheap 120v aquarium pump with a 3.5 gpm volume: https://www.amazon.com/dp/B0B5T2XDNR?psc=1&ref=ppx_yo2ov_dt_b_product_details
Cheap momentary foot pedal switch: https://www.amazon.com/dp/B0BY4WVG3J?psc=1&ref=ppx_yo2ov_dt_b_product_details
Brass fittings: https://www.amazon.com/dp/B07VN4VF77?psc=1&ref=ppx_yo2ov_dt_b_product_details
Cheap locking casters with threaded inserts for square tubing: https://www.amazon.com/dp/B07T79RK2R?psc=1&ref=ppx_yo2ov_dt_b_product_details
When all the parts arrived I assembled the system. Works great, but I got what I paid for. The cart is of the poorest of quality and needed modification in order to actually be assembled. But it will serve it's purpose well for what it is.

Just leave the faucet open and plug in the foot pedal. Then fill the clean water bucket with water. Then whenever you want water to flow, you just step on the foot pedal. Then when the activities are over, just empty the dirty water side and call it good. Simple and easy to use. Only thing that would be better, would be a battery operated (like 2-4 AA or AAA batteries) aquarium pump and switch. Then it would be fully self contained.
Now that I have a system that works well, I will build one out for the tailgating rig using this cart:

https://www.walmart.com/ip/Deluxe-O...4IIoEJxZNXDsi2fVY4p2Eru6AQLpP6tRoCObcQAvD_BwE
I really wanted this to be a self contained unit that didn't rely upon electricity or an outside water source. So I used a couple older pressure tanks as my clean water supply and "pump". Make sure they are pressurized and then fill them to capacity with a water hose. Once full, close the valve and hook into the plumbing of the sink. Once plumbed, turn the valves back on and the faucet will work as normal till the water runs out. Then you can just remove the five gallon bucket to remove the waste water. Clean, simple, self contained.
The middle shelf had to be removed, so I made some crossmembers out of aluminum to keep the weight down. Then drilled them and used metric threadzerts so the original hardware could be reused. This means the original shelf could be reused again during the offseason if this turns into an outdoor sink and is plumbed to a water hose like it is originally designed for.
Then I painted everything to match. Well, to as closely a match as I could find in my local spray paint aisle.
Final product. Self contained wash station.
Last edited:
fyffer
Rising Sun Member
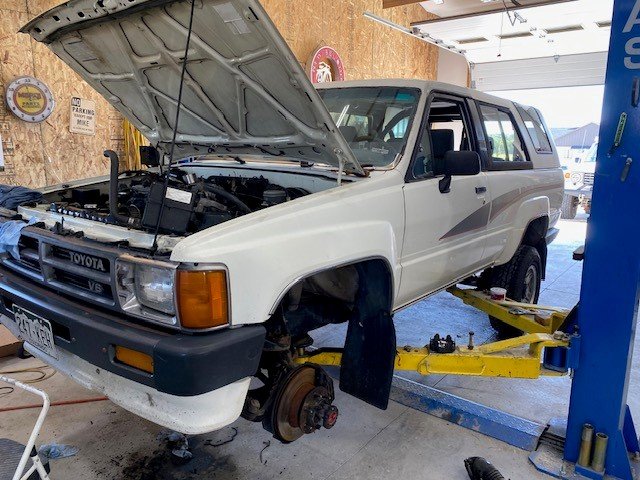
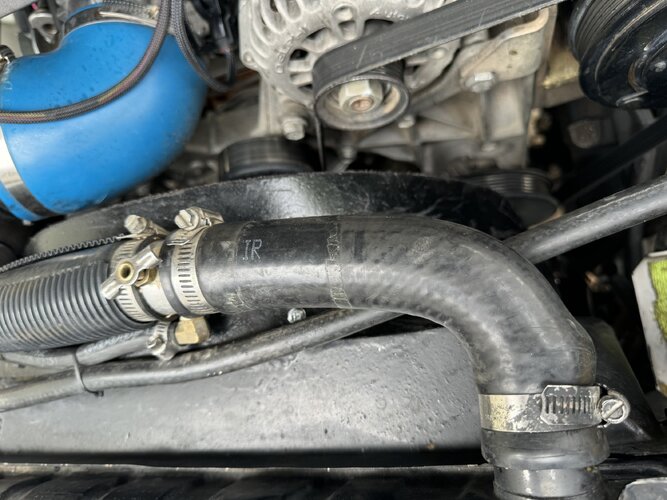
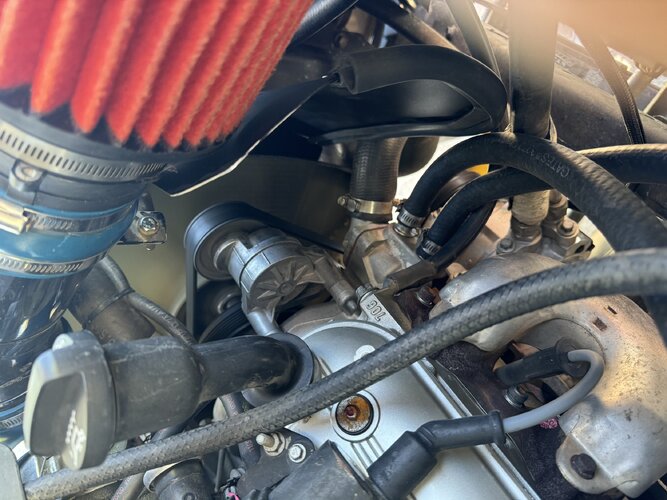
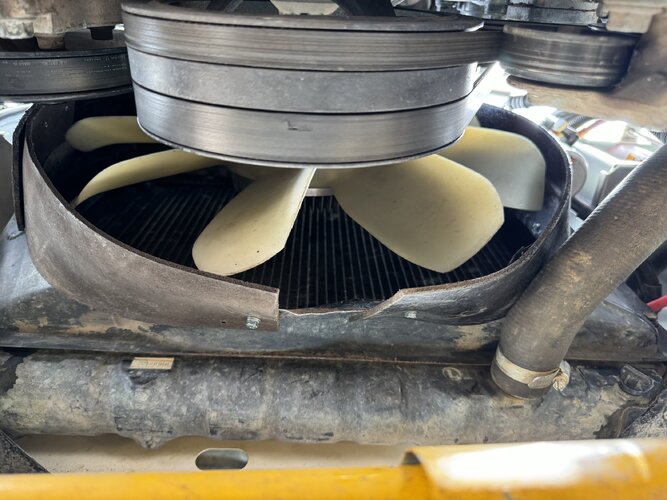
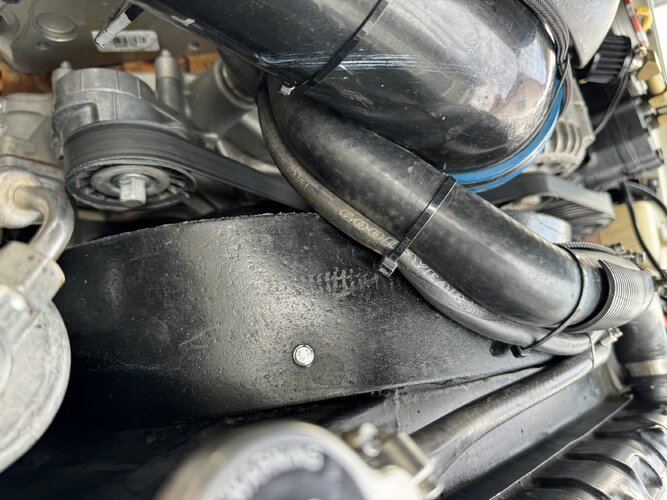
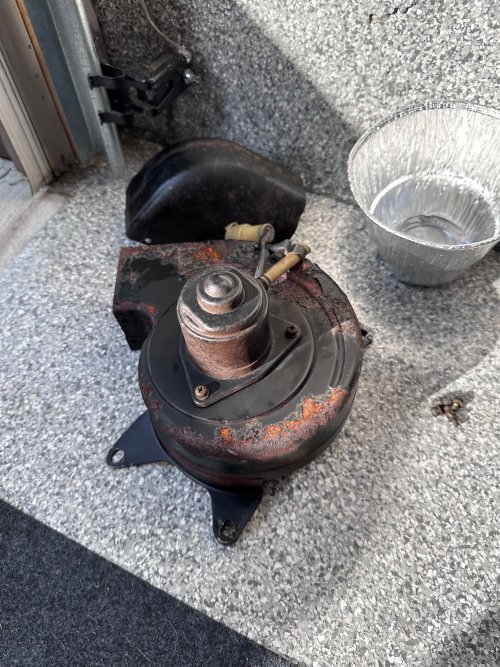
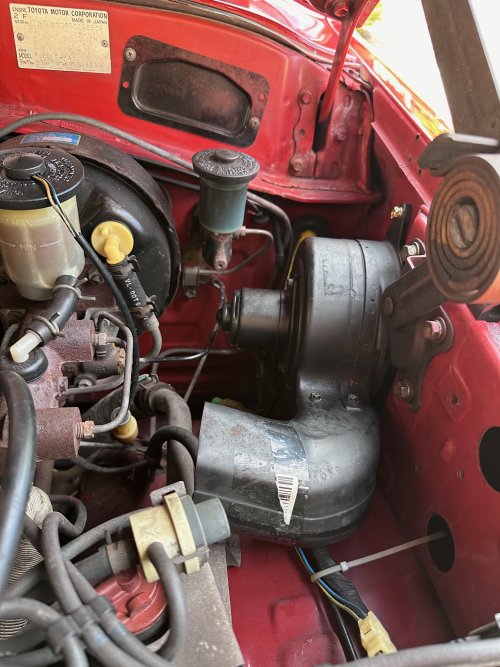
Trying to figure out if I can do something about an IAT (intake air temp) on the Swap ( a direct ECU effect) Put a 2” hose in, a little small trying it from grill side towards filter. Made a home made deflector from intake tube support away from filter, so far seems good but not measuring with HP tuner results.
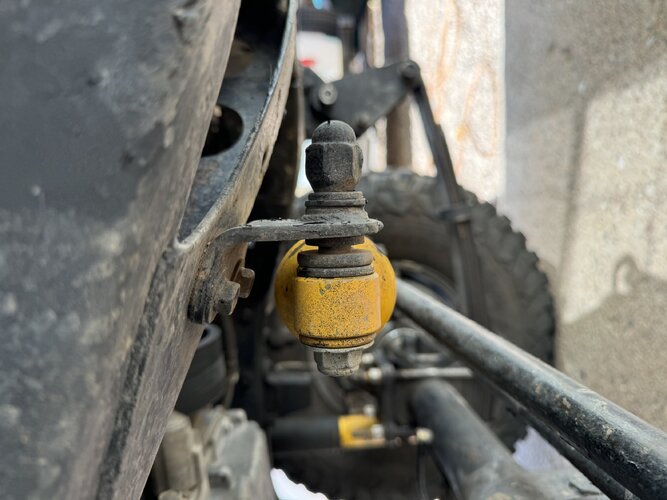
Underneath found something funny as well, at the Dampner, if you know you’ll see it . Thanks B
Don’t know why Photos will not load the same? Only if you view will your get it.

Underneath found something funny as well, at the Dampner, if you know you’ll see it . Thanks B
Don’t know why Photos will not load the same? Only if you view will your get it.
Attachments
fyffer
Rising Sun Member
Lug nut on dampener, TFF or Sad.
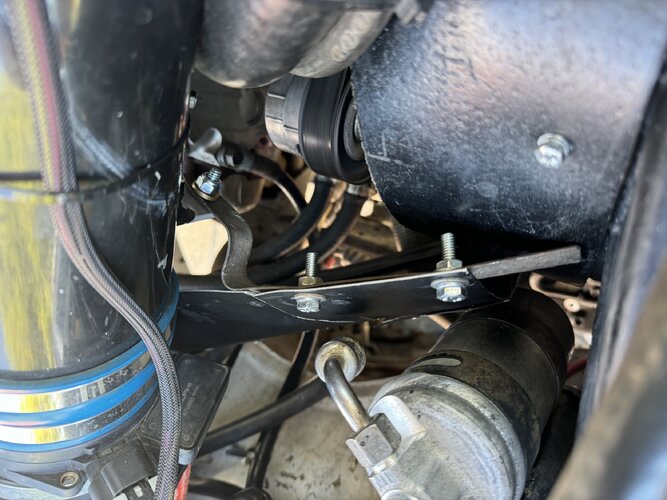
well I swapped the suspension on the GX... went with the Stage4 Ironman4x4 kit. Removed an OME kit that was installed about 10 years ago...
I gained about 1" in height in back, and about 2" in front... I was a little raked before so this is about perfect, I wouldn't want to be any higher. And I've only gone around the block, but so far it feels sooooooo much smoother and squishy compared to what was on there before. Waiting for the shop to get back to me on my alignment, then I'll get some more seat time.
Back springs are the "3" lift medium plus"

front springs are the 2.5" heavy load


I changed out the SPC arms for Iron Man's forged arms... which have MOOG ball joints, apparently.
 \
\


I gained about 1" in height in back, and about 2" in front... I was a little raked before so this is about perfect, I wouldn't want to be any higher. And I've only gone around the block, but so far it feels sooooooo much smoother and squishy compared to what was on there before. Waiting for the shop to get back to me on my alignment, then I'll get some more seat time.
Back springs are the "3" lift medium plus"
front springs are the 2.5" heavy load
I changed out the SPC arms for Iron Man's forged arms... which have MOOG ball joints, apparently.
New belt moldings all the way around. Did it last night while our power was out from 1:30pm till about 10:30 last night.


Last edited:
Inukshuk
Rising Sun Member
Ported the oil pump


Inukshuk
Rising Sun Member
Buttoned up the engine and moved onto transmission to transfer case adapter and cutting off a perfectly good transmission output shaft.


Inukshuk
Rising Sun Member

The shaft seemed short after all adapters on. I did a bunch of measuring. Then research. Wouldn't ya know it - conflicting instructions! The extra 20mm I thought needed are found on the Marks instructions, not the AA. On the one hand, not really my "mistake". OTOH gonna cost me weeks and $$$$. New output shaft ordered. That's not so bad - $40. The transmission work however ..... Today I was the bug. Oh well, whiskey. And I got a new hat.
Inukshuk
Rising Sun Member
I just reviewed it all again, the empirical results support following the newer of the conflicting instruction - the ones that were not on AA site but found yesterday at the Marks site. I have sent my write-up to my contact at AA. I suppose it is possible they have a longer 27 ==> 19 spline adapter, but I don't expect that to be the case.The shaft seemed short after all adapters on. I did a bunch of measuring. Then research. Wouldn't ya know it - conflicting instructions! The extra 20mm I thought needed are found on the Marks instructions, not the AA. On the one hand, not really my "mistake". OTOH gonna cost me weeks and $$$$. New output shaft ordered. That's not so bad - $40. The transmission work however ..... Today I was the bug. Oh well, whiskey. And I got a new hat.

Inukshuk
Rising Sun Member
The old instructions have been removed and replaced with the new ones at 4L60E 6 BOLT TOY L/C-HF2A T/C - https://www.advanceadapters.com/4l60e-6-bolt-toy-lc-hf2a-tc. On that page, now there is a link for digital download 50-8904A to get instructions dated "22/05/12." That is Australian for May 12, 2022. 
Applying the 50-8904A instructions, the cut is made 170 mm (not 151 mm) measured from the 41 mm thick MFC1103 adapter (which converts the 6-bolt to 4-bolt pattern). The 151 measurement is no more.
The end result will be 51 mm of the spline adapter shaft (when fully slid onto the output shaft) protruding from the adapter mating surface to engage the T case.
A new-to-me used output shaft arrived today ($47 from eBay, last one was $35). Early next week I will go back to the transmission shop. This R&R should be lots less than before. No new parts. No cleaning. Then I will cu the shaft to have maximum possible spline engagement.
At least it was not installed to the truck, did not fail me 1,000 miles from home (AA has no reported failures), and no one will have this issue in the future. Crazy it went unnoticed 12 years. Yep, I'm the guy who notices.