@DouglasVB, a couple of things came to mind here.
First is on my truck both the captured nuts on the rear cross member holding the front skid plate stripped. I don't have a belly pan like that so that's the end of the plate on mine so that may change the dynamics. Those are small bolts from the factory because they weren't intended to really do much with the think splash plate. I put 10mm thread inserts (up from 8mm) in both and have been solid since. I think the problem stemmed from having to crank them down to prevent them from vibrating loose.
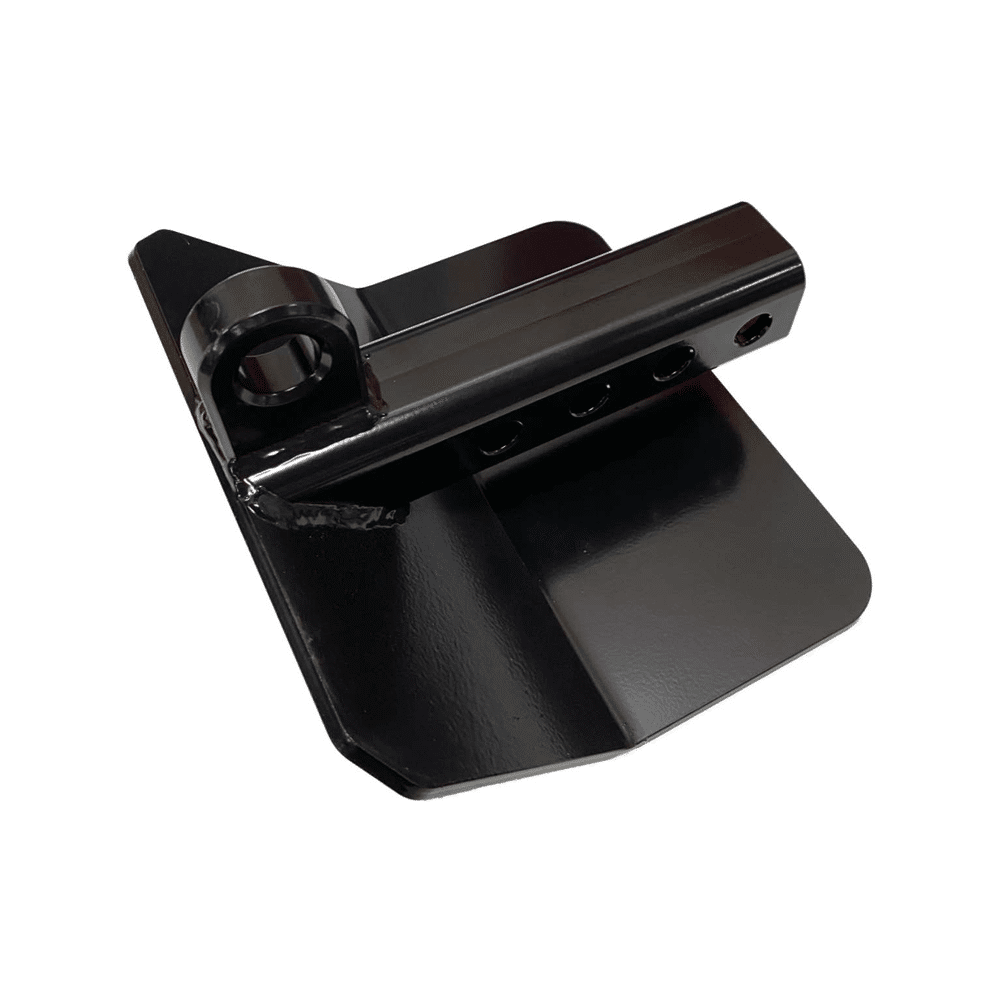
Second is you say you're worried and were going to drill new holes, I assume you mean where I indicate "lip" right? The one bolt you mention is on the inside perhaps? I'd think the concern is spreading force so adding a bolt here may help but I'd also think might also just tear, the material in the frame here is pretty thin.

This isn't the best photo but
@arthog made up a plate on Imelda to protect the belly and carrier. The way we mounted it was to use an 'L' on the frame with a couple of bolts. This worked well and it took a real beating but the bolts did distort the holes, so there was a lot of force on them. Of course the frames on mini truck are thicker and more rigid. The sliders should help with that on the Tacoma but then the material thickness becomes the limit on the frame itself. So I wonder if there's a way to modify and use the sliders in a similar way and transfer force from those lips to them so that the frame doesn't take the punishment.

 This was from a fairly mellow stream crossing. Or maybe from crossing a two foot wide straight down cut (several feet deep) from recent rains.

 actually wants to go places with me and the truck
