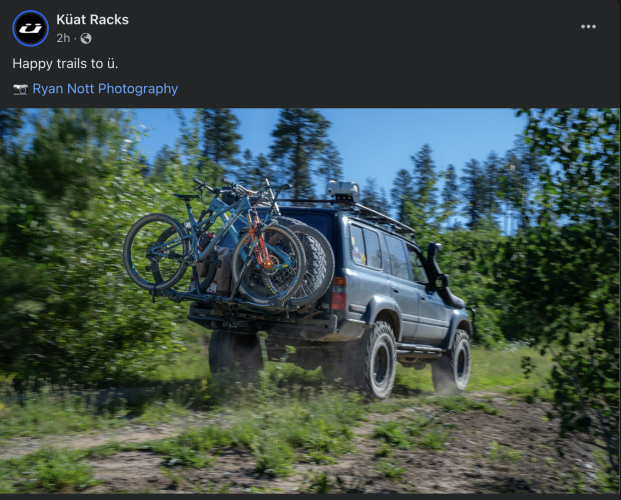
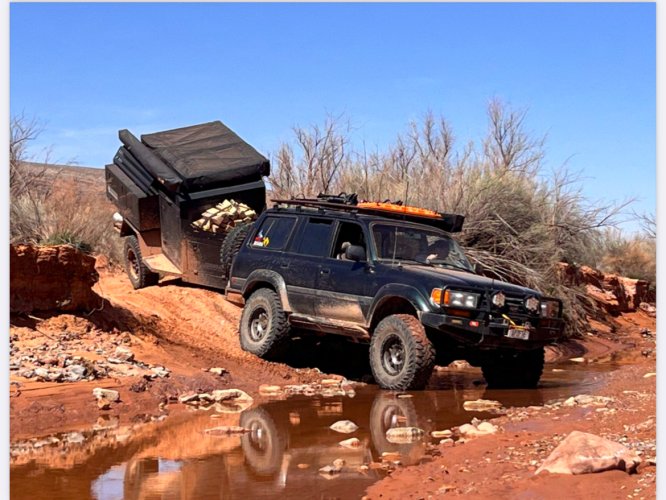
Not a traditional build thread seeing as at this point I’ve owned the truck for 16 years. I just wanted to consolidate things in one place then add to it moving forward.

List of Mods:
Wits End Turbo, full engine rebuild .5mm over
EMS Powered stainless exhaust
Slee 4” heavy with Slee/ADS remote shocks
Slee caster correction plates
Slee front sway bar extensions
Land Tank rear lower control arms
Land Tank rear sway bar links
Iron Man adjustable panhards
Dobinsons adjustable monotube steering damper
Wits End DC front driveshaft
Redline front axle relocation kit
Timbren bumps at all 4 corners.
ARB front bumper
Slee AC dryer skid plate
Warn M12000 with Amsteel Blue 3/8”
URB recovery points
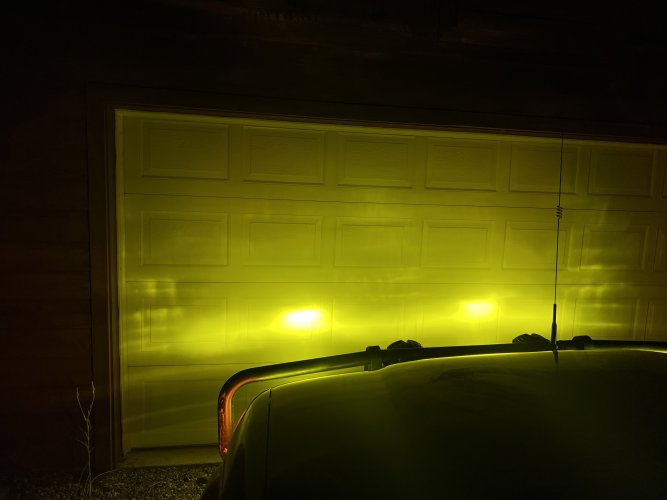
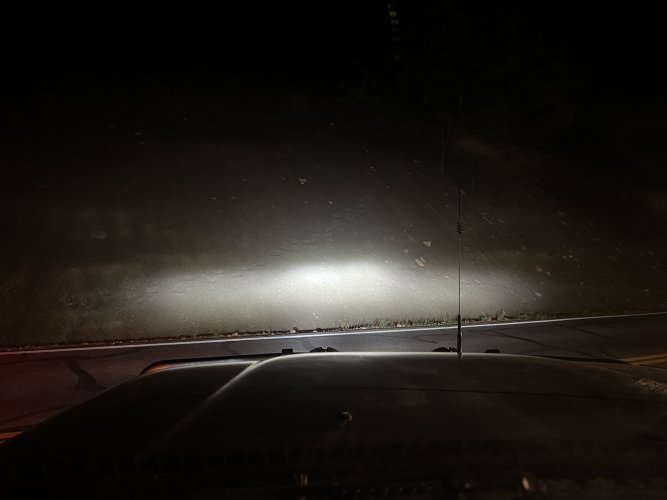
Baja Designs LP9
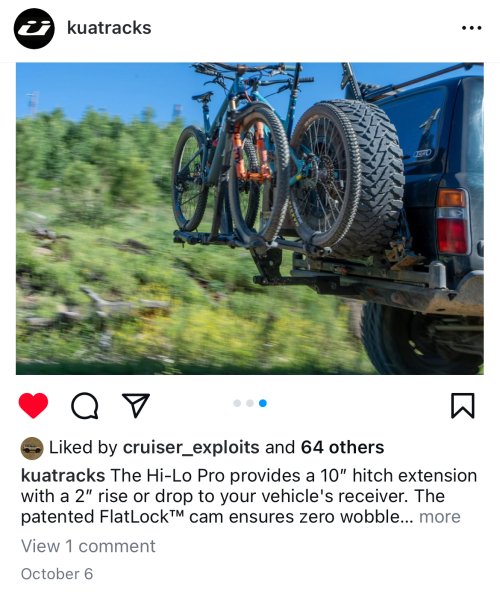
4x4 Labs rear bumper, dual swings
IPOR skid plate
Metal Tech sliders
Kenwood HAM/NAV/Sirius/Bluetooth
JL Audio powered Sub
Speski Offroad cargo barrier
National Luna dual 60
Alucab tilting slide
Drifta Drawers - custom depth
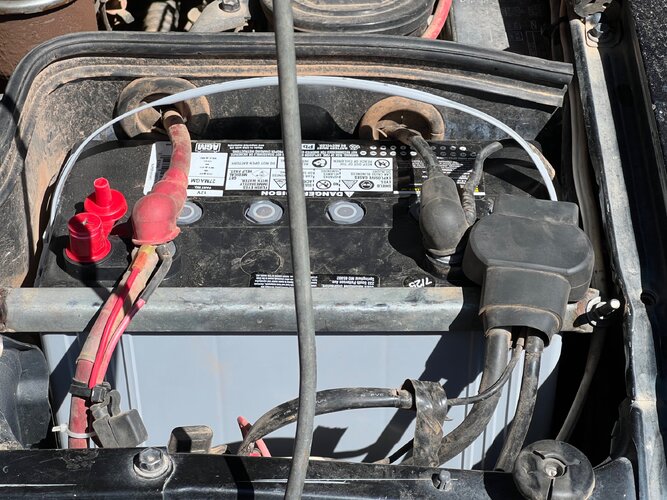
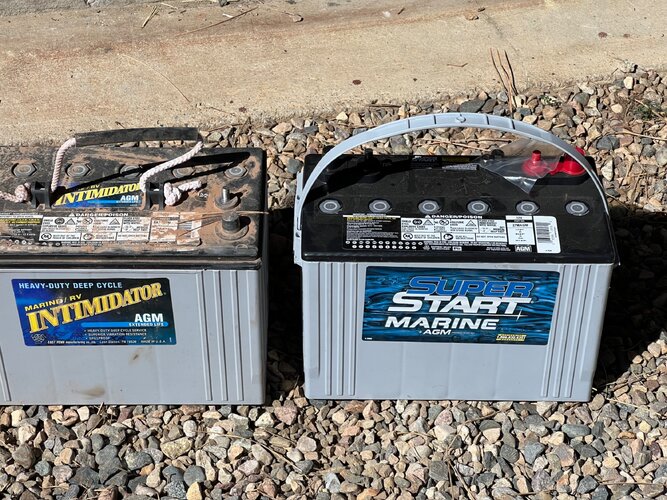
Deka group 31 AGM battery
lots of 12v outlets
JDM cup holder
Home build roof rack
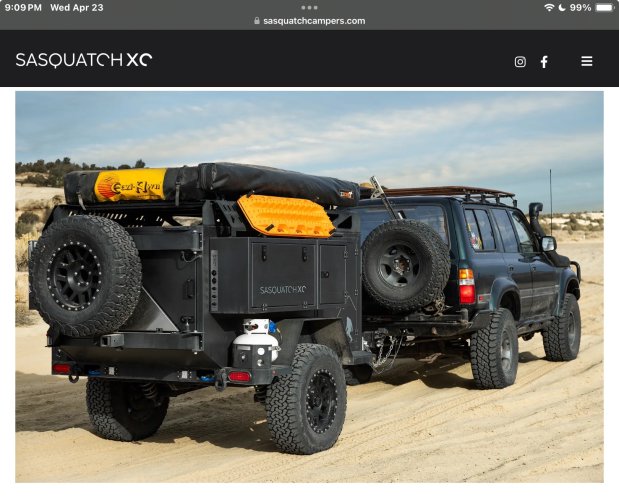
Eezi-Awn 1800 series 3 RTT
Kinsmen Hardware 270° Awning
Maxtrax
KMC Machete 17”x9” -12mm wheels
37” Yokohama G003
Custom powder coated OEM wheels
315/75r16 Cooper S/T Maxx, with studs
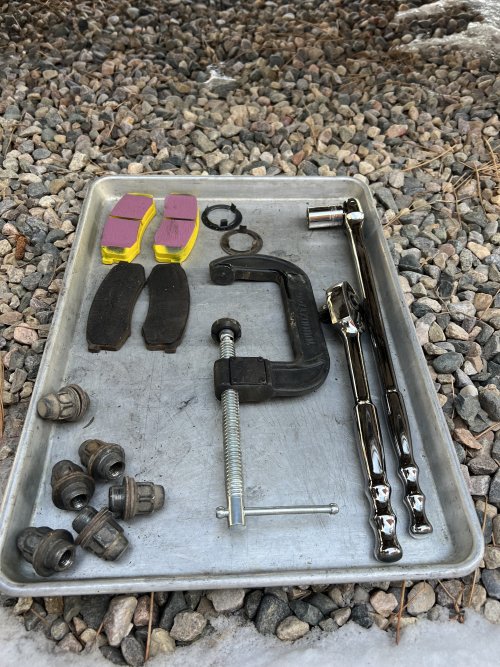
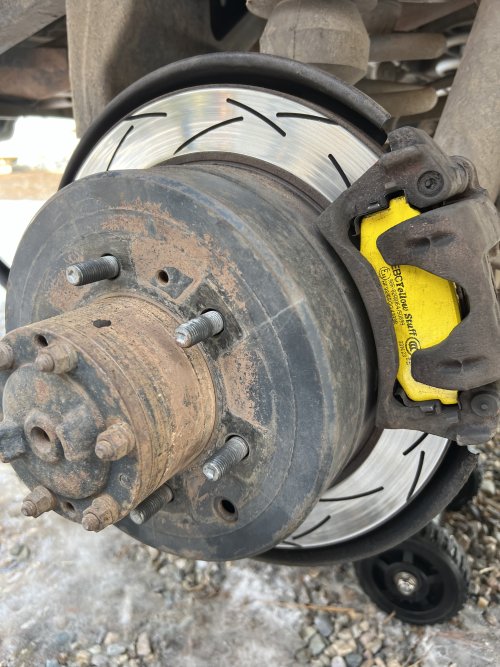
DBA T3 rotors
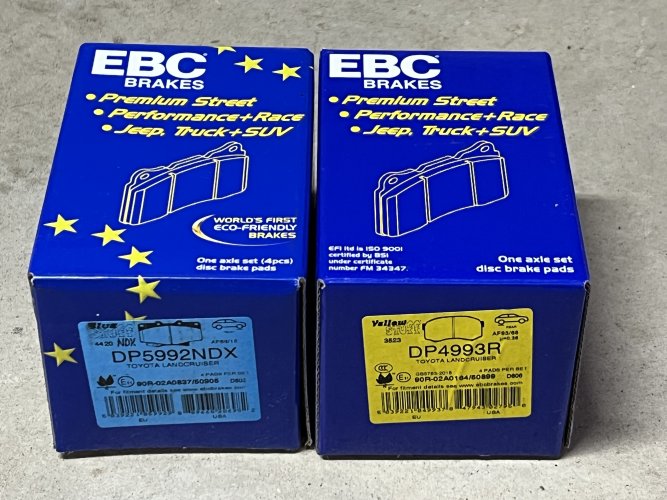
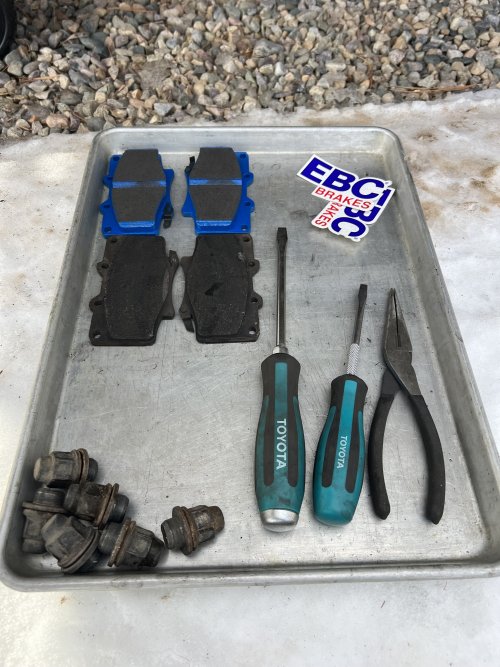
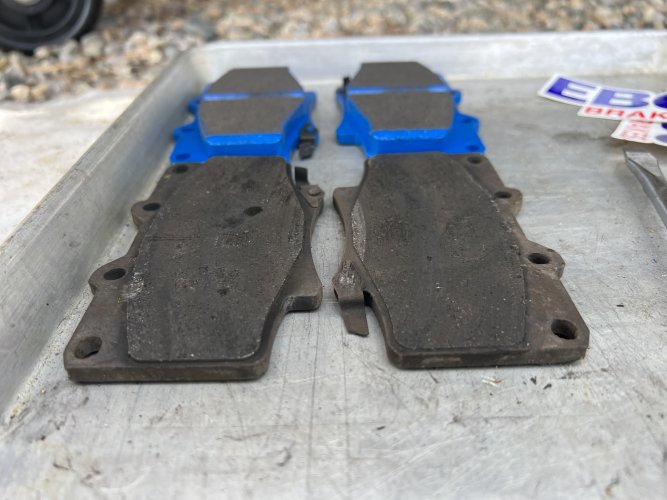
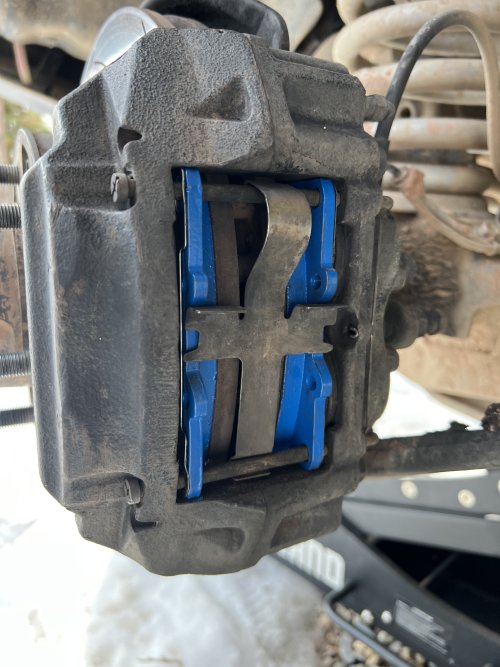
EBC yellow stuff pads
Wits End stainless lines
Nitro 4.88 gears
Nitro chromoly birfields and inner axles
ARP drive flange studs
Different tires I’ve run to date
275/70r16 Michelin LTX
295/75r16 Nitto Terragrapplers
315/75r16 General Grabber red label
315/75r16 Goodyear Duratrac (studded)
315/75r16 Toyo Open Country MT
315/75r16 Cooper S/T Maxx (studded)
37x12.5r17 Yokohama G003 - now on my 2nd set.
Engine build https://risingsun4x4club.org/xf/threads/1fz-fte-build.28047/
Rear Bumper Build https://risingsun4x4club.org/xf/threads/fjz80-gets-a-new-bumper.17667/
Front axle relocation https://risingsun4x4club.org/xf/threads/80-series-moving-axle-forward.27596/
12v outlet wiring https://risingsun4x4club.org/xf/threads/adding-12v-accessory-cigarette-outlets.6219/
Roof rack build https://forum.ih8mud.com/threads/speski-offroad-expo-roof-rack-build.804560/#post-9184808
Last edited:

