-
RS MAY CLUB MEETING
Hi Guest: Our monthly RS meeting on Wed. May 1st will be held at the Rooney Sports Complex. Details and directions are here. Early start time: 7:00 pm. to take advantage of daylight. We'll be talking ColoYota Expo and Cruise Moab.
If you are eligible for club membership, please fill out an application in advance of the meeting and bring it with you.
You are using an out of date browser. It may not display this or other websites correctly.
You should upgrade or use an alternative browser.
You should upgrade or use an alternative browser.
FJZ80 Gets a new bumper
- Thread starter Corbet
- Start date
farnhamstj
Hard Core 4+
Sawzall!!!!!
Remember earplugs and gloves, and of course eye protection. Safety is no accident.
Remember earplugs and gloves, and of course eye protection. Safety is no accident.
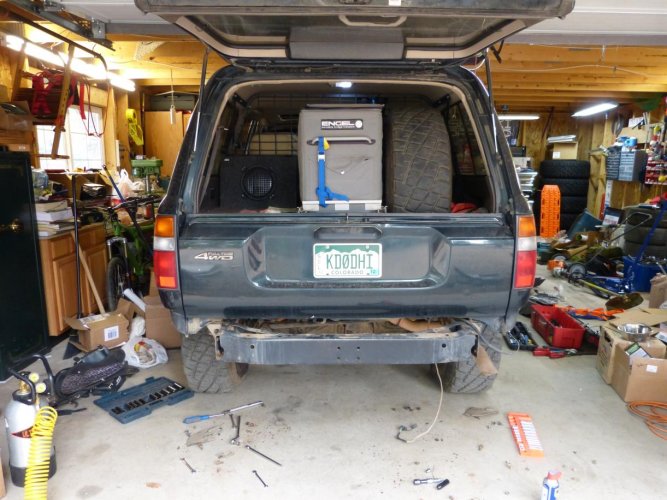
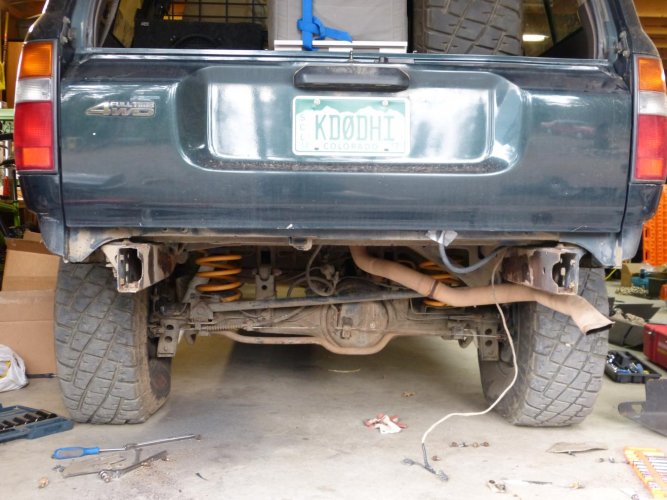
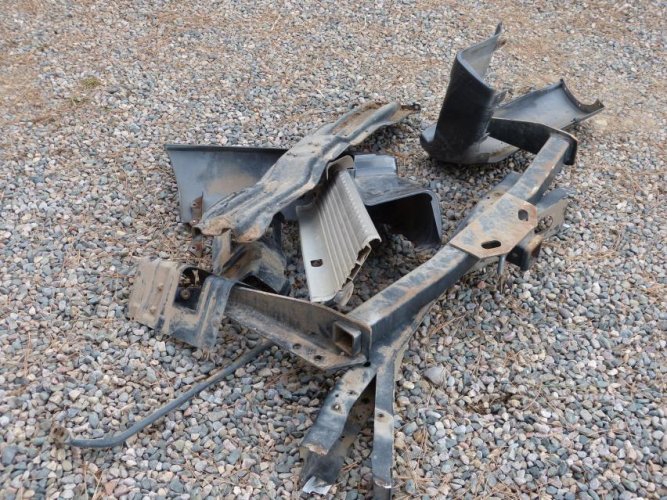
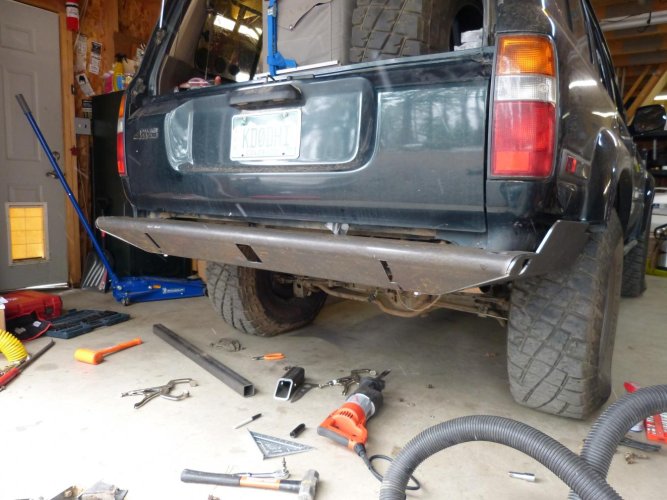
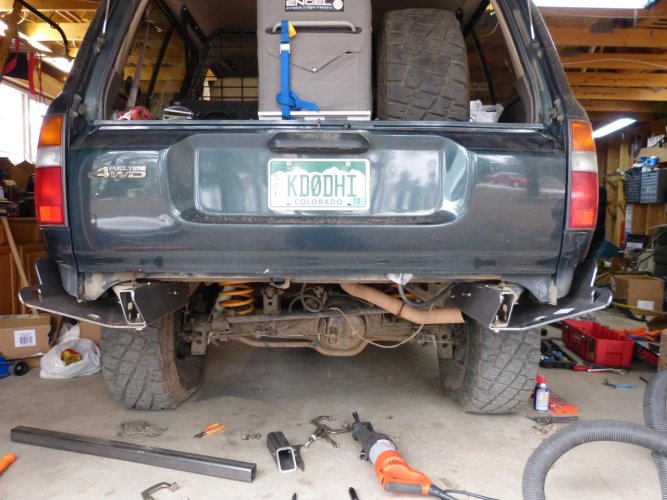
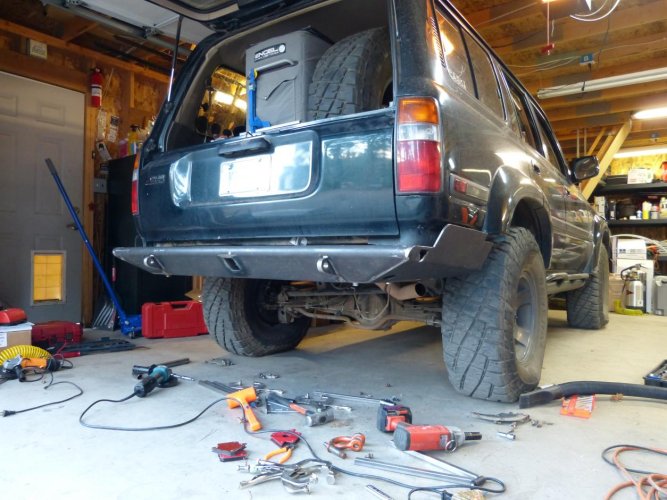
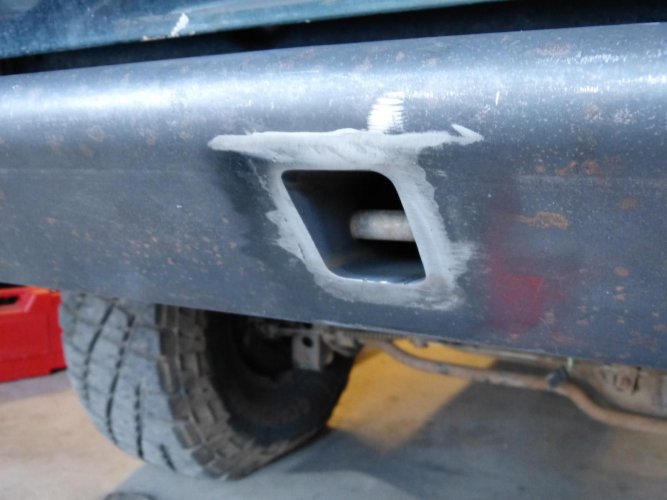
So removing the rear crossmember and Bumper channel was not a bad as I thought it would be.
Pictures of the truck and the scrap pile from today. I still have a little trimming to do on the frame horns. Then assembly of the new bumper may begin.
Pictures of the truck and the scrap pile from today. I still have a little trimming to do on the frame horns. Then assembly of the new bumper may begin.
Attachments
RLMS
0
whattcha got in the safe...he he he!!!
looking forward to the build up!!
Justin
looking forward to the build up!!
Justin
Glad to see new bumper is moving forward, the oem reciever served you well as a rear slider, it will be a little quieter on the trail with the gain in clearance.
Rezarf
Hard Core 4+
 opcorn: Excited to see what you come up with Corbet.
I managed to destroy a harbor freight sawzall chopping my off. Fortunately I was ~80% done before it died, and I got a full refund. I used a cutoff wheel to finish the job.
You going to do any clearancing of your frame rails for improved departure?

You going to do any clearancing of your frame rails for improved departure?
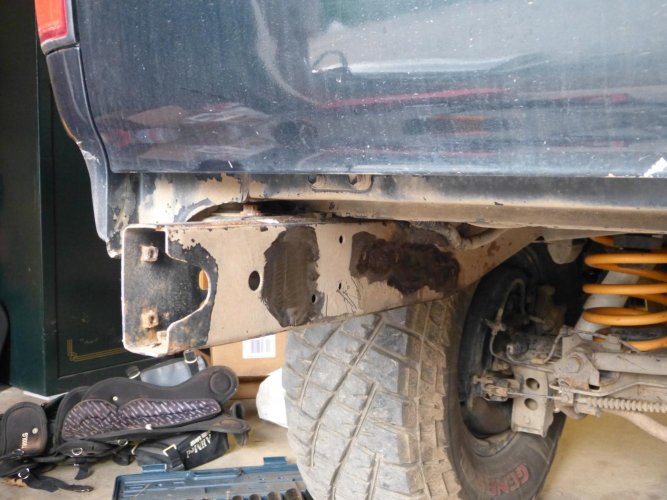
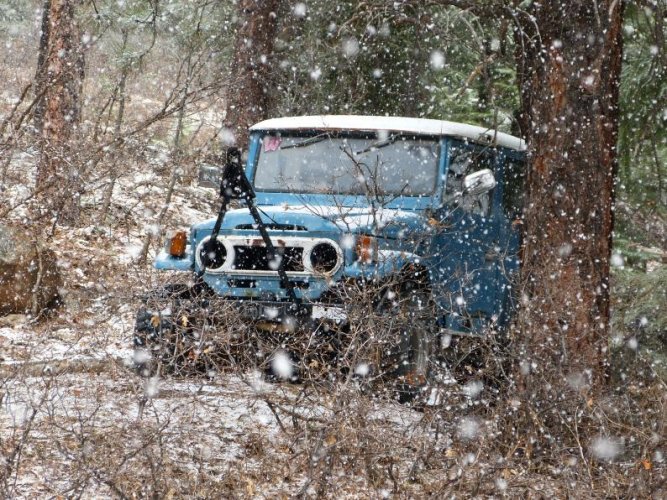
Lunch break. Its been hard to keep focused today with the weather. Sunny then snowy, then sunny, then snowy... Had to make a trip to town for some hardware too. So not a lot of progress this morning.
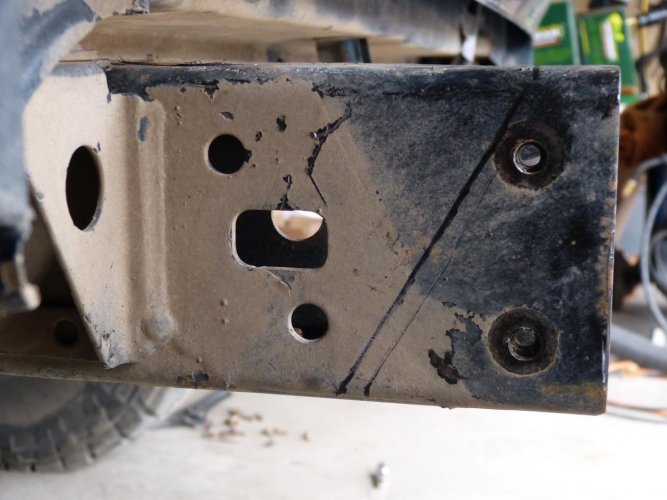
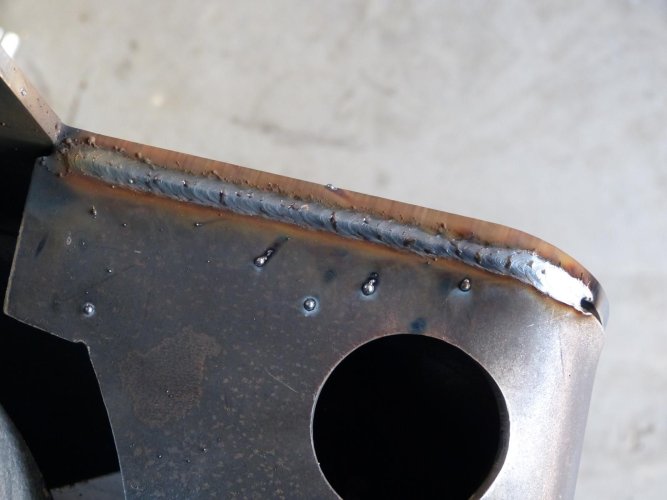
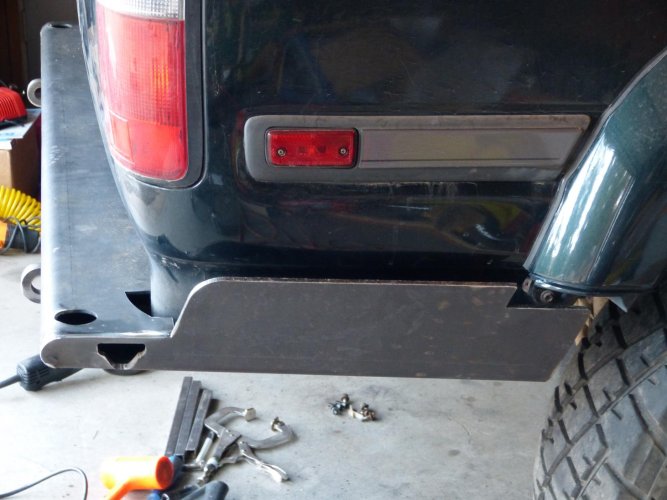
I trimmed about 3.5" inches of the bottom of the frame rail at a diagonal to 1" in from the top. I'm not doing any additional clearancing of the frame beyond what is needed for the kit.
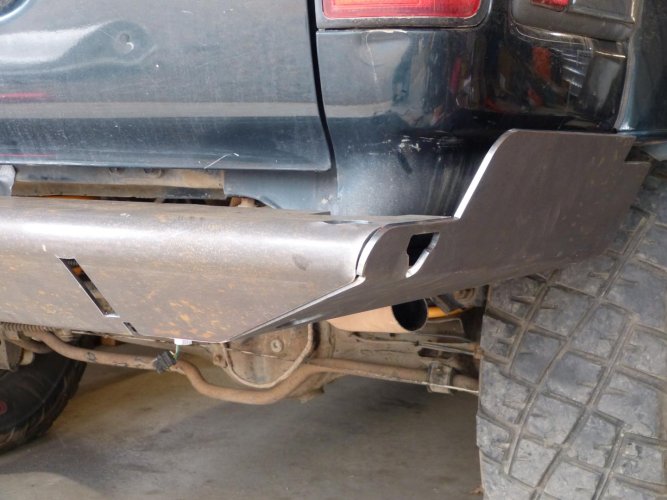
As you can all tell from the pictures its a 4x4 Labs do it yourself kit. I got the bumper with the dual swing arms. I did not buy any of the attachments from Luke as I plan to build those myself.
I won't dwell on too many details here as most of you probably have seen these go together on MUD, but the custom items I do, I'll show in greater detail. Everything is lining up pretty well so far. Time to start burning it together after a snack.
Had to make a trip to town for some hardware too. So not a lot of progress this morning.I trimmed about 3.5" inches of the bottom of the frame rail at a diagonal to 1" in from the top. I'm not doing any additional clearancing of the frame beyond what is needed for the kit.
As you can all tell from the pictures its a 4x4 Labs do it yourself kit. I got the bumper with the dual swing arms. I did not buy any of the attachments from Luke as I plan to build those myself.
I won't dwell on too many details here as most of you probably have seen these go together on MUD, but the custom items I do, I'll show in greater detail. Everything is lining up pretty well so far. Time to start burning it together after a snack.
Attachments
Last edited:
farnhamstj
Hard Core 4+
Trapper50cal
Trail Ready
Great weld, Corbet
Woodsman
Trail Ready
Looking good. The clearance and slide-ability of that bumper will be most excellent.
OK, now I hate the duty cycle of the 211. I definitely see why this is a home unit. For the few times I need this much power, for so long, its still a great welder. But if I had the coin I'd love a bigger machine.
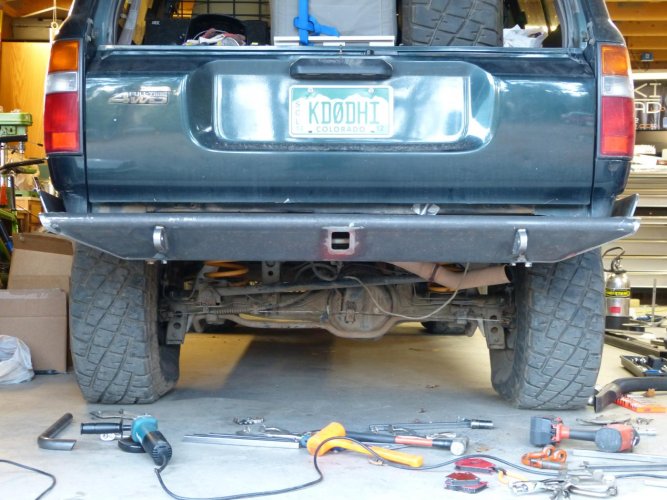
This kit is coming together pretty easy. I can lift it on and off the truck solo without issue. No spindles in place yet but the complete lower bumper and receiver are all one piece. Should not gain too much more weight.
This kit is coming together pretty easy. I can lift it on and off the truck solo without issue. No spindles in place yet but the complete lower bumper and receiver are all one piece. Should not gain too much more weight.
Last edited:
sweet, keep up the pics. you know how we all love builds.
Caribou Sandstorm
Hard Core 4+
Looks good! You do nice work!
rover67
Rising Sun Member
looking good!
yeah, the short duty cycle's can suck when you got it turned up.
I like to do multiple projects when welding big stuff so I can take breaks while the machine is cooling off.
yeah, the short duty cycle's can suck when you got it turned up.
I like to do multiple projects when welding big stuff so I can take breaks while the machine is cooling off.
Well calling it a night. Getting cold outside. I got the main bumper done for the most part. I need to attached the side tubes and finish some welding on the inside of the bumper tomorrow. Then start the swing arms and my custom project ideas.
Pics of the progress:
Pics of the progress:
Attachments

Looking really good! 
hey do you have any plans for the stock spare cross member & pulley thing?
hey do you have any plans for the stock spare cross member & pulley thing?
hey do you have any plans for the stock spare cross member & pulley thing?
OEM spare tire hoist, yes. The cross member I cut off, no.