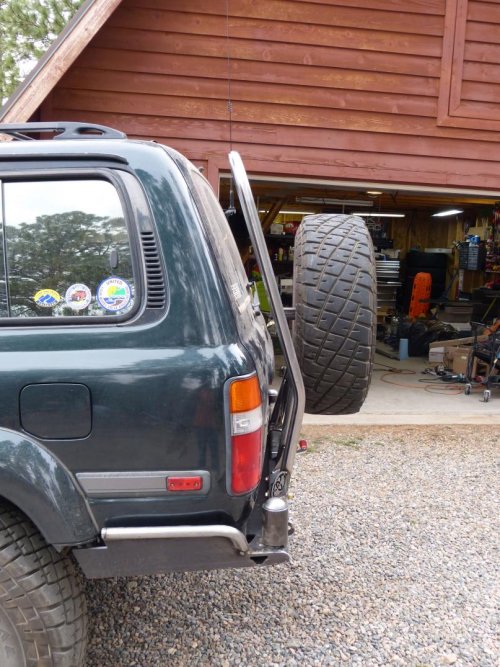
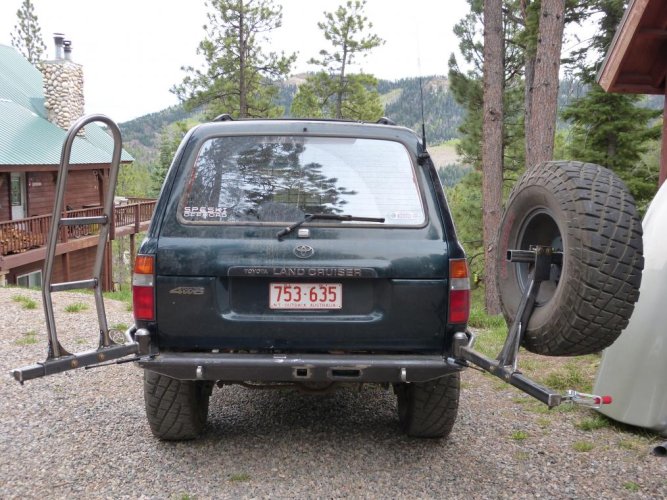
what's all that white stuff in the last pic... are the cottonwoods out early this year in Durango?  it's spring over here on the range..
 ")
it's spring over here on the range..  it's spring over here on the range..
 what's all that white stuff in the last pic... are the cottonwoods out early this year in Durango?
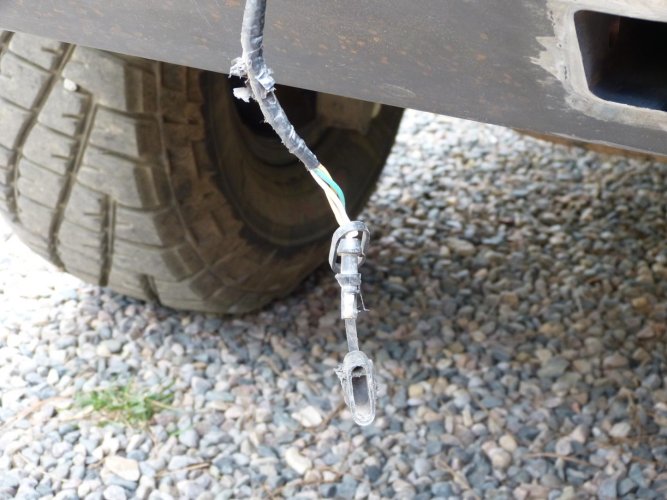
 Turns out Ford uses the same thing just a different pigtail. Still expensive but no too bad. Wrote down the suppliers name and found it online for much less. About $50. http://www.etrailer.com/Wiring/Hopkins/HM40975-11998.html


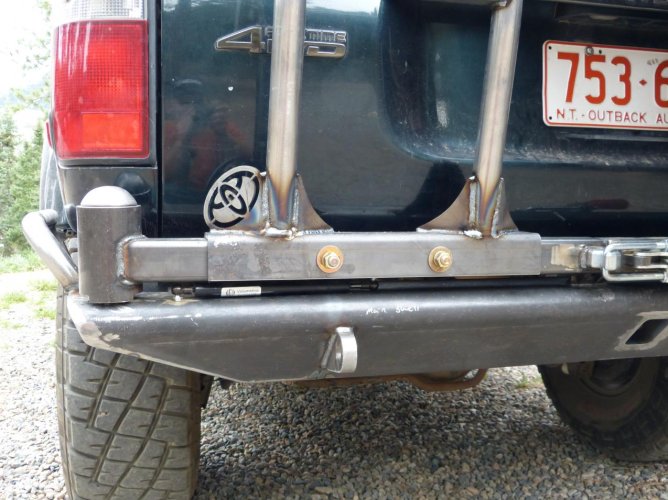
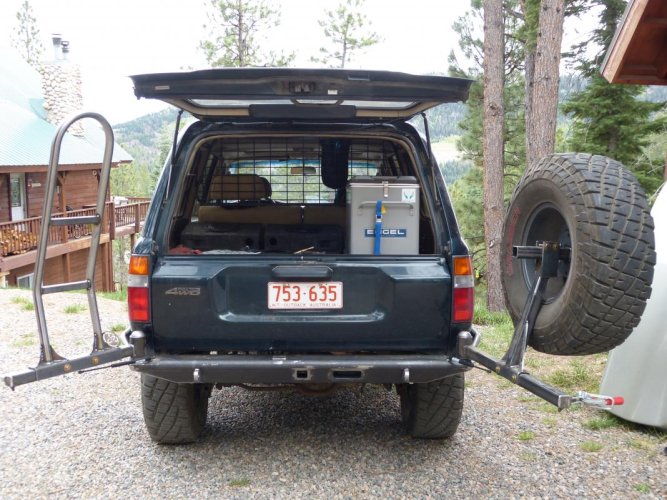
What is on the backside of the recovery points?
Well, after 10 years it is due an inspection!It’s been almost ten years so I’d have to crawl under to give you a detailed answer but it’s a large piece of bar stock that passes through the bumper shell and is tied into the truck frame rails. One the surface it looks like a tab welded on but that is not the case.
I’m confident it’s solid. I did bend the bumper shell at some point with it getting hung up on something. Very slight. Probably only annoys me because I know it’s there.Well, after 10 years it is due an inspection!
Ha, noticed that's at least the second time in the past couple of days you've taken interest in recovery point config/integrity/rating/blah/blah - sumthin' that's been a burr under my saddle for years!What is on the backside of the recovery points?

On the 100 kit that I put together it was linked in as follows:What is on the backside of the recovery points?