Johnny Utah
Rising Sun Member
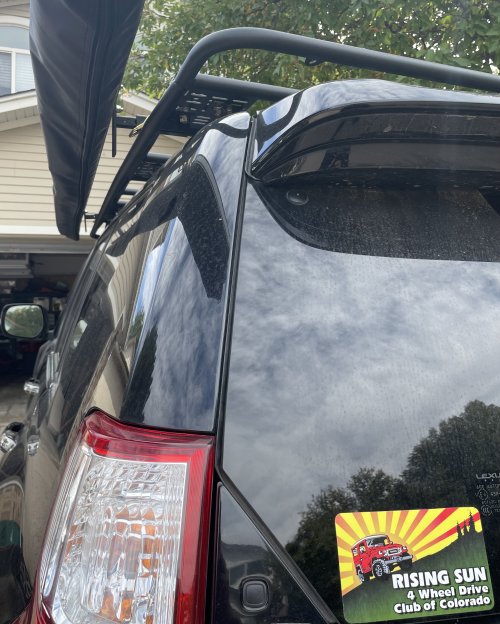
Got serious envy of my co workers new rig. Best Tacoma build I have seen so far.
View attachment 120341View attachment 120342
Just one question…where’s he going??? I mean two spares??? Jk. Nice truck.
Got serious envy of my co workers new rig. Best Tacoma build I have seen so far.
View attachment 120341View attachment 120342
That's a steal for real. Dang. I guess the market went from silly to approaching reasonable.Amazingly he got it on BAT for around 25k. I think it has 45,000 miles on it.
The Norweld looks amazing. I was oogling the weld quality this morning.
He just got it last week so not sure of his plans yet. Its so pretty I cant judge!Just one question…where’s he going??? I mean two spares??? Jk. Nice truck.
"This little light of mine, I'm going to let it shine.."
P0401 gang gang.


Pretty sure I have a very similar squeak with my rear upper spring perch.Tracked down and resolved a squeak! If you ever have, you know what a relief that is!
This one was hiding between the left rear coil and the Delta panhard bracket. Finally it got loud enough that we could bounce the 80 and make it squeak. It was the metal protective cover housing the ABS wire. Fortunately harmless and easily bent for clearance.
Also tightened windshield wiper arm nuts and installed a new dash cam. Turns out it is very easy to tuck a USB cable under the interior windshield gasket
View attachment 120786View attachment 120787View attachment 120788