kurtnkegger
Rising Sun Member
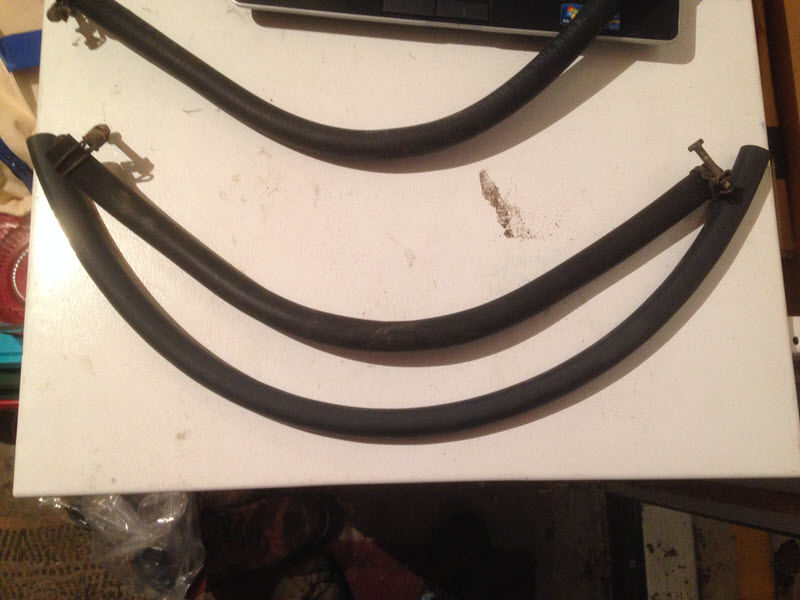
Matt, I purchased the same heater kit from Shane. My foam was short too. I improvised like you did to make it all work. I thought maybe I didn't do something right, and that's why I was short...Until I saw your post.

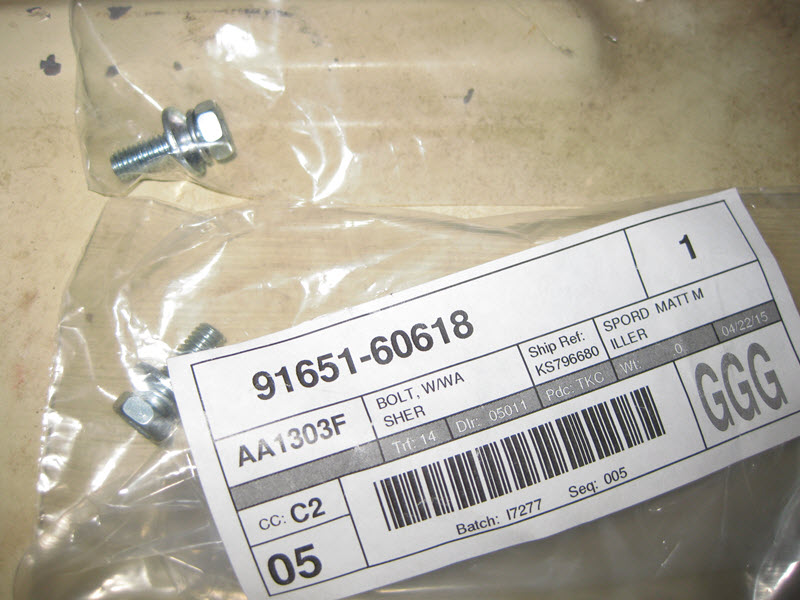
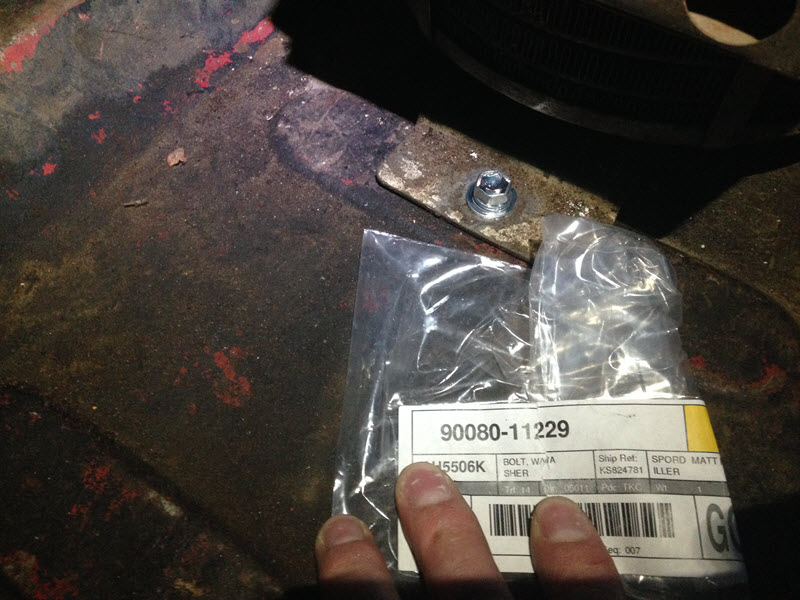

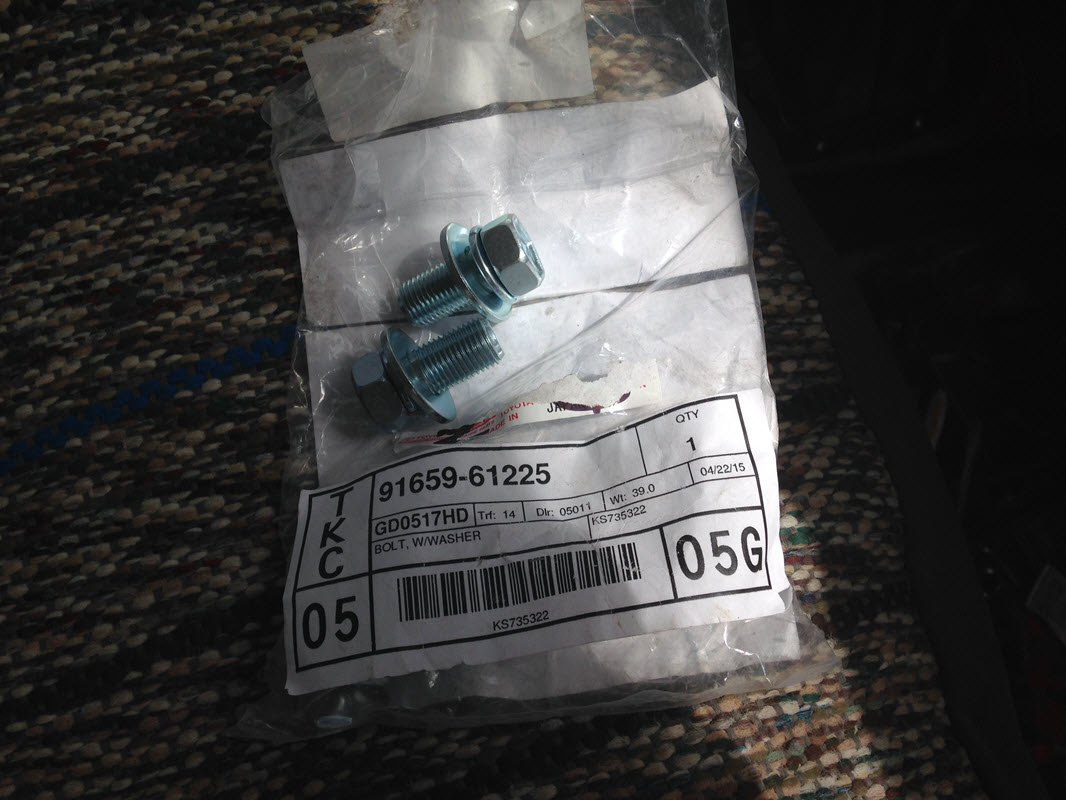
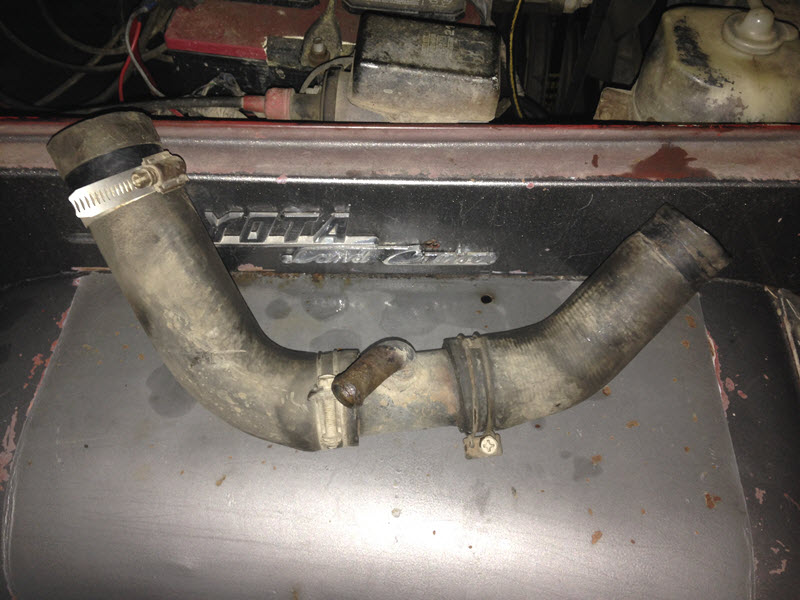
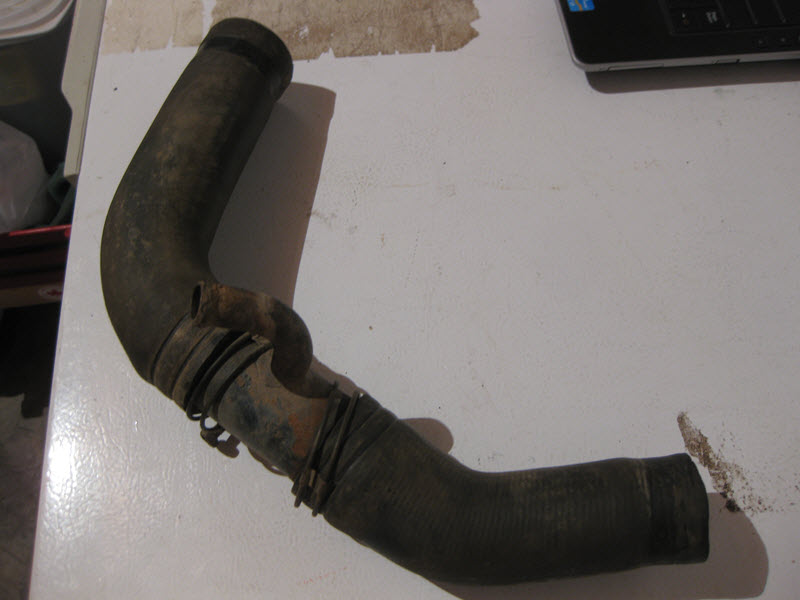
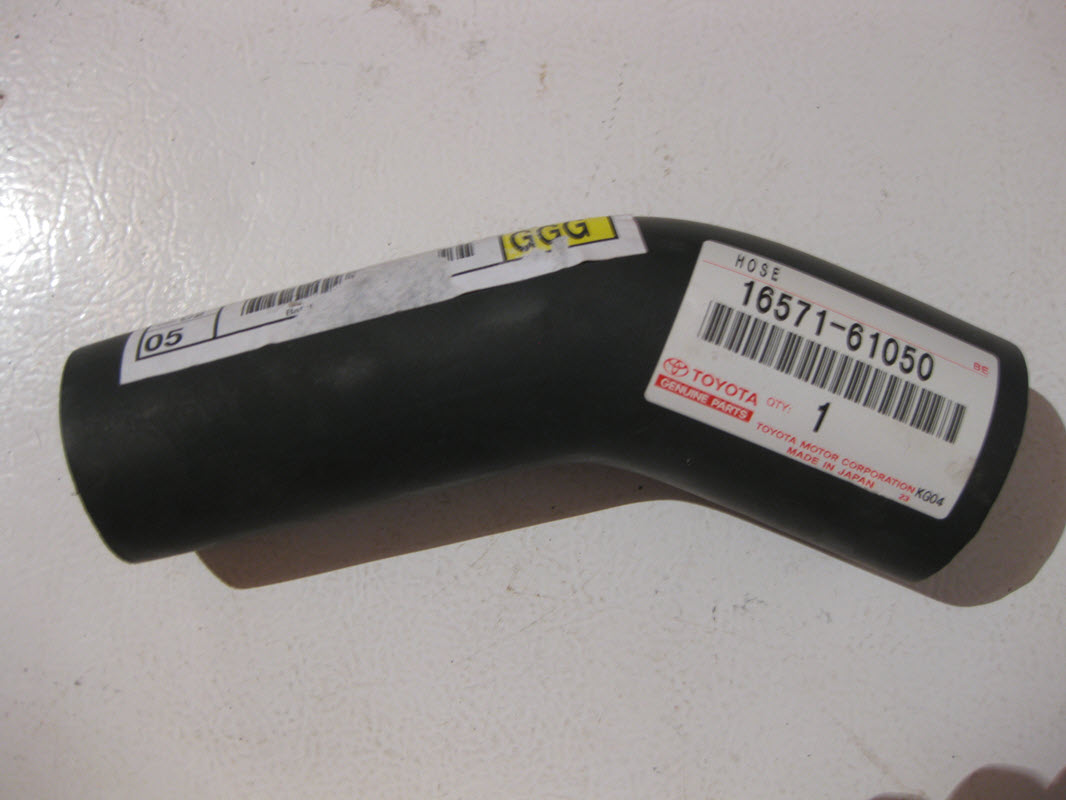
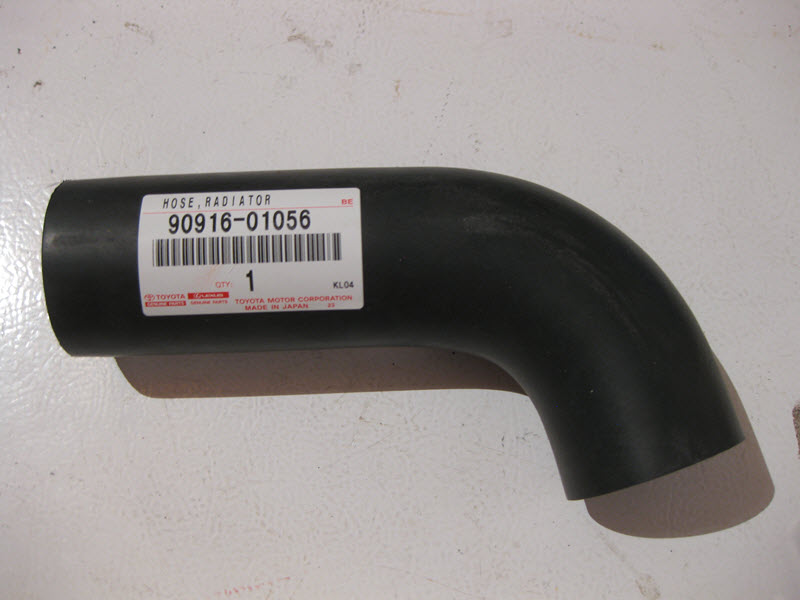
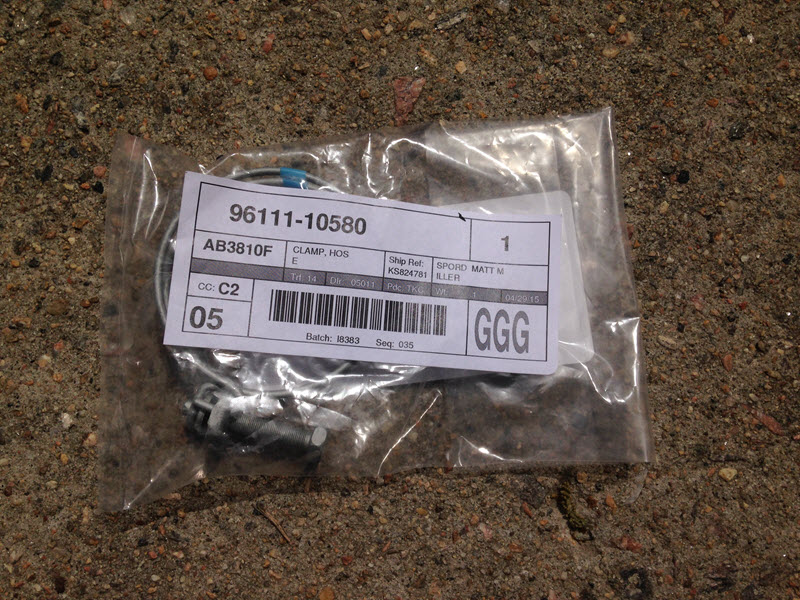
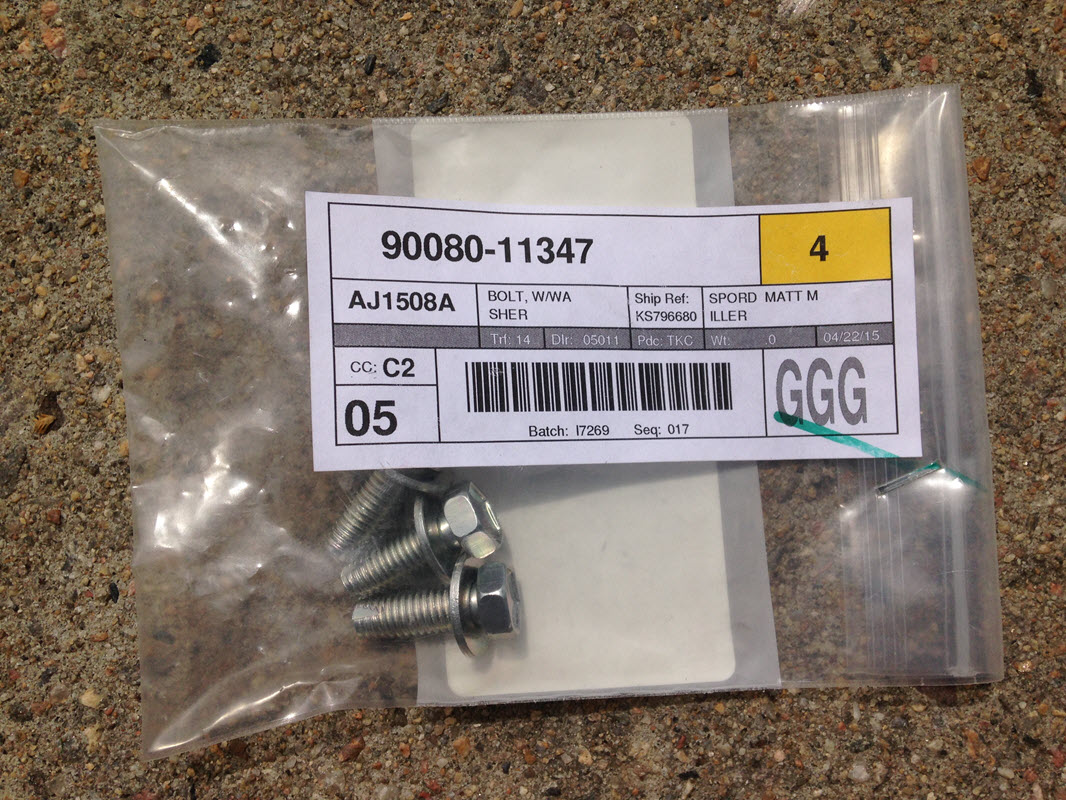

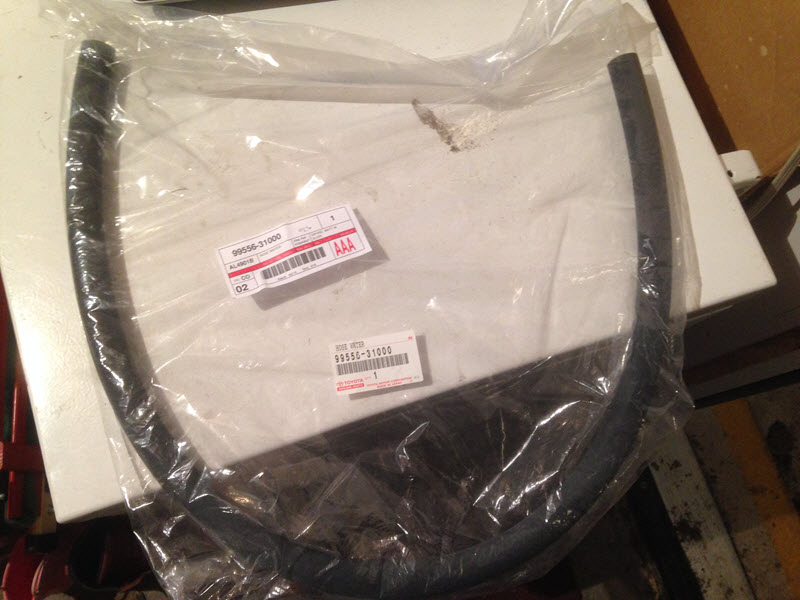
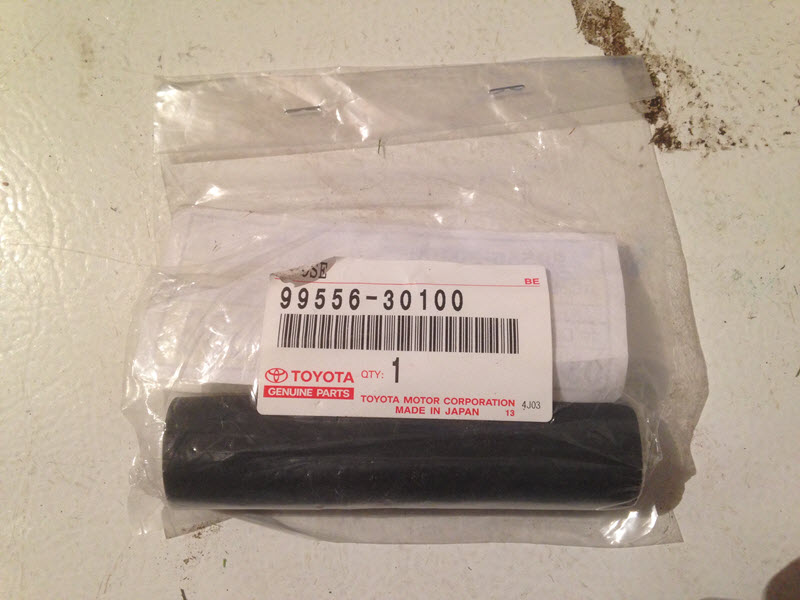
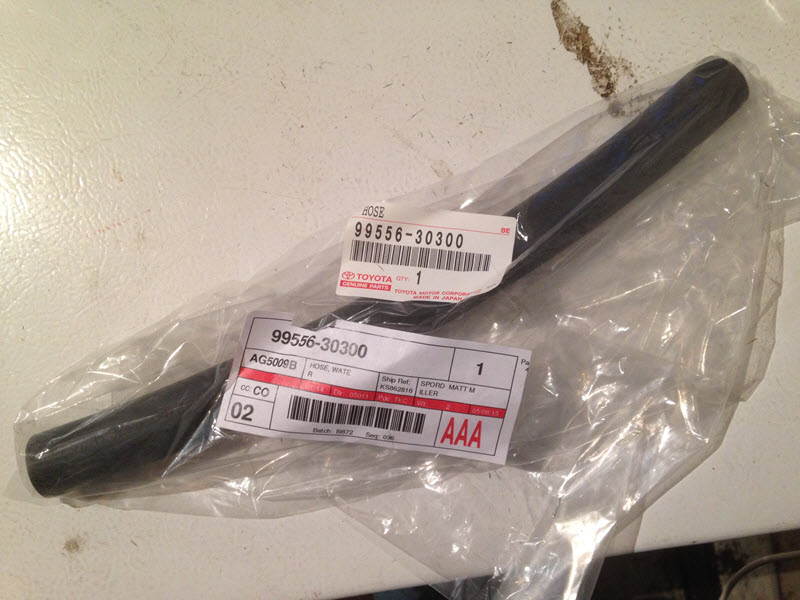
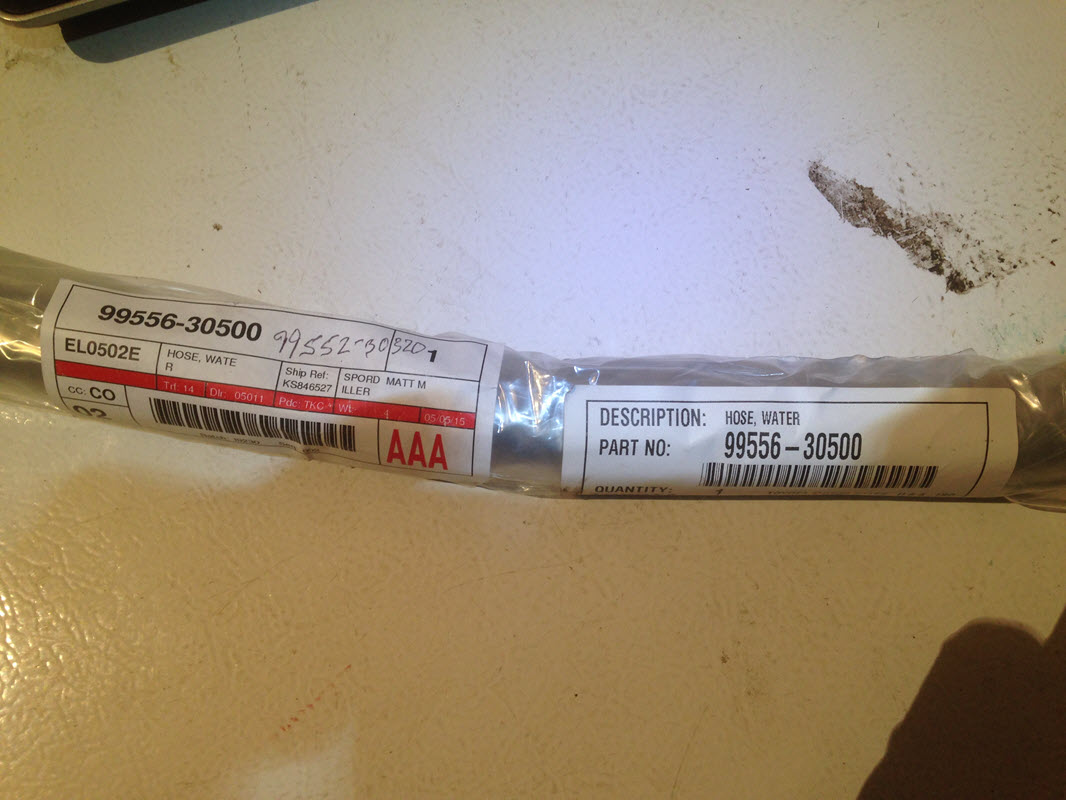
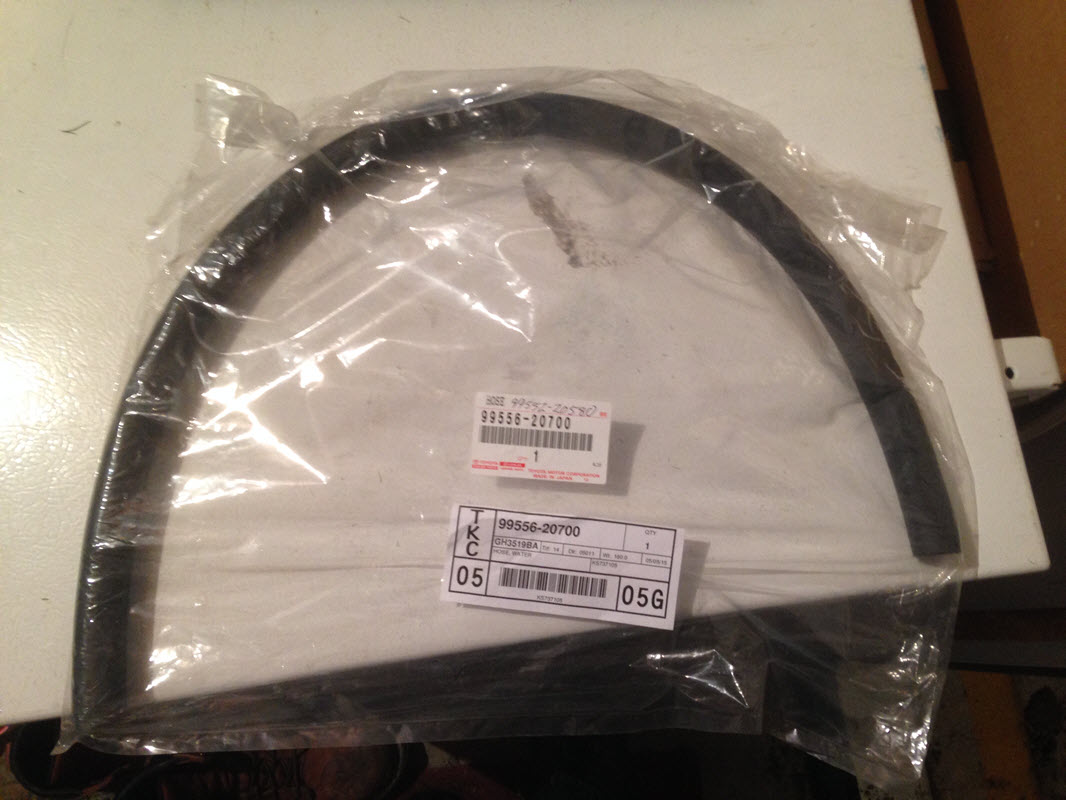
Thanks for posting part numbers Matt. I called Stevenson last week and was told the hose from the pipe to the engine are NLA...Hmmm...I'll call them with the part number you supplied.
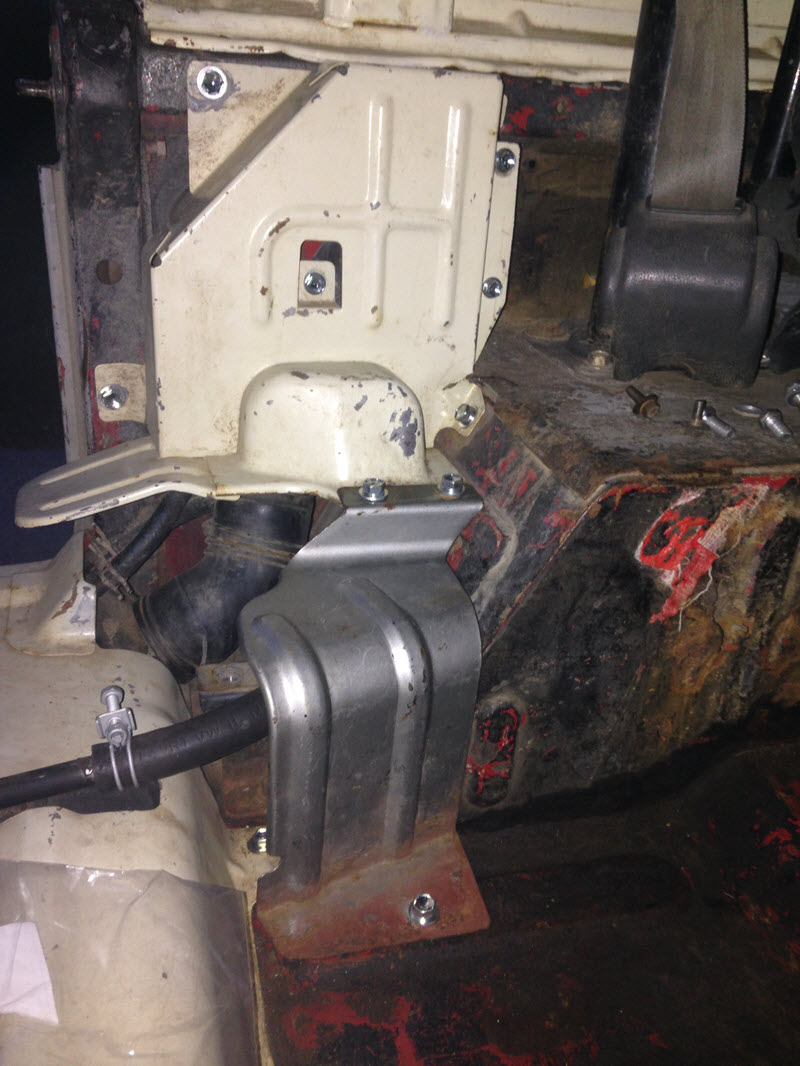
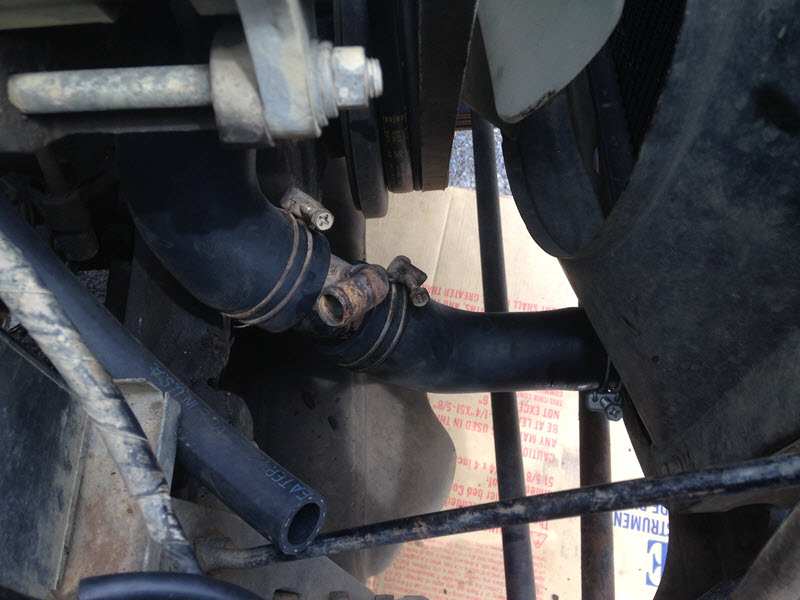
At this point I was tired of having my FJ40 parked on the street and having to work on it outside. I'm sure my neighbors weren't too happy either. So with the cooling system back together I topped it off and pulled it into the garage. Then our schedule changed and I barely touched it all summer, even though it wasn't quite ready to drive yet.
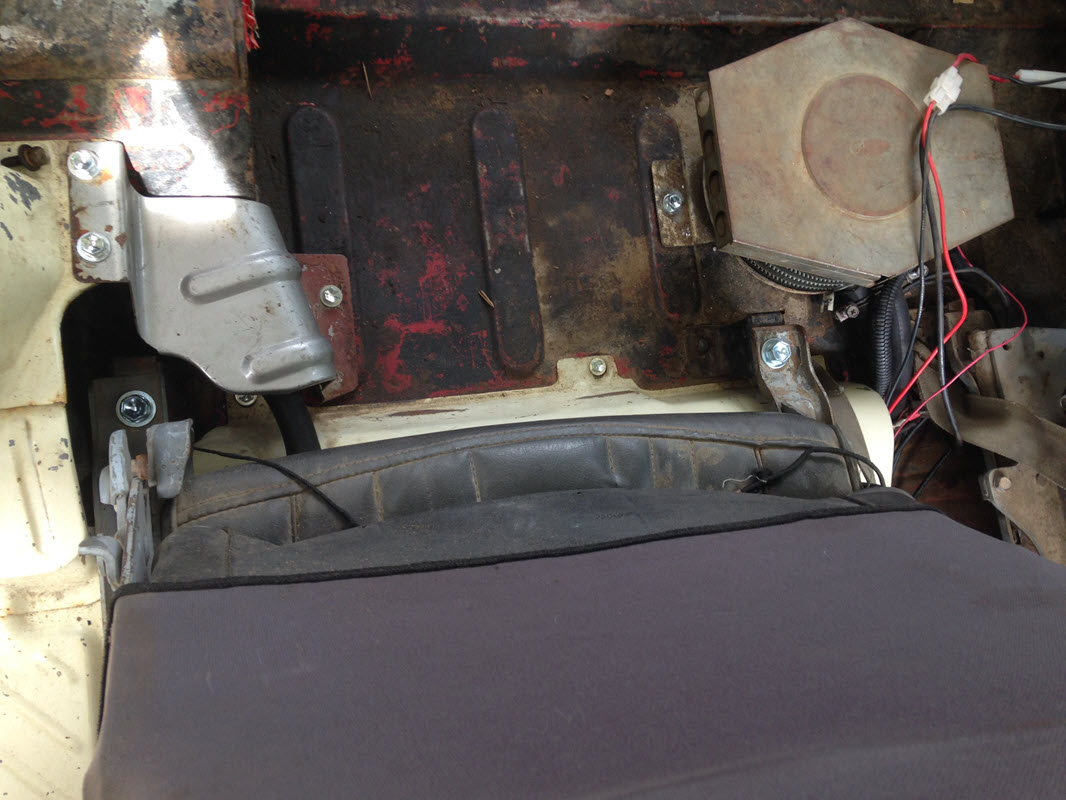
However, when I had to pull the seat and stuff out again as I mentioned above, I noticed that rain had gotten in through the weatherstripping on the passenger side and was puddling in the bottom of the tub underneath the fuel tank. The rust was beginning to run amok so I decided I really really needed to do something about it. I bought a new fuel tank back in 2008 due to it rusing out from the outside in and they are now NLA so I have had a plan to preserve it that I put into action. I bought some POR-15. I then wire wheeled the tub and did all the prep work to do a coat of POR-15 on the tub and on the fuel tank. I was able to knock that out in a couple of evenings and am relieved that there is a mechanical barrier on my side at this point to keep the rust demons at bay.
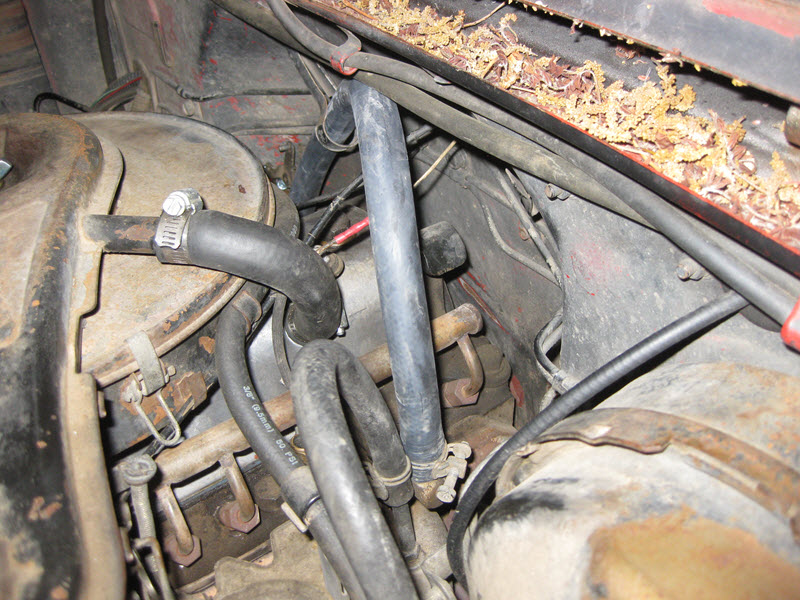
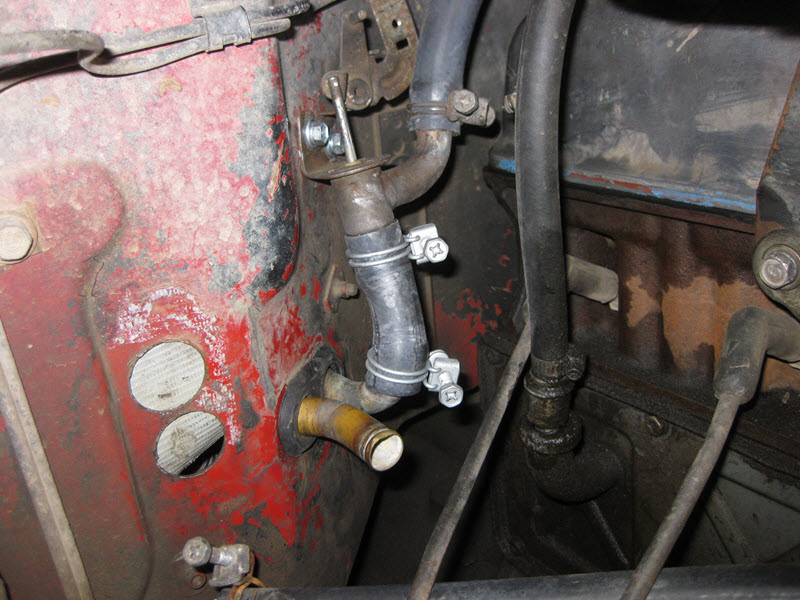
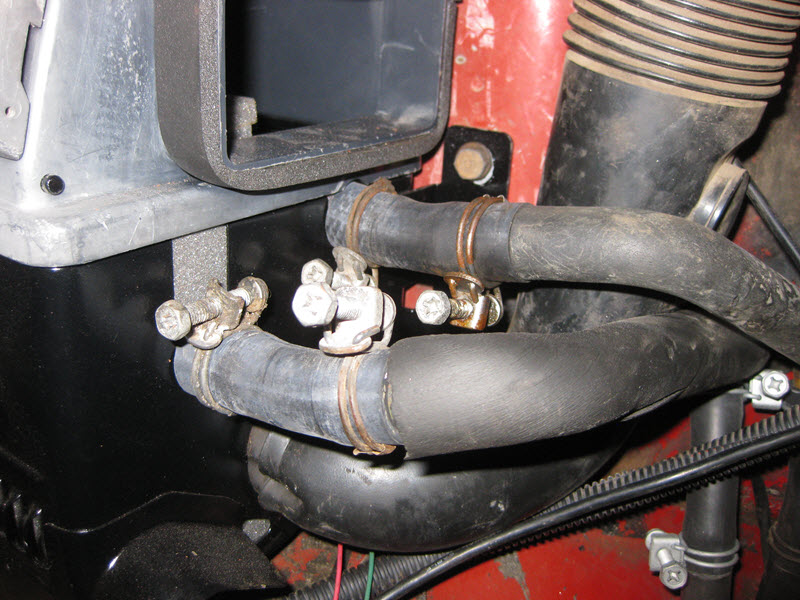
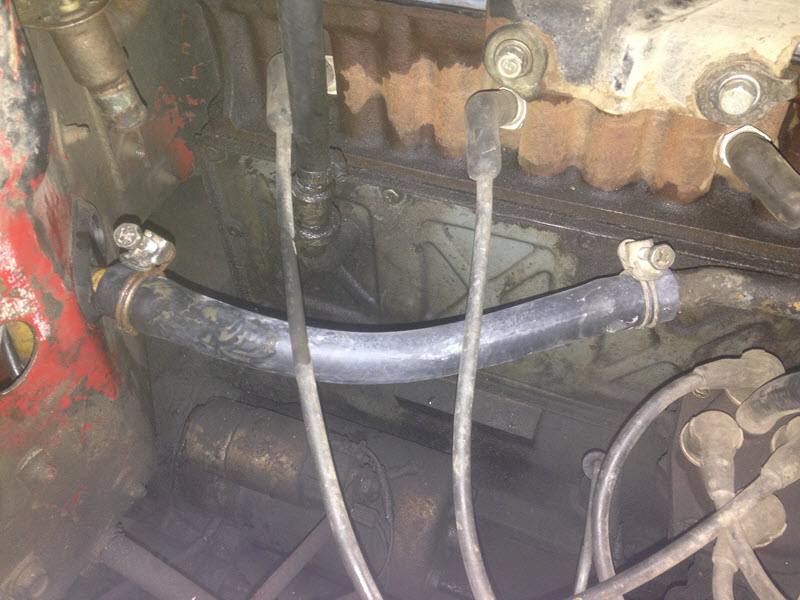
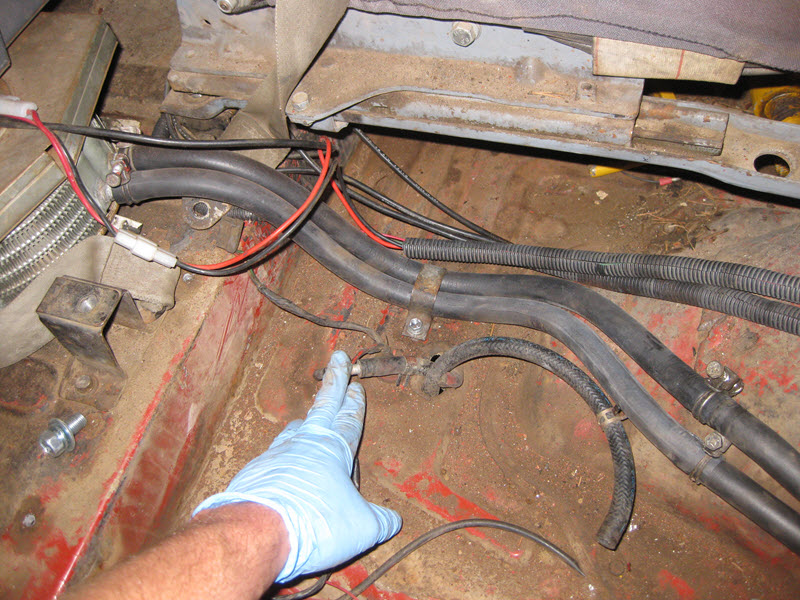
I decided, rather than fixing the supposed leak in my power steering system, to just fill it back up and see what happens.
So today was a big milestone in all this. I drove it to work, which is the first time driving it in about 10 months, other than moving it in and out of the garage. Still have a small punchlist of things to do, and wasn't able to get everything done that was needed, but got a couple of pretty majorly invasive "Projects" completed.

Check out the coasting richer circuit in the carb. You may be experieicning a lean condition in the exhaust when you let off the accelerator.
")