So rather than create a bunch of different threads about all the miscellaneous stuff I have to do to the Brahma, I decided to create one thread and I'll update it as I get projects done.
And since my FJ40 is feeling a little ghetto lately I'm going to call this thread "The Projects"
This first post will be about my 2015 Re-Smog Project.
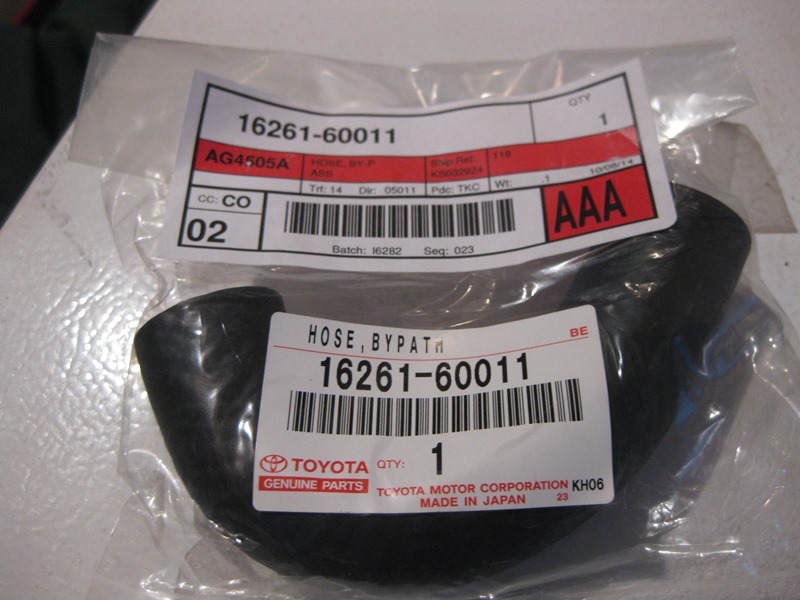
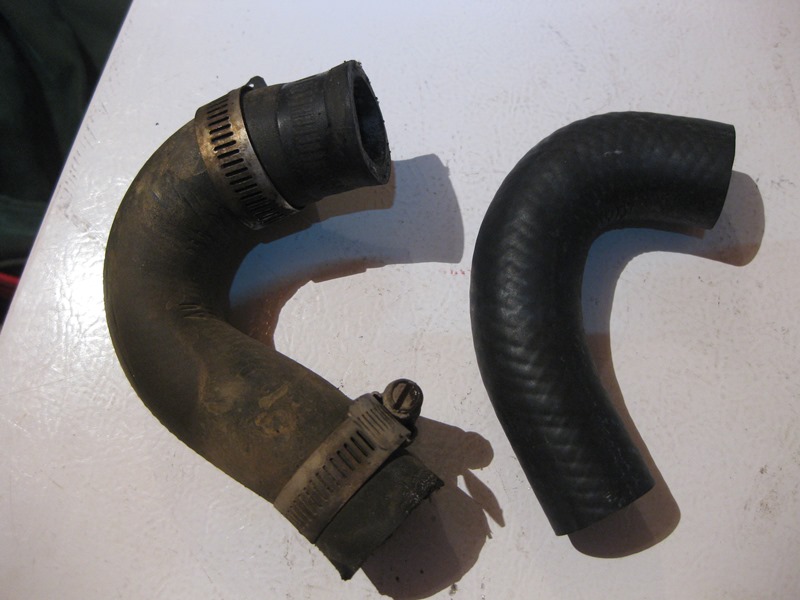
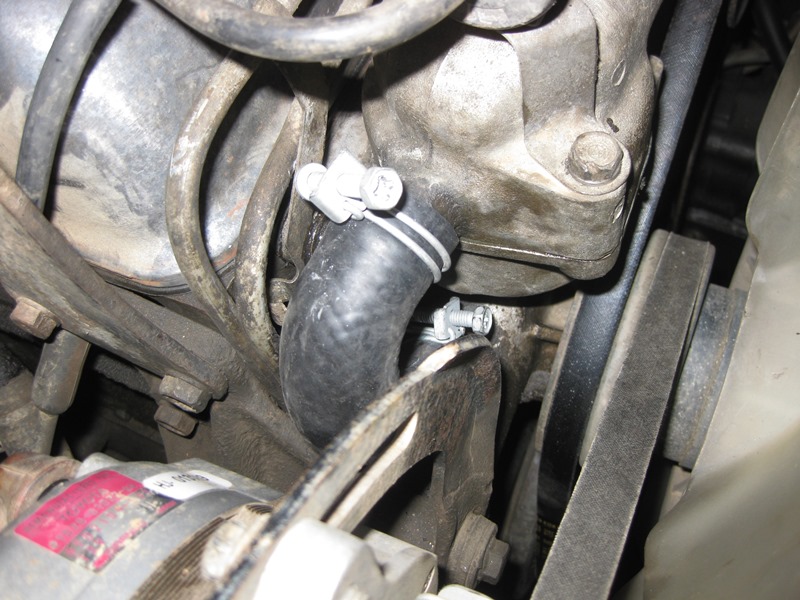
The cooling system will also be refreshed including heater and blower rebuilds and new heater hoses.
The power steering will see some fixing due to some leakage. This turned out to be a non-issue and no work was required.
The gas tank will get some POR-15.
I then disassembled and cleaned the brake mechanism on the 8274.
In the next episode: Oil leaks will be addressed along with speedometer issues. Rear main seal being the big thing.
I will also be replacing my springs with lift springs and new shackles.
I would also like to finally address the nagging turn signal issues that have been a constant plague and have currently left me without turn signals or hazards. Yay wiring!
In 2010 I started this thread about Desmogging a 2F:
http://www.risingsun4x4club.org/forum2/showthread.php?t=14682
I have been leaning toward re-smogging my FJ40 but the State of Colorado is forcing the issue because when my Collector's Plate registration renewal comes due this March, if they follow the law that was passed last year they should require me to pass an emissions test.
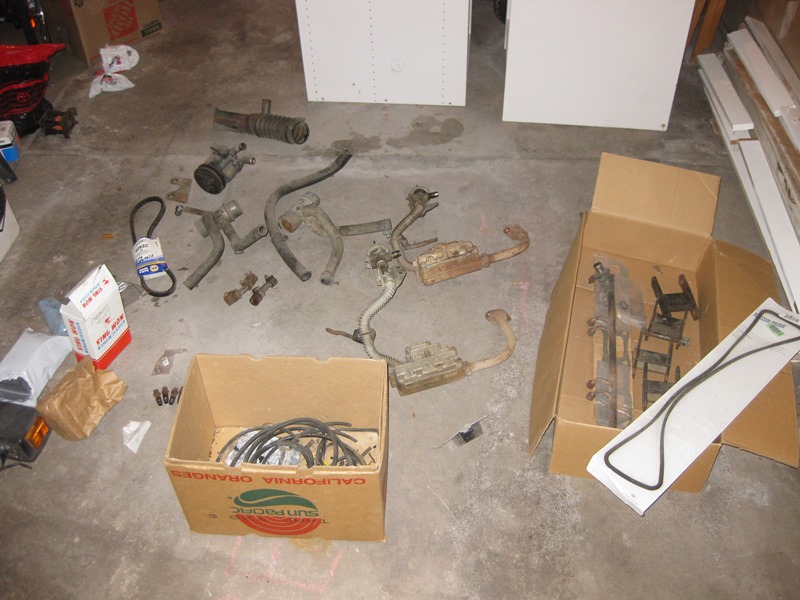
So this morning I began by searching through my garage to find all my long-lost smog parts that I took off in 2005 (and then added to in 2009 when I took off the EGR stuff):
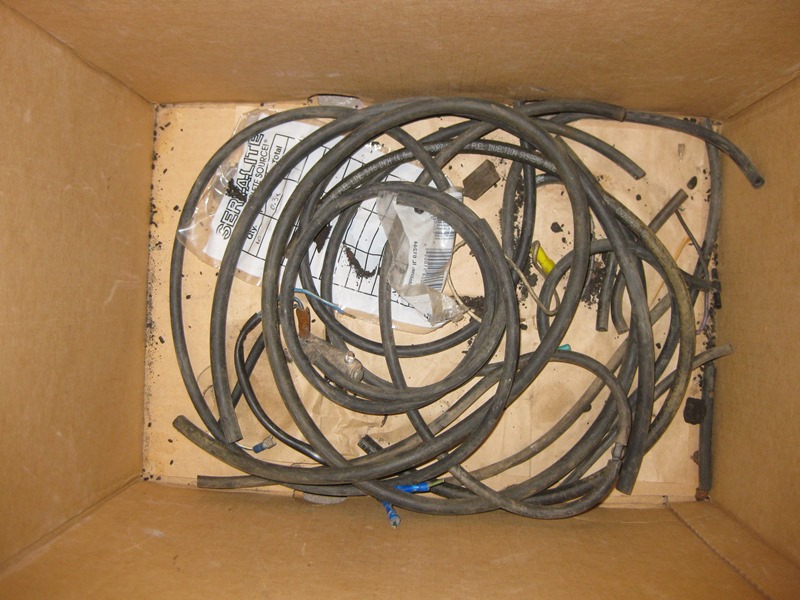
I had a box of vacuum hoses:
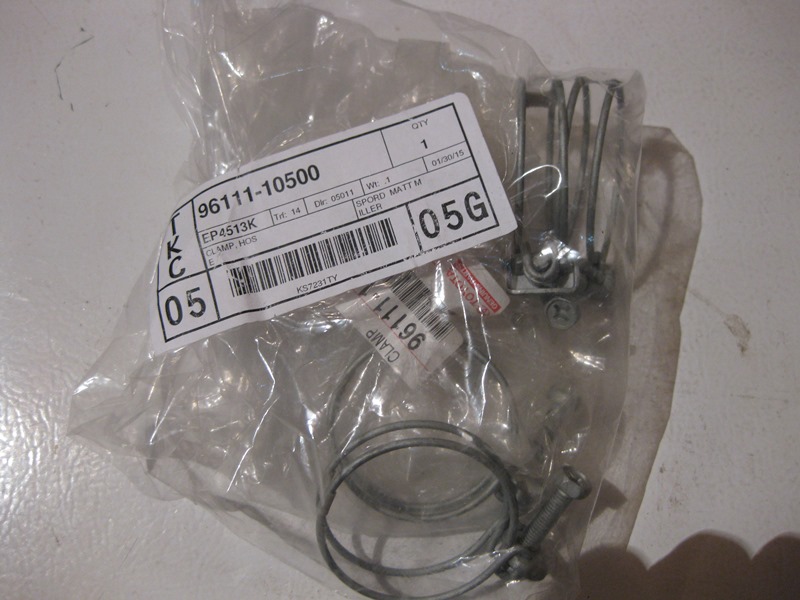
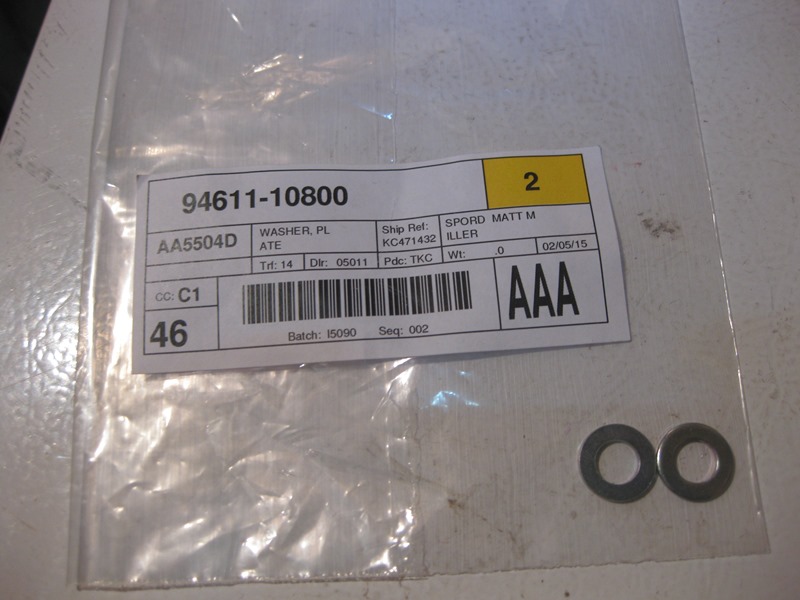
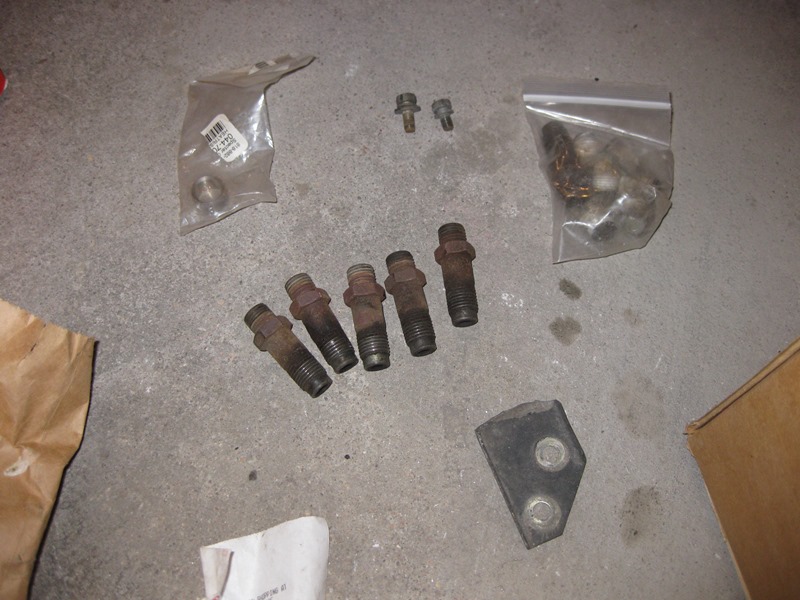
I had 6 air rail extension pieces (one is in the baggie):
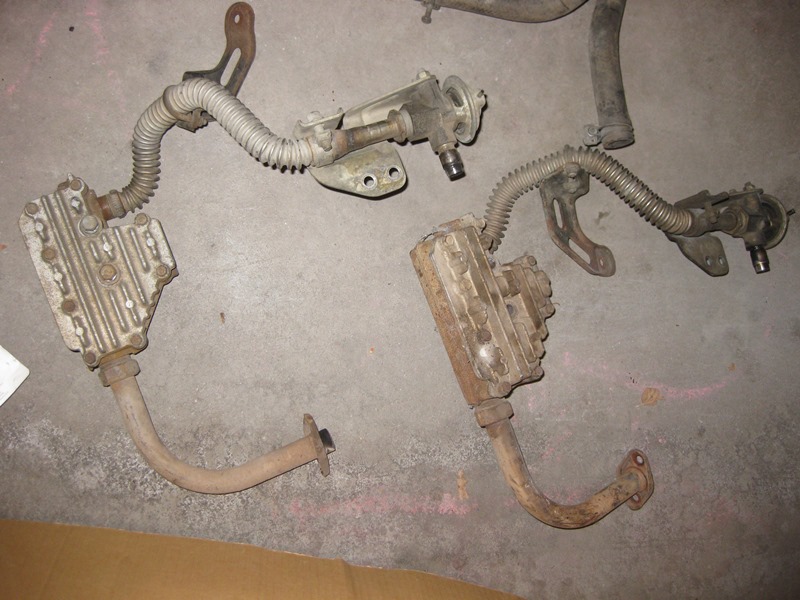
I had 2 EGR assemblies to choose from:
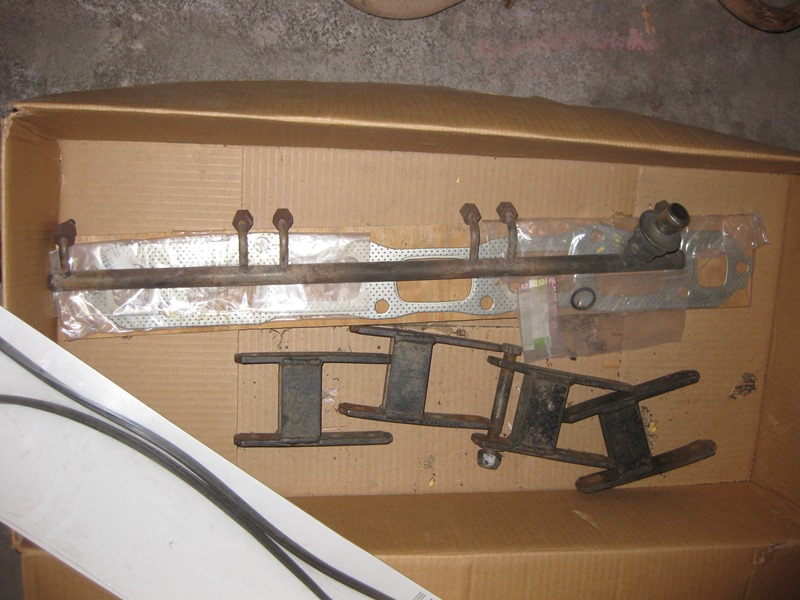
I had my air rail safe in a box:
I had 2 ABVs to choose from - one had a broken mounting bracket so I used the other one. I also had 2 adapter pipes from the EGR valve to the carburetor:
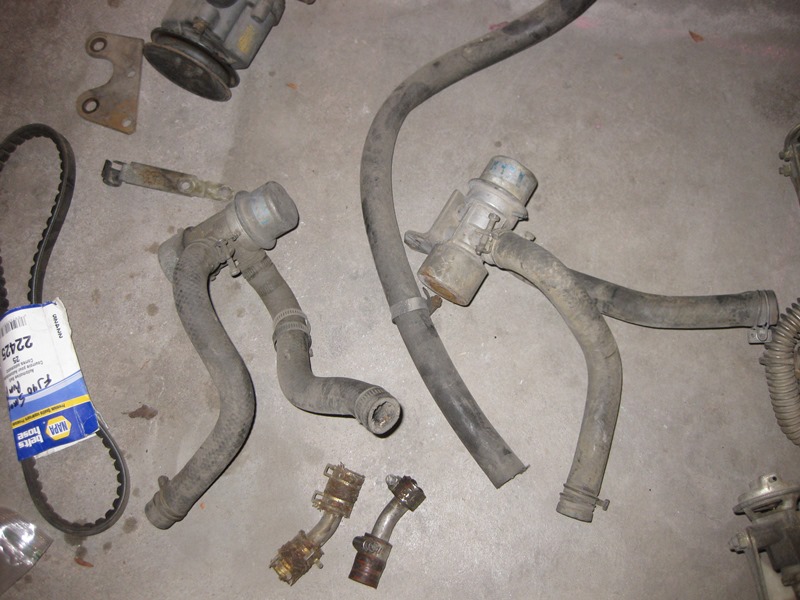
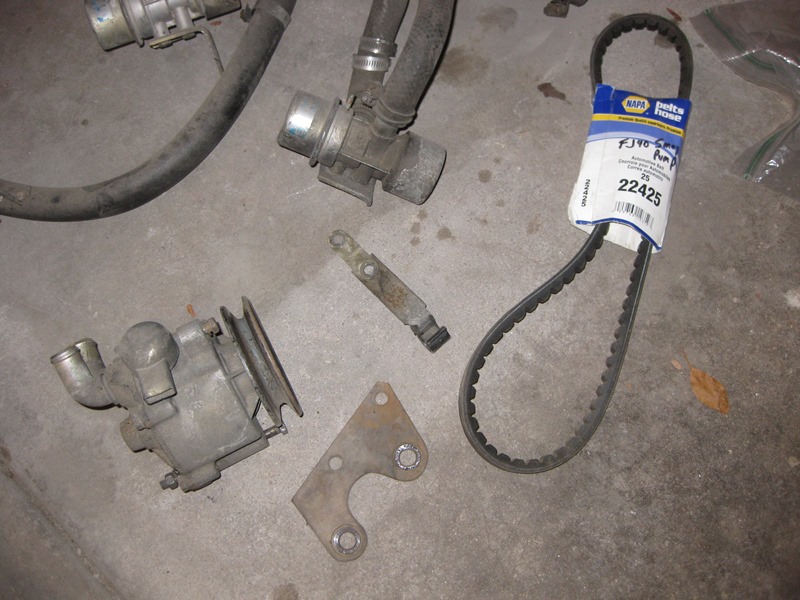
I had my old air pump and some other stuff:
So this is where I started this morning:
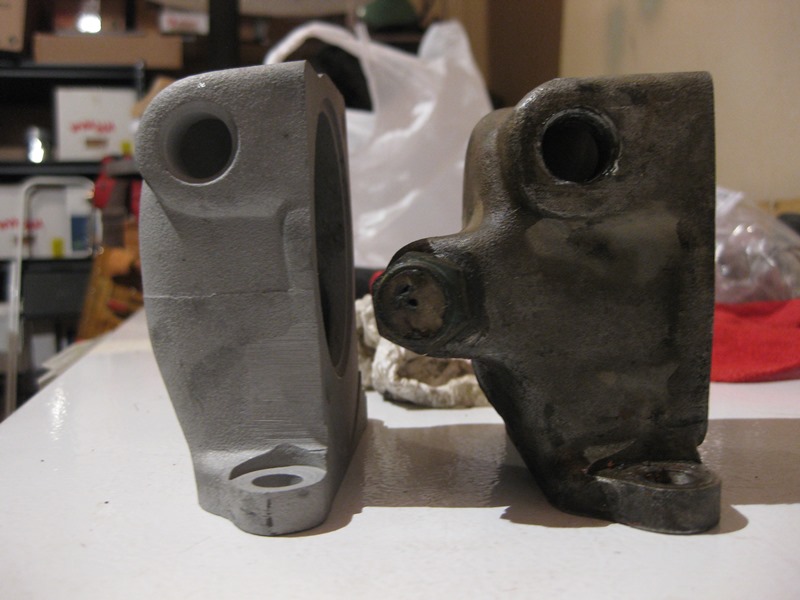
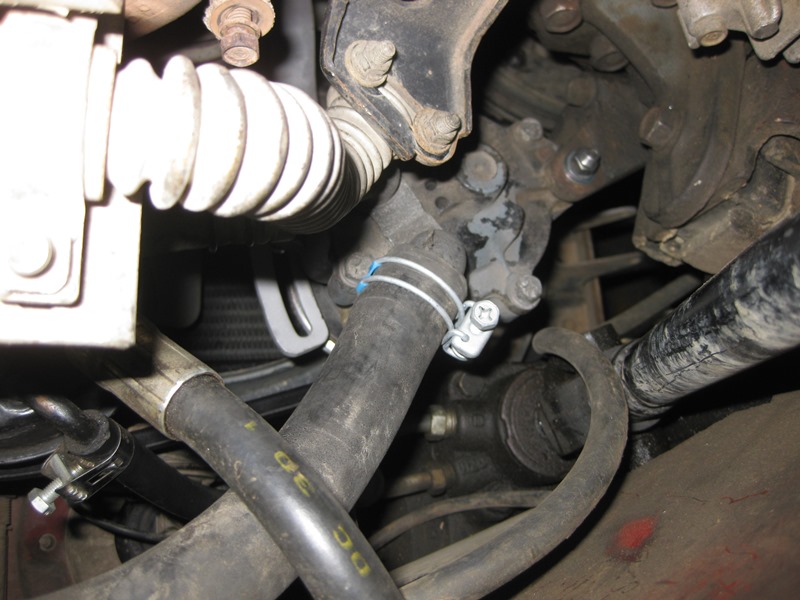
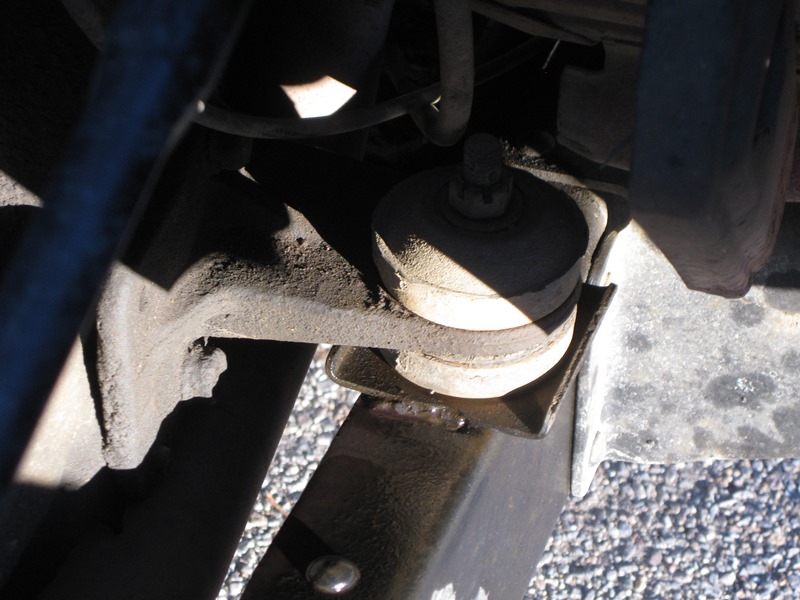
Check my driver side motor mount while I was there and it looks correct even though it is missing the cotter pin - never noticed that little skid plate before though:
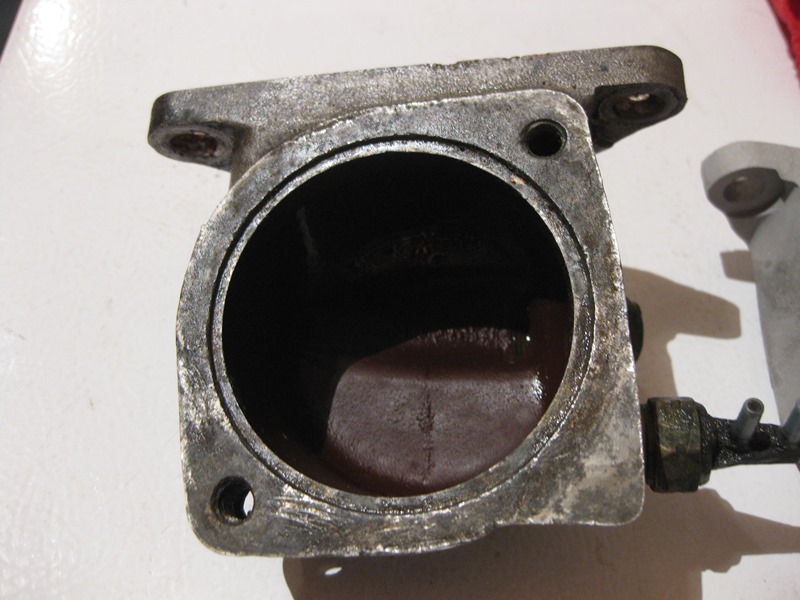
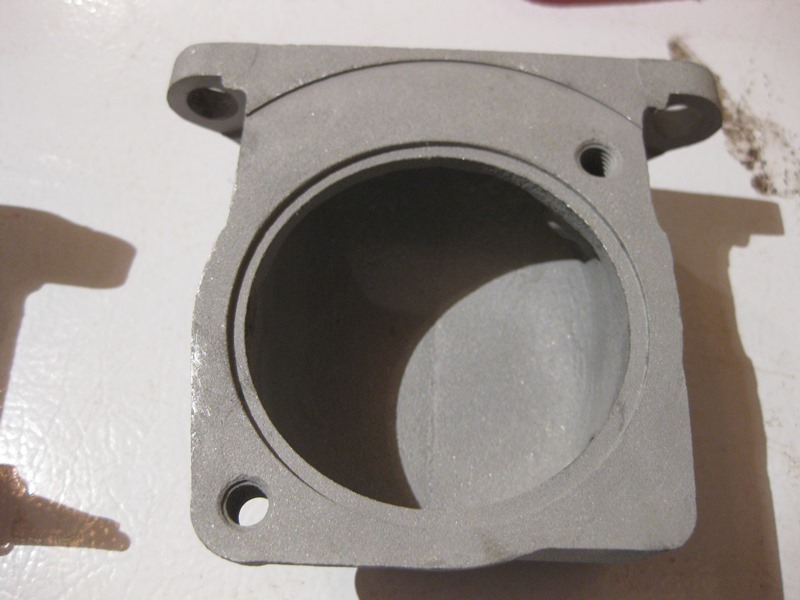
No EGR:
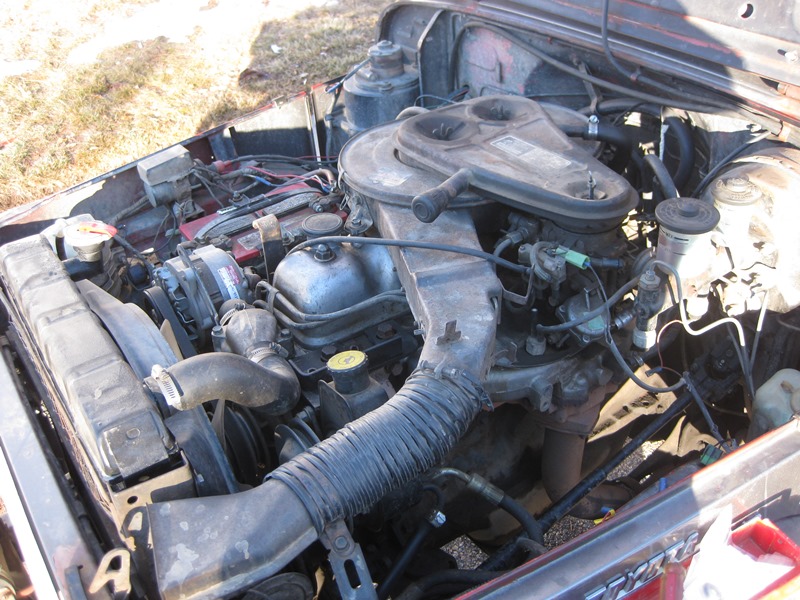
Took the air cleaner off:
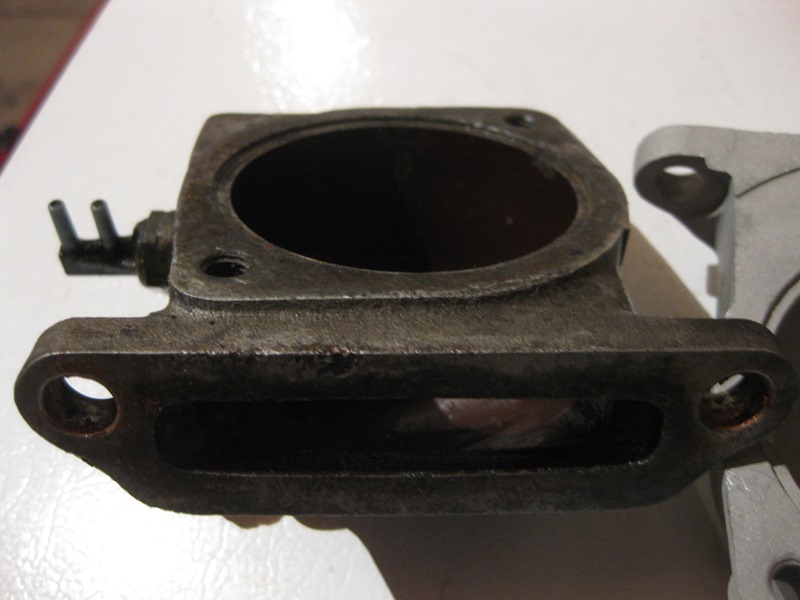
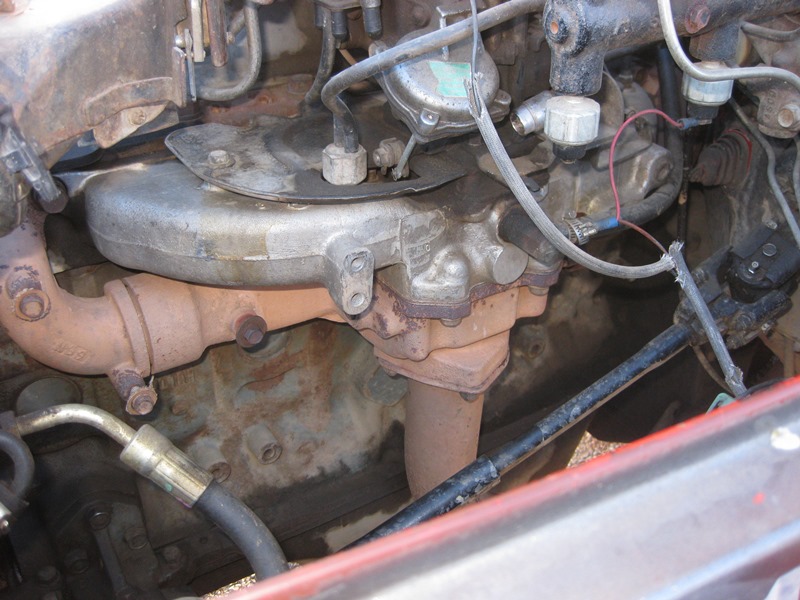
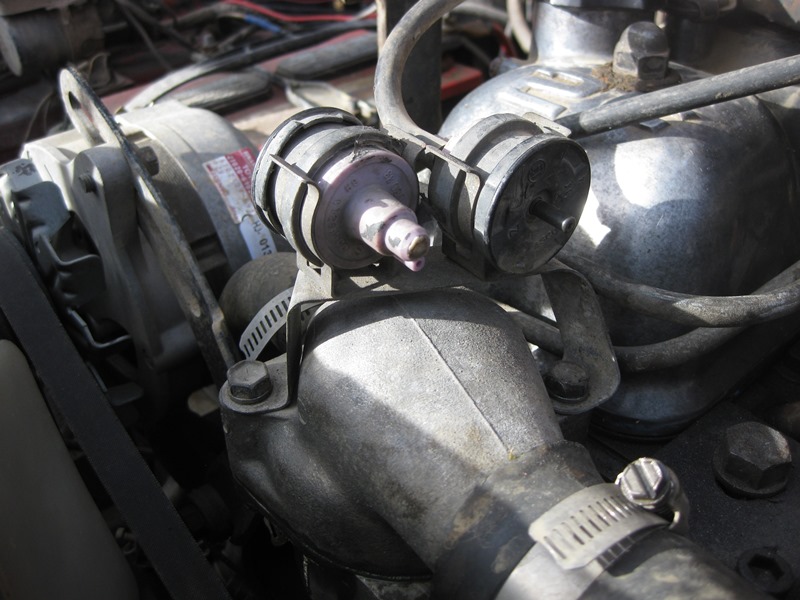
After some futzing about I had the EGR mounted:
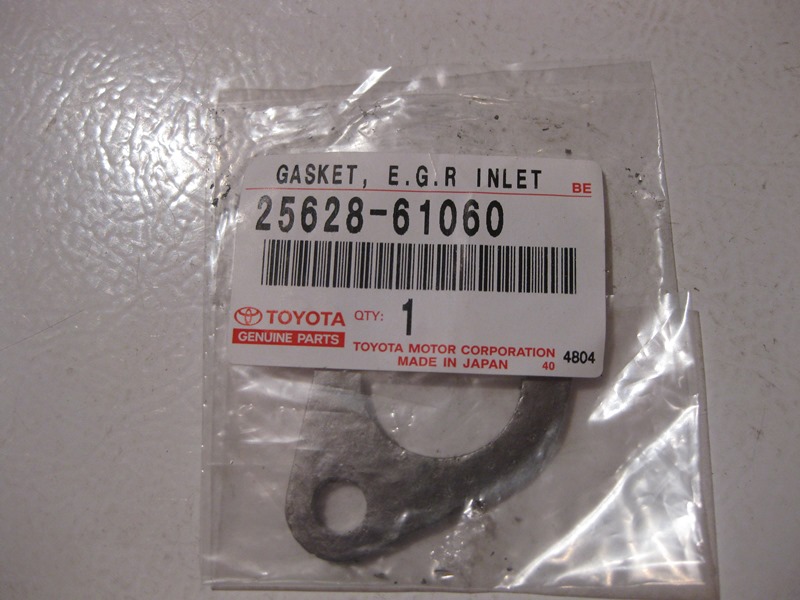
Don't forget the EGR gasket:
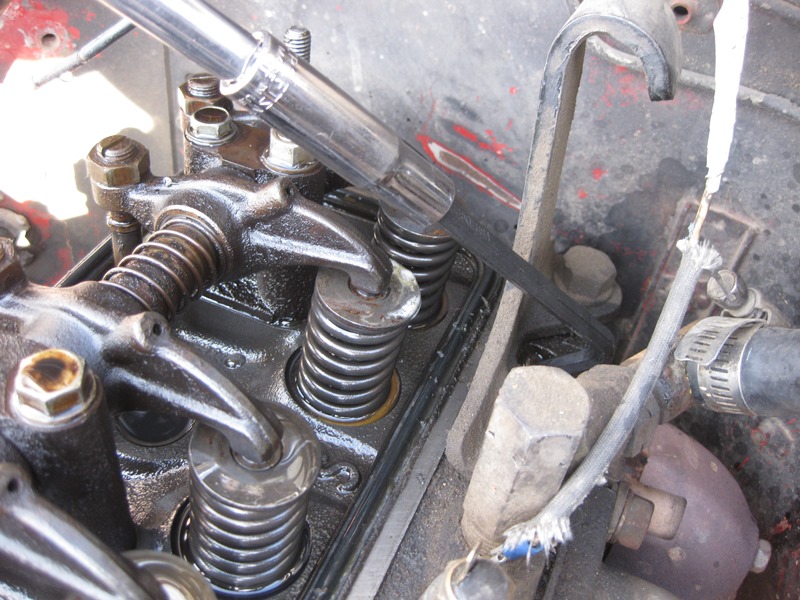
Next up was the air rail. First I soaked the air rail plugs that have been in there since 2005 in PB Blaster:
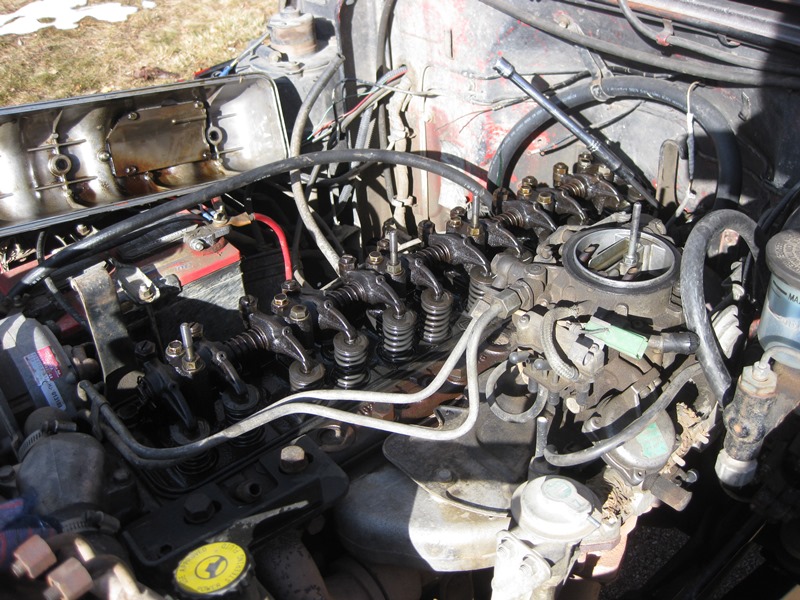
I decided to take the valve cover off to give myself easier access, especially to the #6 plug:
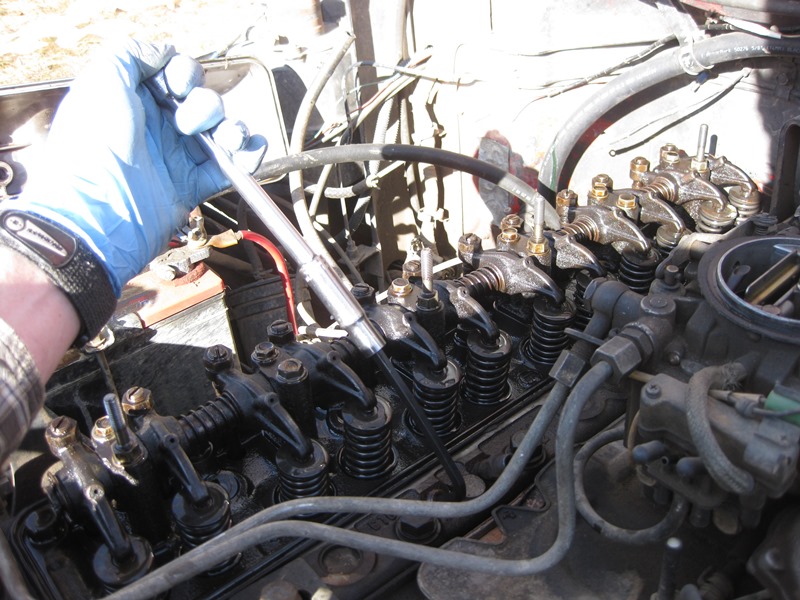
With my makeshift cheater bar I was able to get all the plugs out:
I had to grind a little bit out of the JT Outfitters power steering bracket to get the #1 air rail extension back in place - all the rest went pretty easy:
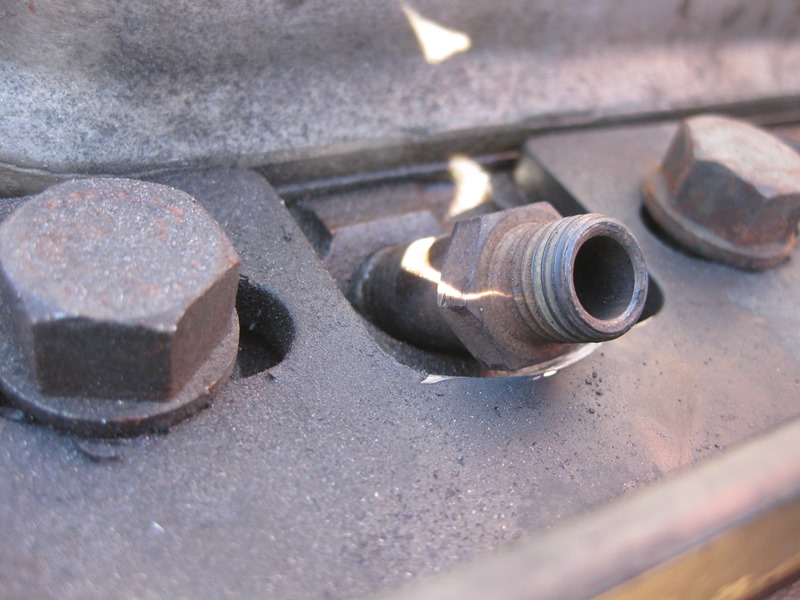
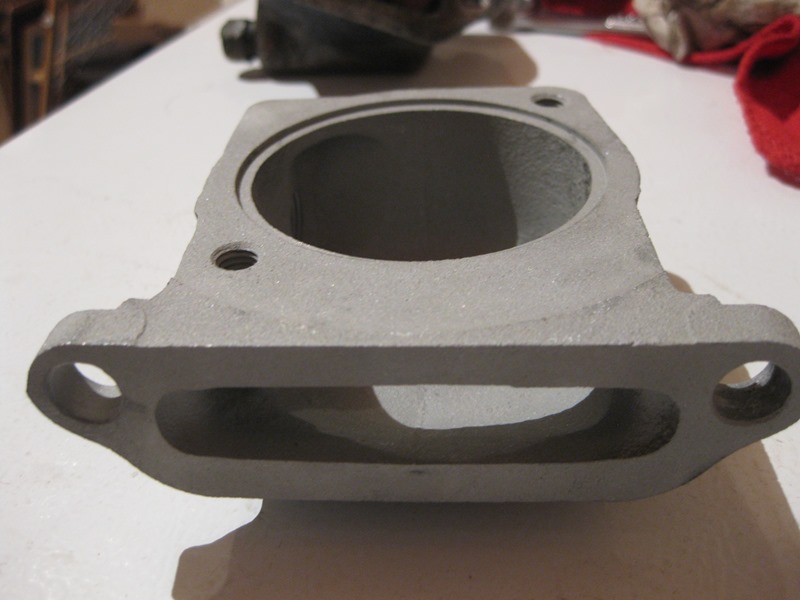
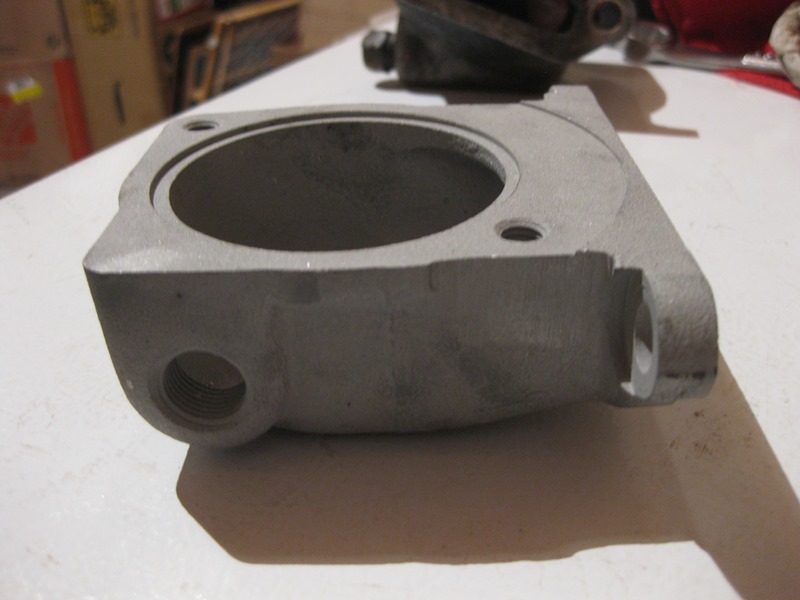
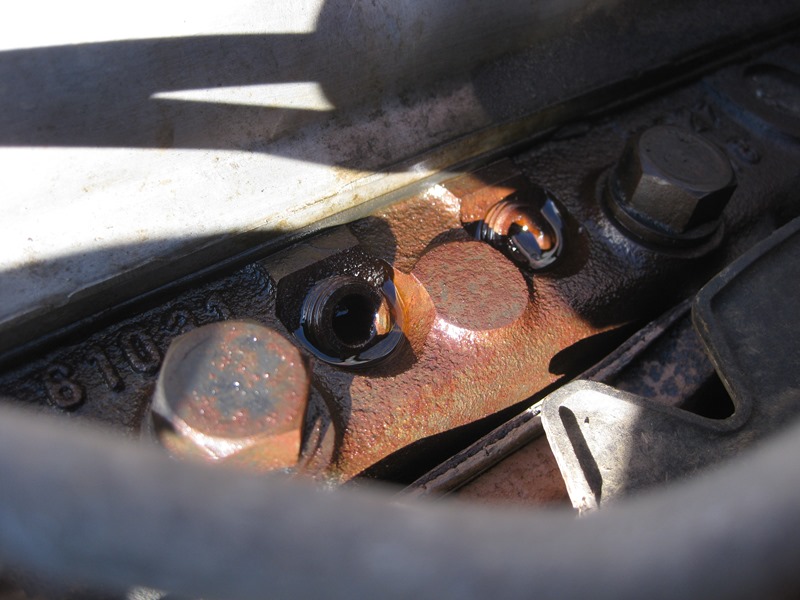
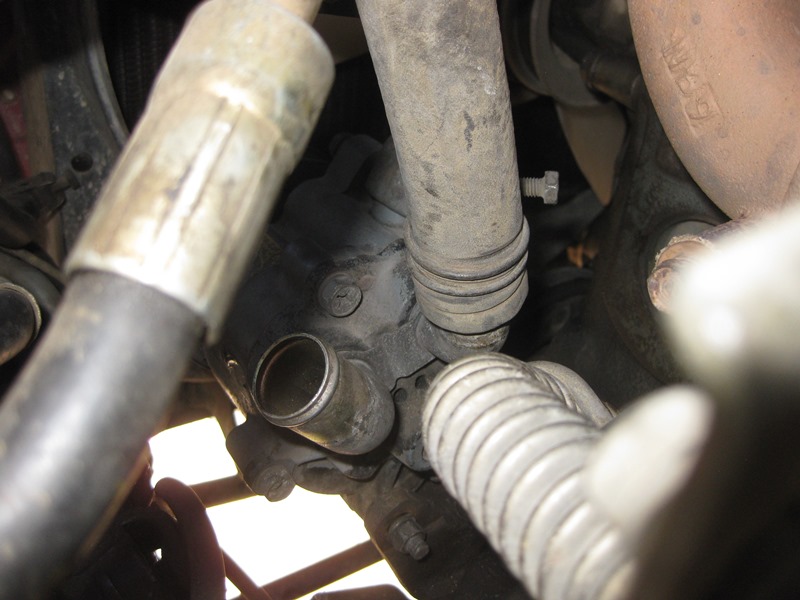
It now makes sense why this water fitting is so wonky on the head - it has to dodge the air rail:
Got everything lined up and torqued down:
One side of the extension is a tapered thread the other is a straight thread:

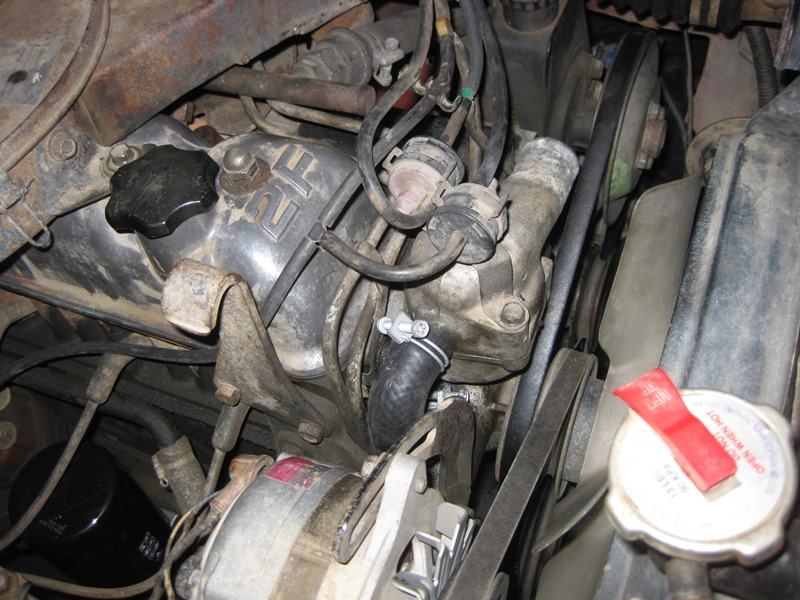
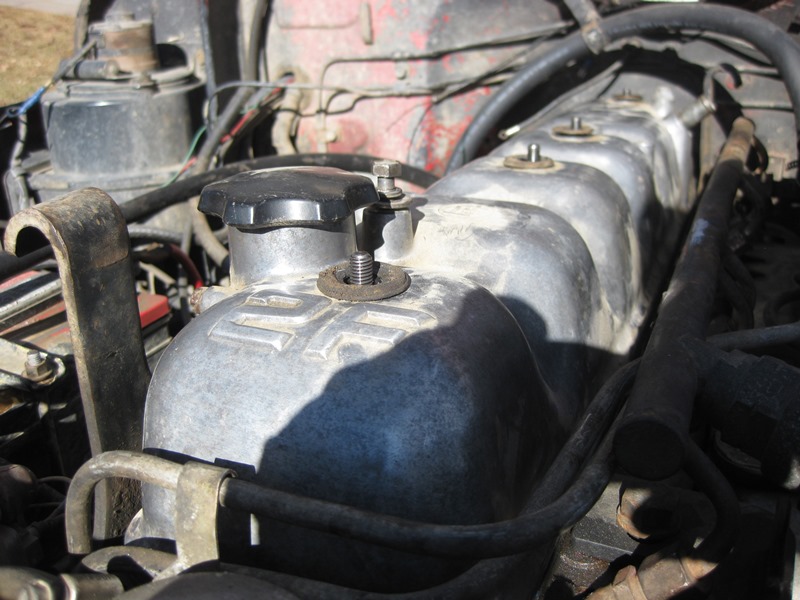
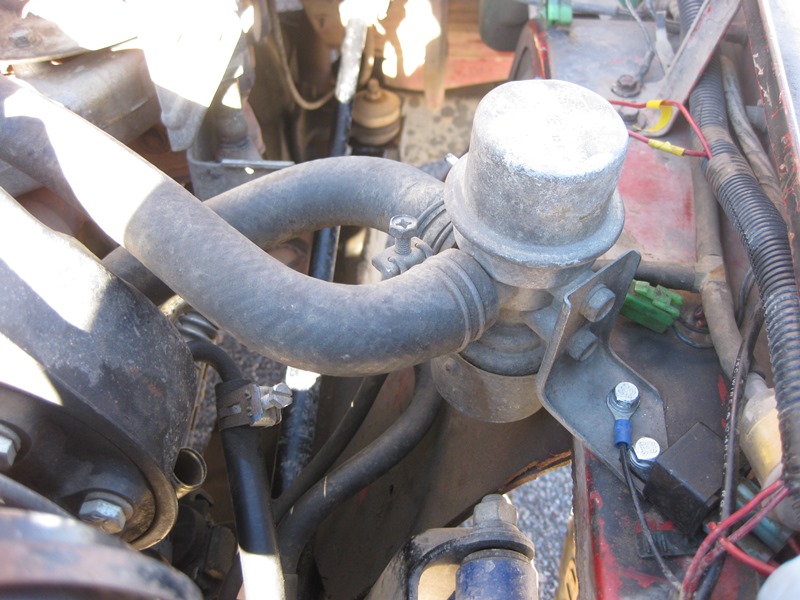
I then decided to give myself a little bling in the form of a 2F embossed valve cover and screw-in oil cap. I need new valve cover seals:
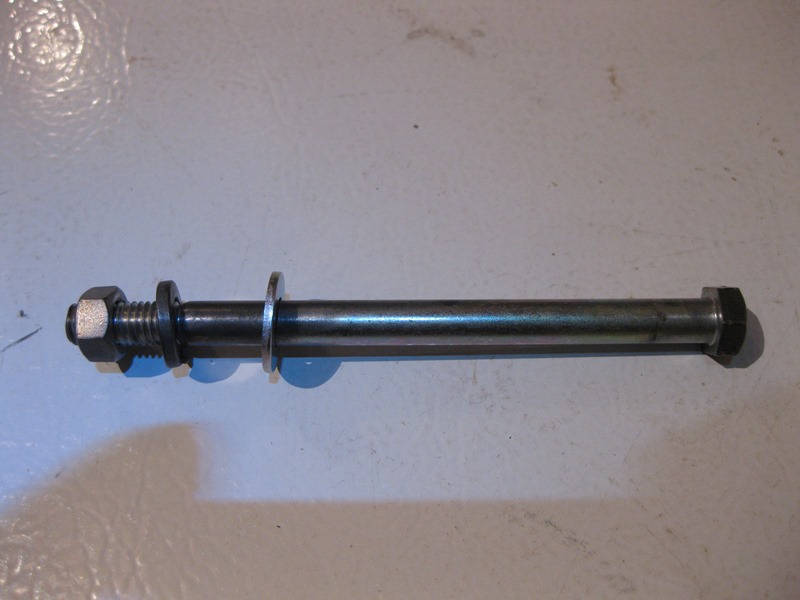
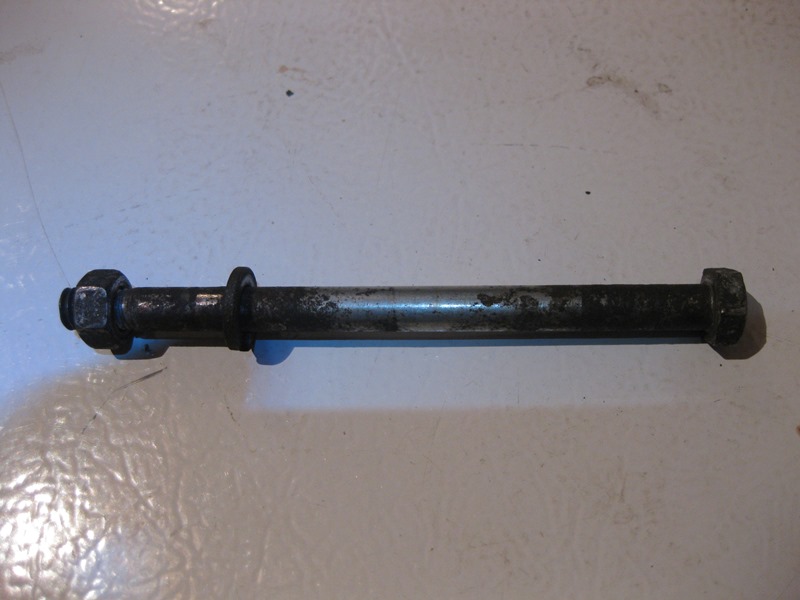
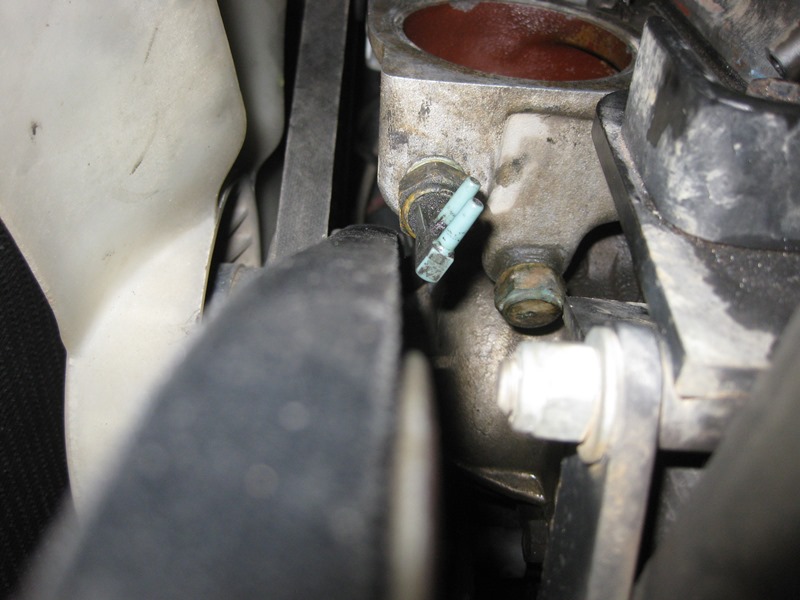
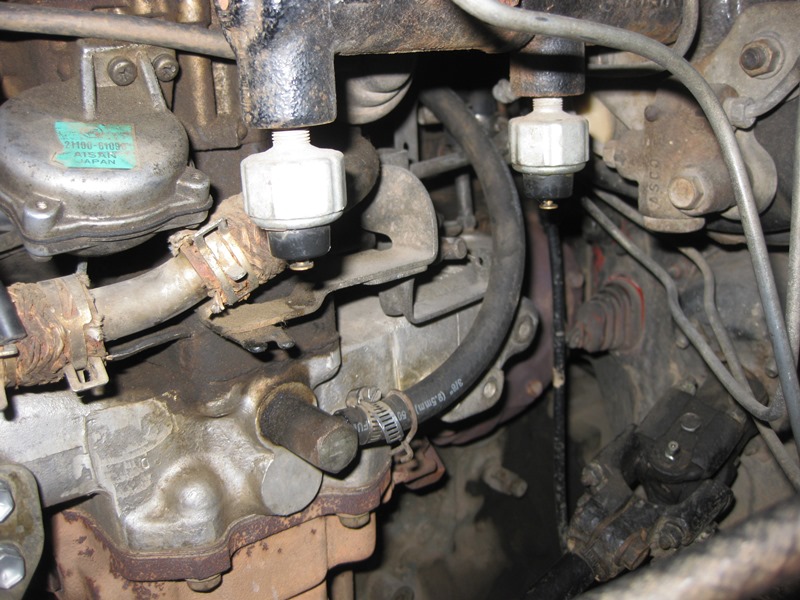
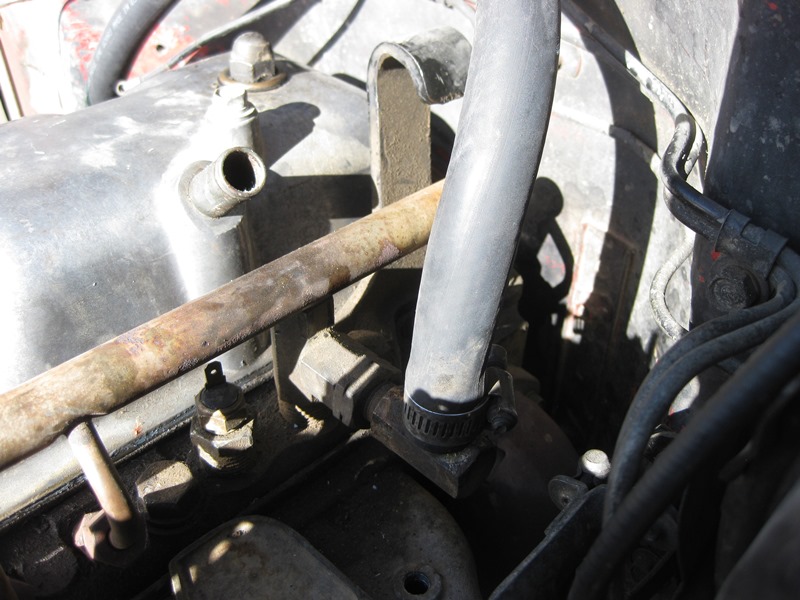
Next was the smog pump. It barely made it in between the steering intermediate shaft, EGR tubing and the power steering pump hoses. It turns out my pivot bolt is not the original bolt, so that needs to be remedied. It also appears that the support bracket needs a bushing or something, which I was hoping someone could confirm for me. In other words, the rear mounting hole for the smog pump is larger than the forward hole, so for a bolt to be held firmly around its circumference there needs a bushing in the rear hole to take up the extra space:
Next it was time to mount the ABV. Found its original home on the driver fender:
Decided it was time to put the air cleaner back on with new OEM wing nuts and seals:

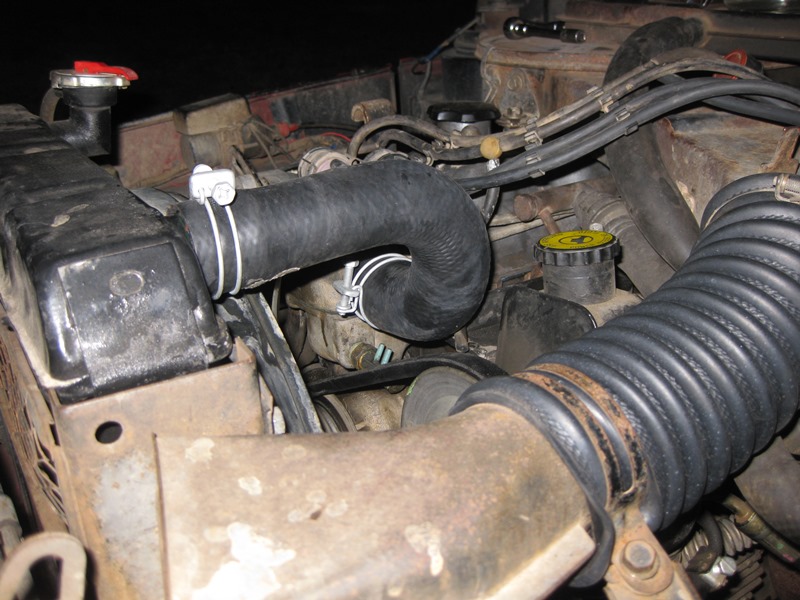
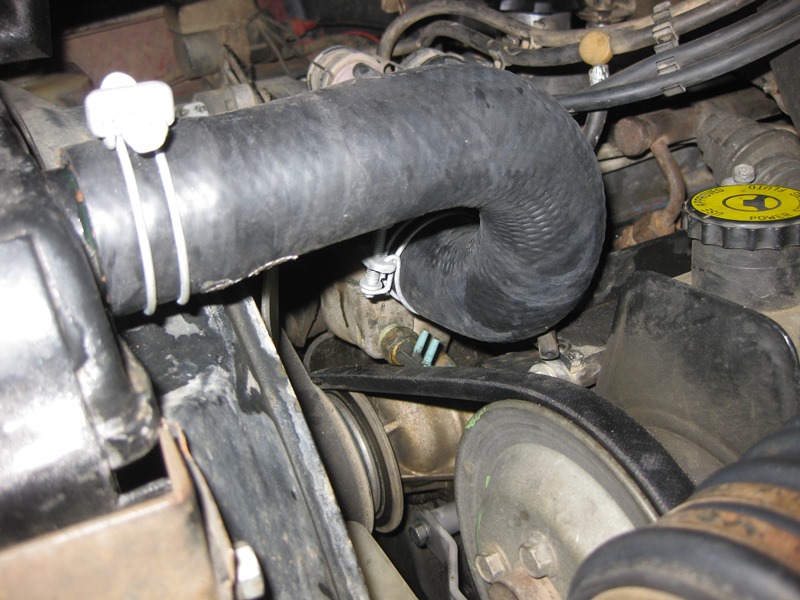
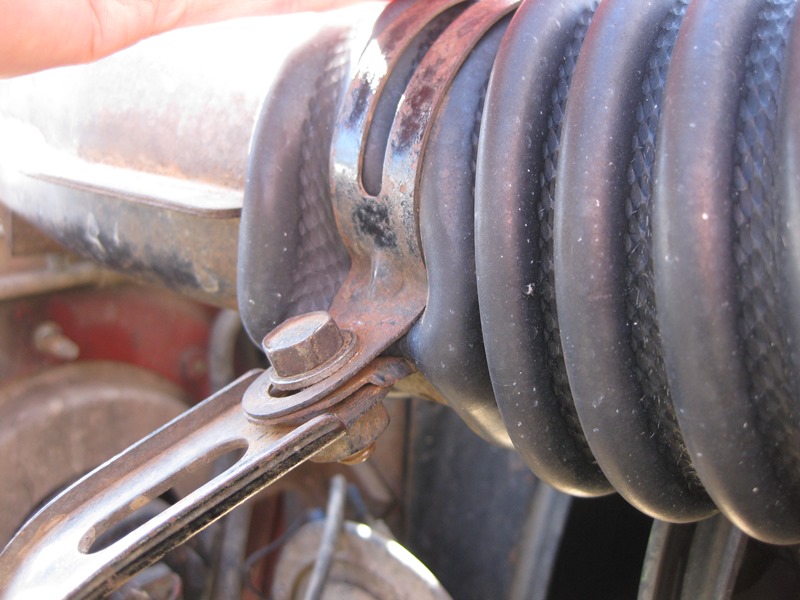
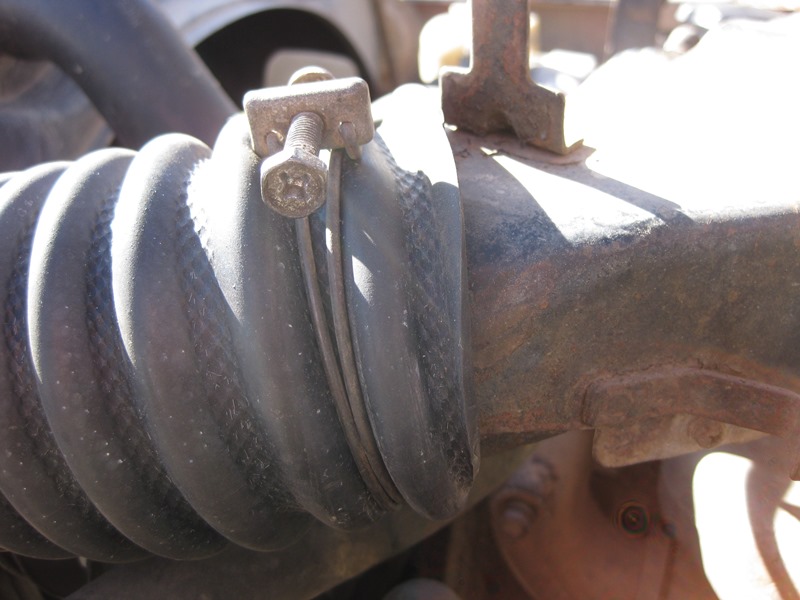
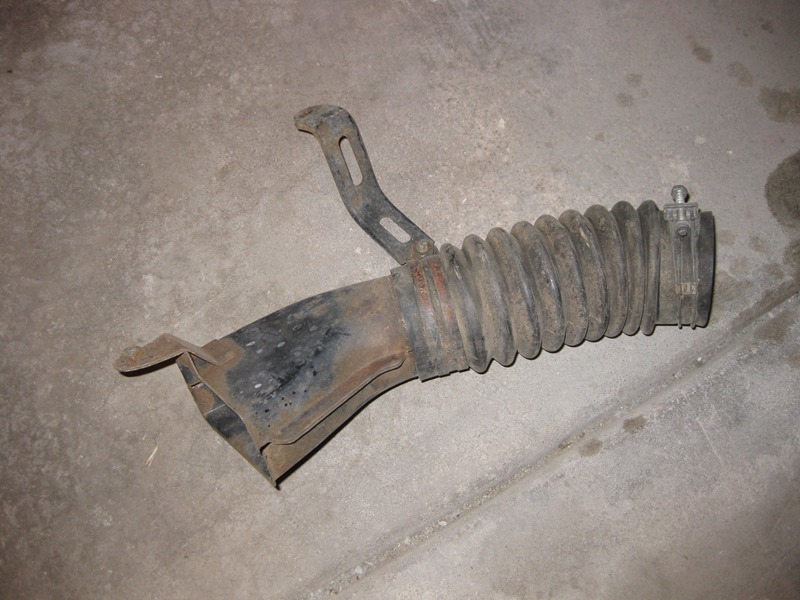
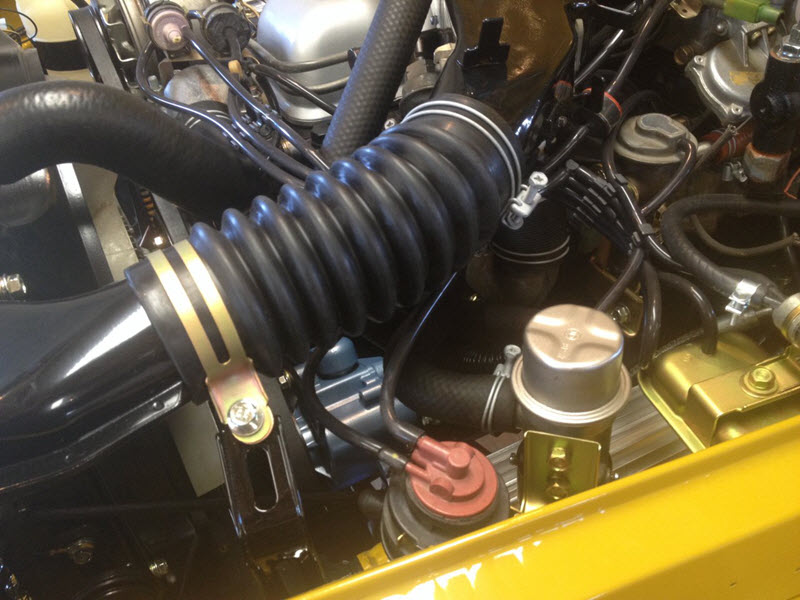
Hooked up the new air intake hose I got from BTUMAN on MUD - I've been running nakman's dryer hose for a long time now but decided to go with this:
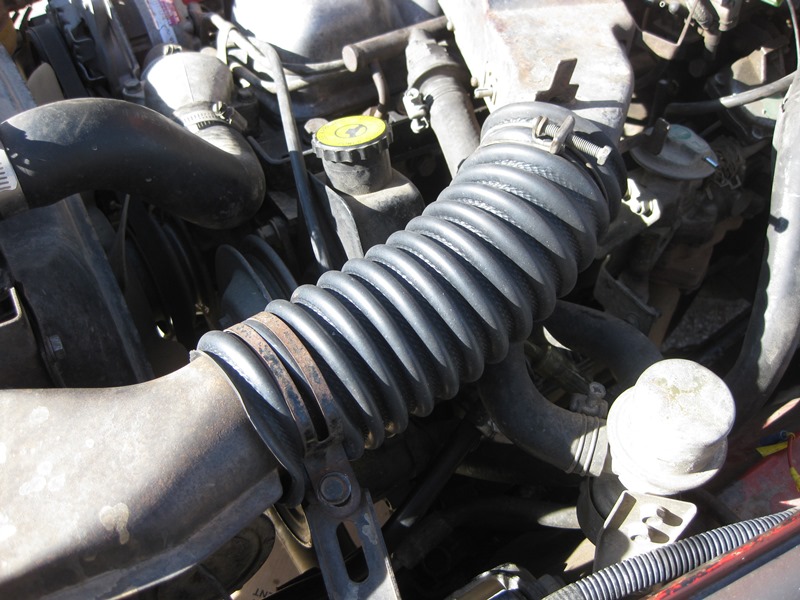
It's not perfect, but neither was my previous solution:
I have this in the garage, in pretty good shape, some small cracks, just in case. Need to figure out how to take care of it.
As of Feb 2, 2015, these are now available - would have gone with this if I had known it was coming:
http://forum.ih8mud.com/threads/air-cleaner-intake-hose-for-1975-1978-fj40-and-fj55.836312/

Next I had to find my vacuum valves. They were in the obvious place with my grease guns, yard flags, and files . Mounted the VCVs - the bracket only goes one way on the thermostat housing:
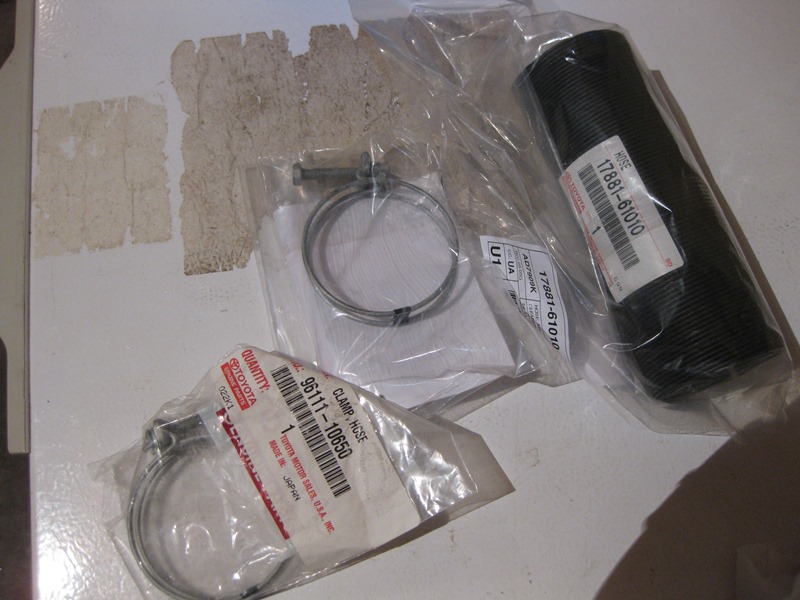
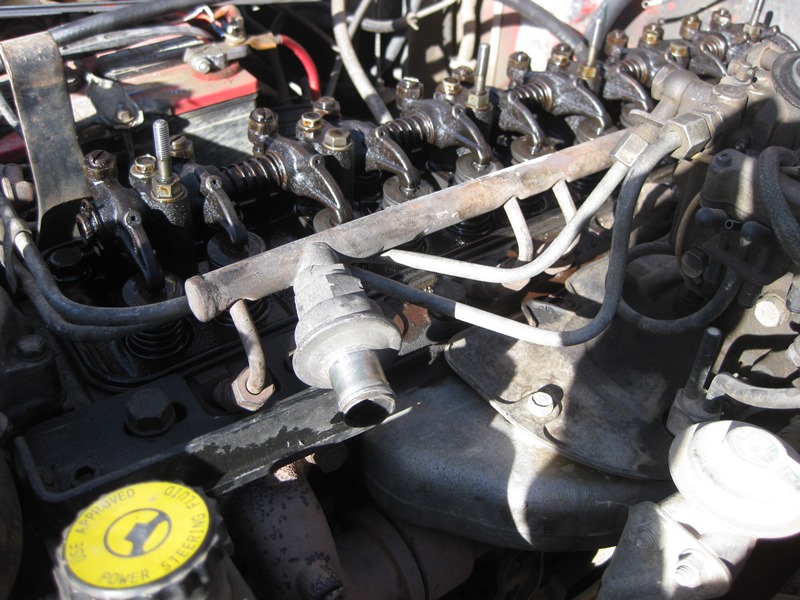
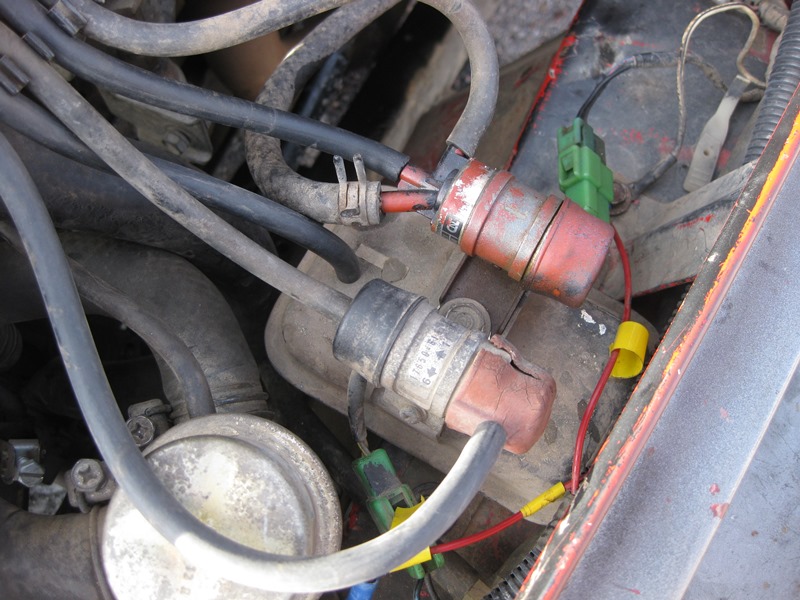
Mounted my VSVs and vacuum surge tank on the driver side fender. This stuff is specific to 1977 models, so I made sure to take care of it. My EVAP VSV (the top one) had a broken nipple and was inop when I took receipt of this vehicle, so I got a new one from cruiserparts.net. It took a couple tries to get one that was functioning, but we finally got there:
Starting doing up my vacuum hoses:
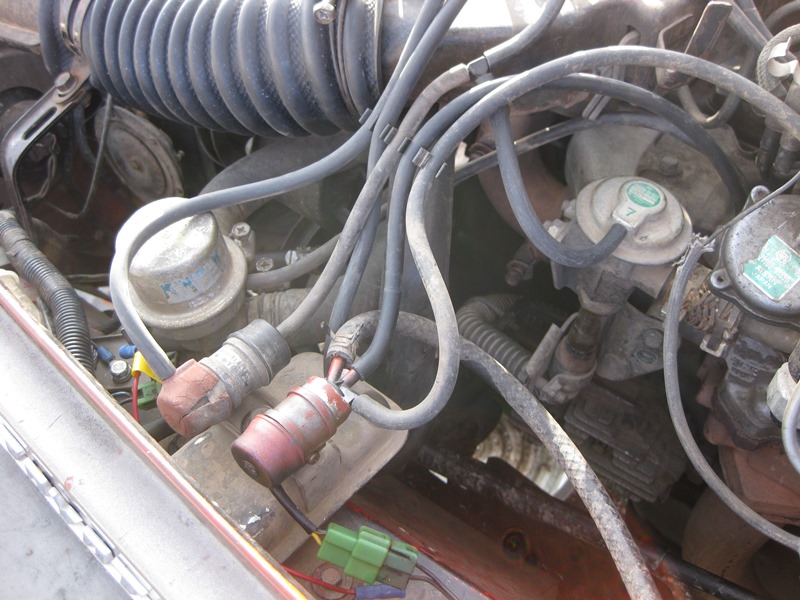
My Red VTV also had a broken nipple so got a new one from cruiserparts.net. Again took a couple tries to get the right one, but we're good now:
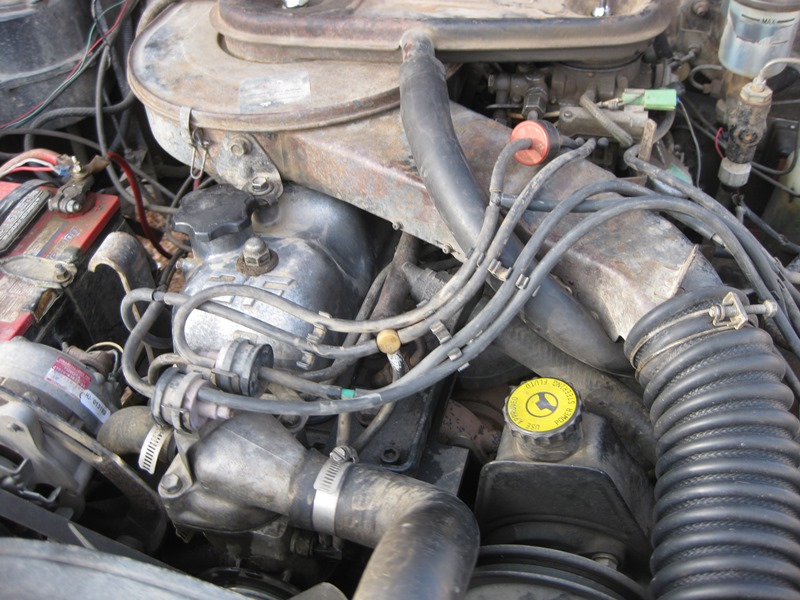
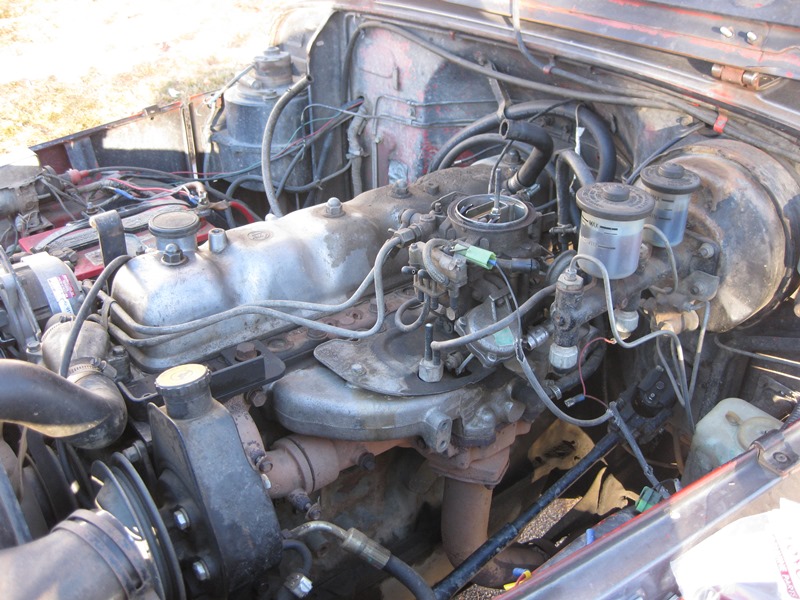
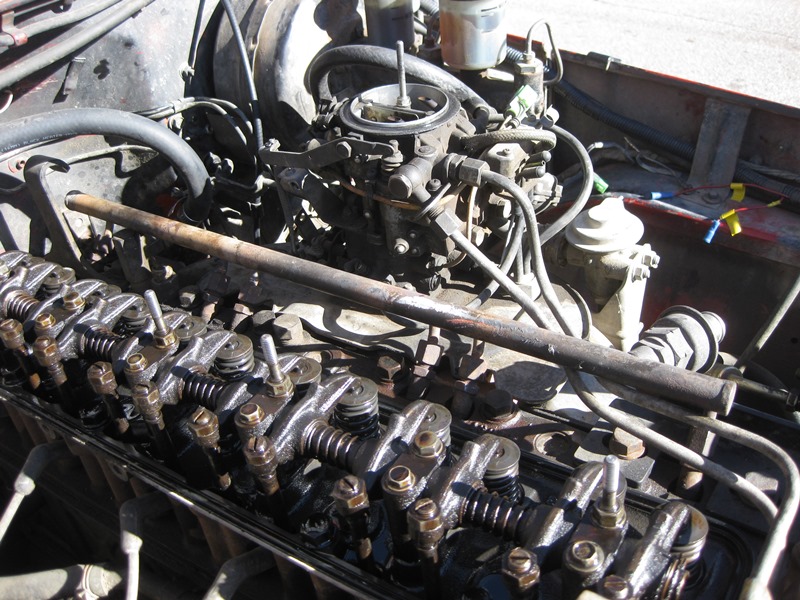
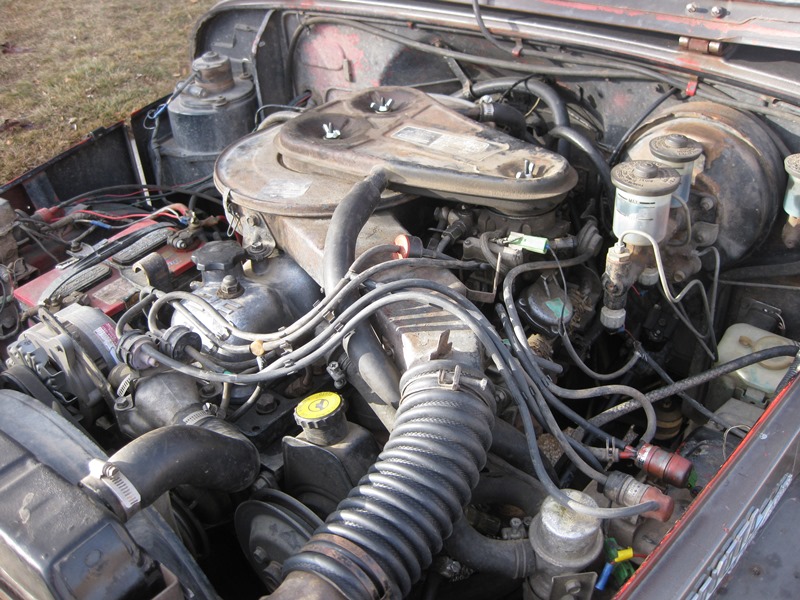
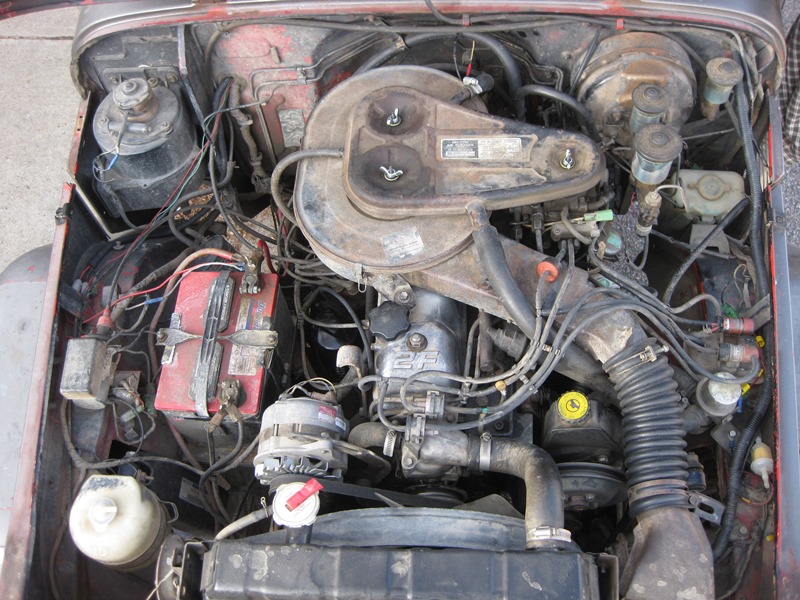
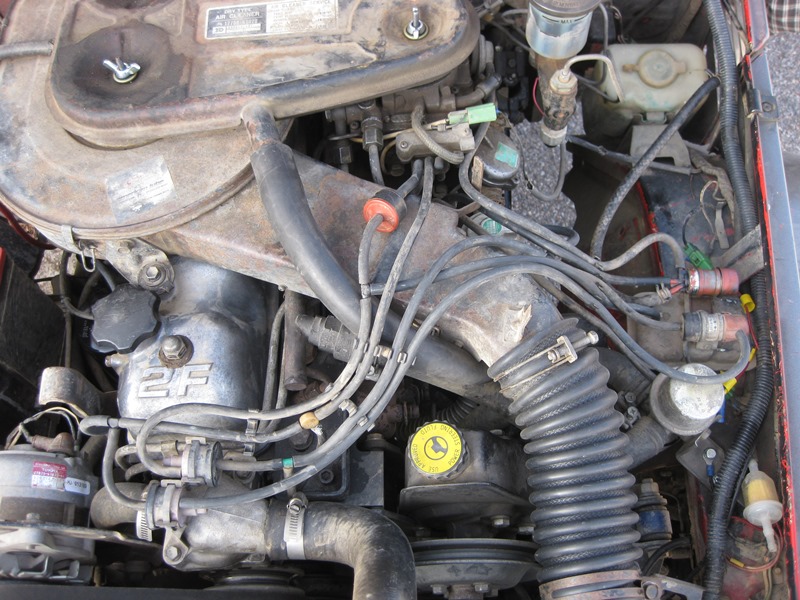
So here's where we ended the day. Not as nice as simps or anyone else in the club, but should be functional and pass visual as long as they don't care about my '78 carb that has extra connections I can't use and my '79 distributor that also has an extra connection I can't use:
I'm still missing some parts - notably the smog pump tensioner bracket and smog pump pivot bolt, which I'll post up in the classifieds for. But at least all of my major components are accounted for after all these years.
'Til next time...
And since my FJ40 is feeling a little ghetto lately I'm going to call this thread "The Projects"
This first post will be about my 2015 Re-Smog Project.
The cooling system will also be refreshed including heater and blower rebuilds and new heater hoses.
The power steering will see some fixing due to some leakage. This turned out to be a non-issue and no work was required.
The gas tank will get some POR-15.
I then disassembled and cleaned the brake mechanism on the 8274.
In the next episode: Oil leaks will be addressed along with speedometer issues. Rear main seal being the big thing.
I will also be replacing my springs with lift springs and new shackles.
I would also like to finally address the nagging turn signal issues that have been a constant plague and have currently left me without turn signals or hazards. Yay wiring!
In 2010 I started this thread about Desmogging a 2F:
http://www.risingsun4x4club.org/forum2/showthread.php?t=14682
I have been leaning toward re-smogging my FJ40 but the State of Colorado is forcing the issue because when my Collector's Plate registration renewal comes due this March, if they follow the law that was passed last year they should require me to pass an emissions test.
So this morning I began by searching through my garage to find all my long-lost smog parts that I took off in 2005 (and then added to in 2009 when I took off the EGR stuff):
I had a box of vacuum hoses:
I had 6 air rail extension pieces (one is in the baggie):
I had 2 EGR assemblies to choose from:
I had my air rail safe in a box:
I had 2 ABVs to choose from - one had a broken mounting bracket so I used the other one. I also had 2 adapter pipes from the EGR valve to the carburetor:
I had my old air pump and some other stuff:
So this is where I started this morning:
Check my driver side motor mount while I was there and it looks correct even though it is missing the cotter pin - never noticed that little skid plate before though:
No EGR:
Took the air cleaner off:
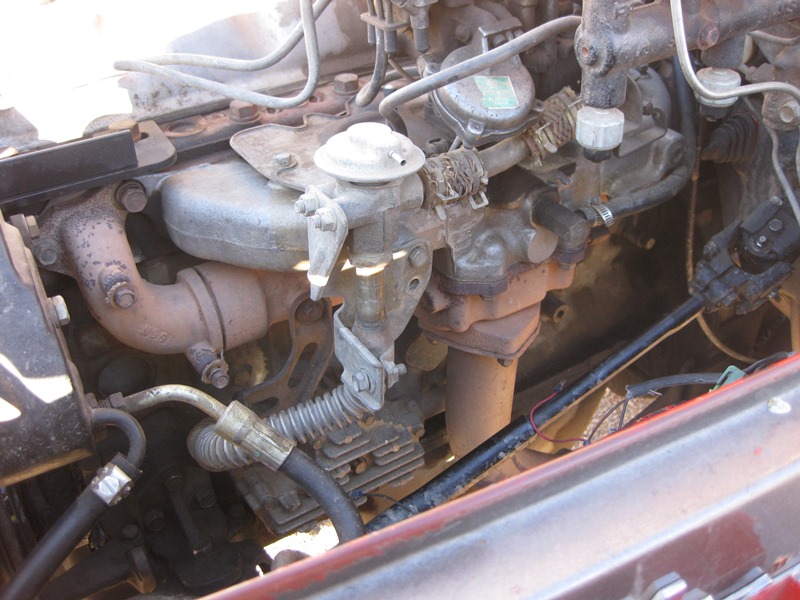
After some futzing about I had the EGR mounted:
Don't forget the EGR gasket:
Next up was the air rail. First I soaked the air rail plugs that have been in there since 2005 in PB Blaster:
I decided to take the valve cover off to give myself easier access, especially to the #6 plug:
With my makeshift cheater bar I was able to get all the plugs out:
I had to grind a little bit out of the JT Outfitters power steering bracket to get the #1 air rail extension back in place - all the rest went pretty easy:
It now makes sense why this water fitting is so wonky on the head - it has to dodge the air rail:
Got everything lined up and torqued down:
One side of the extension is a tapered thread the other is a straight thread:
I then decided to give myself a little bling in the form of a 2F embossed valve cover and screw-in oil cap. I need new valve cover seals:
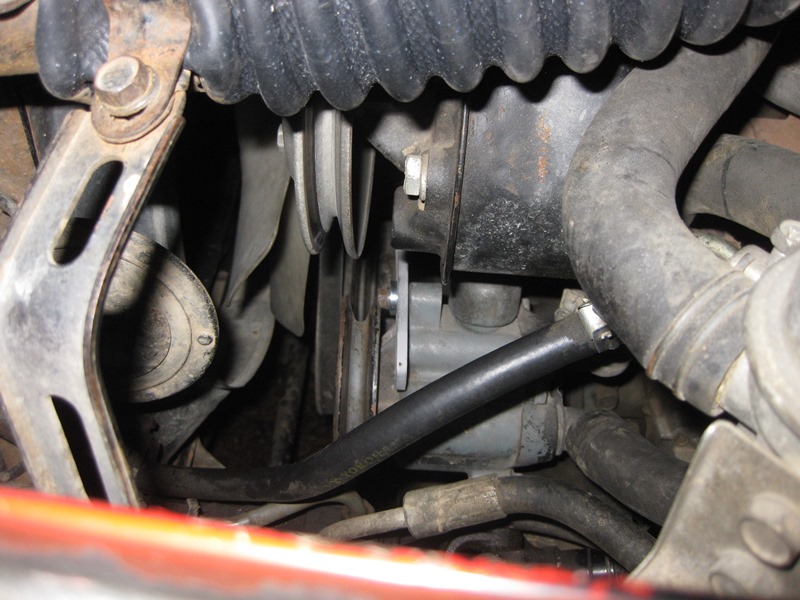
Next was the smog pump. It barely made it in between the steering intermediate shaft, EGR tubing and the power steering pump hoses. It turns out my pivot bolt is not the original bolt, so that needs to be remedied. It also appears that the support bracket needs a bushing or something, which I was hoping someone could confirm for me. In other words, the rear mounting hole for the smog pump is larger than the forward hole, so for a bolt to be held firmly around its circumference there needs a bushing in the rear hole to take up the extra space:
Next it was time to mount the ABV. Found its original home on the driver fender:
Decided it was time to put the air cleaner back on with new OEM wing nuts and seals:
Hooked up the new air intake hose I got from BTUMAN on MUD - I've been running nakman's dryer hose for a long time now but decided to go with this:
It's not perfect, but neither was my previous solution:
I have this in the garage, in pretty good shape, some small cracks, just in case. Need to figure out how to take care of it.
As of Feb 2, 2015, these are now available - would have gone with this if I had known it was coming:
http://forum.ih8mud.com/threads/air-cleaner-intake-hose-for-1975-1978-fj40-and-fj55.836312/
Next I had to find my vacuum valves. They were in the obvious place with my grease guns, yard flags, and files
. Mounted the VCVs - the bracket only goes one way on the thermostat housing:
Mounted my VSVs and vacuum surge tank on the driver side fender. This stuff is specific to 1977 models, so I made sure to take care of it. My EVAP VSV (the top one) had a broken nipple and was inop when I took receipt of this vehicle, so I got a new one from cruiserparts.net. It took a couple tries to get one that was functioning, but we finally got there:
Starting doing up my vacuum hoses:
My Red VTV also had a broken nipple so got a new one from cruiserparts.net. Again took a couple tries to get the right one, but we're good now:
So here's where we ended the day. Not as nice as simps or anyone else in the club, but should be functional and pass visual as long as they don't care about my '78 carb that has extra connections I can't use and my '79 distributor that also has an extra connection I can't use:
I'm still missing some parts - notably the smog pump tensioner bracket and smog pump pivot bolt, which I'll post up in the classifieds for. But at least all of my major components are accounted for after all these years.
'Til next time...
Last edited: