Rzeppa
Rising Sun Member
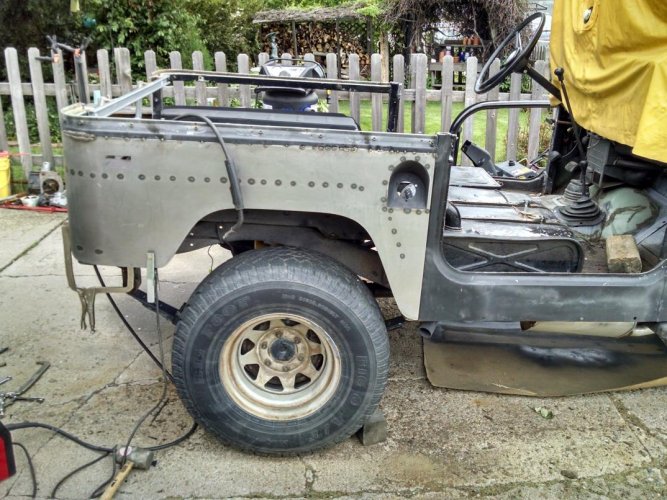
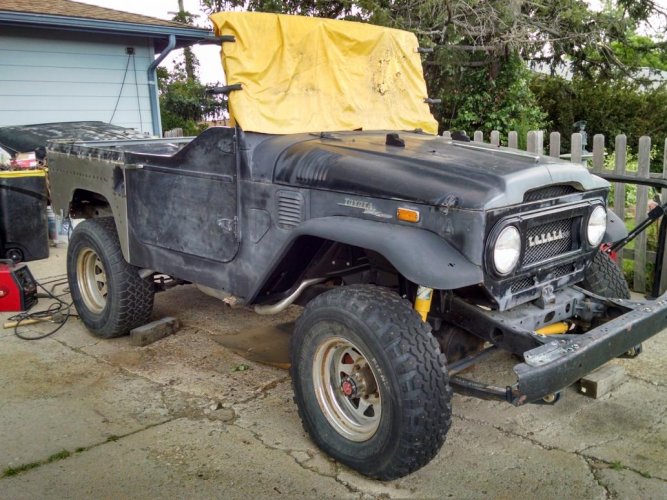
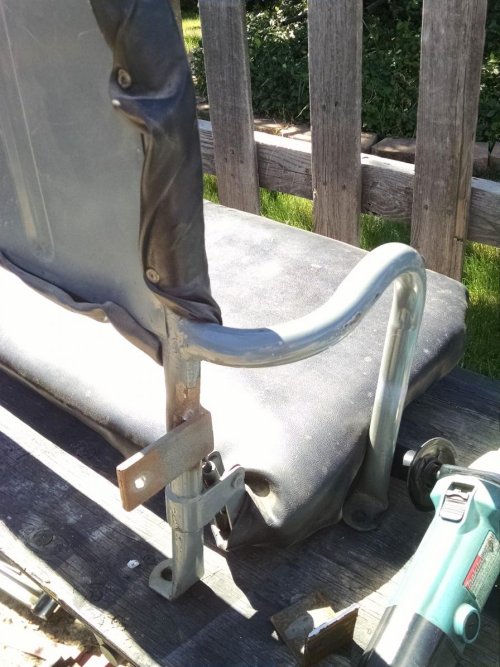
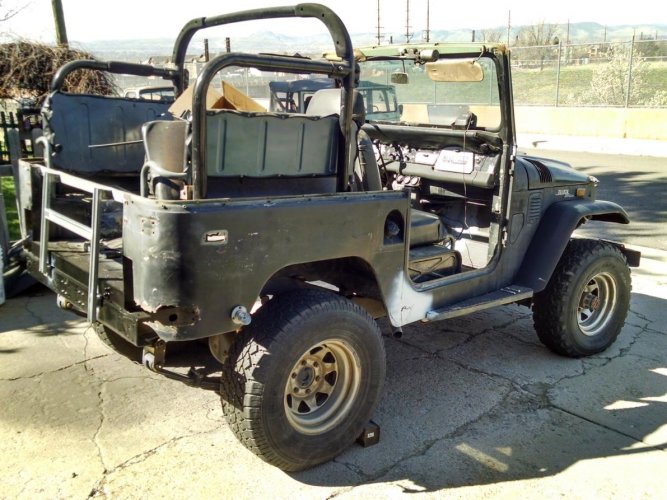
pretty sure i have a cowl vent grill if they ever want to go back
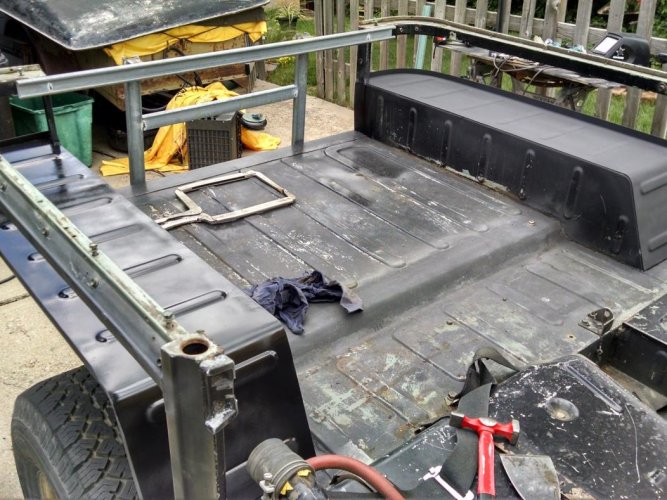
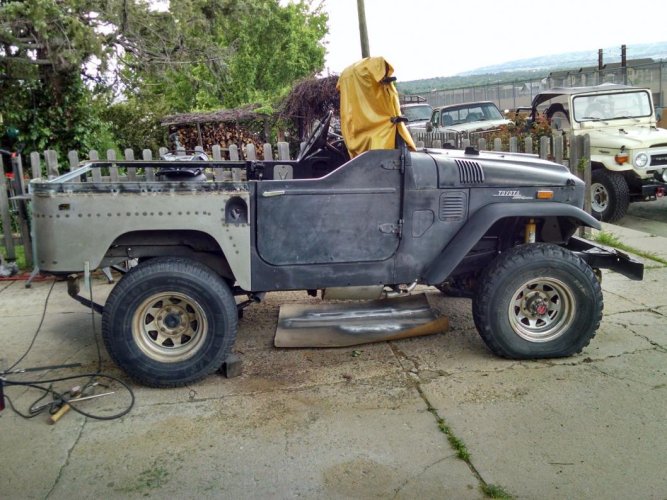
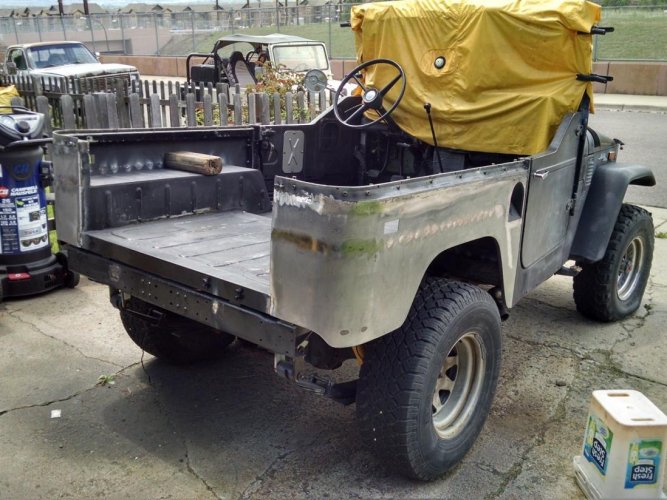
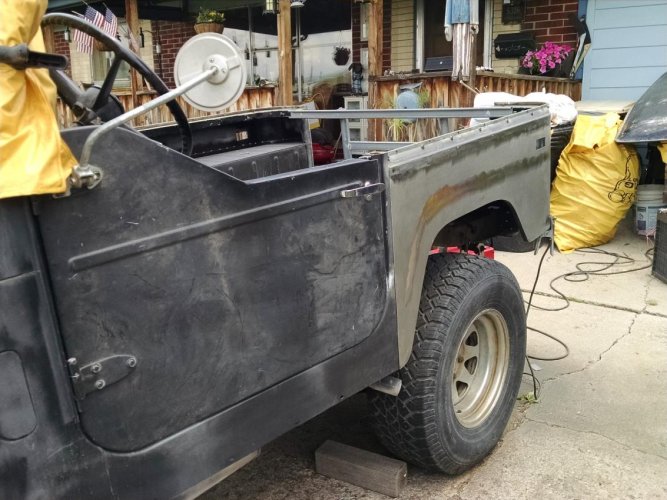
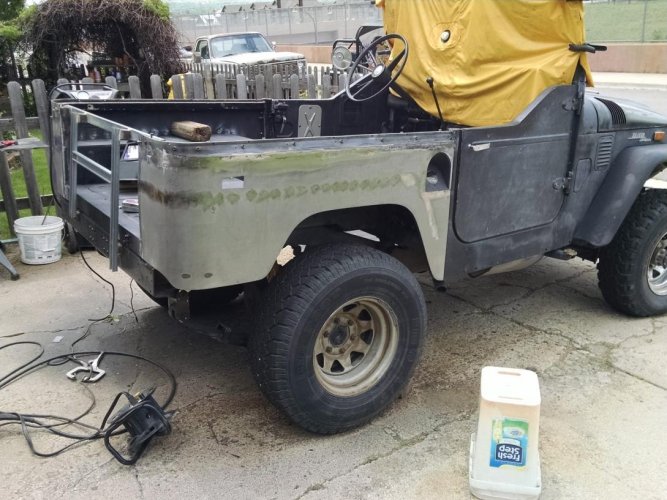
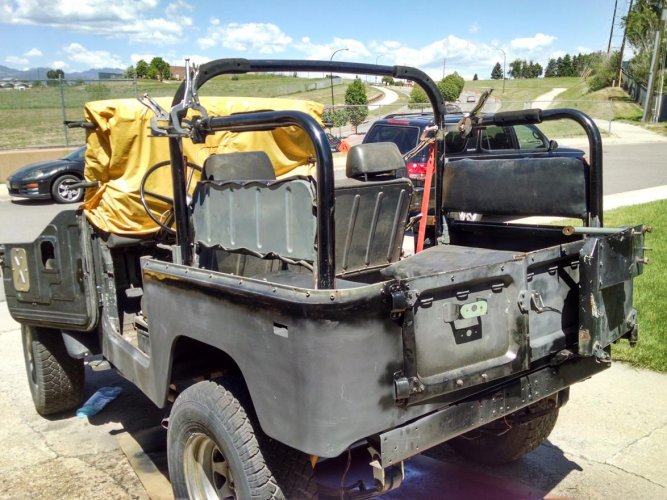
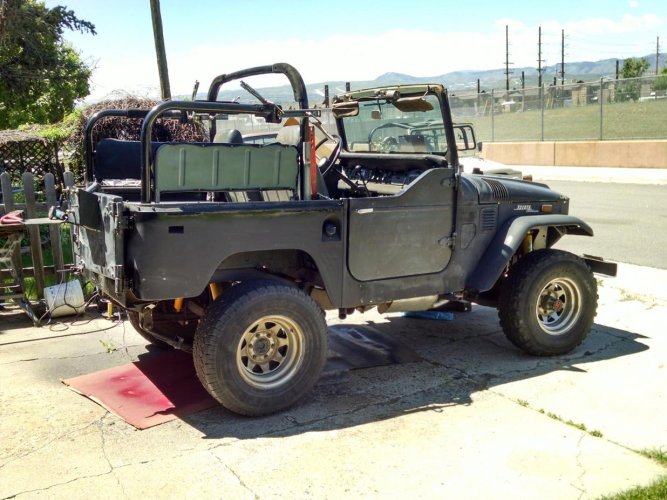
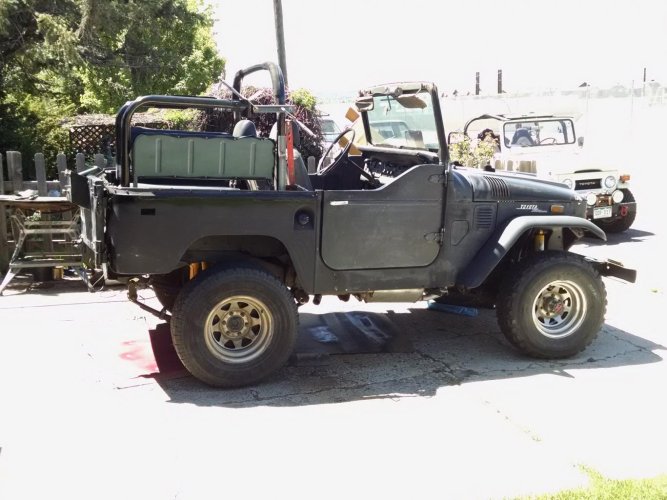
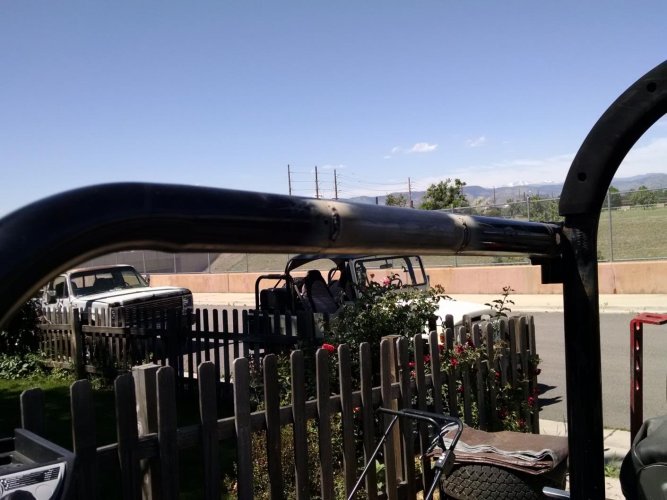
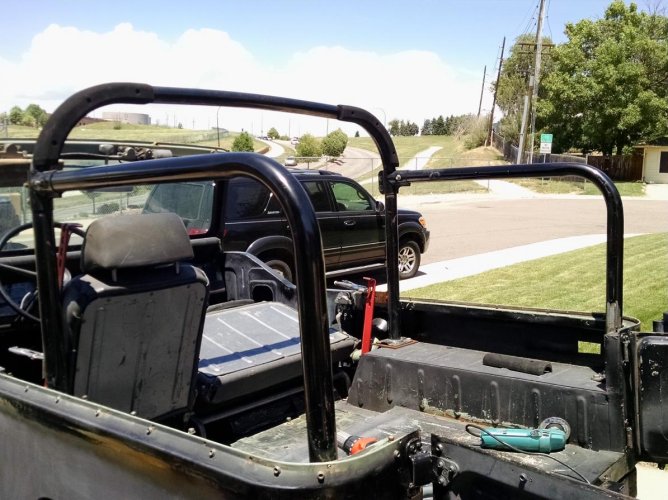
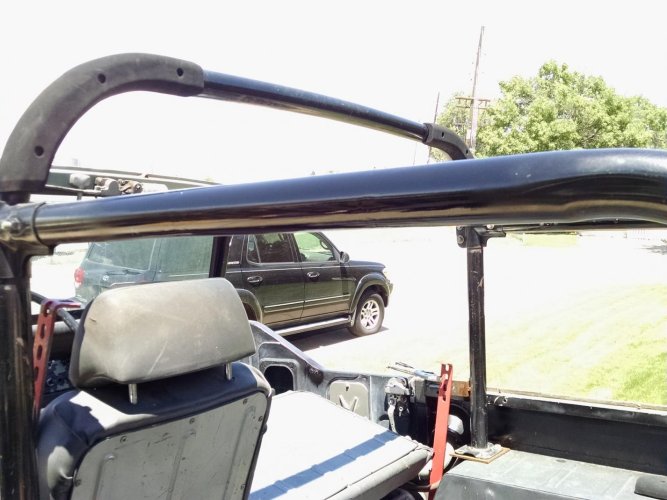
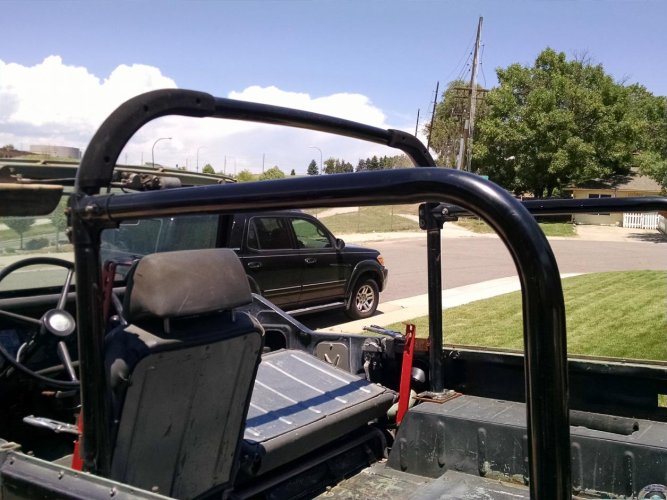
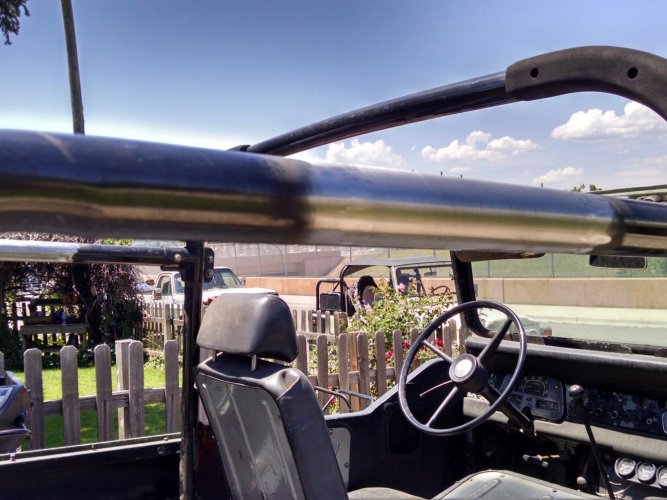
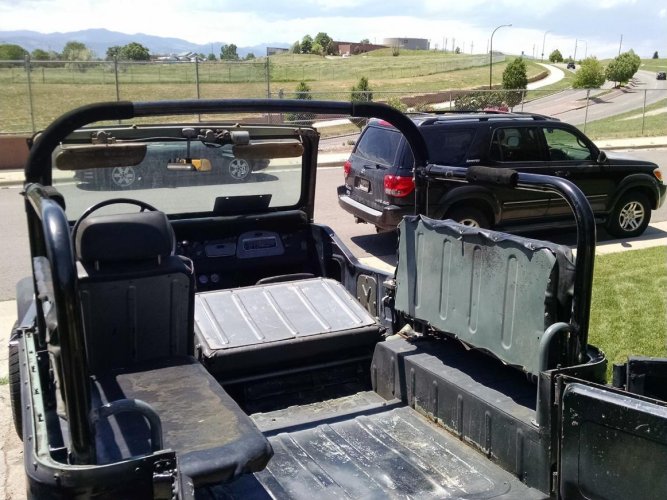
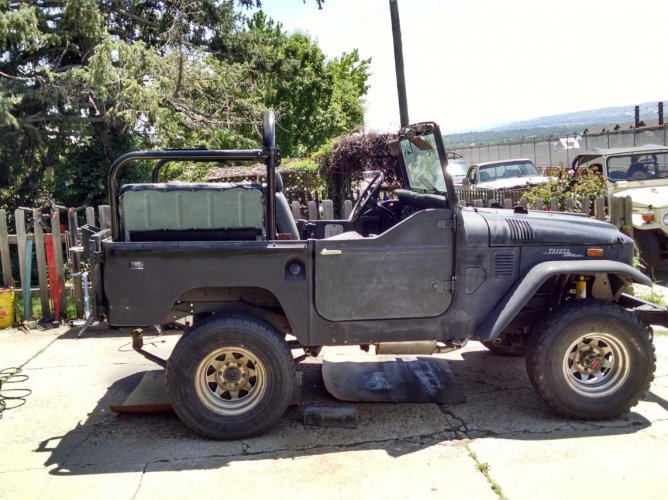
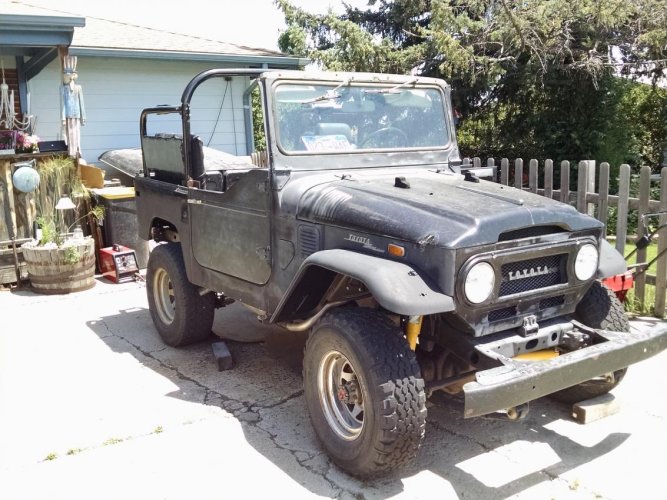
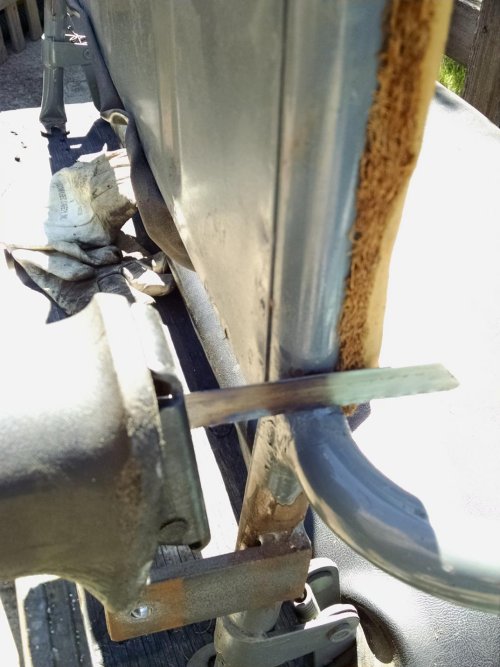
I really like the air flow in the cab in my 71 compared to my later rigs that don't have that.
pretty sure i have a cowl vent grill if they ever want to go back
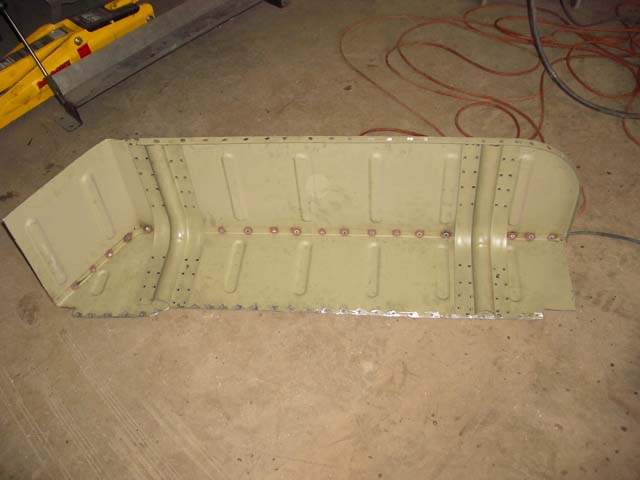
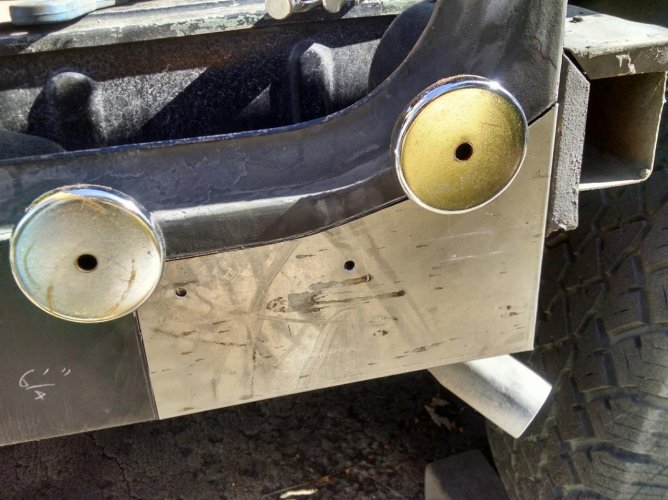
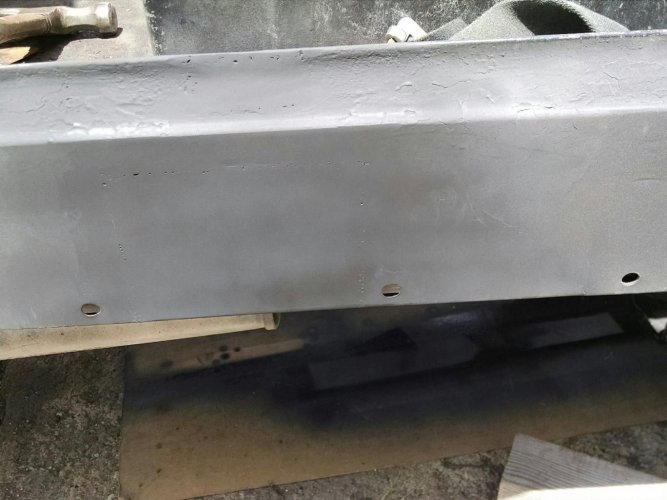
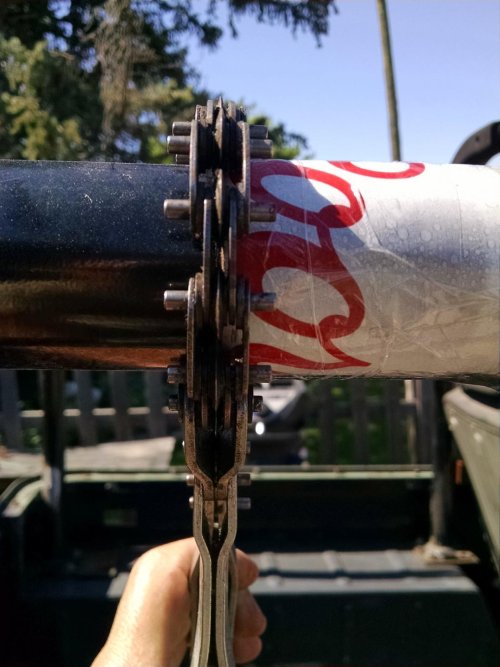
 ) that had a straight edge. Wrapped it, and evened up the straight side to create a square edge. Snugged the cutting wheels up to the cardboard while still loose, and the tightened it up once square. This process worked very well...In the past, I had always just kind of eyeballed the chain...and ended up with horribly slanted cuts.