Matt Miller TLCA# 13684
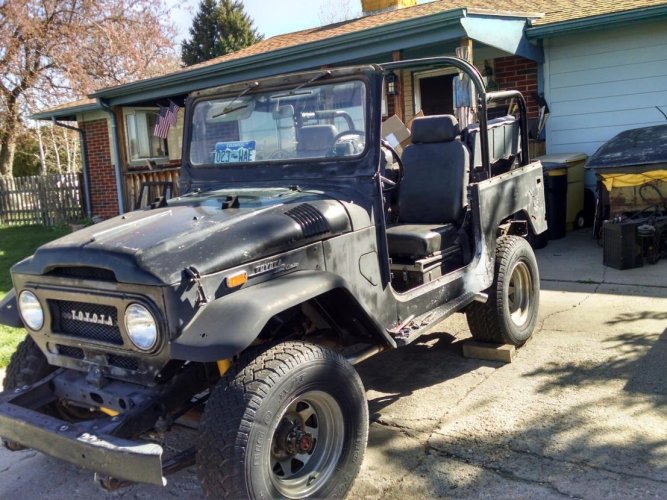
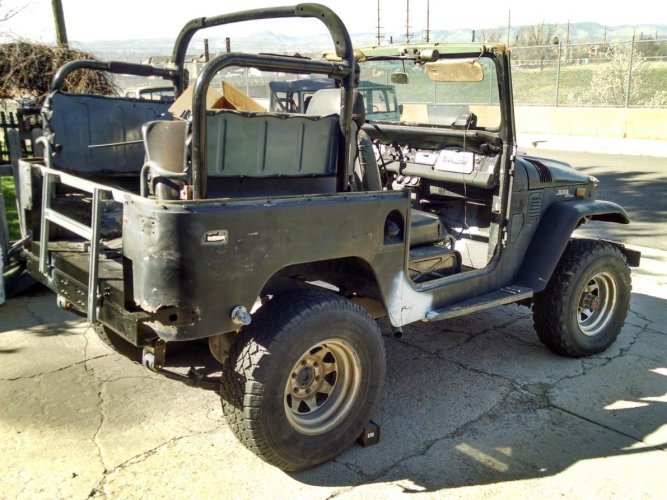
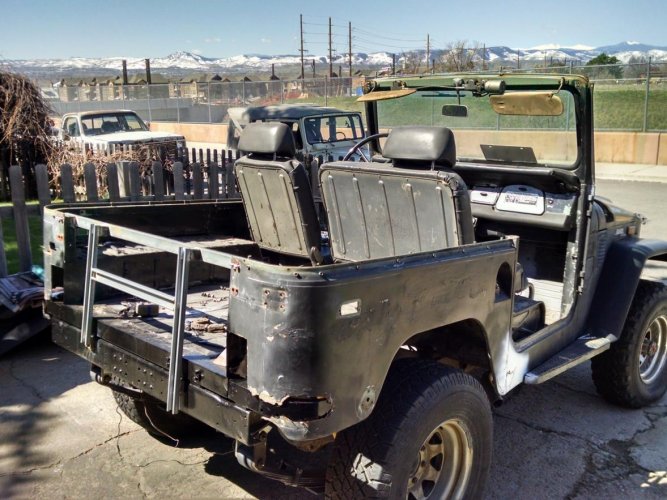
1977 FJ40 2F "Brahma" + Lockright, tach, Warn 8274, FJ60 Power Steering, no more Sanden OBA (factory emissions), so Puma OBA
 1996 FZJ80
 1FZ-FE factory lockers +

Safari intercooled turbo, OME Heavies, sliders, ARB front, Warn M12000, Puma OBA, OEM CDL switch, cup holder, hand throttle, Metric TLC leather, heated seats + JDM switches
 1997 FZJ80
 1FZ-FE factory lockers +
Safari intercooled turbo, OME Heavies, Slee Sliders, ARB front, Warn M12000, Slee rear, African Outback roof rack, Puma OBA, OEM CDL switch, cup holder
2000 Tundra Limited TRD 2UZ-FE
SOLD