• ColoYota Expo: swap meet + show and shine. Saturday, May 11 from 10 am - 2 pm
    Get Details & Register Now!
    . Only $5 to attend (no additional charge to participate in the swap meet).


    Hey Guest, we need volunteers to help run the event. Please sign up here.

My Sisters 40

kurtnkegger

Rising Sun Member
Joined
Jan 24, 2011
Messages
1,511
Location
Denver Burbs
Since it looks like Mike will be taking a bit of a break from his 40, and the thread on his build, I thought I might as well chime in with the work I'm doing on my Sisters 40.


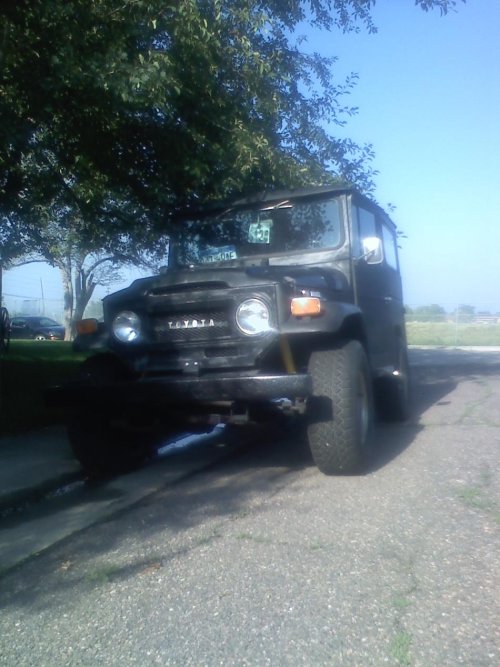
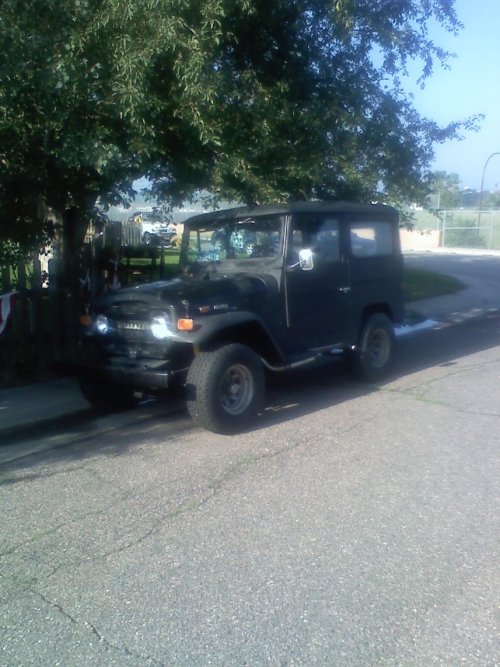
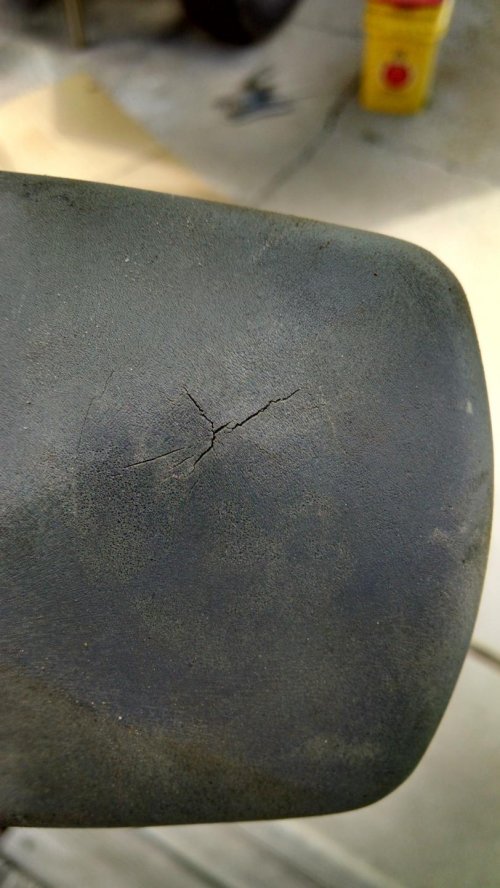
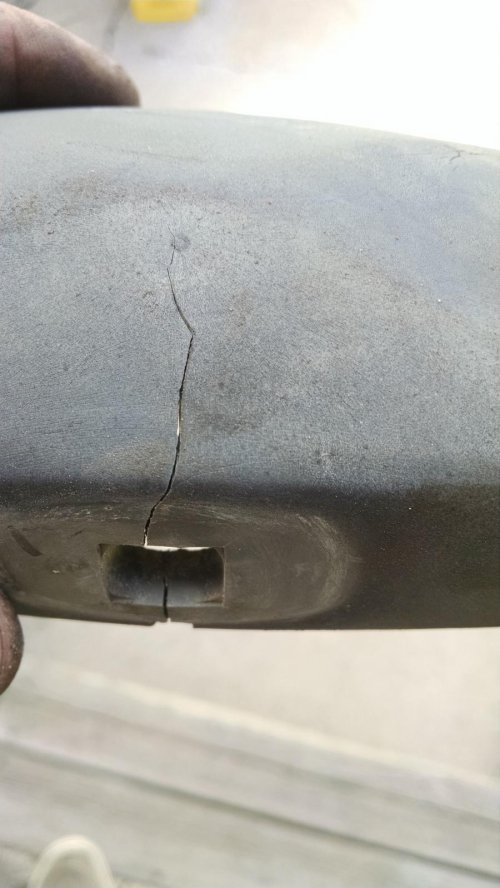
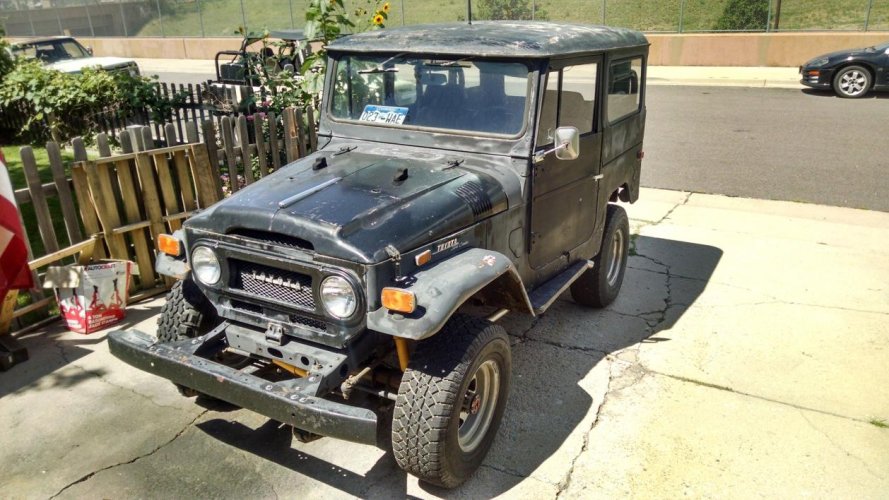
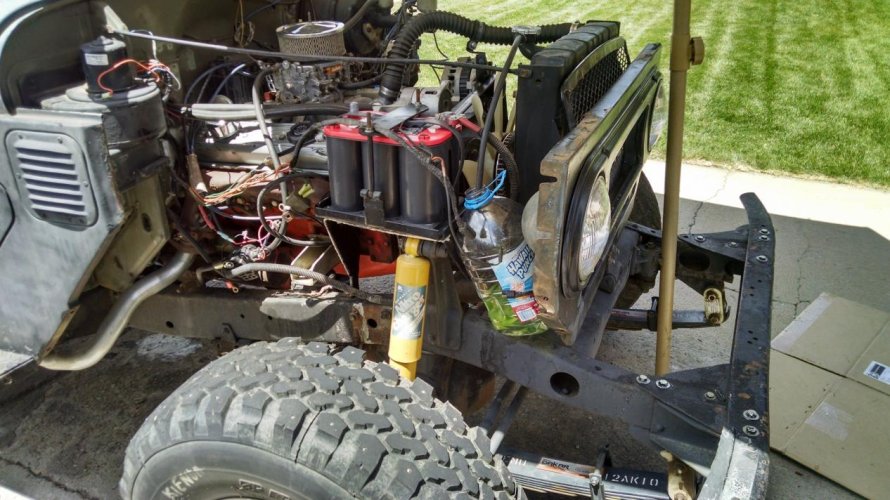
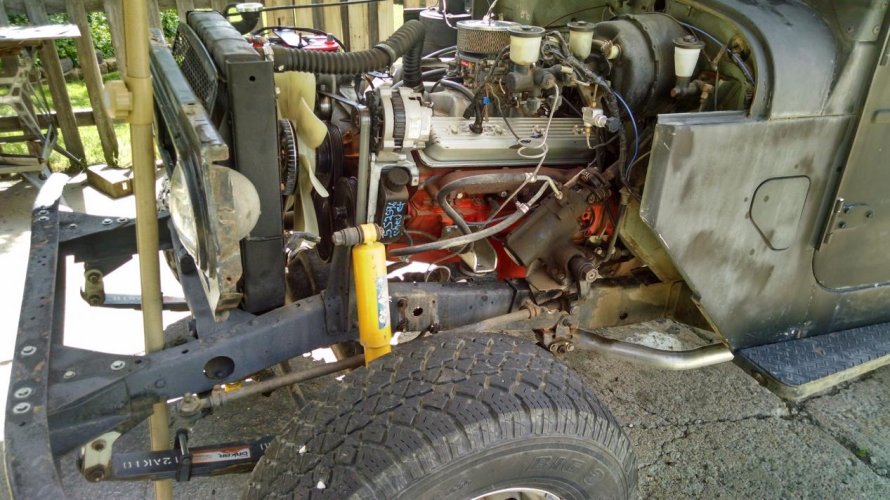
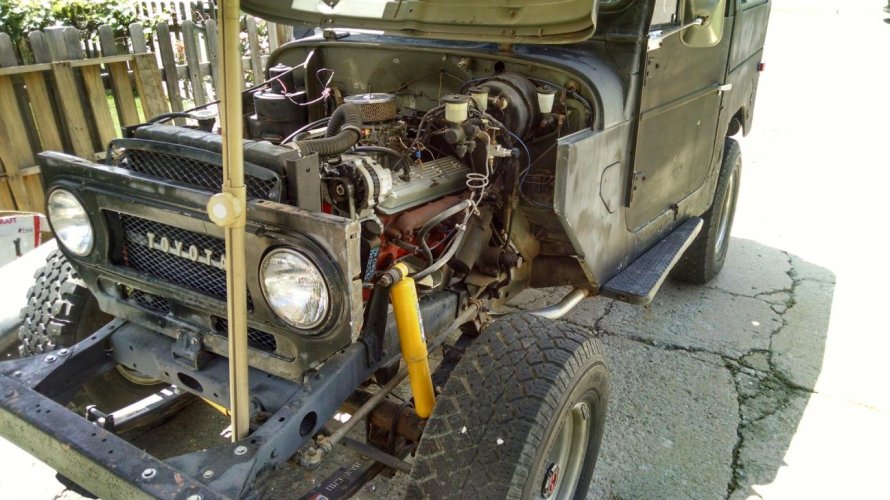
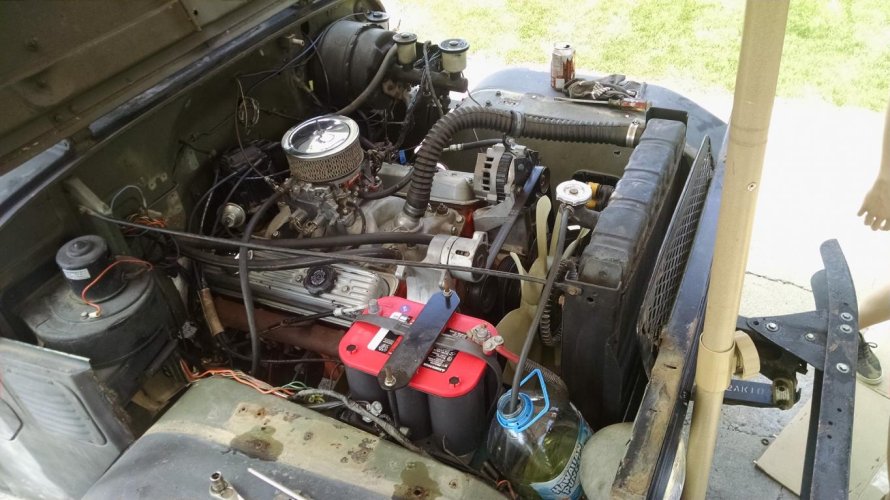
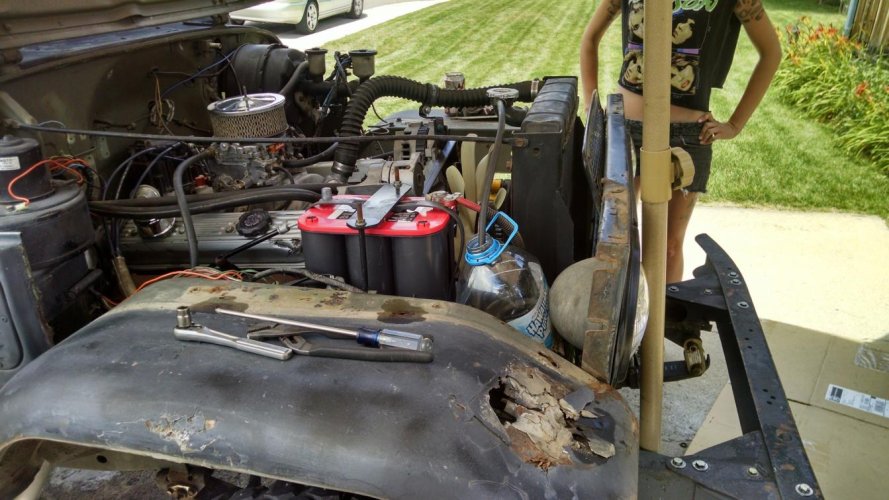
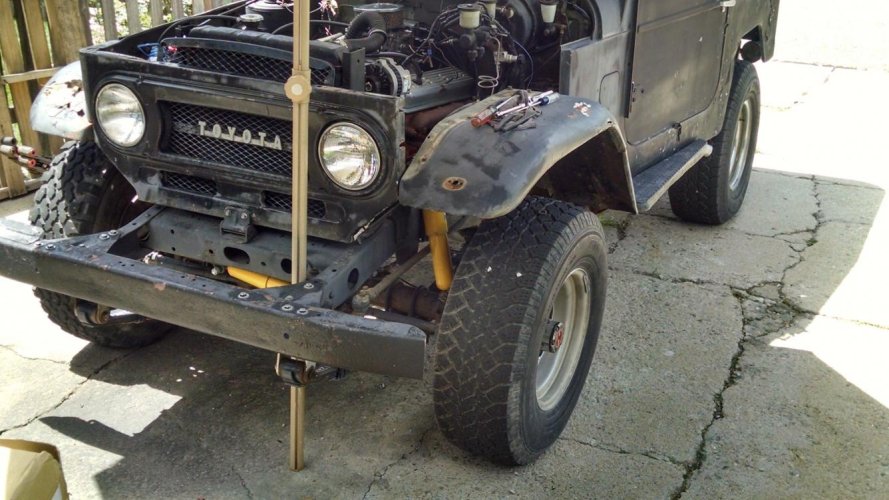
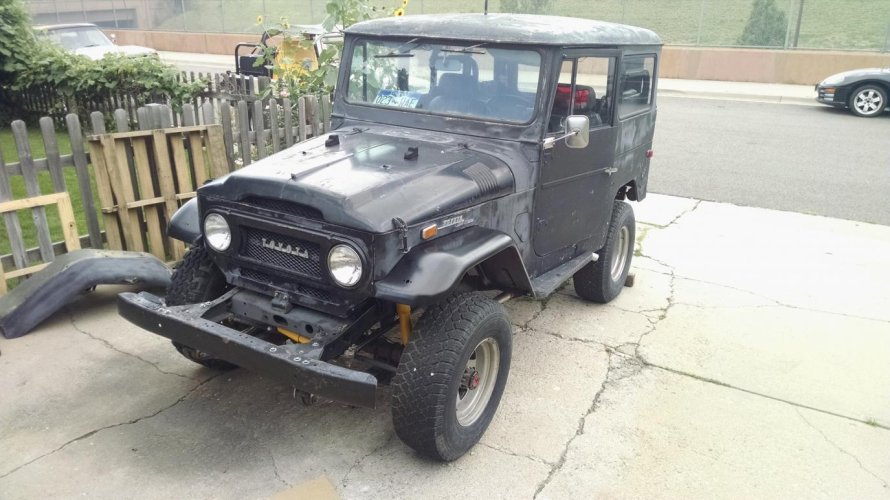
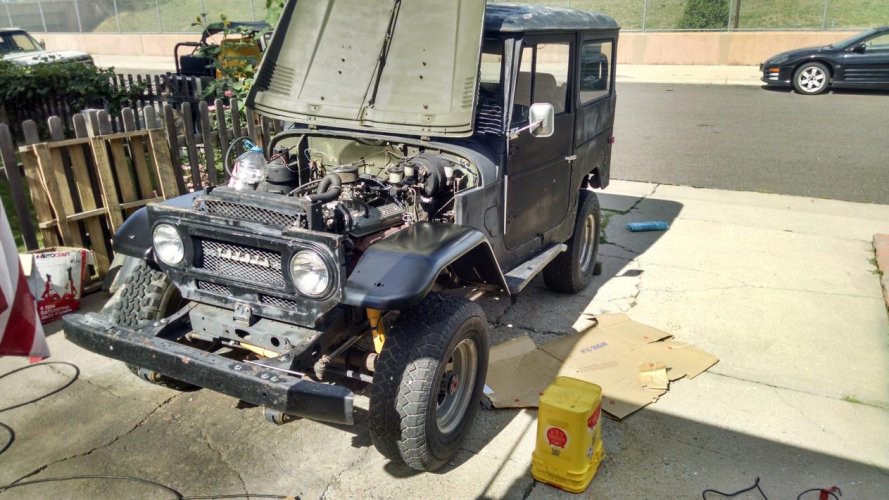
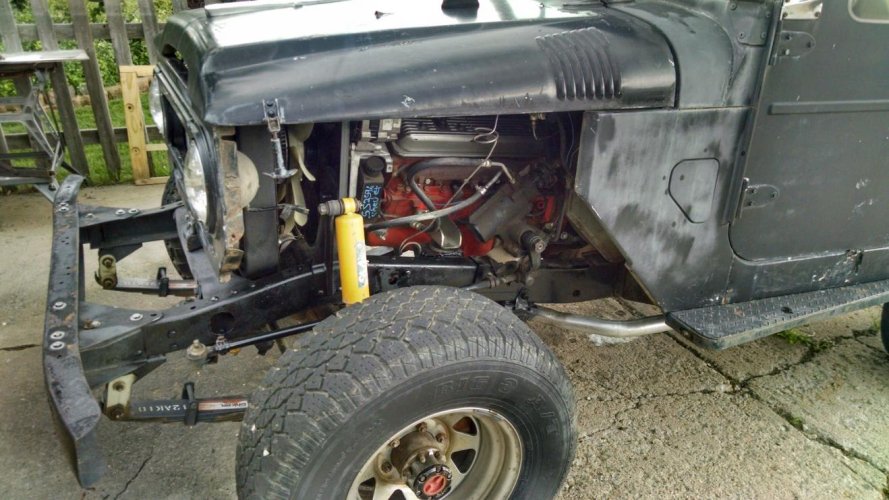
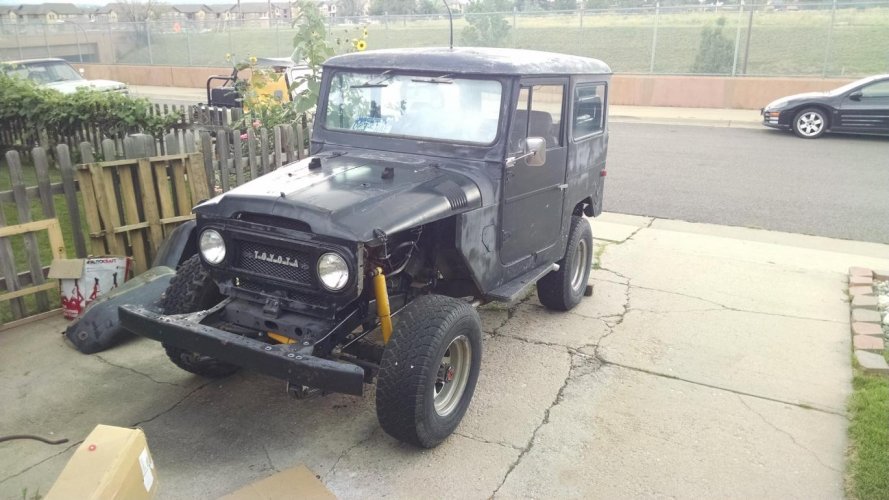
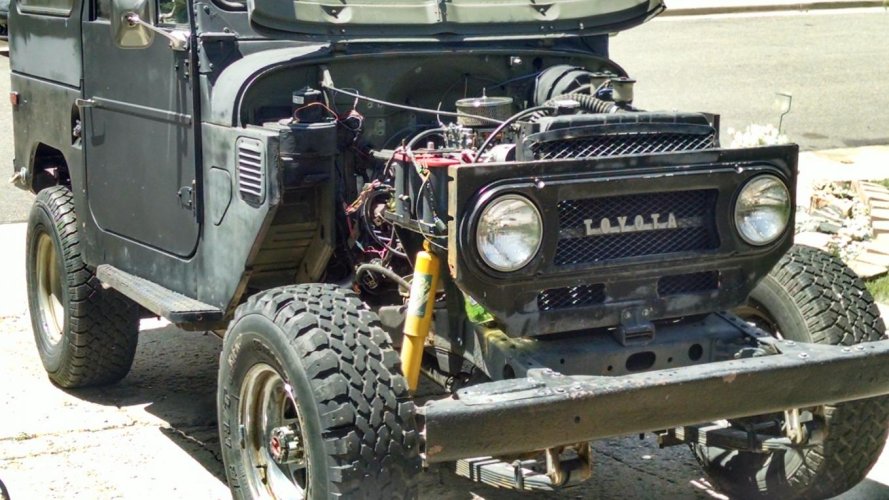
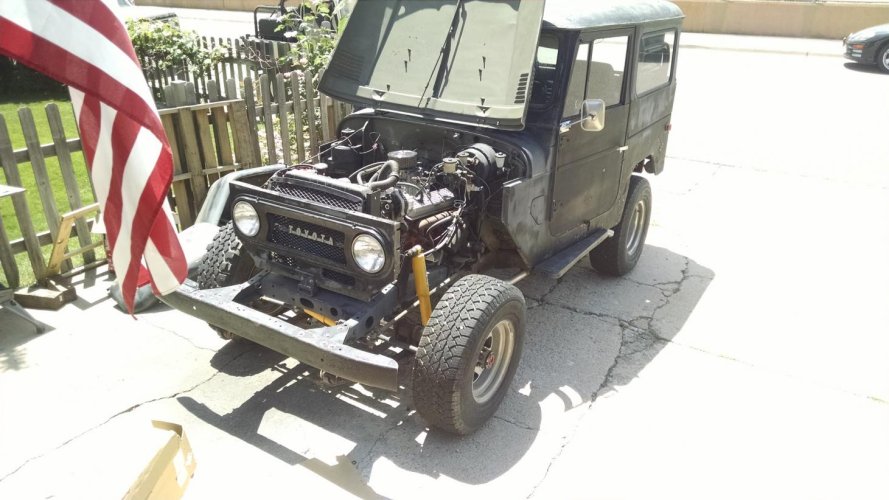
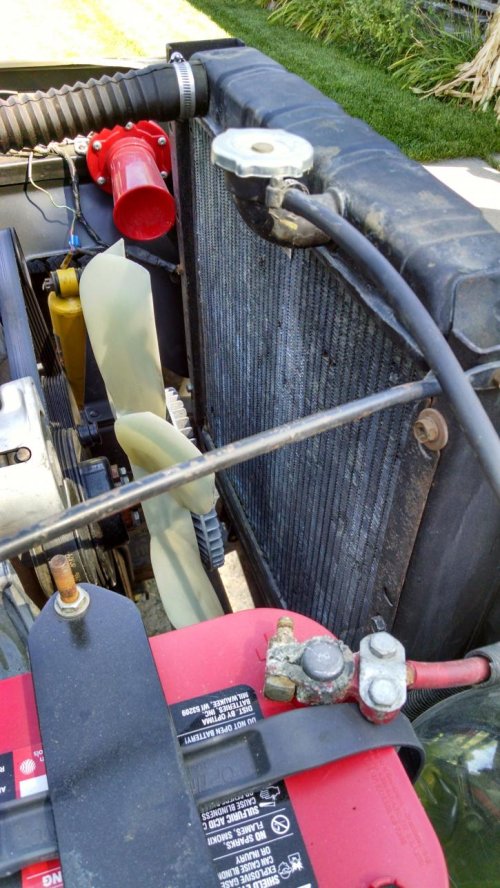
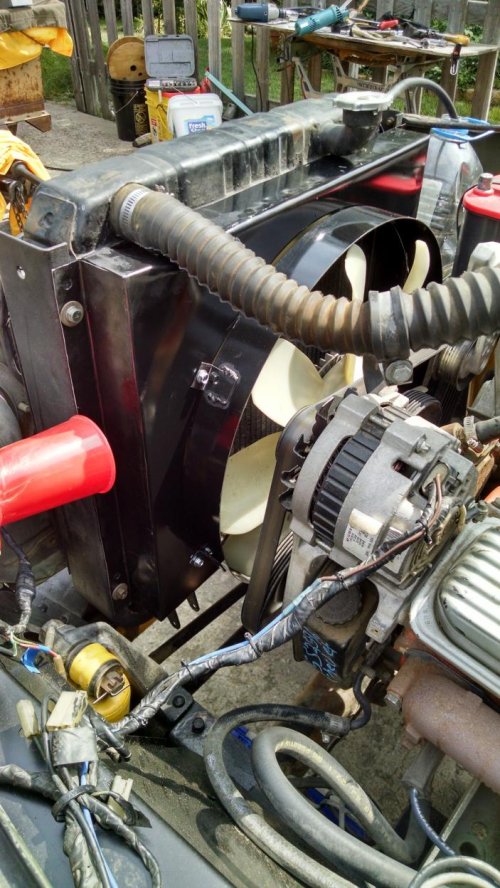
Here's a little back-ground...About 5 years ago, my sister bought her husband a '71 FJ40. He has always admired my '77, and liked the idea of having a classic trail rig. She had Merle trailer it down to his place in Salida for some restoration work. Her 40 had a 305 Camaro engine installed and mated to the original 3 speed transmission. With the sale came a SM465 transmission which she had Merles crew install, as well as newer axles for disc brakes in the front, a Toyota power steering set up, and an OME springs with a 2 1/2 inch lift. She had them install a roll-bar as this 40 will spend most of its life topless (which I'll post pictures later) with intent of them installing new fenders, rear quarters, and other parts...

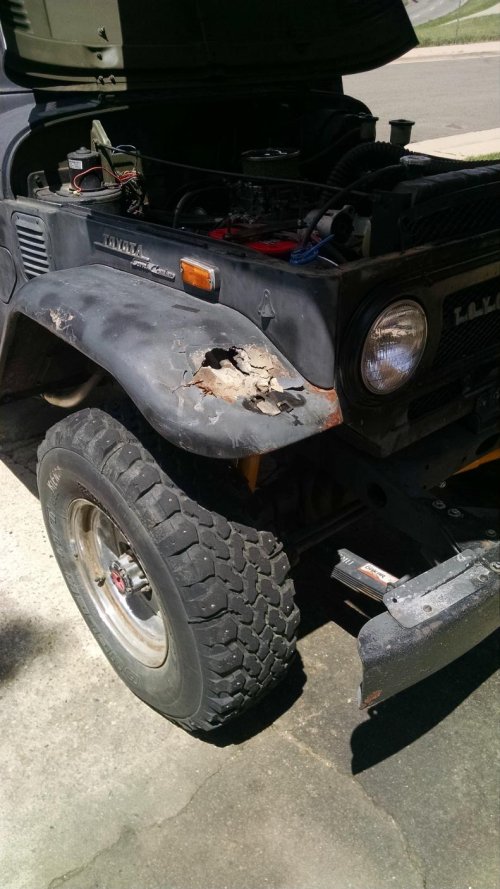
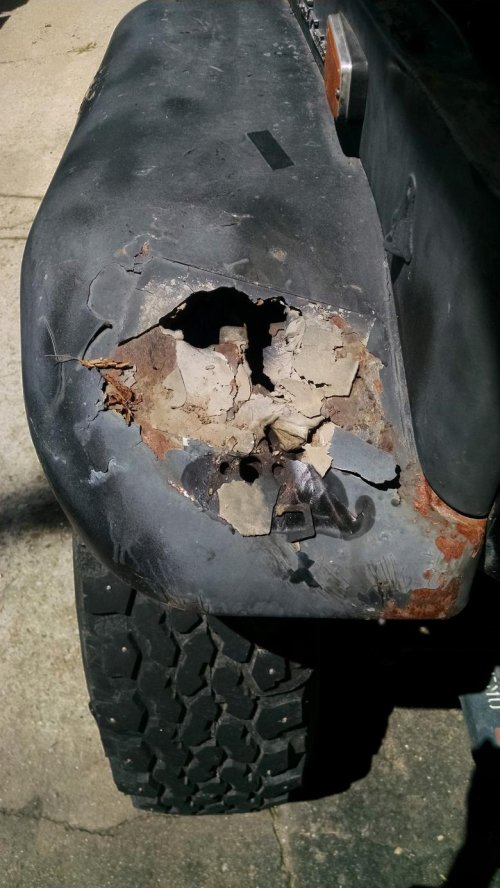
This happened during the time when Merle's wife fell ill, and production started grinding to a halt in Salida...Then Merles horse apparently rolled over on him breaking bones, when everything stopped all together... Anyway, long story short, Merle had her Cruiser for a little over 3 years, and got a small amount of progress done on the 40. She had it towed back to my place, where I agreed to give it a little love.

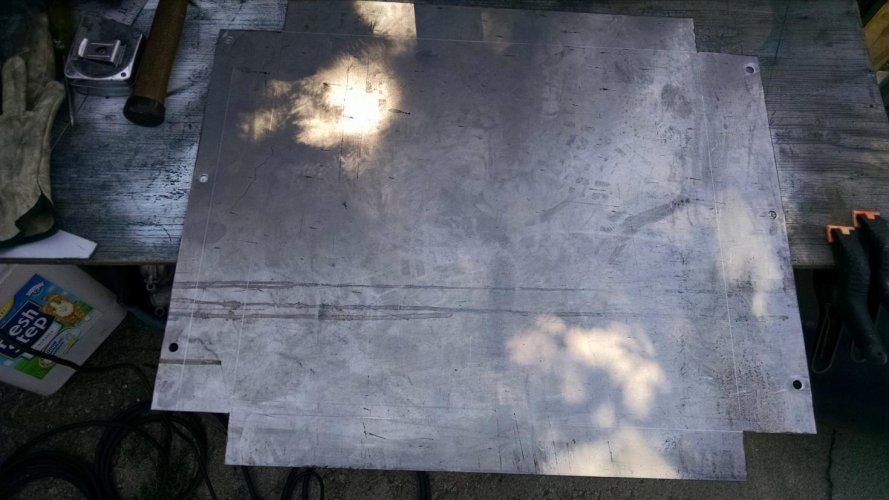
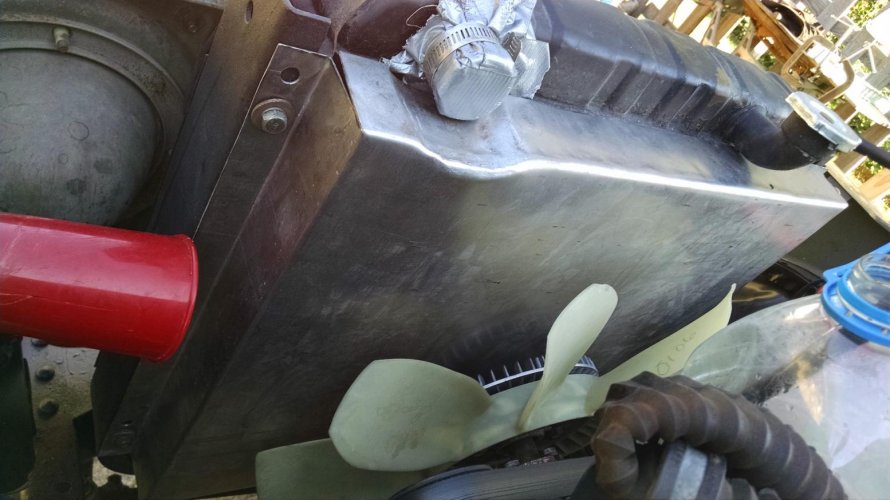
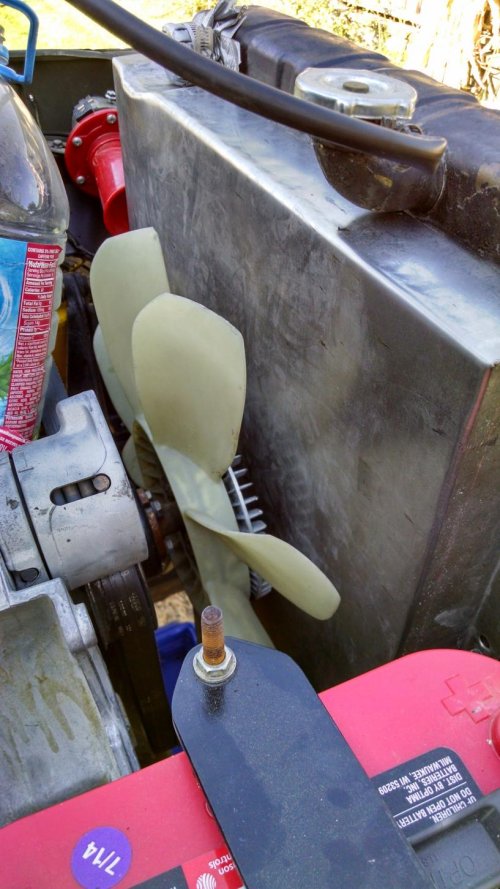
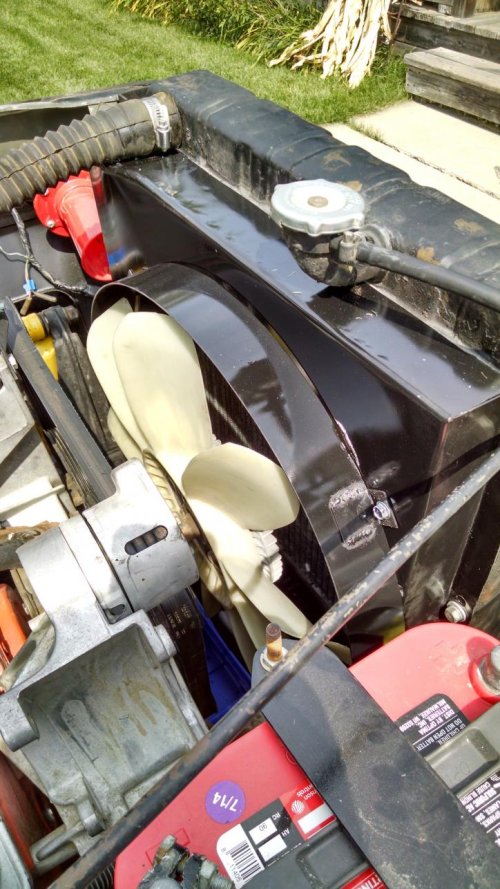
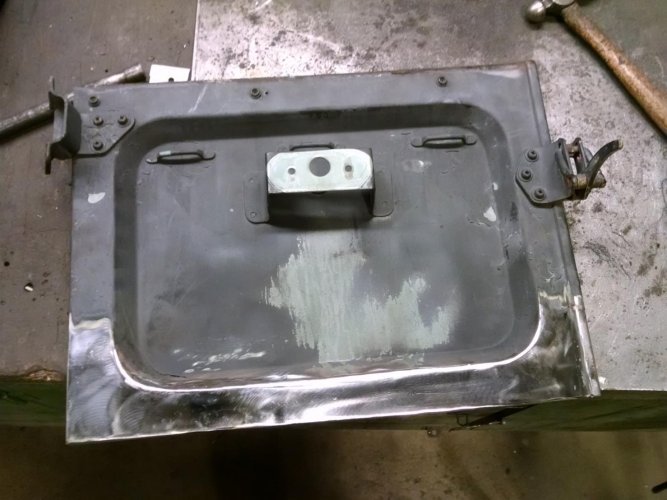
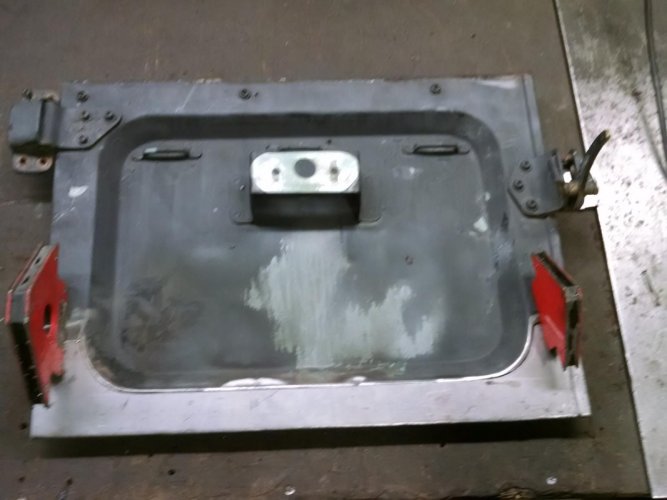
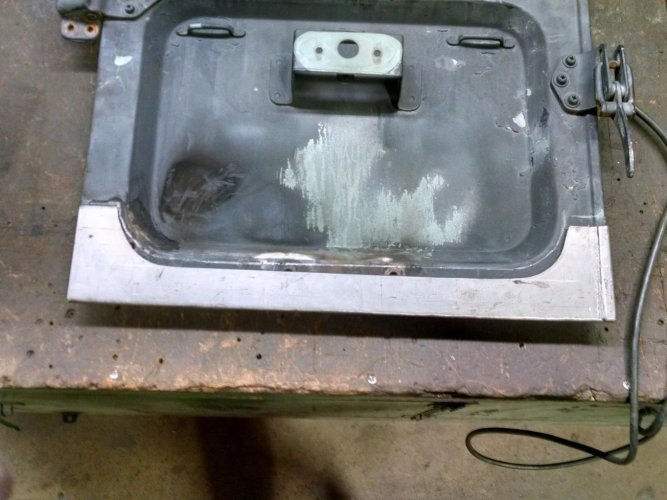
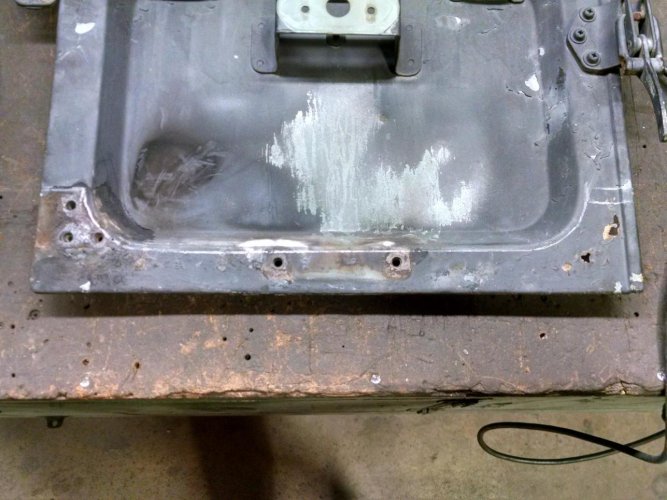
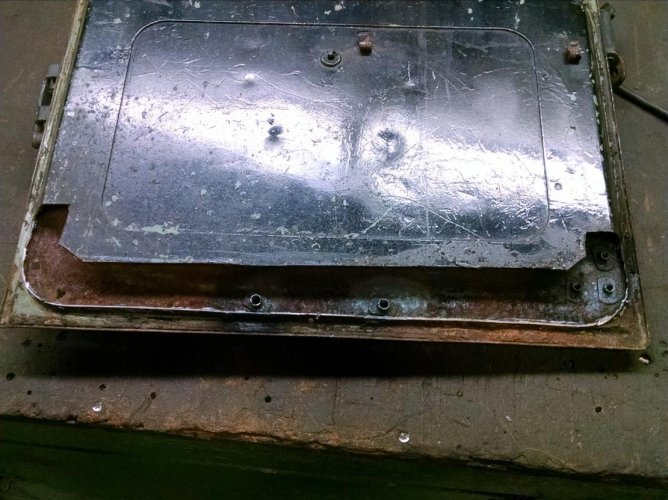
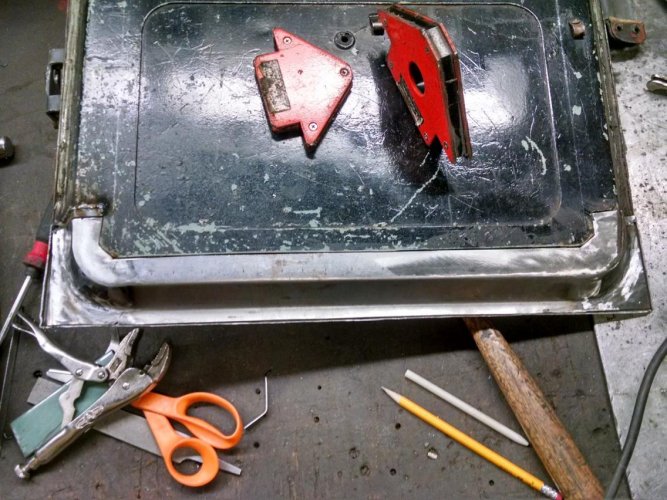
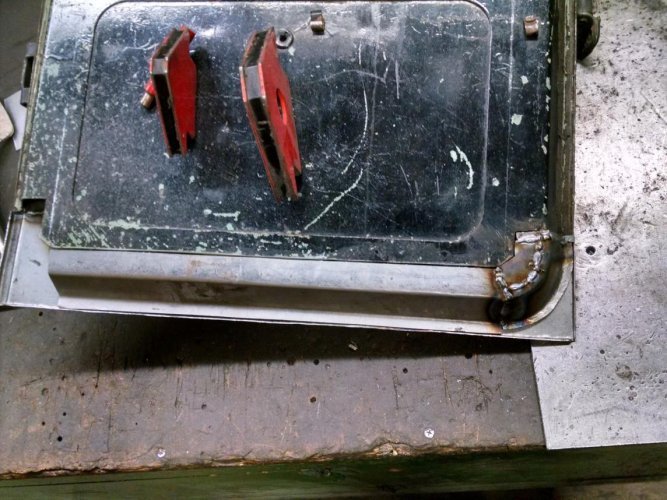
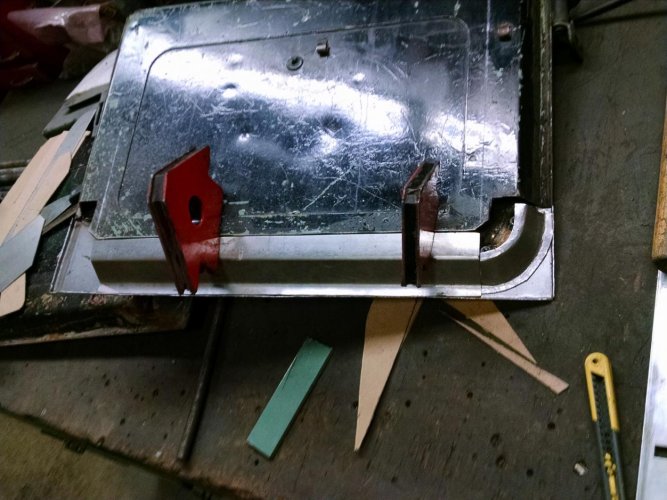
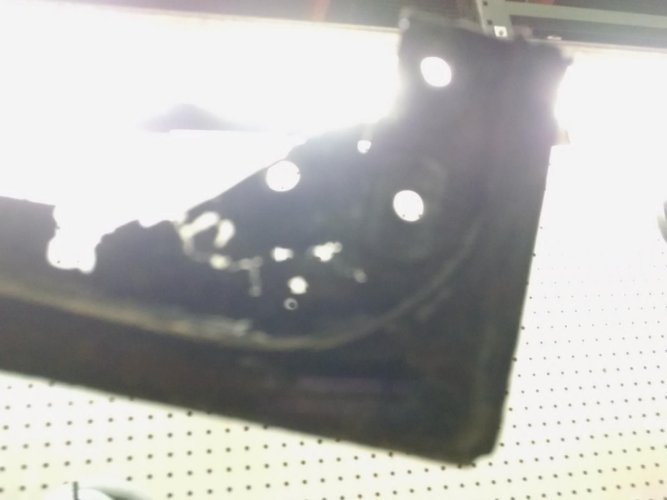
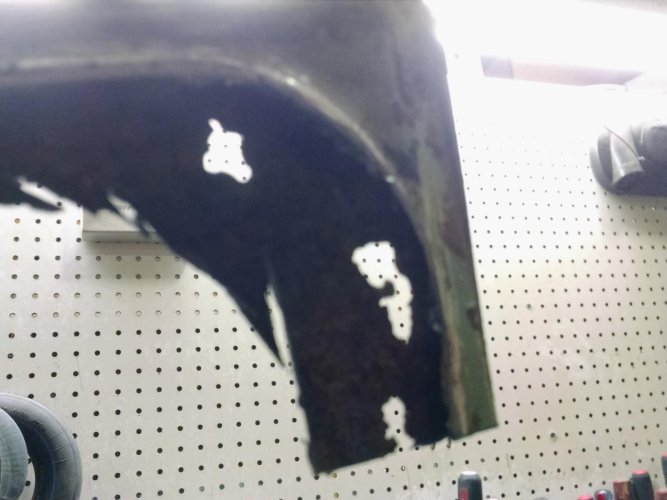
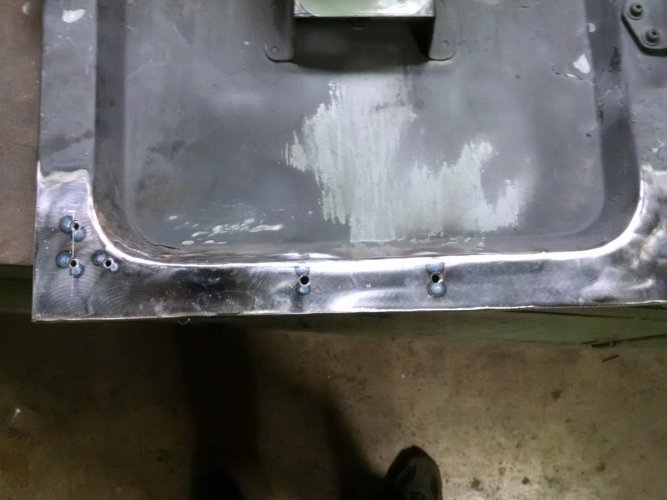
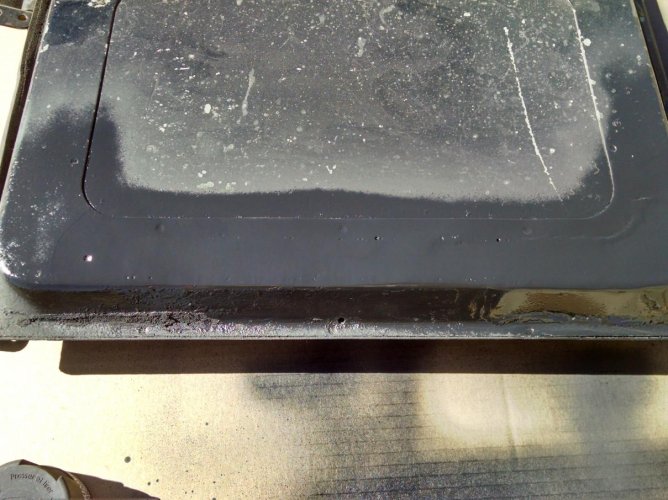
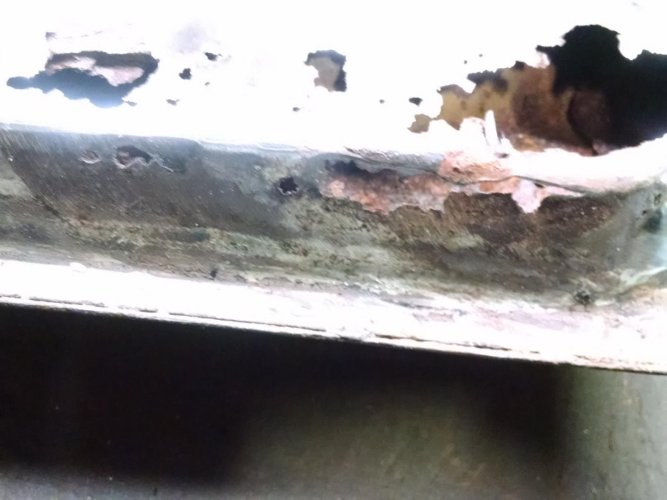
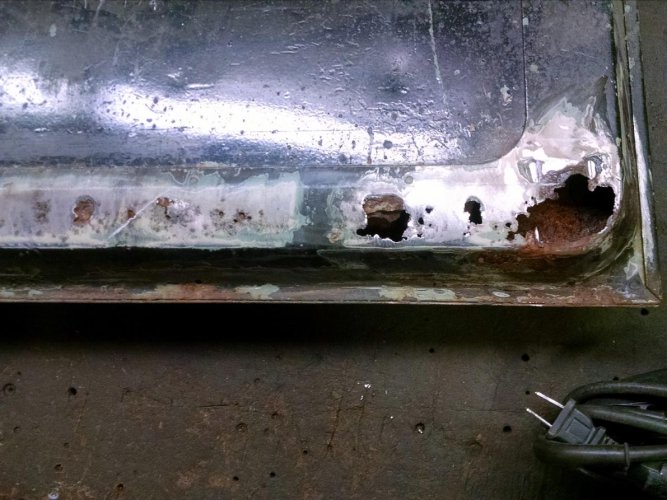
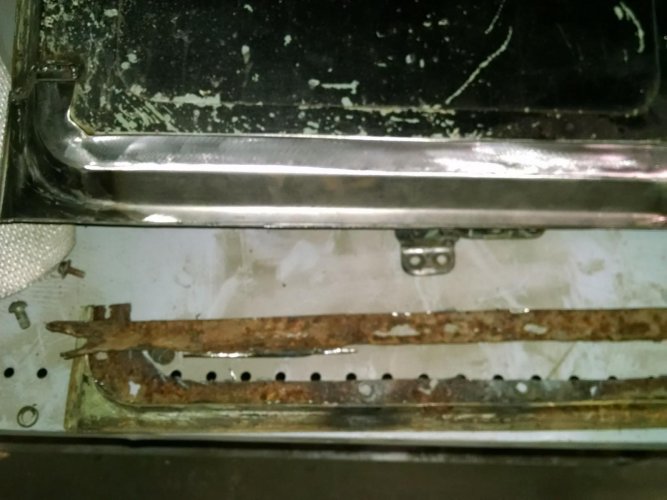
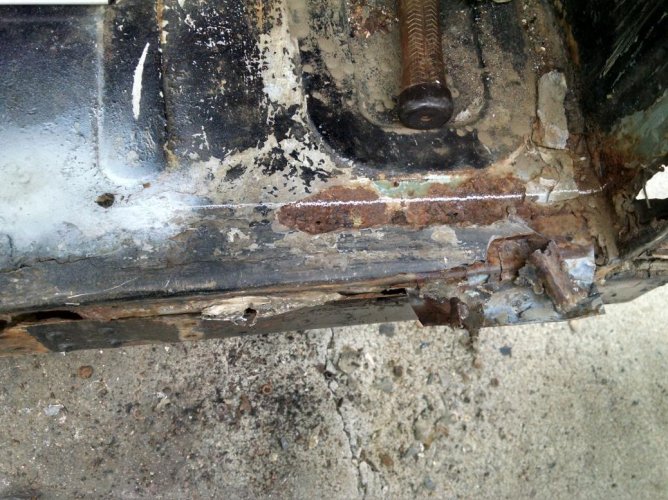
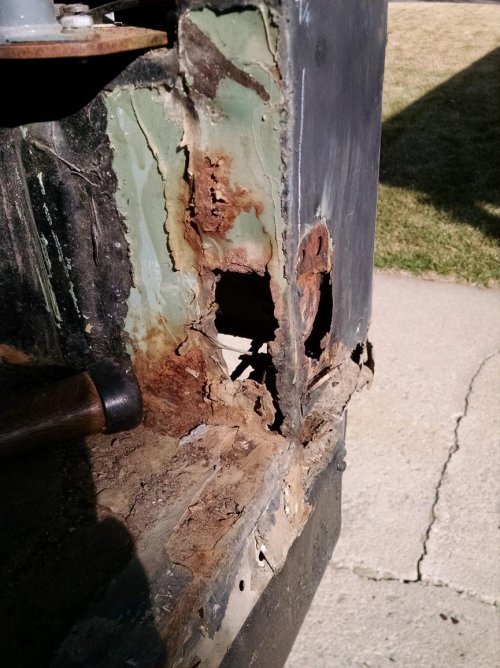
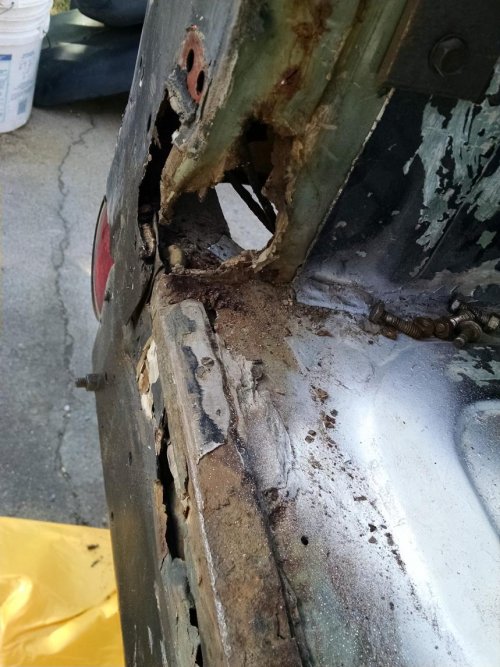
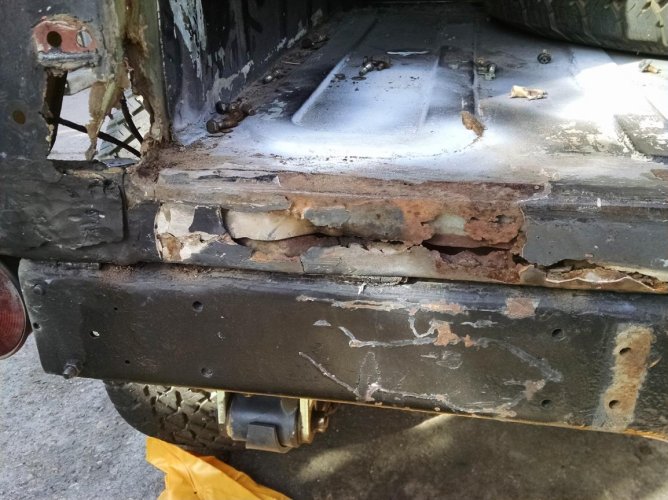
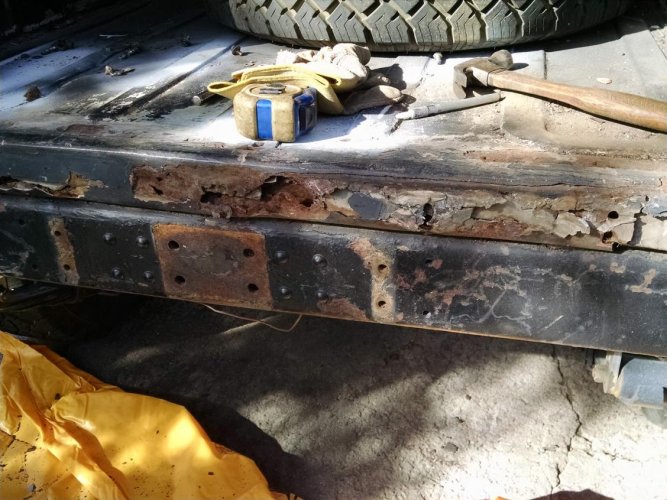
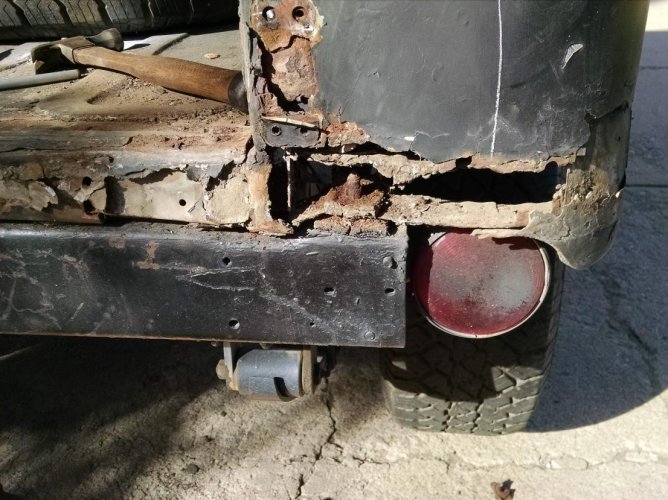
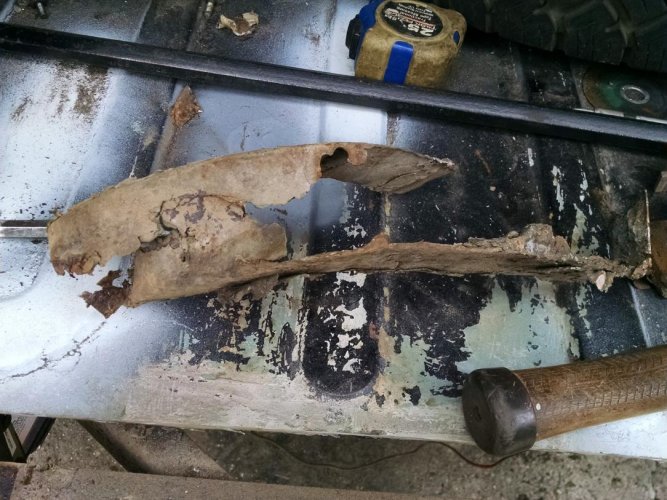
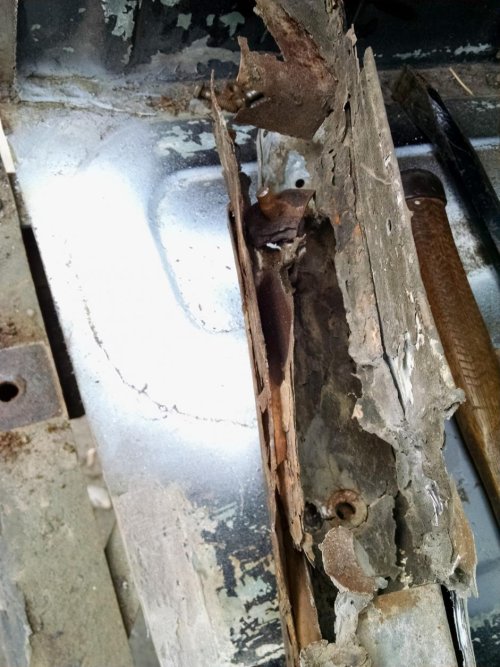
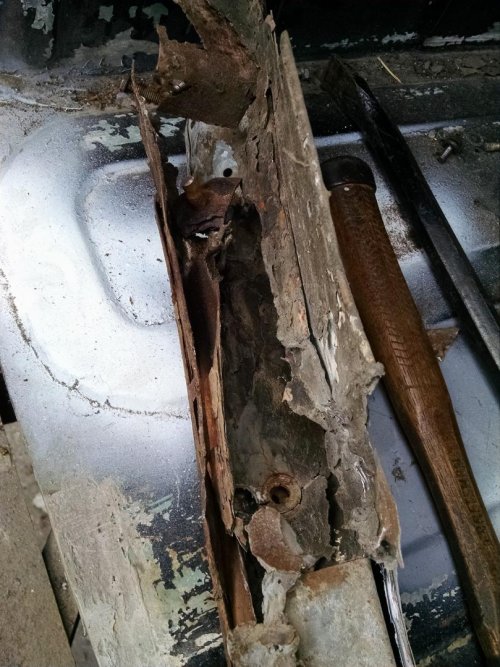
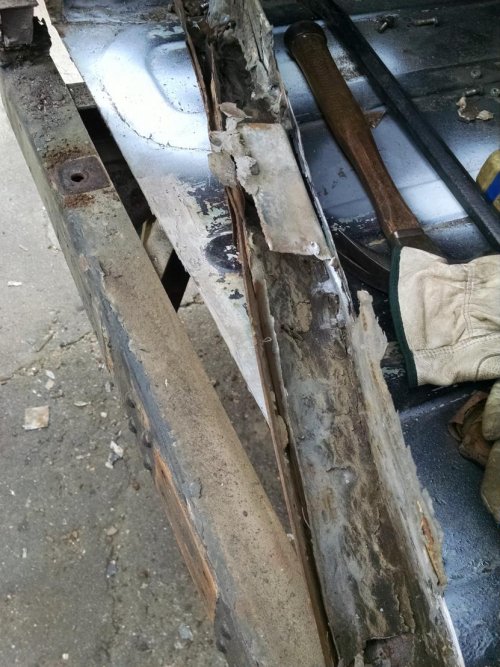
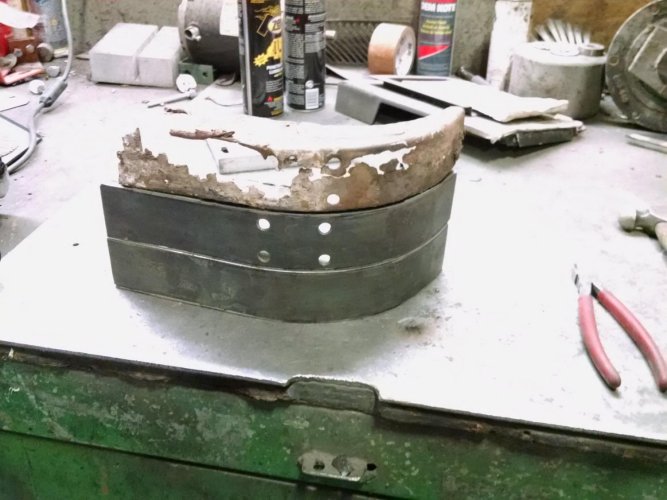
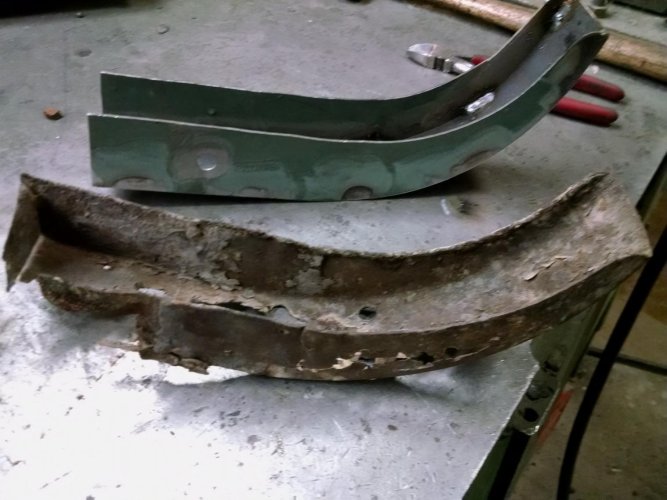
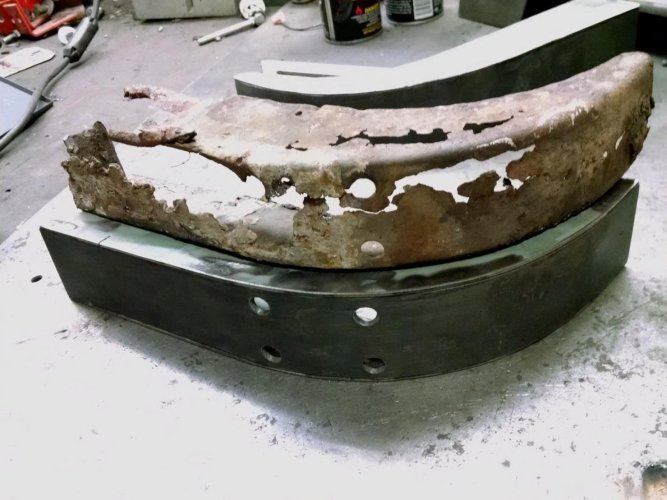
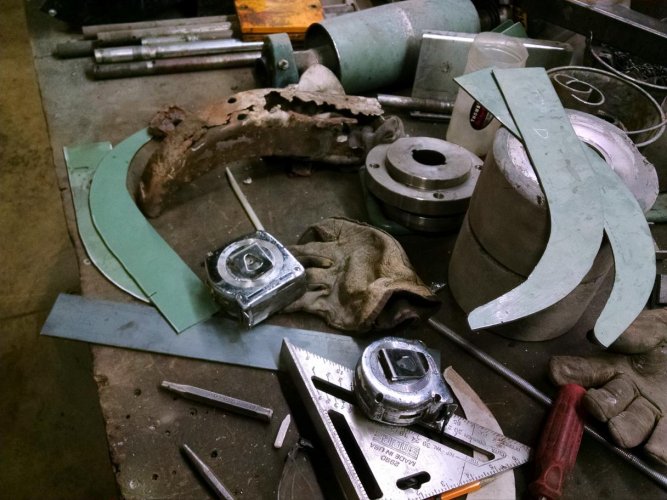
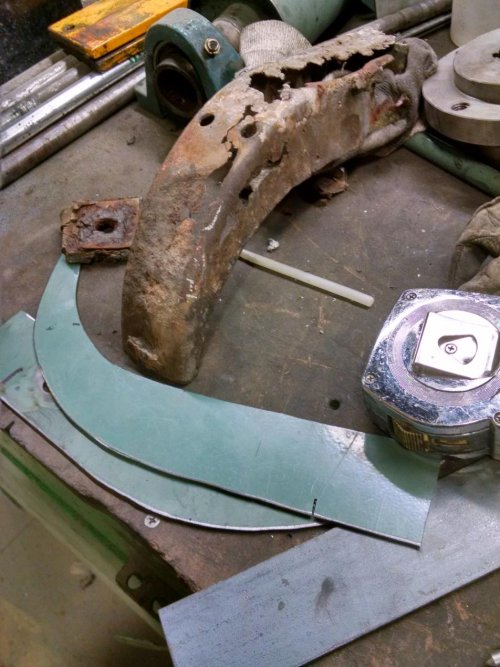
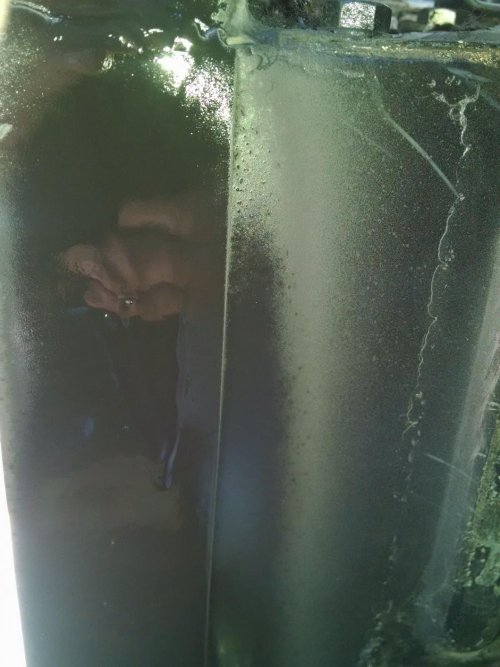
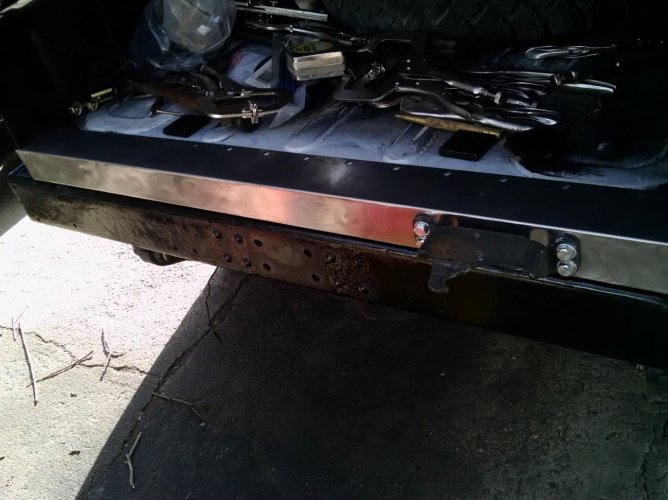
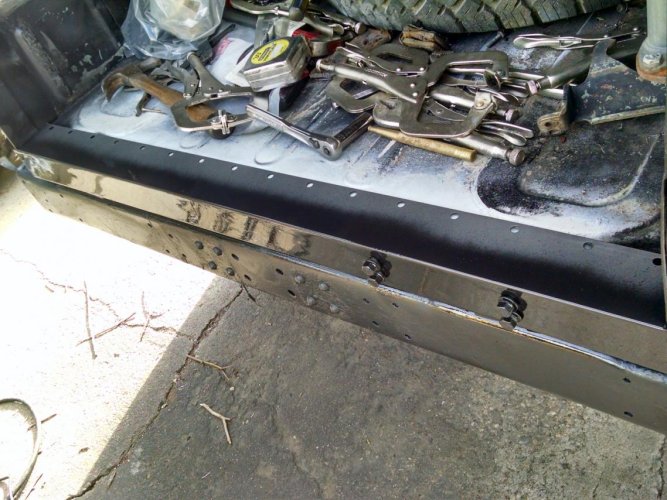
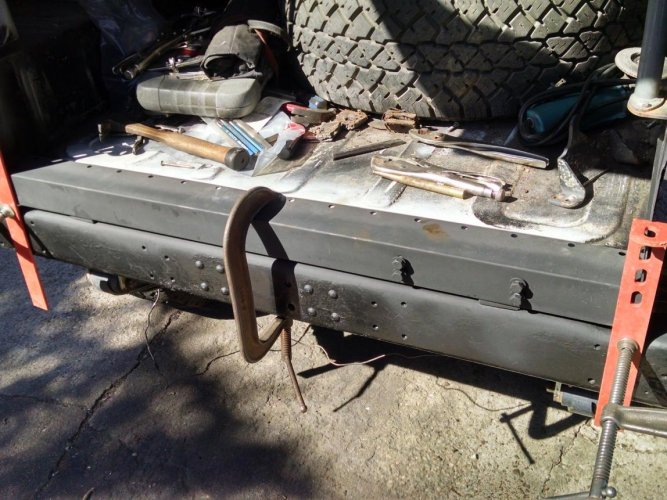
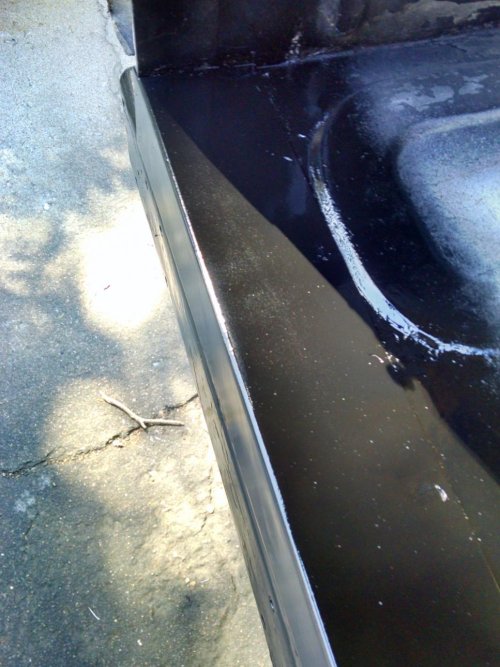
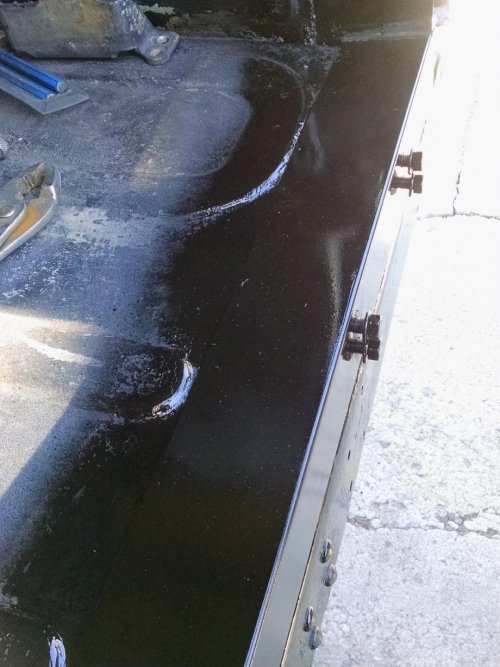
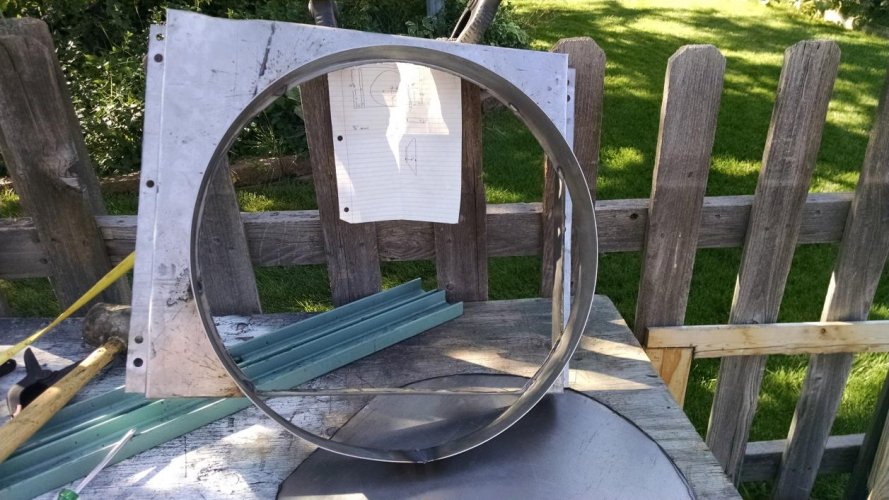
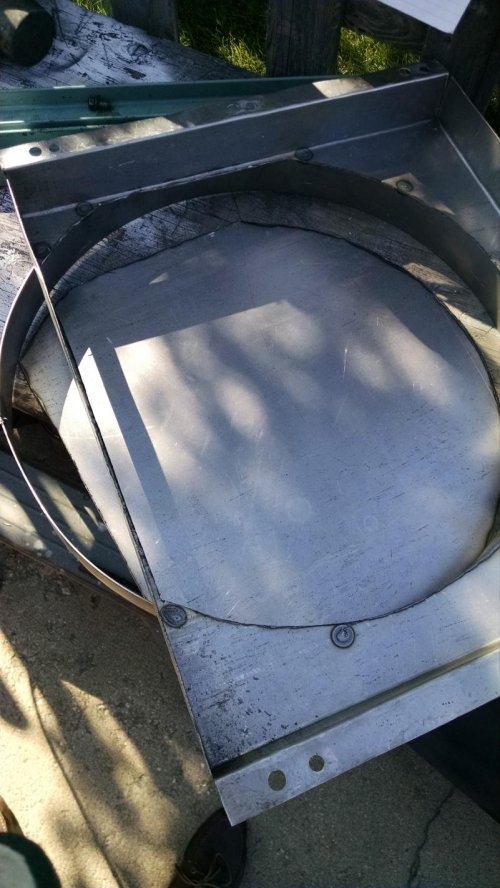
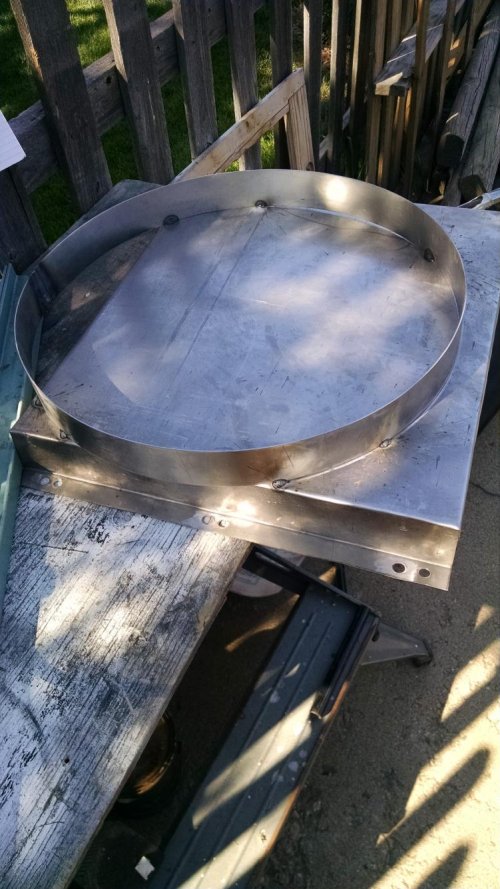
on to a couple of pictures...we all love pictures...
 

Attachments

  • 0712010827.jpg
    0712010827.jpg
    140.7 KB · Views: 480
  • 0712010827a.jpg
    0712010827a.jpg
    147 KB · Views: 483

kurtnkegger

Rising Sun Member
Joined
Jan 24, 2011
Messages
1,511
Location
Denver Burbs
I started by replacing the fenders. The PO had a strange fondness for resting thin galvanized sheet over the rusted out spots, and then gooping on incredibly thick amounts of Bondo over. Upon purchase, we knew the sheet body parts needed a lot of work, but the frame, and the bones or the 40 were in surprisingly good shape.

Turn signals had cracks in the housing from heat and weather. Those are getting replaced.
 

Attachments

  • IMG_20150717_121300029.jpg
    IMG_20150717_121300029.jpg
    152.2 KB · Views: 484
  • IMG_20150717_121252695.jpg
    IMG_20150717_121252695.jpg
    151.1 KB · Views: 490
  • IMG_20150717_115528805_HDR.jpg
    IMG_20150717_115528805_HDR.jpg
    145.5 KB · Views: 473
  • IMG_20150717_115520393.jpg
    IMG_20150717_115520393.jpg
    143.4 KB · Views: 488
  • IMG_20150717_111824537_HDR.jpg
    IMG_20150717_111824537_HDR.jpg
    161.7 KB · Views: 481

kurtnkegger

Rising Sun Member
Joined
Jan 24, 2011
Messages
1,511
Location
Denver Burbs
Fenders and rear quarters were purchased from CCOT, after reading nakmans thread about them, I relied on his insight on the quality of the parts. They are nice...
 

Attachments

  • IMG_20150717_135127223_HDR.jpg
    IMG_20150717_135127223_HDR.jpg
    163.1 KB · Views: 506
  • IMG_20150717_135118618_HDR.jpg
    IMG_20150717_135118618_HDR.jpg
    162.9 KB · Views: 487
  • IMG_20150717_135113298_HDR.jpg
    IMG_20150717_135113298_HDR.jpg
    161.8 KB · Views: 486
  • IMG_20150717_131232701.jpg
    IMG_20150717_131232701.jpg
    156.6 KB · Views: 482
  • IMG_20150717_131223799_HDR.jpg
    IMG_20150717_131223799_HDR.jpg
    159.5 KB · Views: 483
  • IMG_20150717_125542503_HDR.jpg
    IMG_20150717_125542503_HDR.jpg
    158.8 KB · Views: 478

kurtnkegger

Rising Sun Member
Joined
Jan 24, 2011
Messages
1,511
Location
Denver Burbs
A few more for redundancy...:hill:
 

Attachments

  • IMG_20150718_142348626.jpg
    IMG_20150718_142348626.jpg
    152.5 KB · Views: 482
  • IMG_20150718_093956220_HDR.jpg
    IMG_20150718_093956220_HDR.jpg
    160.1 KB · Views: 488
  • IMG_20150717_145536735_HDR.jpg
    IMG_20150717_145536735_HDR.jpg
    158.9 KB · Views: 476
  • IMG_20150717_145527022.jpg
    IMG_20150717_145527022.jpg
    152 KB · Views: 479
  • IMG_20150717_135507581_HDR.jpg
    IMG_20150717_135507581_HDR.jpg
    163.2 KB · Views: 482
  • IMG_20150717_135202883.jpg
    IMG_20150717_135202883.jpg
    153.5 KB · Views: 478

kurtnkegger

Rising Sun Member
Joined
Jan 24, 2011
Messages
1,511
Location
Denver Burbs
Merle's place was supposed to fabricate a fan shroud, as the Chevy fan is so far away from the radiator, there was no air draw through it to aid in keeping the engine from overheating. I mocked up a little drawing for myself, and started cutting and bending sheet to get a shroud working. After measuring, and drilling holes for the shroud on the radiator support, I noticed the radiator was sitting inside the support, resting on the bottom tank....after getting the radiator supported, I had to re-drill the holes in the shroud to accommodate the shift in the radiator. I had to make the shroud to where it is a two piece set up as I couldn't manage enough room to get the shroud hoop around the fan, with the "box" between the radiator and the engine fan. I haven't driven it with the new shroud attached, but it should draw the air through the radiator well.
 

Attachments

  • IMG_20150912_115035555_HDR.jpg
    IMG_20150912_115035555_HDR.jpg
    161 KB · Views: 475
  • IMG_20150912_124739802.jpg
    IMG_20150912_124739802.jpg
    146 KB · Views: 471
  • IMG_20150912_170347110.jpg
    IMG_20150912_170347110.jpg
    147.1 KB · Views: 472
  • IMG_20150912_170412103_HDR.jpg
    IMG_20150912_170412103_HDR.jpg
    153.7 KB · Views: 464

kurtnkegger

Rising Sun Member
Joined
Jan 24, 2011
Messages
1,511
Location
Denver Burbs
Figured where the opening would have to be in relation to the fan, and bent my hoop to size, and cut the hole. I welded sheet pieces in the open gaps on the outside of the radiator area to keep air flow coming in through the radiator...
 

Attachments

  • IMG_20150913_135333804_HDR.jpg
    IMG_20150913_135333804_HDR.jpg
    162 KB · Views: 472
  • IMG_20150913_135323677_HDR.jpg
    IMG_20150913_135323677_HDR.jpg
    163.5 KB · Views: 473
  • IMG_20150913_100227889.jpg
    IMG_20150913_100227889.jpg
    158.5 KB · Views: 483
  • IMG_20150913_100213910.jpg
    IMG_20150913_100213910.jpg
    150.2 KB · Views: 474
  • IMG_20150913_094953799.jpg
    IMG_20150913_094953799.jpg
    154.4 KB · Views: 467

SteveH

Hard Core 4+
Joined
Aug 10, 2006
Messages
2,922
Location
Colo Springs
Gorgeous work on the shroud, and nice work on the truck. You're doing the kind of things you almost can't effectively pay anyone to do. Keep the photos coming!
 

kurtnkegger

Rising Sun Member
Joined
Jan 24, 2011
Messages
1,511
Location
Denver Burbs
Thanks guys, for the encouragement, these photos are from a while ago so I could show my sister the progress I've made. Most of the work I've done isn't very sexy, meaning that while necessary and time consuming, it doesn't translate visually that much headway has been made.

For instance (and somehow the pictures were deleted from my phone camera) the engine was mounted too far back making interference from the valve cover to the passenger footboard. The PO saw a much easier solution to cut a hole in the footwell to make room, and cover with indoor/outdoor carpet. Something that was missed when we first looked at the 40, but needed attention after the carpet was removed and it was revealed. I had to cut some sheet, work and bend to seal the valve cover, and weld in to place. A corner of the transmission hump was cut out in the process, which needed repair...

Numerous holes were drilled in the tub to accommodate an old school, school buss heater that was used as a rear heater...like I said, time consuming repairs that don't look like much.

Anyway...on with more pictures of progress. The barn doors, like most, had lower cancer, and in need of repair. I tried to save as much of the original parts as I could, and replaced cancerous areas.
 

Attachments

  • IMG_20160406_150824859.jpg
    IMG_20160406_150824859.jpg
    151.1 KB · Views: 436
  • IMG_20160406_135723747.jpg
    IMG_20160406_135723747.jpg
    120.2 KB · Views: 440
  • IMG_20160406_130048145_HDR.jpg
    IMG_20160406_130048145_HDR.jpg
    149.4 KB · Views: 426
  • IMG_20160406_133118119_HDR.jpg
    IMG_20160406_133118119_HDR.jpg
    150.8 KB · Views: 432
  • IMG_20160406_130038562_HDR.jpg
    IMG_20160406_130038562_HDR.jpg
    152.2 KB · Views: 428
  • IMG_20160406_130024698.jpg
    IMG_20160406_130024698.jpg
    157.3 KB · Views: 428

kurtnkegger

Rising Sun Member
Joined
Jan 24, 2011
Messages
1,511
Location
Denver Burbs
I welded in capture nuts on the surface to fit the license plate holder and the hinges before welding in the back of the barndoors....

Plus pictures of the rotted through sections...
 

Attachments

  • IMG_20160411_153426808_HDR.jpg
    IMG_20160411_153426808_HDR.jpg
    169.4 KB · Views: 265
  • IMG_20160411_130119188_HDR.jpg
    IMG_20160411_130119188_HDR.jpg
    166.3 KB · Views: 266
  • IMG_20160411_113548682.jpg
    IMG_20160411_113548682.jpg
    155.7 KB · Views: 264
  • IMG_20160406_140022132.jpg
    IMG_20160406_140022132.jpg
    68.6 KB · Views: 265
  • IMG_20160406_140015961.jpg
    IMG_20160406_140015961.jpg
    134.8 KB · Views: 261
  • IMG_20160406_153441885.jpg
    IMG_20160406_153441885.jpg
    136.7 KB · Views: 280

kurtnkegger

Rising Sun Member
Joined
Jan 24, 2011
Messages
1,511
Location
Denver Burbs
More of the doors...I put a coat of primer, and paint on the insides before welding them together, as well as putting some rust treatment on any of the old metal I could get to while I had it open. Then a coat of rattle can to keep the flash rust at bay until it gets its real paint job.
 

Attachments

  • IMG_20160414_100522125_HDR.jpg
    IMG_20160414_100522125_HDR.jpg
    157.1 KB · Views: 261
  • IMG_20160412_103336211.jpg
    IMG_20160412_103336211.jpg
    162 KB · Views: 244
  • IMG_20160412_081919973.jpg
    IMG_20160412_081919973.jpg
    130.1 KB · Views: 266
  • IMG_20160412_081914943.jpg
    IMG_20160412_081914943.jpg
    155.7 KB · Views: 254
  • IMG_20160411_153613122.jpg
    IMG_20160411_153613122.jpg
    139.4 KB · Views: 262

Dirt Claude

Locked
Joined
Mar 21, 2012
Messages
200
Location
Castle Rock
Looking great Kurt, keep up the good work!

After spending more than three years on restoring my FJ40, I can truly appreciate the amount time and effort it takes to bring one of these back to life.
 

kurtnkegger

Rising Sun Member
Joined
Jan 24, 2011
Messages
1,511
Location
Denver Burbs
On to the rear sill... Had a lot of rust in the back of the 40, so ordered a rear sill to install. I didn't realize there were two pieces to the sill, and thought the corner pieces came with it. I had a little more fabricating to do than I thought.
 

Attachments

  • IMG_20160305_111940060_HDR.jpg
    IMG_20160305_111940060_HDR.jpg
    172.7 KB · Views: 215
  • IMG_20160305_094600003.jpg
    IMG_20160305_094600003.jpg
    163.8 KB · Views: 227
  • IMG_20160305_094554999.jpg
    IMG_20160305_094554999.jpg
    161.7 KB · Views: 210
  • IMG_20160305_094551640.jpg
    IMG_20160305_094551640.jpg
    163.6 KB · Views: 204
  • IMG_20160305_094548737.jpg
    IMG_20160305_094548737.jpg
    166 KB · Views: 218
  • IMG_20160305_094545591.jpg
    IMG_20160305_094545591.jpg
    164.7 KB · Views: 201

kurtnkegger

Rising Sun Member
Joined
Jan 24, 2011
Messages
1,511
Location
Denver Burbs
I marked and cut out the old sill, and again found more galvanized sheet covered with bondo to hide rusted through holes. Rags were used to stuff in to rusted out pieces and then more bondo gooped in. The rear mounts were rusted out, and found out from Stevinson there weren't any in the country, and no clue if they would be produced again. After market mounts were ordered, and as it turned out, more mounts were needed anyway...
 

Attachments

  • IMG_20160305_115040741.jpg
    IMG_20160305_115040741.jpg
    164.4 KB · Views: 210
  • IMG_20160305_114626634.jpg
    IMG_20160305_114626634.jpg
    163.8 KB · Views: 217
  • IMG_20160305_114220711.jpg
    IMG_20160305_114220711.jpg
    165.6 KB · Views: 213
  • IMG_20160305_114214621.jpg
    IMG_20160305_114214621.jpg
    162.5 KB · Views: 207
  • IMG_20160305_114205970.jpg
    IMG_20160305_114205970.jpg
    164.6 KB · Views: 208

kurtnkegger

Rising Sun Member
Joined
Jan 24, 2011
Messages
1,511
Location
Denver Burbs
One corner piece was barely enough in tact to where I could make new and attach to the new sill. The curve of the new corners fit inside the old quarters nicely.
 

Attachments

  • IMG_20160307_131846157.jpg
    IMG_20160307_131846157.jpg
    152.7 KB · Views: 207
  • IMG_20160307_131701119.jpg
    IMG_20160307_131701119.jpg
    150.1 KB · Views: 213
  • IMG_20160307_131640866.jpg
    IMG_20160307_131640866.jpg
    153.5 KB · Views: 204
  • IMG_20160307_113224578.jpg
    IMG_20160307_113224578.jpg
    156.8 KB · Views: 209
  • IMG_20160307_113212556_HDR.jpg
    IMG_20160307_113212556_HDR.jpg
    159 KB · Views: 203

kurtnkegger

Rising Sun Member
Joined
Jan 24, 2011
Messages
1,511
Location
Denver Burbs
I cut out the rotted areas on the wheel well side, and welded in a patch plate, as well as a cover piece to help finish the wrap at the rear quarter, then attached the two pieces of the sill along with some support ribe between the two to help support the cut tub. Welded in some capture nuts to ease with the mounting of the spare tire hook when it gets installed.
 

Attachments

  • IMG_20160401_144508661.jpg
    IMG_20160401_144508661.jpg
    146 KB · Views: 209
  • IMG_20160401_165950498.jpg
    IMG_20160401_165950498.jpg
    153.7 KB · Views: 206
  • IMG_20160401_172218479_HDR.jpg
    IMG_20160401_172218479_HDR.jpg
    165.4 KB · Views: 210
  • IMG_20160402_105441601_HDR.jpg
    IMG_20160402_105441601_HDR.jpg
    168.9 KB · Views: 201
  • IMG_20160402_123327910_HDR.jpg
    IMG_20160402_123327910_HDR.jpg
    157.3 KB · Views: 208
  • IMG_20160402_123332080.jpg
    IMG_20160402_123332080.jpg
    151.7 KB · Views: 205

SteveH

Hard Core 4+
Joined
Aug 10, 2006
Messages
2,922
Location
Colo Springs
You aren't messing around! Tons of work going into this.
 
Top