rover67
Rising Sun Member
Also, I just looked at the pictures again and am blown away with how nice that rig is....
It's going to love the new motor.
It's going to love the new motor.
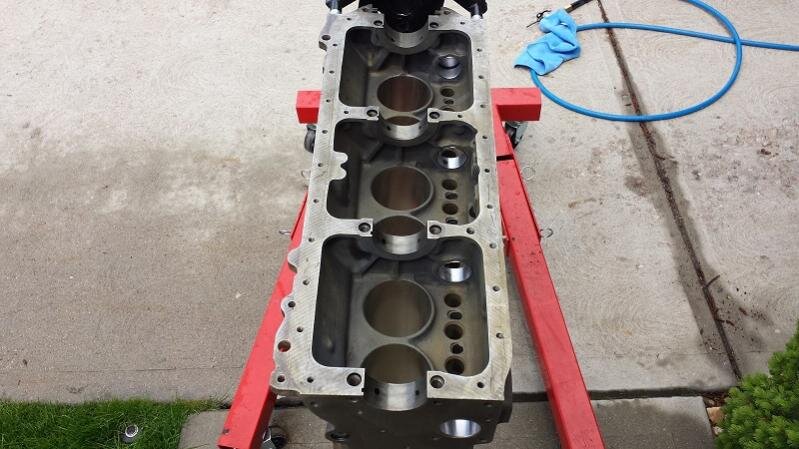
I have done a few seals and I can never get them in square I always wind up ruining them, so I started using various pieces of pvc as seal drivers and my success rate is increasing.. this little 2" pvc cap worked well.

")
")
Wow Mike, this is looking soooo good. What prep was involved before dropping off at the powder coater? Your parts look amazing.
Just my.02 is that the expenses are still plenty moving forward!


Wow - that is some nice looking parts. Your 40 is going to look great.
Fantastic Mike. Can't wait to see it. It should be one of the best 40's around. I am envious.