CardinalFJ60
Rising Sun Member
Added the rear tailgate insert I got from Paul. Dynamatted the tailgate, nutserted and no more nasty broken up carpet thing.


Those look great Dom! For a while I've wondered about getting chains from my 🌮chains on the rear tires
@allen.wrench , I went rear only due to clearances issues up front. Too close or would make contact with UCAs, tie rods, brake lines, body and frame. 😵Those look great Dom! For a while I've wondered about getting chains from my 🌮
You only got them for the rear?
Allen

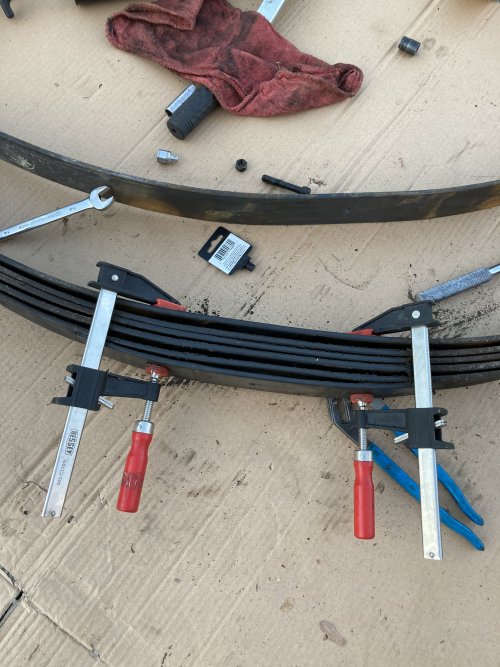
Amazing how much quicker it is the second time though!Well my front bumper and winch ended up not being heavy enough to preload the front Old Man Emu heavy springs enough. The ride in my 60 has been super stiff in the 6 months since install .... so I popped a leaf out each pack in the front yesterday. Doing the rears today (X-heavy -> heavy, pull one leaf each side). Nothing like doing a suspension install twice. Maybe I should go into business doing it 🤣
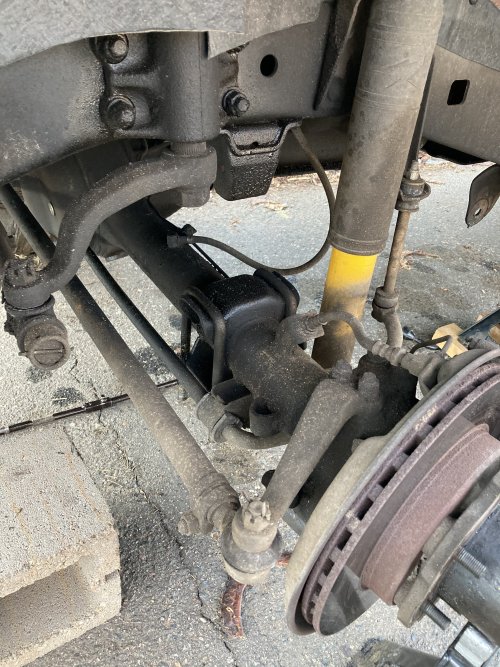
And yeah - everything is coated in oil and grease. I know. It’s my way of rust-proofing the frame!
Oh yeah! Fucking warp speed now. It’s amazing how long it takes to cut/grind/drill/melt original suspension and bushings off, too. Took me 4 days for removal and two full days for install when I did it. I could probably do it in 1/4 the time now. It’s all those little tricks you pick up on the first time around - creative uses of a bottle Jack, ratchet straps, etc.Amazing how much quicker it is the second time though!
Did you measure any before/after for ride height? I'm curious how much lower it sits..Well my front bumper and winch ended up not being heavy enough to preload the front Old Man Emu heavy springs enough. The ride in my 60 has been super stiff in the 6 months since install .... so I popped a leaf out each pack in the front yesterday. Doing the rears today (X-heavy -> heavy, pull one leaf each side). Nothing like doing a suspension install twice. Maybe I should go into business doing it 🤣
And yeah - everything is coated in oil and grease. I know. It’s my way of rust-proofing the frame!
I didn’t..... I have a tendency to just attack projects. Probably should have measured first. The front appears down maybe 1/2” to my eyes. About to get this last corner before it gets dark and then we’ll see how the whole thing sits.Did you measure any before/after for ride height? I'm curious how much lower it sits..
I'm still deciding if I just like it or if I love it, lol. at least it seems like folks are getting projects done! So it's gotta be pretty good. 


Looks great!How do you guys think it looks??
Did you fit out of the carport after installation?
Cool. Thanks Daniel!Looks great!
Only some silicone formulations. some types are fines. Google it.Hmm I didn't know that about silicone. If a silicone is not meant for metal contact does it harm the metal (like it causes corrosion) or does the metal harm the silicone (like it prevents full curing)?
Drove the 80 to Starbucks this morning.