SteveH
Hard Core 4+
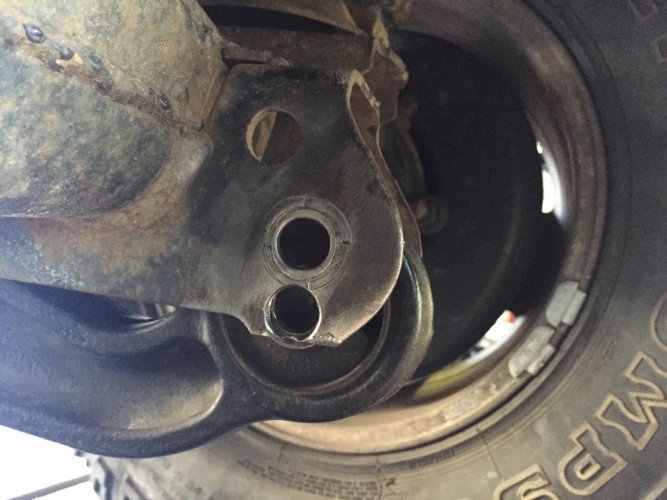
What caliber? My FJ45 had a .30 cal hole in the floor (pass side footwell - about the same location)
Found this. Looks like a bullet hole to me?


") These are going onto my 60, but since Dad's 61 has the same bumper (and is already wired) I wanted to make the harnesses interchangeable, so....
These are going onto my 60, but since Dad's 61 has the same bumper (and is already wired) I wanted to make the harnesses interchangeable, so....
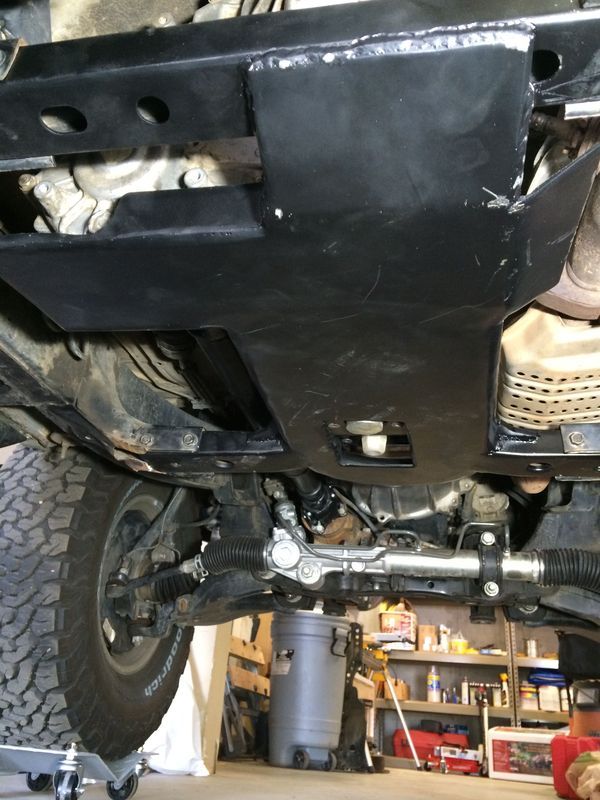
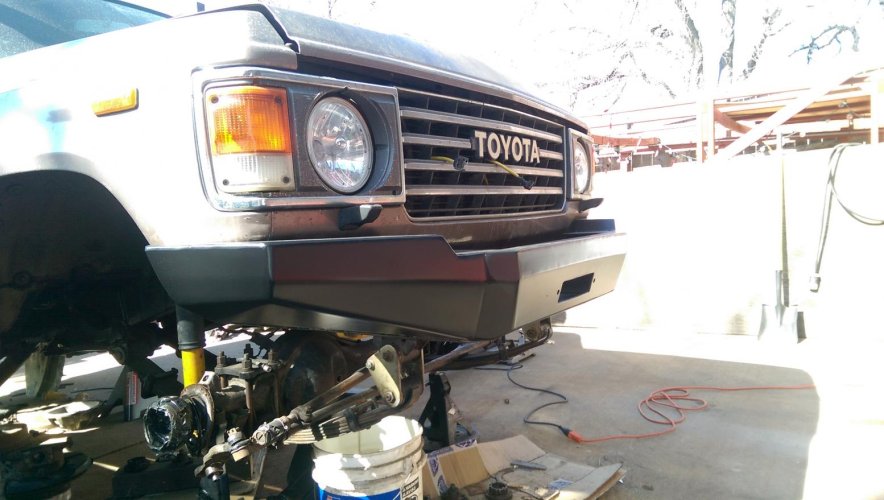
Mostly finished up my front and rear bumper revamp. Still need to bend up some tube for the bull bar in the front, but my cruiser is disabled right on top of my tube bender anchors in the driveway. Set up my front ARB with 4.56 gears at Jacksons last night, and will hopefully get the rear ARB all set up by the end of the week. I might be changing gear oil in Moab if I don't hurry up and get this thing back together and broken in!
I have the jd2. Need to switch it over to hydraulic, just haven't made it that far yet. Its in the plans.
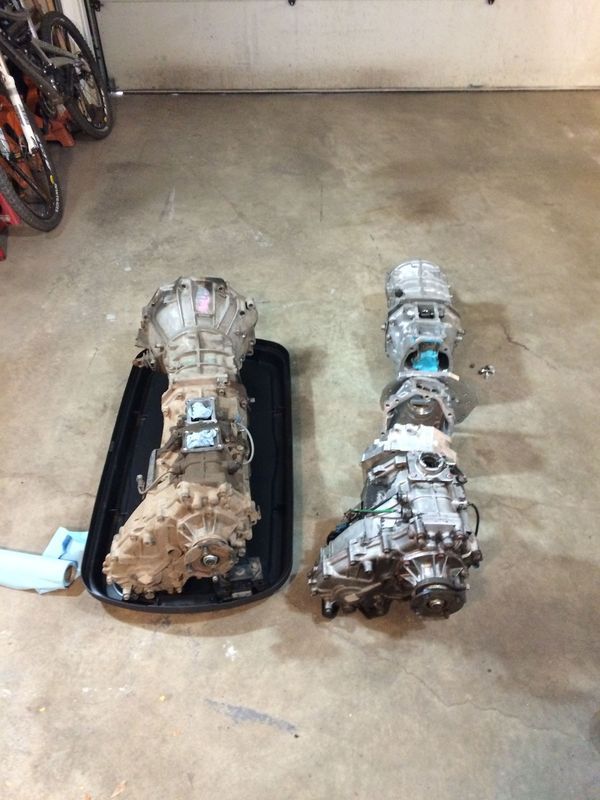
 But still managed to get everything together.