• RS MAY CLUB MEETING
    Hi Guest: Our monthly RS meeting on Wed. May 1st will be held at the Rooney Sports Complex. Details and directions are here. Early start time: 7:00 pm. to take advantage of daylight. We'll be talking ColoYota Expo and Cruise Moab.
    If you are eligible for club membership, please fill out an application in advance of the meeting and bring it with you.

Rebuilding my Dad's 1980 FJ40

Connelly80FJ40

Wincher
Joined
Dec 27, 2019
Messages
96
Location
Thornton, Co
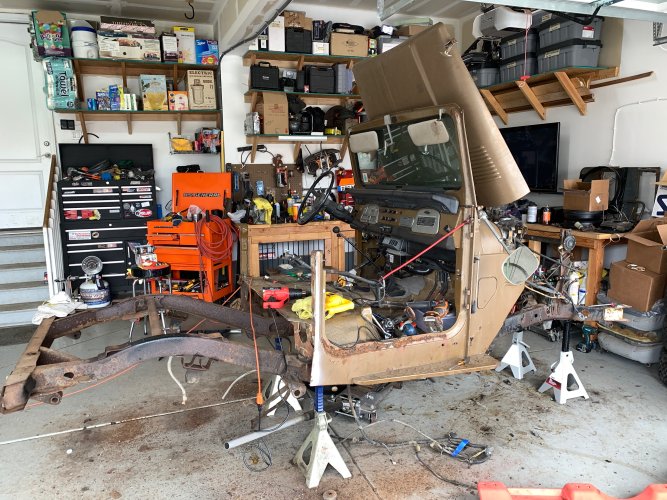
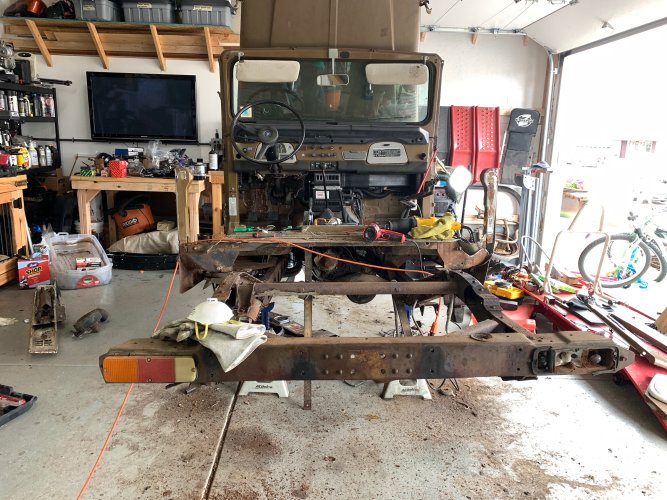
Today was a great day!!
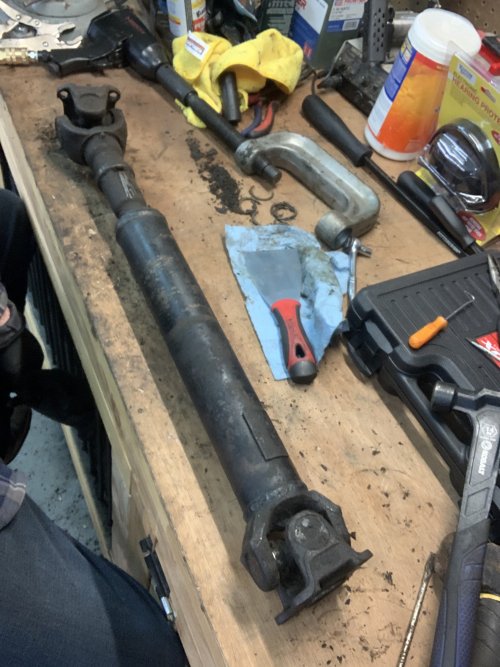
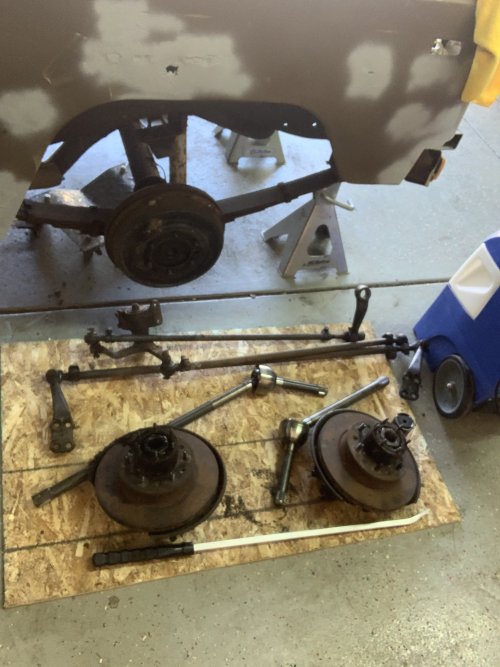
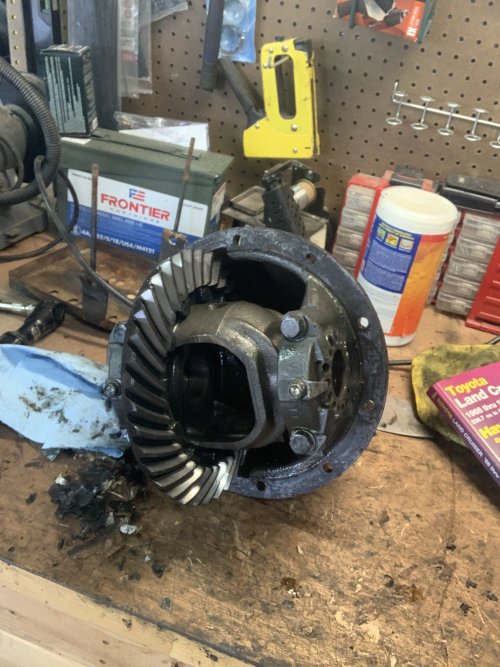
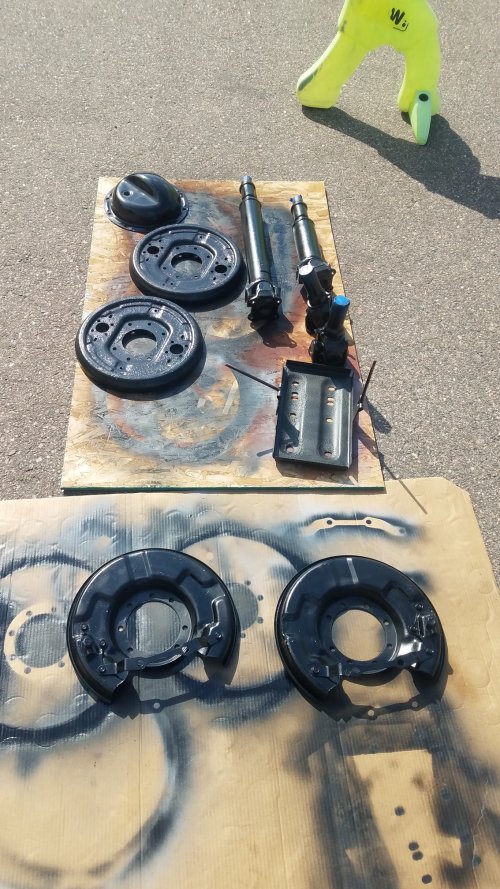
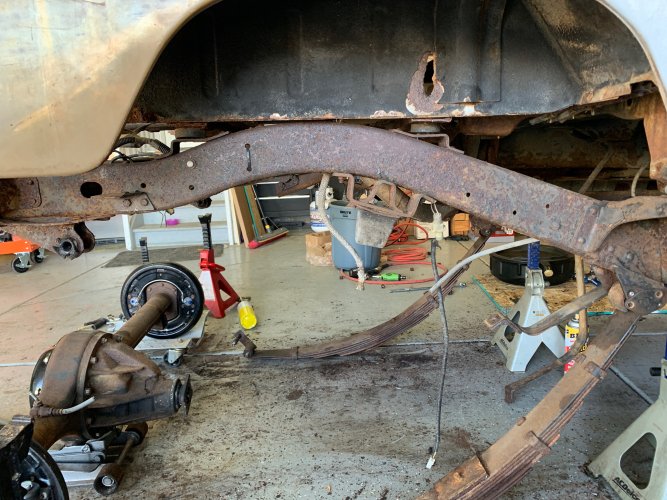
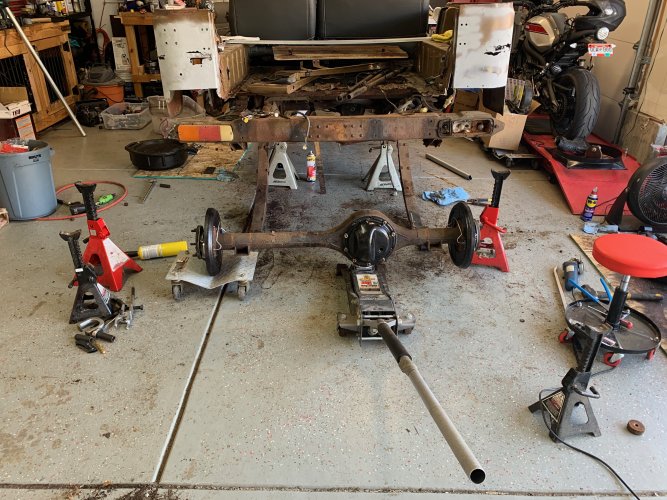
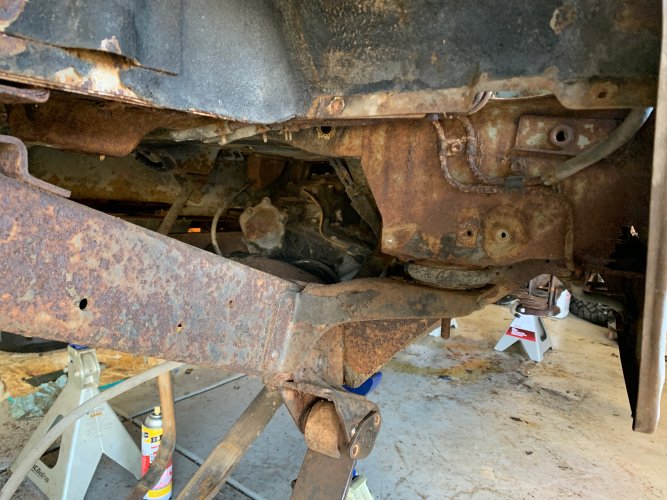
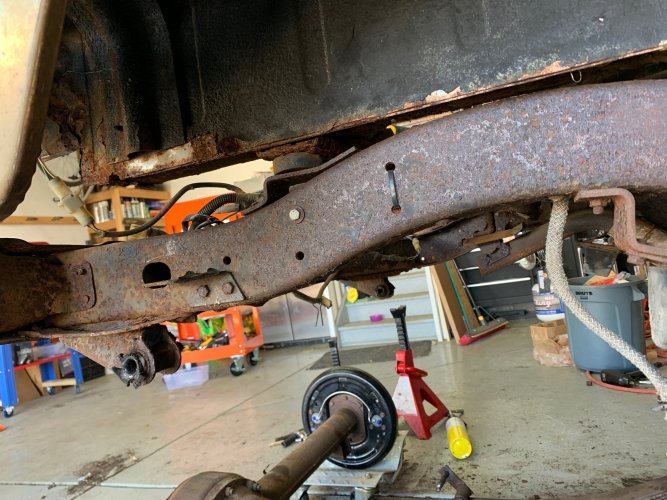
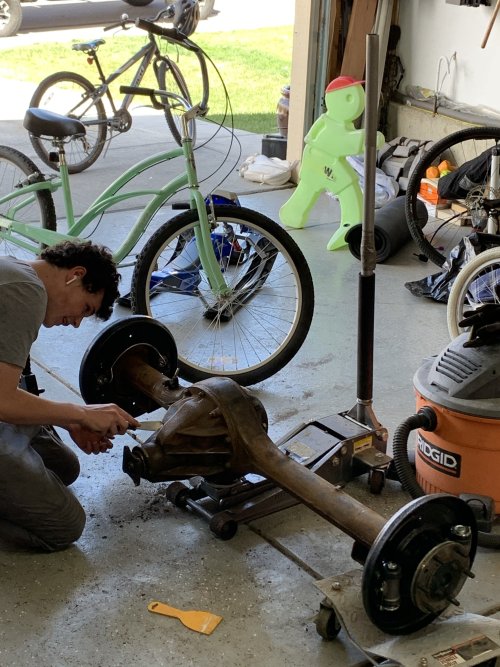
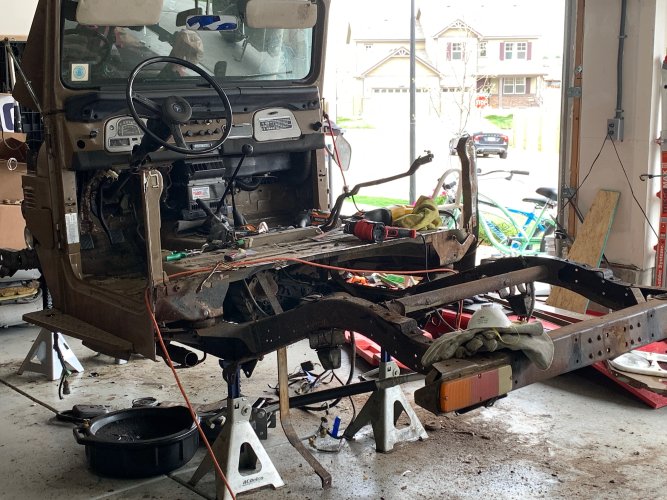
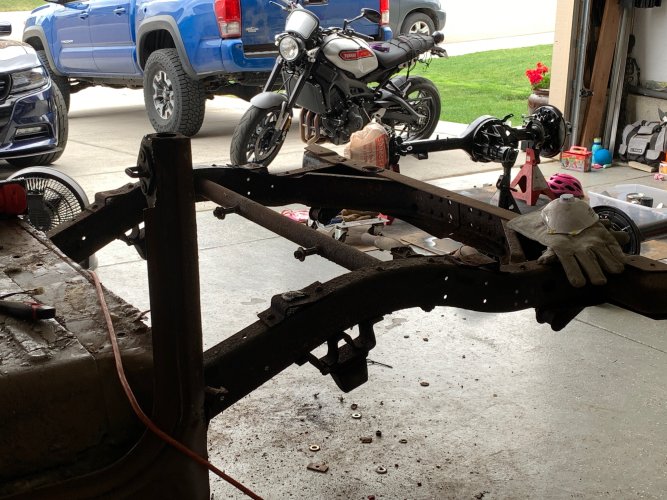
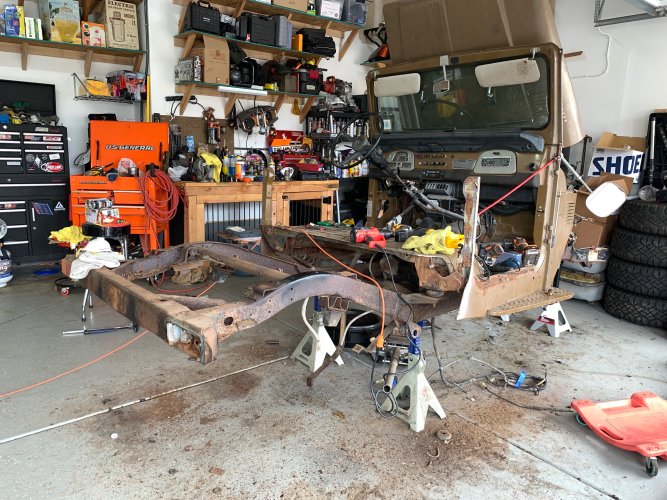
I installed the DUI and fixed some wiring, and it fired up!! Now I did use starter fluid because I currently have the fuel tank and lines pulled. Can I attached a video, it’s not great but.... I also pulled the plugs out after and did a compression test. All between 108-111. The last 40 I had was in the 90s and ran like a champ for years, so I’m excited about those numbers. I’m guessing they will improve a little too once I can run it for an extended period of time and warm it up. hopefully in the next week or so I can get the fuel system, brakes and suspension done. The wife is tired of the boxes of parts I have accumulating!
 

Notyourmomslx450

Cruise Moab Committee
Joined
Aug 4, 2014
Messages
3,253
Location
Westminster
That’s awesome!
 

jps8460

Cruise Moab Committee
Joined
Feb 15, 2013
Messages
2,926
Location
Broomfield
Sweet!
 

Connelly80FJ40

Wincher
Joined
Dec 27, 2019
Messages
96
Location
Thornton, Co
Got the front seats in today! I’m nowhere close to installing them, but I didn’t want to lose them to another bidder in the meantime. Side note, they are in way better shape then they looked on Ebay! Super stoked
 

Attachments

  • 292F3646-13AE-4000-9189-DDDAEB0E1DF9.jpeg
    292F3646-13AE-4000-9189-DDDAEB0E1DF9.jpeg
    377.2 KB · Views: 264

Connelly80FJ40

Wincher
Joined
Dec 27, 2019
Messages
96
Location
Thornton, Co
Removed the rear sill today. As you can see from the floor there was more rust then sill! I also cleaned up some of the rust, and I test fit my new seat because that seemed like the logical next step in the rebuild process.🤔
 

Attachments

  • 001B8F93-8AAA-467D-AEE5-F7916CEC8E89.jpeg
    001B8F93-8AAA-467D-AEE5-F7916CEC8E89.jpeg
    1.1 MB · Views: 270
  • CAA995DC-2D78-47DD-8F49-7A652D330267.jpeg
    CAA995DC-2D78-47DD-8F49-7A652D330267.jpeg
    241.1 KB · Views: 236
  • 8B5ACE63-ABCC-4581-B314-475BA92EB42A.jpeg
    8B5ACE63-ABCC-4581-B314-475BA92EB42A.jpeg
    306.5 KB · Views: 240
  • 97872F6D-39B6-40CF-9AC5-3EAFB646C688.jpeg
    97872F6D-39B6-40CF-9AC5-3EAFB646C688.jpeg
    339.3 KB · Views: 238
  • 2FBE08C2-5B68-47D1-9A05-F1CCB5D92456.jpeg
    2FBE08C2-5B68-47D1-9A05-F1CCB5D92456.jpeg
    307.1 KB · Views: 241

MountainGoat

Club Treasurer
Staff member
Cruise Moab Committee
Joined
Jul 4, 2008
Messages
3,072
Location
Evergreen, CO
Yep, it's a little rusty Sean. :hill: Keep up the good work man!
 

Connelly80FJ40

Wincher
Joined
Dec 27, 2019
Messages
96
Location
Thornton, Co
You're going right after it. Good work - keep the 653 Olive love alive!

the 653 is staying, but will not be traditional paint. I’m going to have the whole truck lined with the liner tinted to the match the 653 Olive.
 

Connelly80FJ40

Wincher
Joined
Dec 27, 2019
Messages
96
Location
Thornton, Co
Well at least I’m getting some work done on the 40 this week! I’ve got both front and rear axles completely torn down, 3rd members off and ready for lockers, carb pulled off and prep for FI done, brake booster and master off and new ones mocked up. Hopefully tomorrow I can get all the new seals and bearings fitted. I also got all new ball joints that will go on the the front end I took apart, and all new U-joints went in today.

Side note: I bought a parts washer from HF and wow did it make cleaning all this stuff a breeze! I didn’t even know these existed and now I’m not sure how I got this far without one??

Sean
 

Attachments

  • 90EA8E88-0B7D-4074-8EBE-F82080D5D7E4.jpeg
    90EA8E88-0B7D-4074-8EBE-F82080D5D7E4.jpeg
    990.6 KB · Views: 215
  • A629CE26-E432-4F17-A9AB-EF61B882D92B.jpeg
    A629CE26-E432-4F17-A9AB-EF61B882D92B.jpeg
    1.1 MB · Views: 222
  • D5B16A71-BBD3-42B3-8441-F90AAA5E4810.jpeg
    D5B16A71-BBD3-42B3-8441-F90AAA5E4810.jpeg
    1.1 MB · Views: 224
  • FF349778-B1FA-4AA3-A190-6059542C0683.jpeg
    FF349778-B1FA-4AA3-A190-6059542C0683.jpeg
    1.2 MB · Views: 221

Connelly80FJ40

Wincher
Joined
Dec 27, 2019
Messages
96
Location
Thornton, Co
Painted some stuff. It’s the little victory’s! Tomorrow I start putting the driveline and steering back together.
 

Attachments

  • 4DEFE205-D431-4045-B1AE-FCB3265753FC.jpeg
    4DEFE205-D431-4045-B1AE-FCB3265753FC.jpeg
    580.3 KB · Views: 224

Connelly80FJ40

Wincher
Joined
Dec 27, 2019
Messages
96
Location
Thornton, Co
More work today! I got motivated and pulled the rear leafs and rear axle out. Holy lord we’re those old shackles and pins stuck. New suspension has been sitting in the boxes for 6 months now! But, as soon as I was just gonna pull and bolt everything new back I decided that wasn’t smartest decision. So, we’re gonna scrape and sand the frame and POR15 it. Look at all that rust! Also, I think I’m gonna save up a little and replace the body mounts.
 

Attachments

  • 497813FA-D0B7-4DE0-957C-434A414208C7.jpeg
    497813FA-D0B7-4DE0-957C-434A414208C7.jpeg
    1.9 MB · Views: 222
  • 7278958F-E318-4447-B70E-A837A5339DD8.jpeg
    7278958F-E318-4447-B70E-A837A5339DD8.jpeg
    2 MB · Views: 225
  • F341393E-4FEC-4D6B-9981-199C2184EA9E.jpeg
    F341393E-4FEC-4D6B-9981-199C2184EA9E.jpeg
    1.5 MB · Views: 226
  • 2172AE79-3EC9-483C-9E55-FCF24997B112.jpeg
    2172AE79-3EC9-483C-9E55-FCF24997B112.jpeg
    1.7 MB · Views: 220

Connelly80FJ40

Wincher
Joined
Dec 27, 2019
Messages
96
Location
Thornton, Co
I put my son in charge of the axle clean up and painting. He did pretty well for his first solo project! (He did wear gloves and glasses while sanding and using the angle
259F0AC5-FA3E-4832-BF92-C229CEF0D256.jpeg
) Front axle will be this weekend.
 

Attachments

  • B1E69B81-9B25-4293-801F-A1135F20B8AC.jpeg
    B1E69B81-9B25-4293-801F-A1135F20B8AC.jpeg
    1.4 MB · Views: 213

Connelly80FJ40

Wincher
Joined
Dec 27, 2019
Messages
96
Location
Thornton, Co
Well...... I went deep today. Over this past week I spent a lot of time working on removing and restoring/refinishing items. One thing that kept happening was almost everything was falling apart from rust while I was trying to. I soaked bolts and the body mounts in PB for a week and when I slightly went to loosen it the whole bottom of the perch twisted and broke apart. I also found a few spots that had metal plates sandwiched between fiberglass. Long story short it’s 3/4 tub time. This project is absolutely killing me, but I’m in now! I’m going to try to get the rest of the tub off tomorrow. I’m leaving the cowl, because somehow it’s in great shape comparatively. Then going to get the frame done and painted and some other bits now that I have room. Now for the questions:
1. Aluminum or steel tub? I know it’s a loaded question, but I’m on the fence leaning towards aluminum from aqualu. I haven’t seen a bad review yet, and I did see one in person a few years back. Land cruiser heaven seems to have the best price on steel, but I have heard some stories about fitment, shipped condition, and wait times. I can’t afford a new one from Classic Cruisers or HFS ones.
2. If I go aluminum does anybody have one I could check out? Did you have any issues? Fitment, hard top, does it have mounts for gas tank, heat shields and such?
3. Is there another option I’m missing?
Any and all input is greatly appreciated. Also, I’m not looking for resale value or trying to do a stock restoration, so take that into consideration please. I just want to build this and have a bunch of fun with the family.

Thanks, Sean
 

Attachments

  • 364FAE32-AC5C-4EA5-8A48-DE0CB6BD5AE1.jpeg
    364FAE32-AC5C-4EA5-8A48-DE0CB6BD5AE1.jpeg
    1.6 MB · Views: 208
  • CD8C8635-6511-45FD-B0F1-C5E462139EC5.jpeg
    CD8C8635-6511-45FD-B0F1-C5E462139EC5.jpeg
    1.6 MB · Views: 218
  • A1E04553-9FF0-4A7F-B56E-615A75FD039E.jpeg
    A1E04553-9FF0-4A7F-B56E-615A75FD039E.jpeg
    2.3 MB · Views: 209
  • EF3D7F0C-170F-4662-BAD4-054BCCA15A49.jpeg
    EF3D7F0C-170F-4662-BAD4-054BCCA15A49.jpeg
    2.1 MB · Views: 221
  • AEC9ED69-99FD-45AC-BBE9-D27D070A0027.jpeg
    AEC9ED69-99FD-45AC-BBE9-D27D070A0027.jpeg
    2.1 MB · Views: 224

Stuckinthe80s

Rising Sun Member
Staff member
Joined
Dec 29, 2017
Messages
2,326
Location
Lakewood, CO
I would by @nakman 's trailer that he has for sale and use it for the back half. Looking at your pictures and his, it looks like it might just make it. And if it doesn't, some fairly simple metal patches would make up the difference.
 

rover67

Rising Sun Member
Joined
Nov 1, 2007
Messages
9,322
Location
Boulder, Co
I used what was supposed to be a pretty decent tub when I did mine and it was still a lot of work. A bunch of stuff had to be adjusted and stuff:

https://risingsun4x4club.org/xf/threads/82-fj40-refresh.11380/

I’d be real curious about the aqualu tubs tho. It seems like White Stripe was able to build his truck up pretty fast with one. It feels like it took me a lot of work.
 

Connelly80FJ40

Wincher
Joined
Dec 27, 2019
Messages
96
Location
Thornton, Co
I used what was supposed to be a pretty decent tub when I did mine and it was still a lot of work. A bunch of stuff had to be adjusted and stuff:

https://risingsun4x4club.org/xf/threads/82-fj40-refresh.11380/

I’d be real curious about the aqualu tubs tho. It seems like White Stripe was able to build his truck up pretty fast with one. It feels like it took me a lot of work.
Yours may have taken a lot of work, but wow it looks amazing! If I’m halfway there when done I’ll be happy!
 
Top