LARGEONE
Rising Sun Member
Damn dude! You opening a body shop next! Looks great Tim!
 oh, and I also installed a sticker.
No way that’s awesome! Ok they’re yours when I replace them. So coolOh man, I built those panels with Art like... 14 years ago! If you ever decide to part with them let me know.
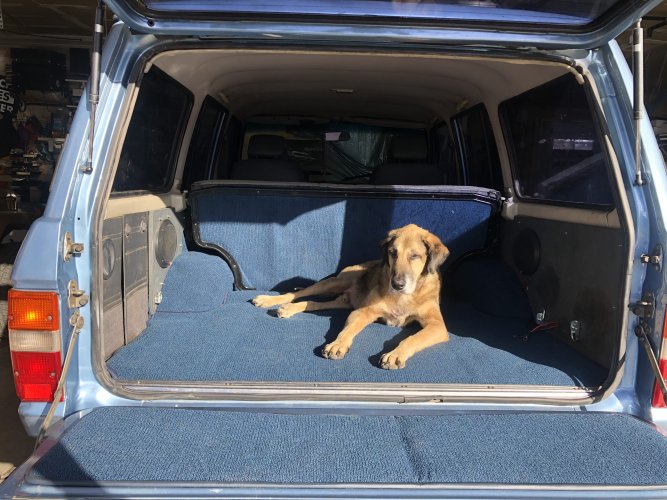
Hey tim, I noticed you added the sheets on the inside of the front door (the inner side of the outer sheet-metal), I'm planning to do the cockpit, and doors, too. Curious - are you going to add a layer between the door card and door? I honestly didn't think to add it inside that cavern, but prolly the right way.Ok thanks again for all the support guys... we're going to get this knocked out. Tonight I pulled my carpet kit out of the shed and found the tailgate piece, had to run to the Depot to get 1/4" staples for the staple gun but that was the extent of the technical challenge.. it's a little "billowy," but should flatten out in time right?

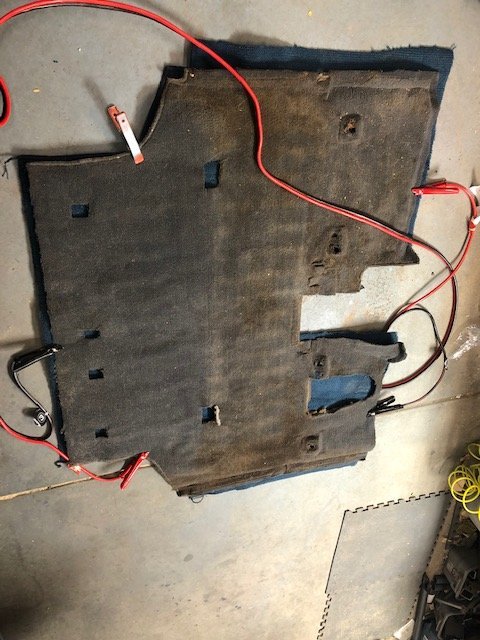
Then I pulled out the sound dampening kit that I purchased, which is essentially 7 sheets of this rubber sheet with shiny foil on one side and sticky stuff on the other. The idea is you peel and stick this stuff down to the floor and it will reduce vibration and provide additional sound insulation.

36 square feet came with the kit, as I purchased the "SUV cargo area kit..." I could have used 3x that amount but the stuff is expensive so I just made some choices on where to put it. I mostly covered the transmission hump and floor area behind the front seats, couple big pieces in the cargo area, and some strips inside the doors- mostly the front doors, but I did put a strip in the each of the back doors also. I got all of this from Stock Interiors https://www.stockinteriors.com/AutoCarpet.asp?Itemid=23632&ModelId=709


My thought is the wheel wells will be receiving floor mats, so they already get an extra layer of padding. And I didn't put any under the back seat figuring the seat itself is its own dampener. I am tempted to move the 2 big sheets on the floor in the cargo area to the outer walls of the cargo area, but not sure... or even sure if any of this will make much of a difference. I also received new padding along with the new carpet.
Hey Shawn no, hadn't planned to try to add anything between the door and door card... other than putting up some plastic as a moisture barrier in the front doors, since I ripped the plastic off of those to remove the door handles & locks. I think dampening the sound/vibration out at the source is more beneficial. Plus there's not a lot of room with those plastic push-in clip doodads.Hey tim, I noticed you added the sheets on the inside of the front door (the inner side of the outer sheet-metal), I'm planning to do the cockpit, and doors, too. Curious - are you going to add a layer between the door card and door? I honestly didn't think to add it inside that cavern, but prolly the right way.
cheers! the 60 is looking GREAT!!!!!!!!!
Thanks, but I've already solved that...i think i still have the goey tacky stuff to bond the plastic to the doors BTW if you need it.