Minnesota 40

MountainGoat

Club Treasurer
Staff member
Cruise Moab Committee
Joined
Jul 4, 2008
Messages
3,337
Location
Evergreen, CO
Got the flywheel back - beautiful. I think I am going to pull the pan and do the gasket just because everything else under there has cleaned up so well and my OCD is kicking in. 🤪

That's the Martin we know and love! :zilla:
 

Jenny Cruiser

Hard Core 4+
Joined
Nov 22, 2006
Messages
1,282
Location
North of Hell
Super clean work. How long did it take to Dremel that race enough to pull the pieces out?
 

Cruisertrash

Rising Sun Member
Joined
Aug 18, 2020
Messages
2,858
Location
Denver
Got the flywheel back - beautiful. I think I am going to pull the pan and do the gasket just because everything else under there has cleaned up so well and my OCD is kicking in. 🤪

i-6jzQm6w-L.jpg
i-w9wS4vz-L.jpg
i-43hQ3PT-L.jpg
I pulled the pan on my 60 to do the RMS. I wanted to check the lower end since I never had … and I figured why not just buy a new pan and hardware while I’m at it haha. It takes maybe 7 minutes to pull it and about 20 to install it. I had never done an RMS and didn’t want to mess around with PVC pipe as a driver and worry about messing up the lip of the seal. It was super easy to pop it in, took less than a minute.

I’d say go for it if you want to. The oil pan stuff doesn’t add that much time.
 

rover67

Rising Sun Member
Joined
Nov 1, 2007
Messages
9,575
Location
Boulder, Co
nice work martin, crazy awesome shape those black parts are in. it's going to drive so nice
 
Last edited:

MDH33

Hard Core 4+
Joined
Mar 8, 2006
Messages
7,891
Location
Trapped in a corn field
nice work martin, crazy awesome chape those black parts are in. it's going to drive so nice
Thanks! Yeah, I think the layers of leaking oil and stuck on grime preserved a lot. Some of those parts are barely chipped.


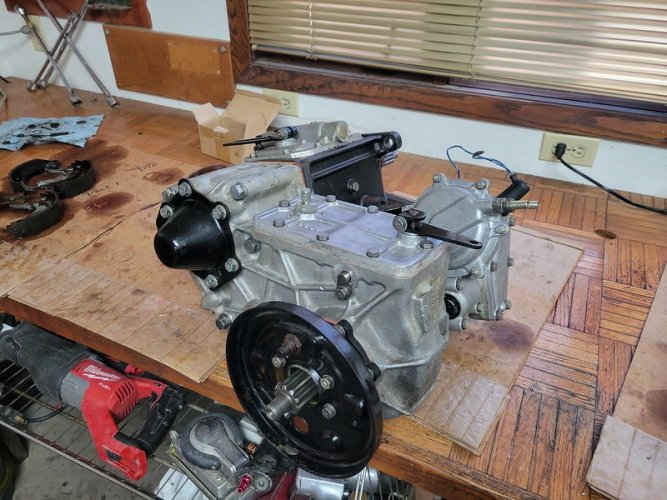
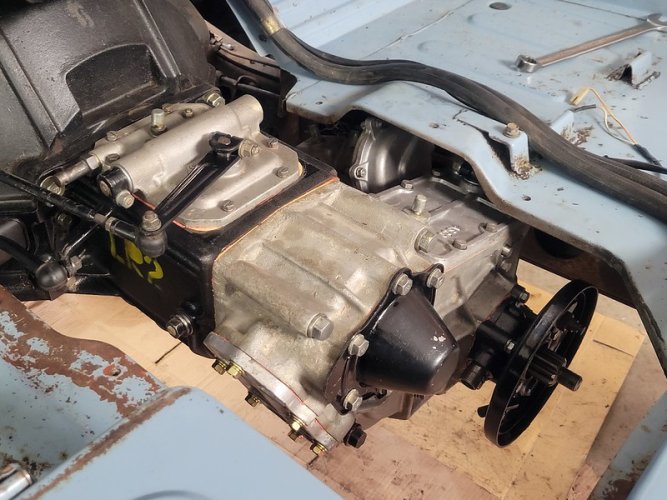
Finished assembly of the trans/TC today. Still have to put the parking brake together but need to do some modifications to the aftermarket shoes to make them work.

Some old school, 3 speed, column shift, vacuum 4WD, Toyota goodness.

i-WdTMr3L-L.jpg
 

MDH33

Hard Core 4+
Joined
Mar 8, 2006
Messages
7,891
Location
Trapped in a corn field
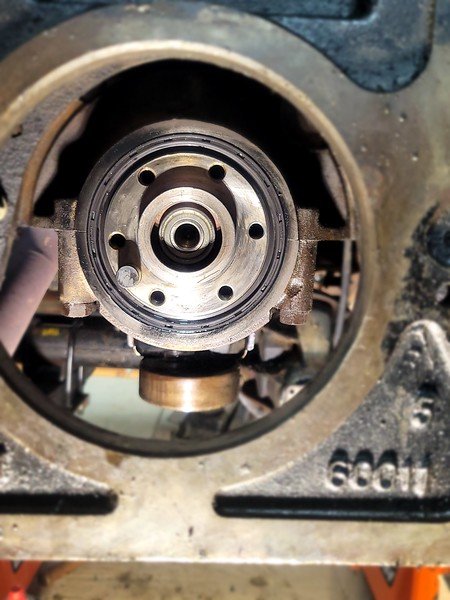
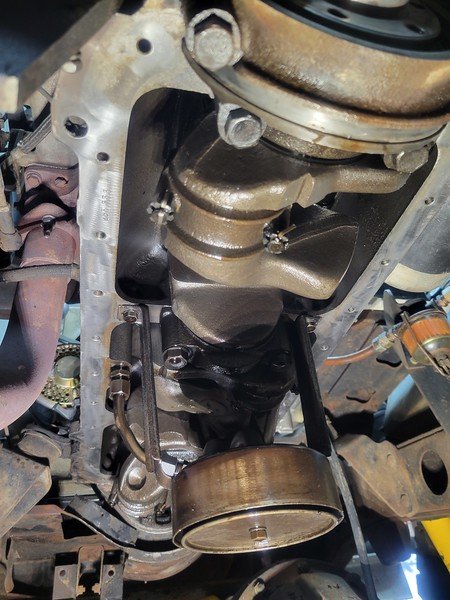
I got the rear main seal and pilot bearing in and spent all day scraping the old gasket off the bottom of the block and cleaning that up. Stuck on solid, what a job! Much easier with the engine pulled and flipped on a stand I bet. :)

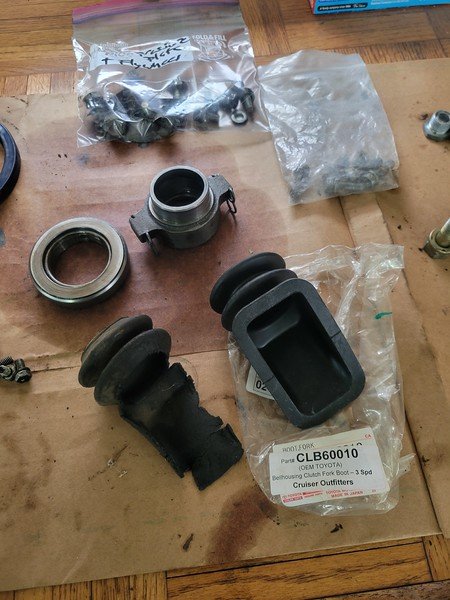
New clutch fork boot from cruiser outfitters. Old one was disintegrated.

i-r8BT6mx-L.jpg

New pilot and Toyota main seal. Decided to use a 5202z double row pilot.

i-CD9JN7m-L.jpg

Underside is ready for the new gasket. What do you guys recommend for sealer? I've read a bunch of different things on MUD. Fipg, ultra black permatex, permatex copper spray, etc. FSM says fipg in corners, but what about the gasket surfaces?

Thin layer of fipg on everything and a blob in each corner?

i-3KHkrhs-L.jpg
 

Capriblue45

Rising Sun Member
Joined
May 28, 2023
Messages
374
The cork gasket will expand for the majority of the gasket, just use a few inches of FIPG at the front and rear rear corners and do not over torque the bolts. Take several passes around the pan in the FSM recommended pattern and you should be good.
 

SteveH

Hard Core 4+
Joined
Aug 10, 2006
Messages
3,091
Location
Colo Springs
Thin layer of fipg on everything and a blob in each corner?

This has worked for me on several 2Fs. I used cheap, small zip ties to tie the gasket to the pan, and then snipped and removed them as I went along.
 

MDH33

Hard Core 4+
Joined
Mar 8, 2006
Messages
7,891
Location
Trapped in a corn field
Thin layer of fipg on everything and a blob in each corner?

This has worked for me on several 2Fs. I used cheap, small zip ties to tie the gasket to the pan, and then snipped and removed them as I went along.

That's a great idea. My gasket is deformed so the zip ties could really help keep it in position. Thanks!
 

wesintl

Moderator
Joined
Aug 22, 2005
Messages
8,738
Location
in da house
On a one piece i did only the 4 corners with fipg per fsm. Not a leak. On Wyatt's 40 i didn't even use any thing on the cork side cover and those always seem to leak. If the surfaces are clean and dry you won't have an issue.
 

MDH33

Hard Core 4+
Joined
Mar 8, 2006
Messages
7,891
Location
Trapped in a corn field
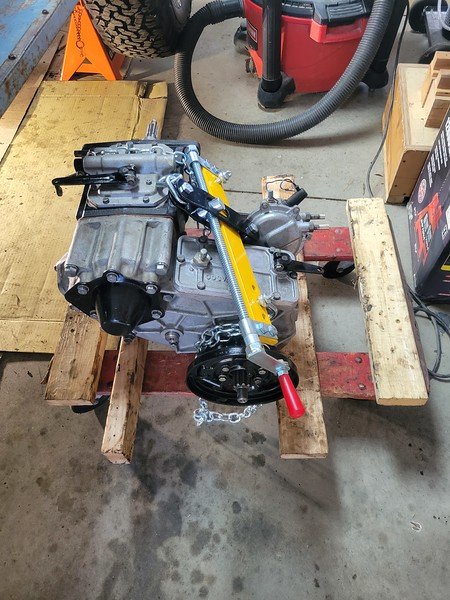
Clutch, transmission and TC installed. Got a leveler for the chain hoist and I popped it in without too much struggle. Definitely would consider pulling the whole engine/transmission as a unit if I did it again though, especially if doing all the engine seals.

Just need to assemble the parking brake and put everything back on that I removed to pull the trans/TC.


i-9PKf5g7-L.jpg
i-BdhCwsv-L.jpg
 

MDH33

Hard Core 4+
Joined
Mar 8, 2006
Messages
7,891
Location
Trapped in a corn field
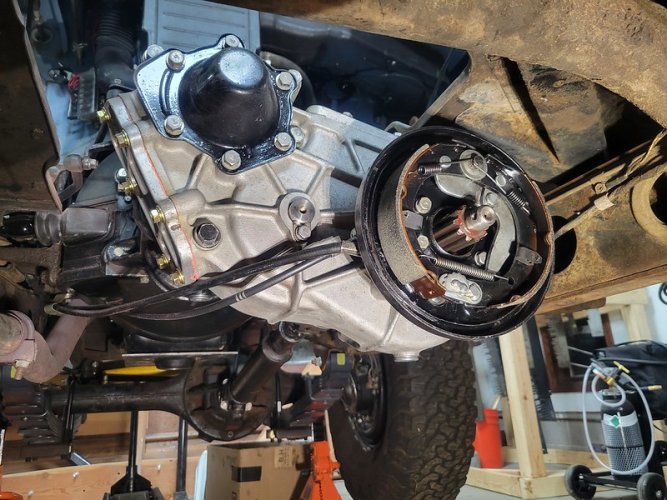
Hit a snag with the parking brake re assembly. Same issues that Paul had in his build thread:

Post in thread 'OG2 (1967 FJ40 – Refurb’ Thread - Help Gladly Accepted)' https://risingsun4x4club.org/xf/thr...thread-help-gladly-accepted.26602/post-315694

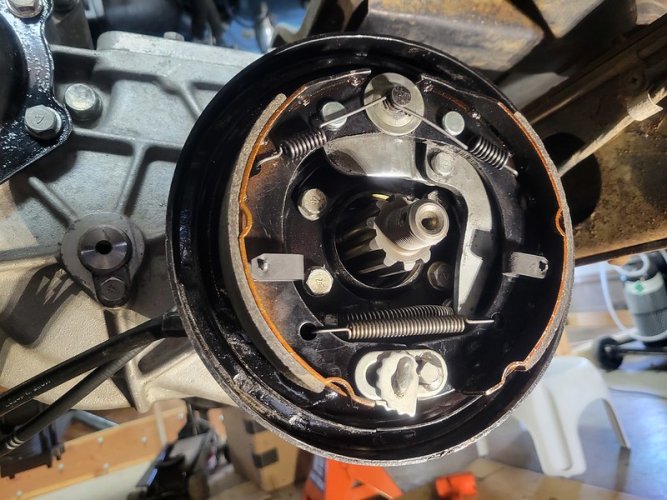
I had to do a bunch of grinding and filing to make the replacement shoes fit and once in, there is too much slack in the cable to make it work. I ordered a new cable from Cruiser Outfitters, so I'll try again next week! I did get all the shields installed and the front driveshaft back in.

i-HLQ4KkH-L.jpg

Not looking forward to taking this apart again, but I'd really like it operational after going through all the effort! I love the early 40's, but this parking brake is one item I'm not a big fan of. Prone to leaks, doesn't work great, and hard to work on.

i-x5PpKnV-L.jpg

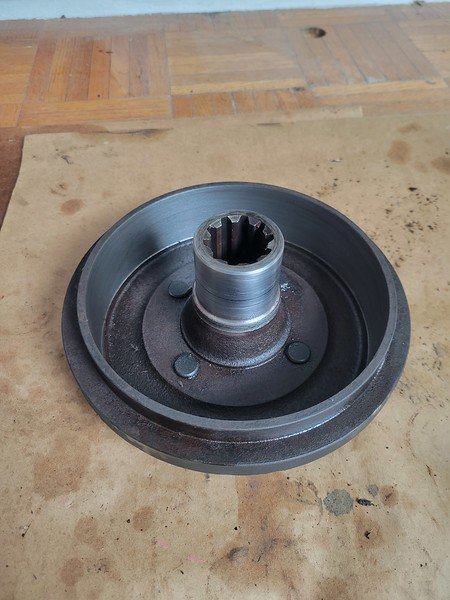
I got the drum turned as well, it was scored pretty bad but cleaned up nicely.

i-NtdwDBb-L.jpg
 
Back
Top