

RicardoJM
Hard Core 4+
My 1999 LX470 has got an oil leak from the PCV valve and back of the valve cover gasket. Today I replaced the passenger side. I got a SureShot sprayer and went a bit crazy with cleaning and had to take a couple of hour break to clear my head, so the drivers side will need to get done on another day.
There are a bunch of video's out there that cover the process of doing this work and I watched a few of them before digging in. There really wasn't one that stood out as being head and shoulders above the rest; but considering the nature of the work it really is quite straightforward.
My notes on the things I did were:
A technical write up would not be complete without pictures and while they are not step-by-step, here are a few for those needing motivation to wrench and or looking to do this work on their 2UZ-FE.
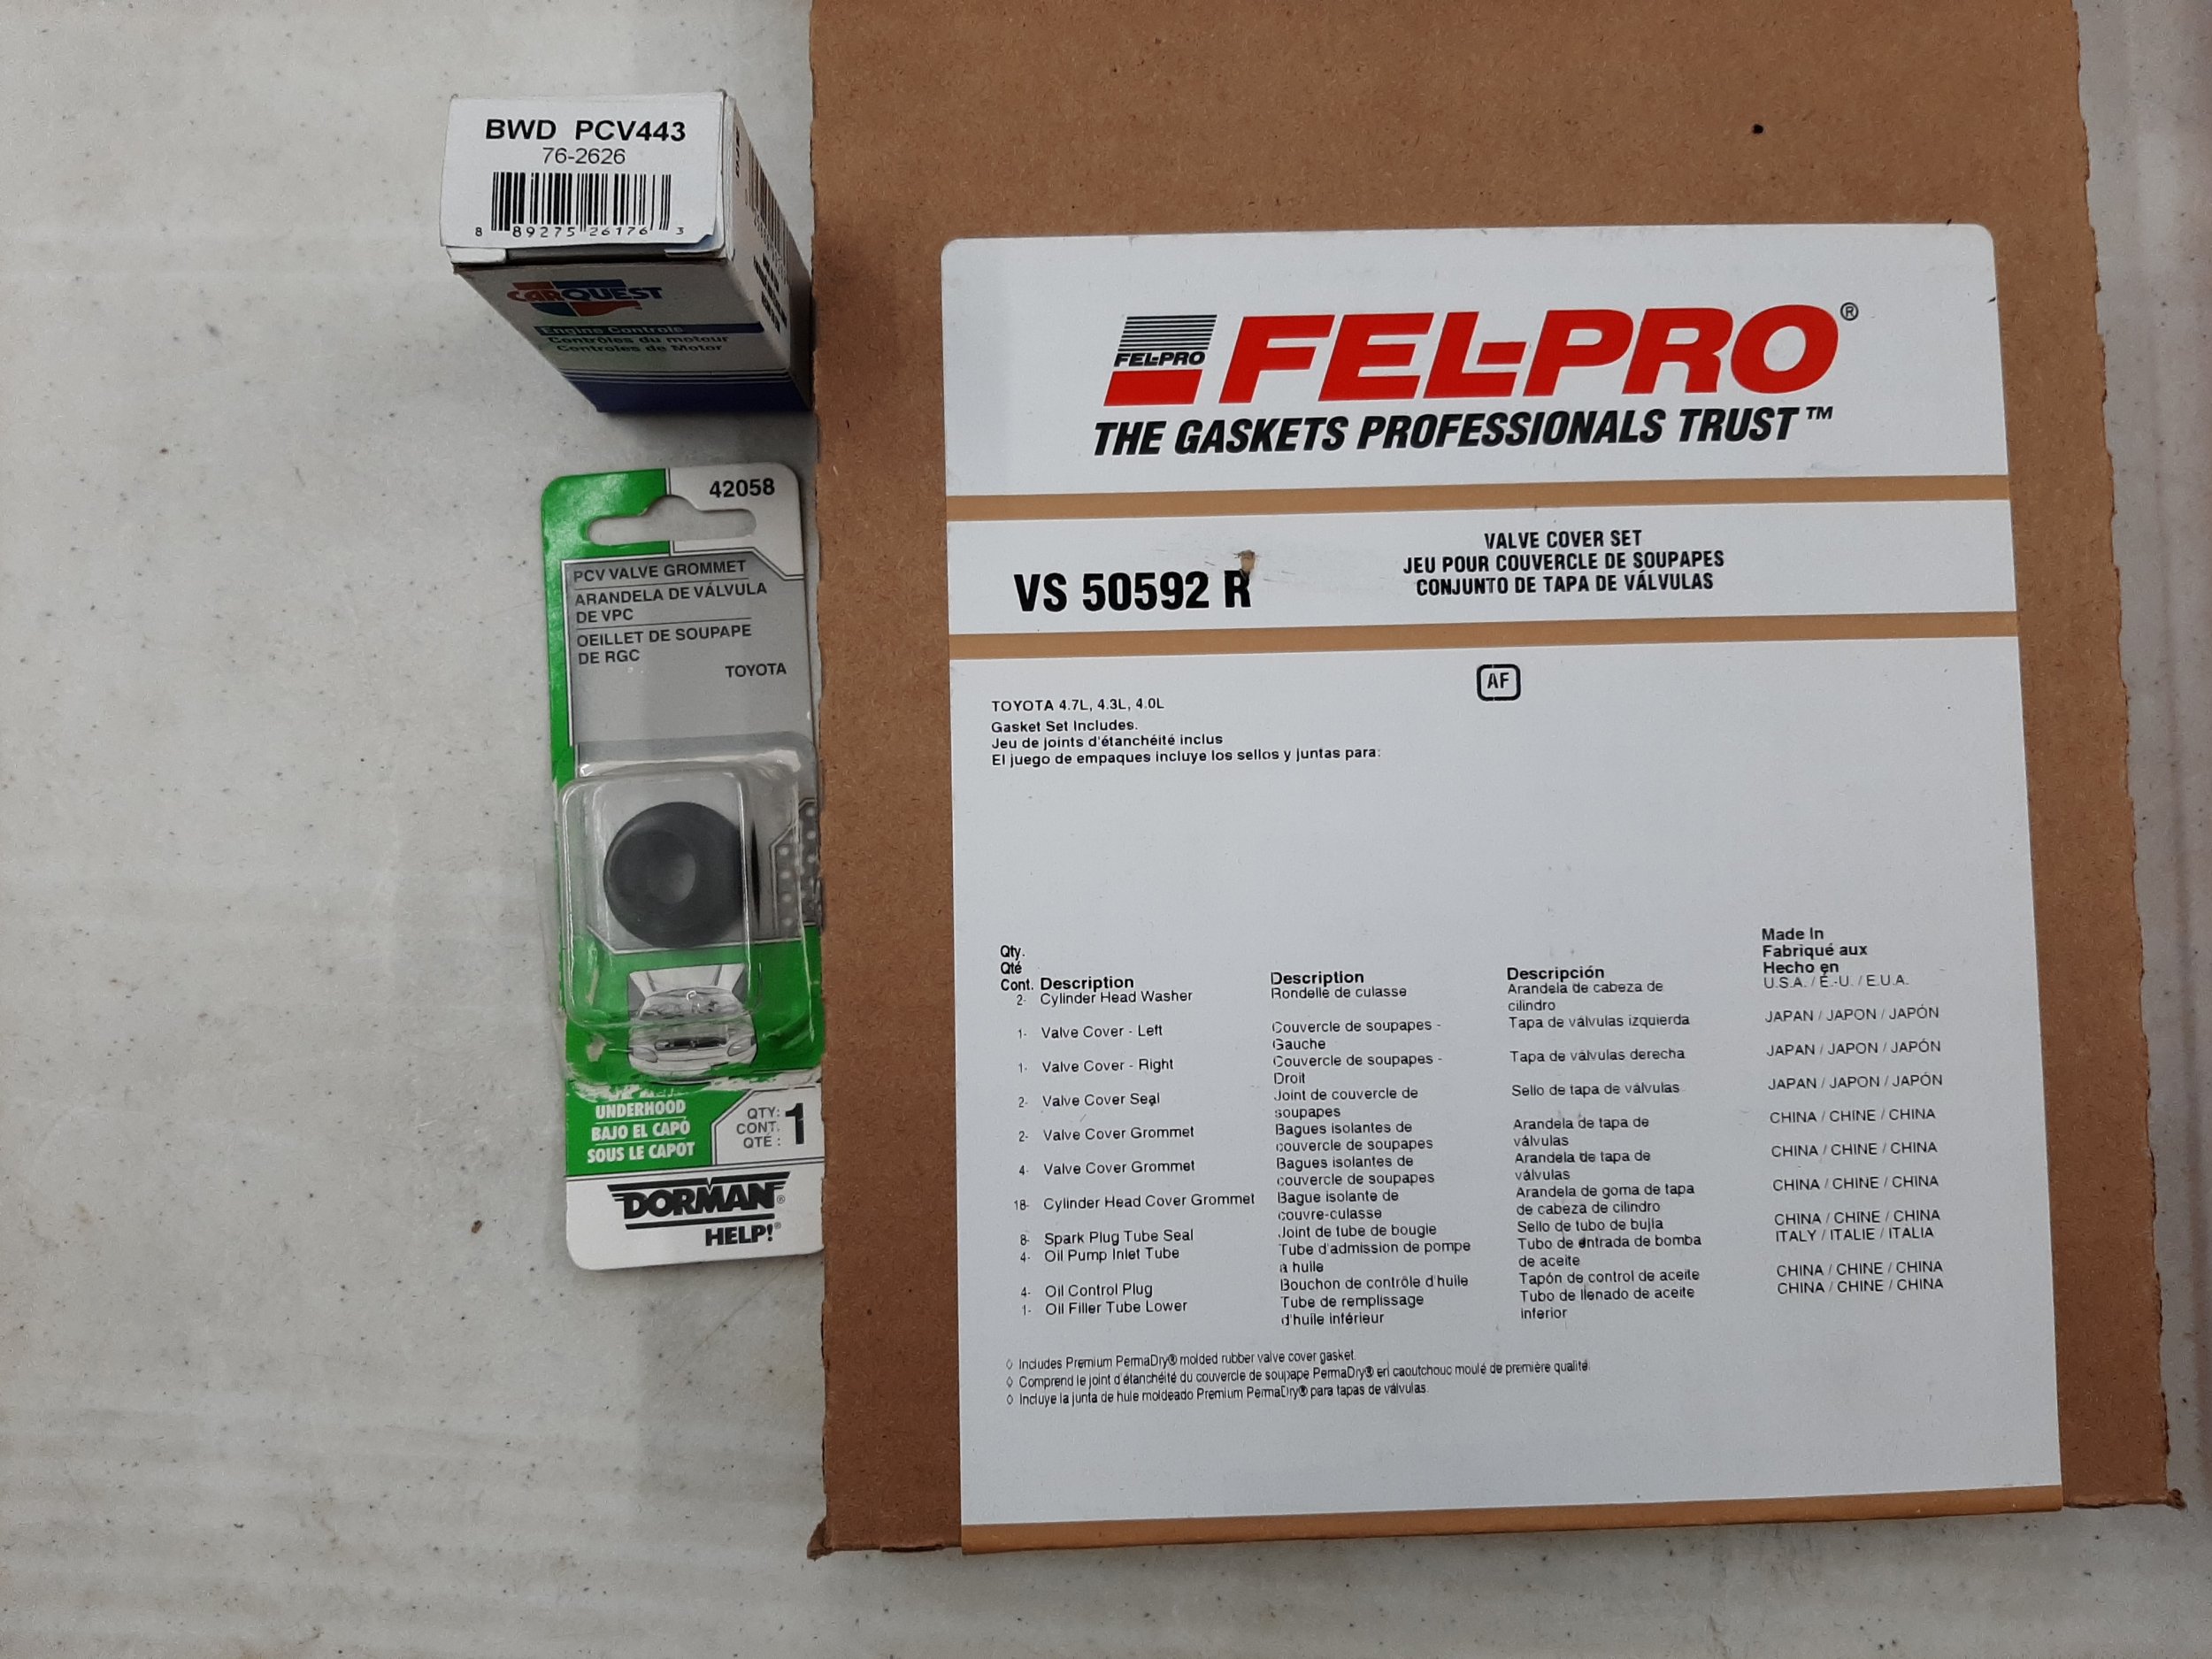
The parts to be installed. These are not from Mr. T, but I think they will be just fine for this purpose.
The old parts out and the tools used so far on the table. Note the air box is under the table.

A close up view of the removed parts and the pry bar. That pry bar was very handy for un-seating the valve cover and popping out the half moons. Take care with it, because of its size it can mess things up. Gently and slowly use its leverage to break the parts free.

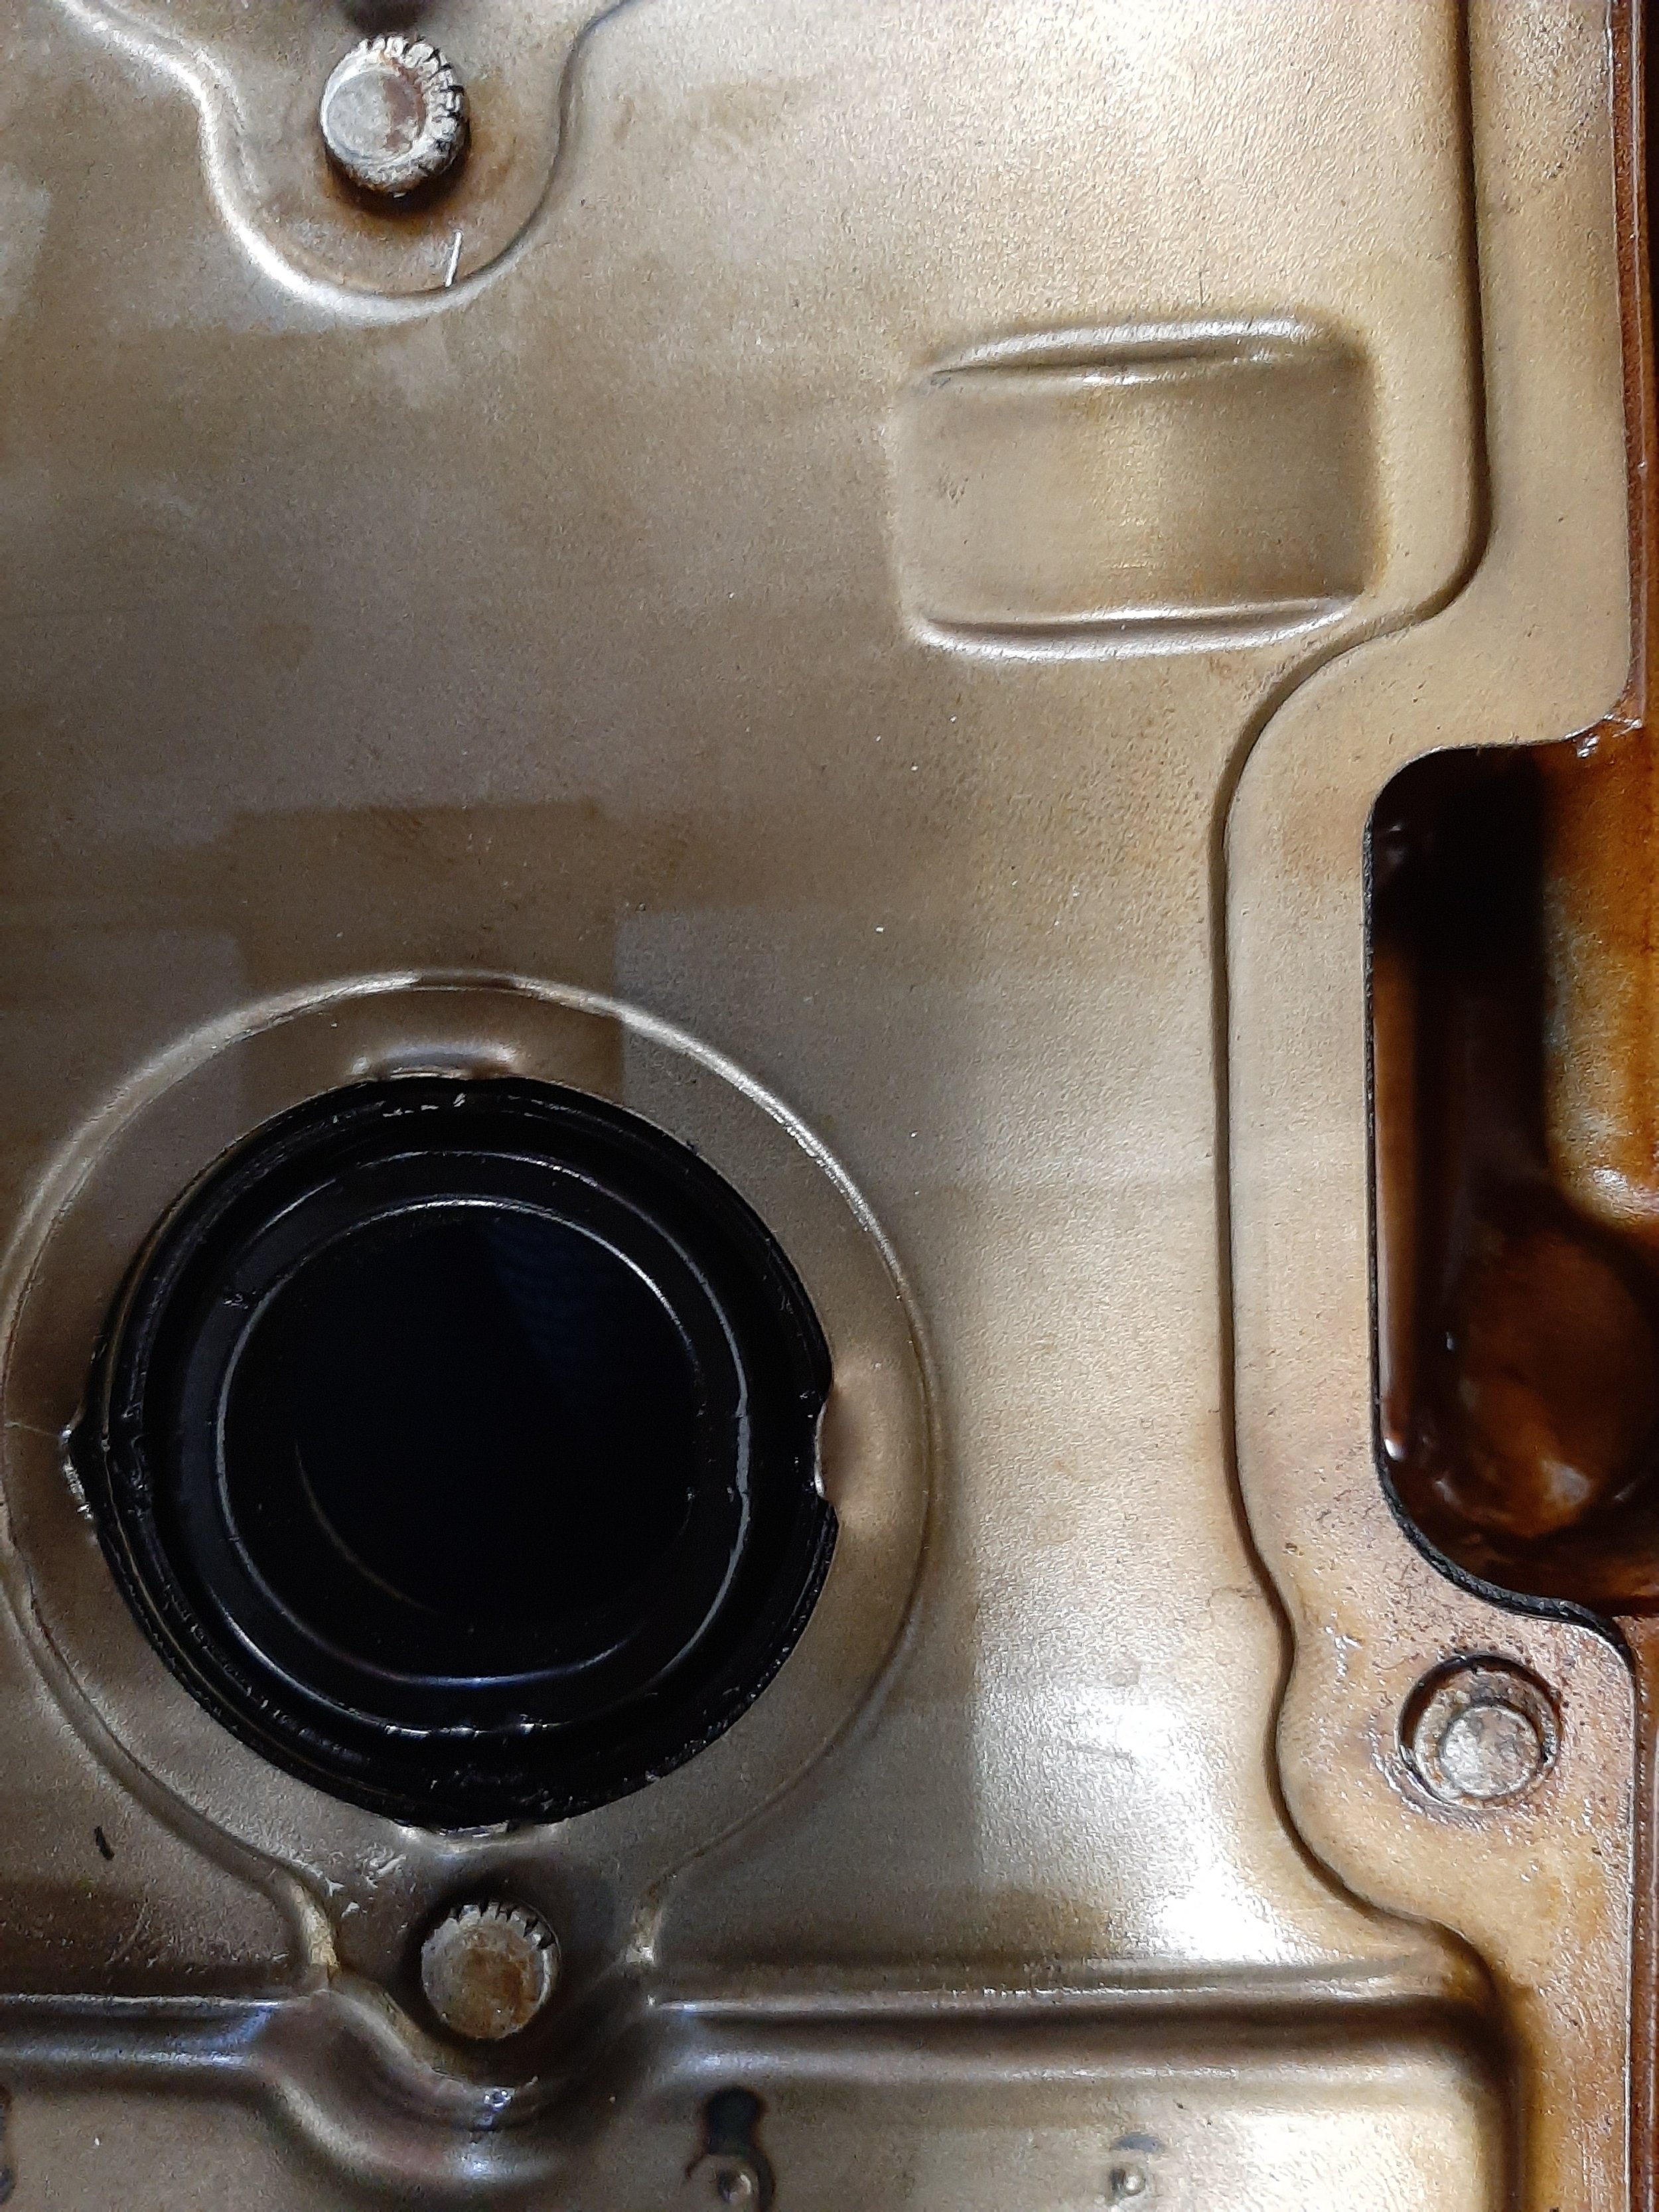
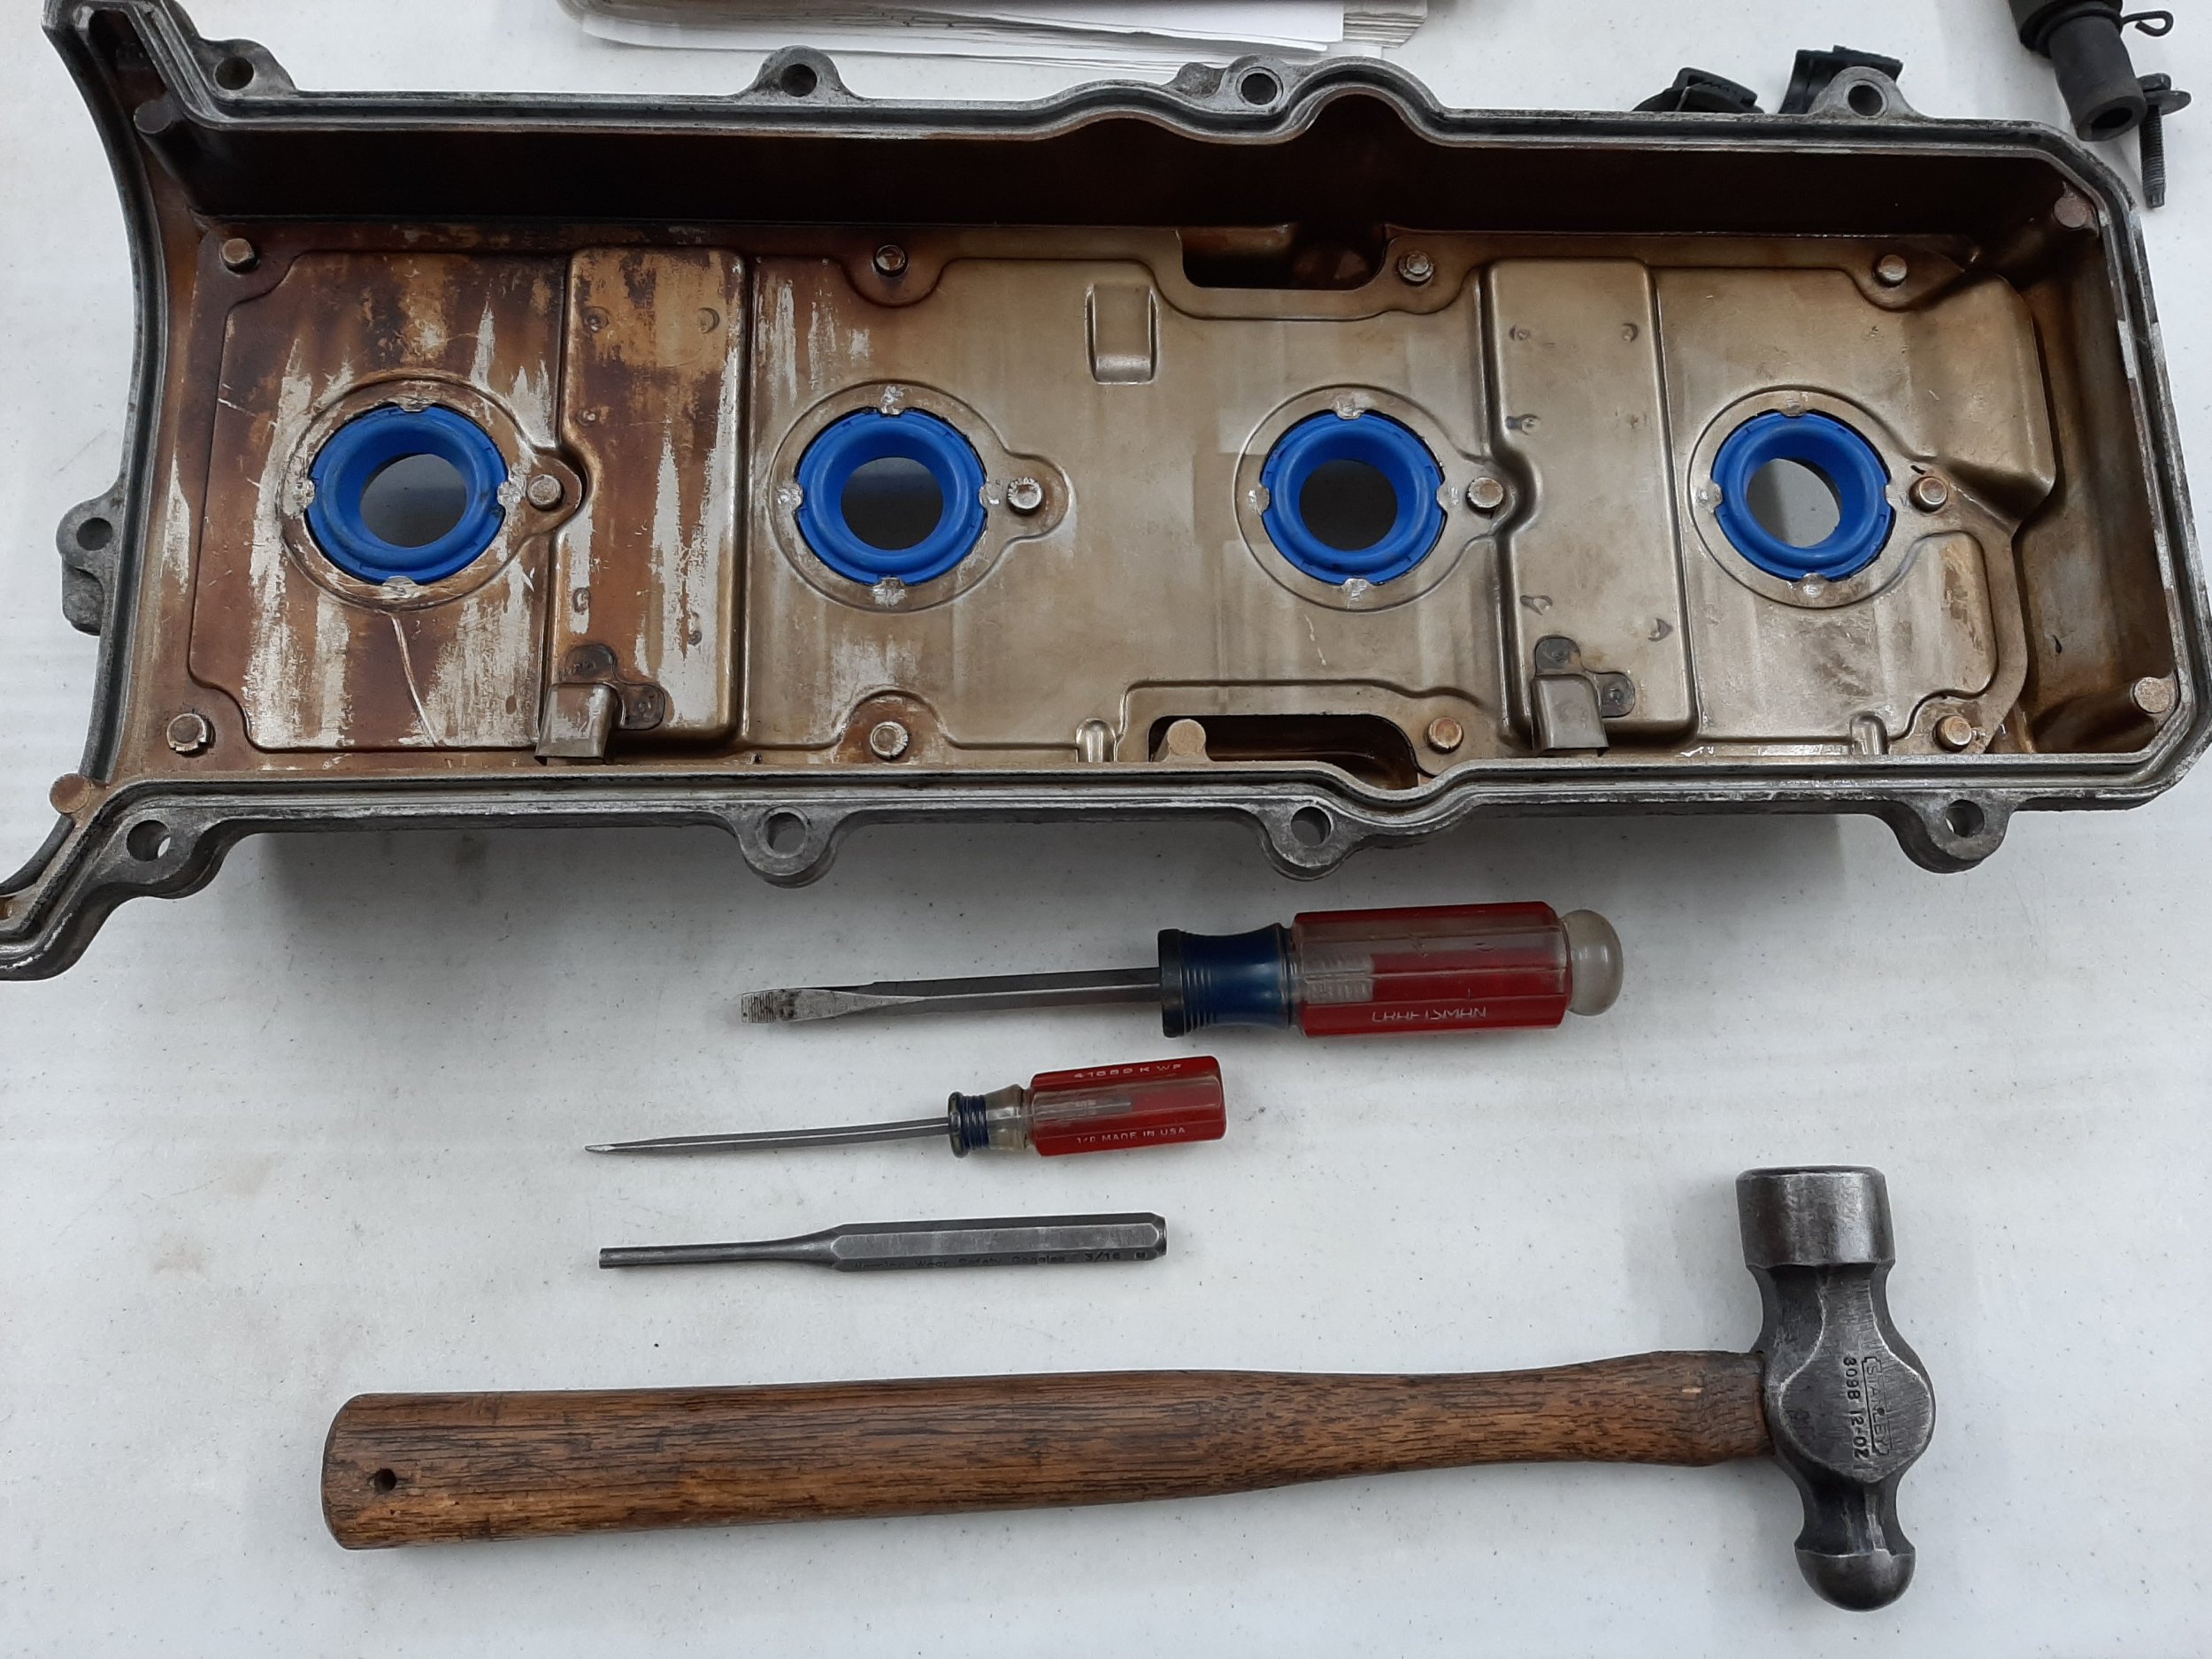
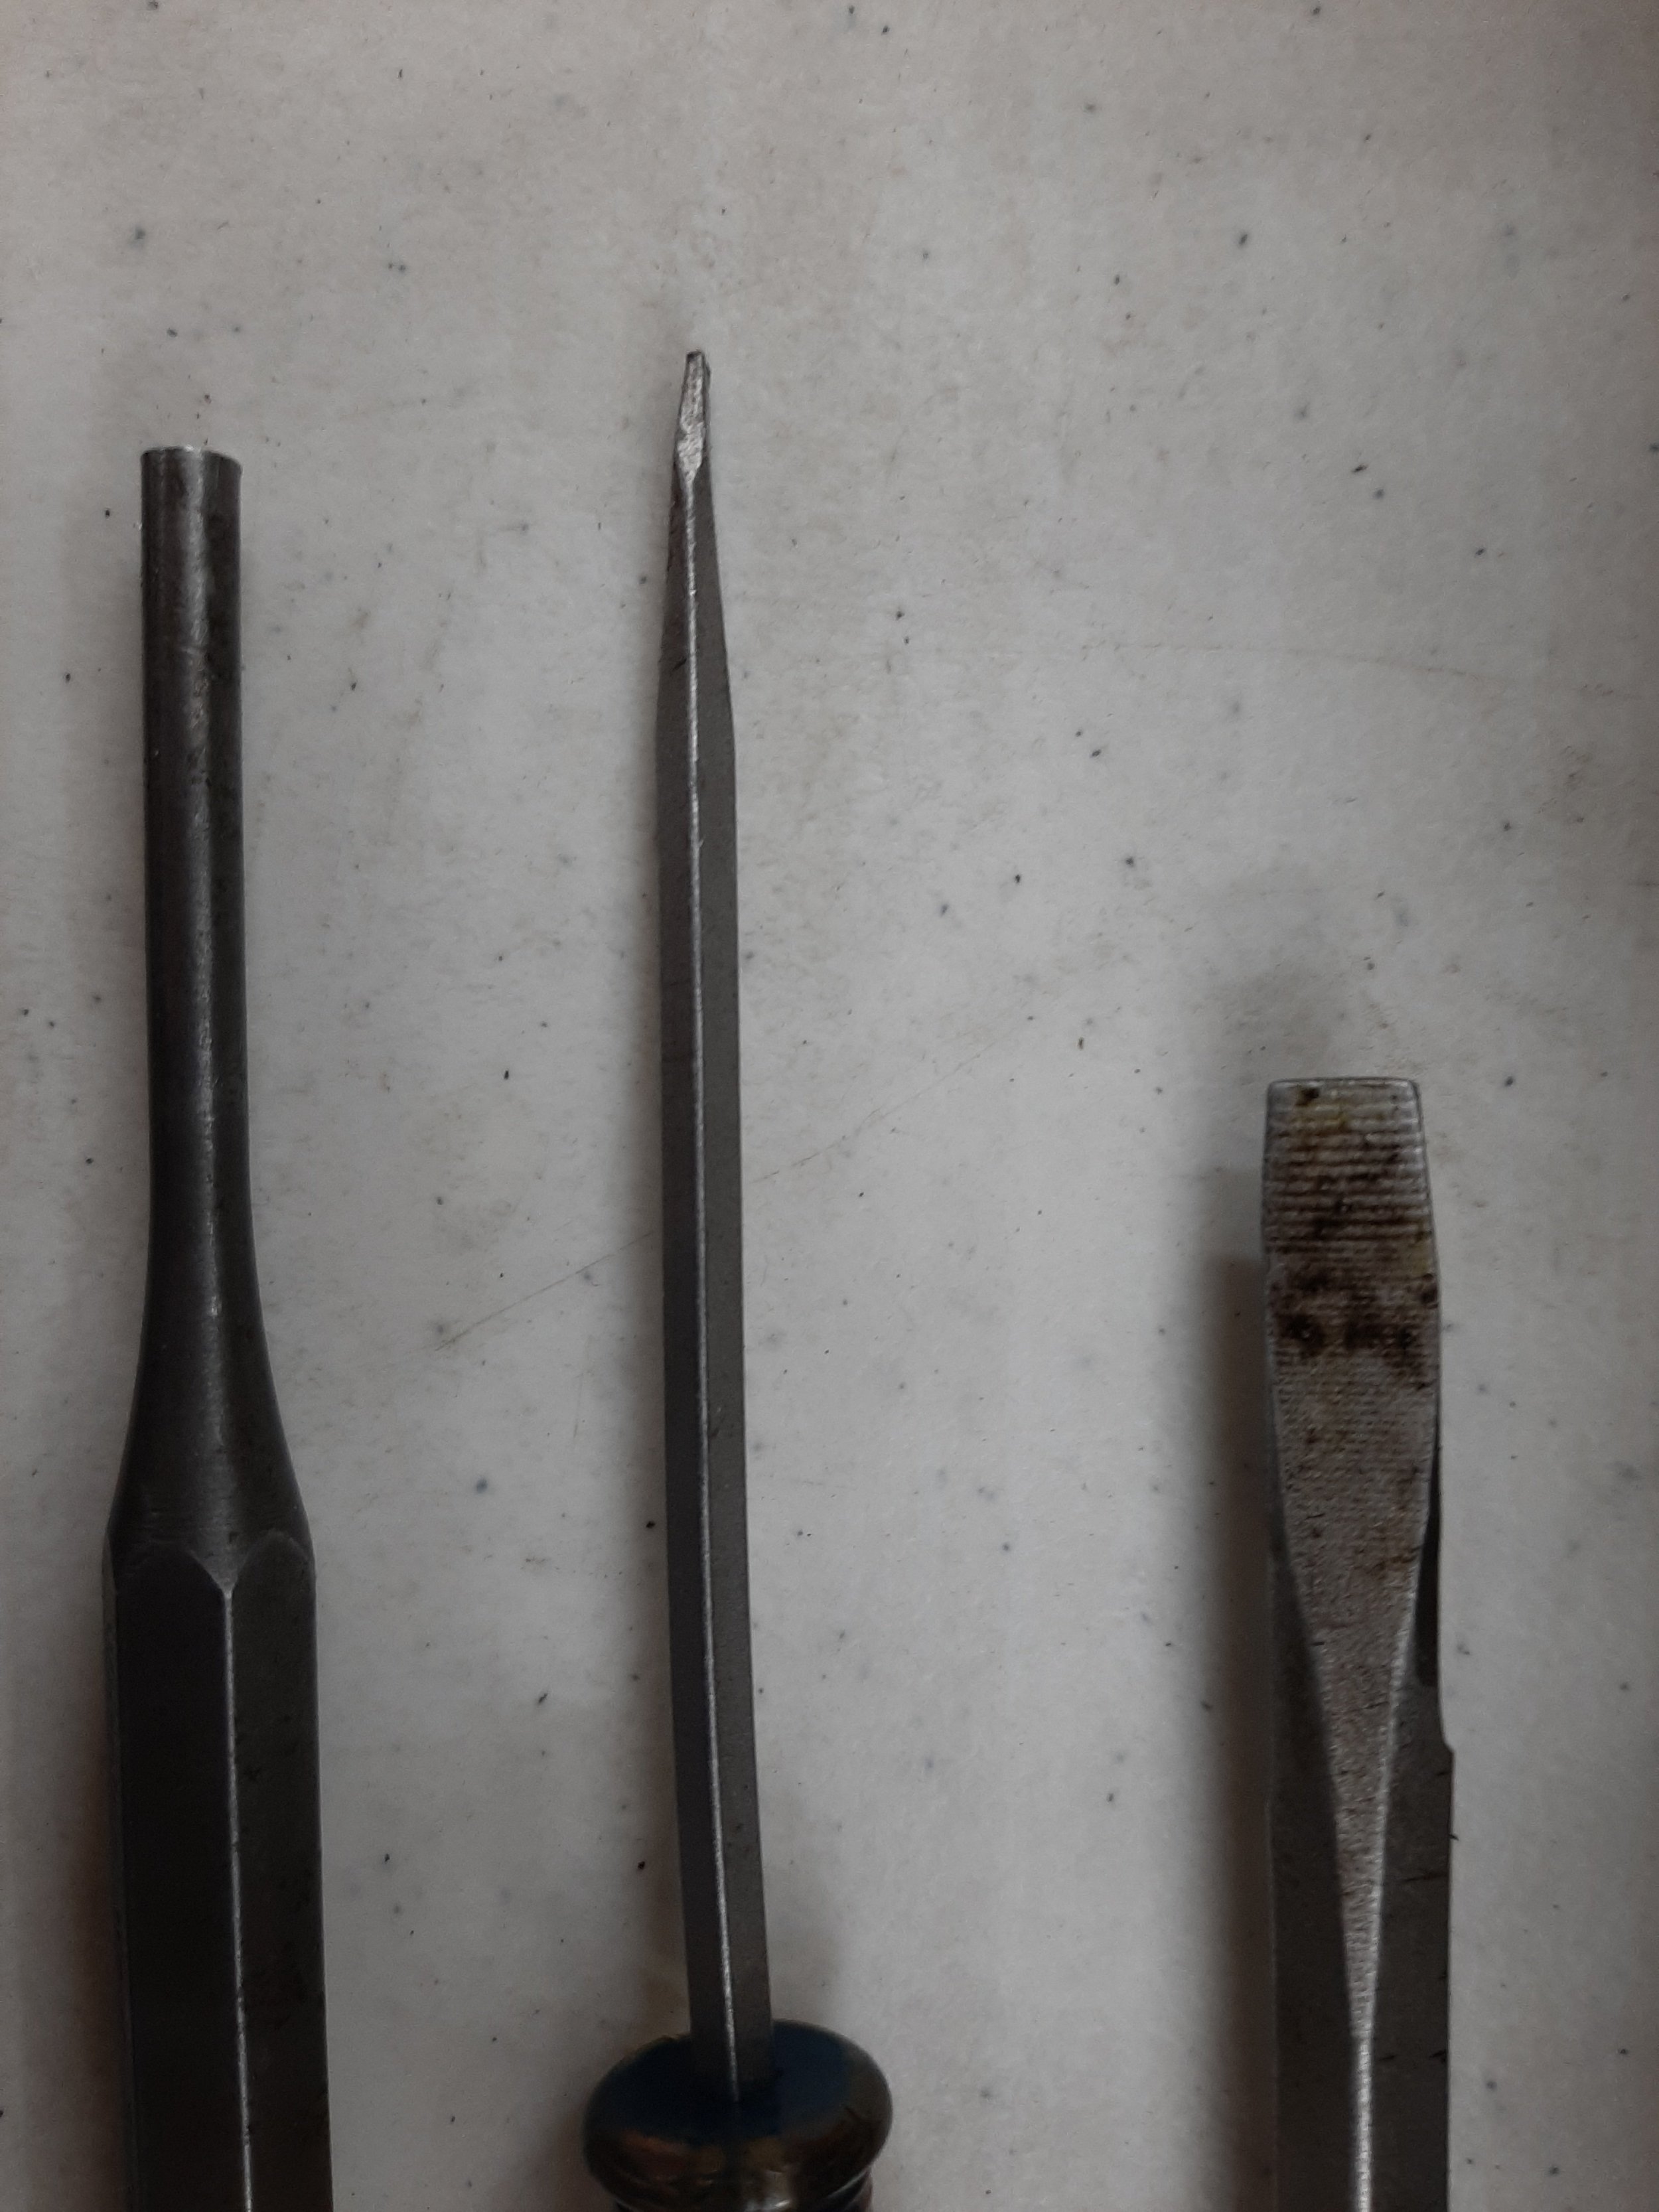
The next three photos are all about replacing the seals. In the first one, you should be able to see the tabs bent up. The second is the tools used. The small screw driver was used to bend up the tabs. This small screw driver has a bent head, a very slight bend (see third picture) but it was perfect for walking the tabs up. Most of the other people use needle nose pliers to bend the tabs, but for me this worked swell. The big screw driver made short work of removing the old seals. Tap it in at the edge and it bends the old seal inward enough that it can just be popped out. The small punch was used to bend the tabs after the new seals were installed.
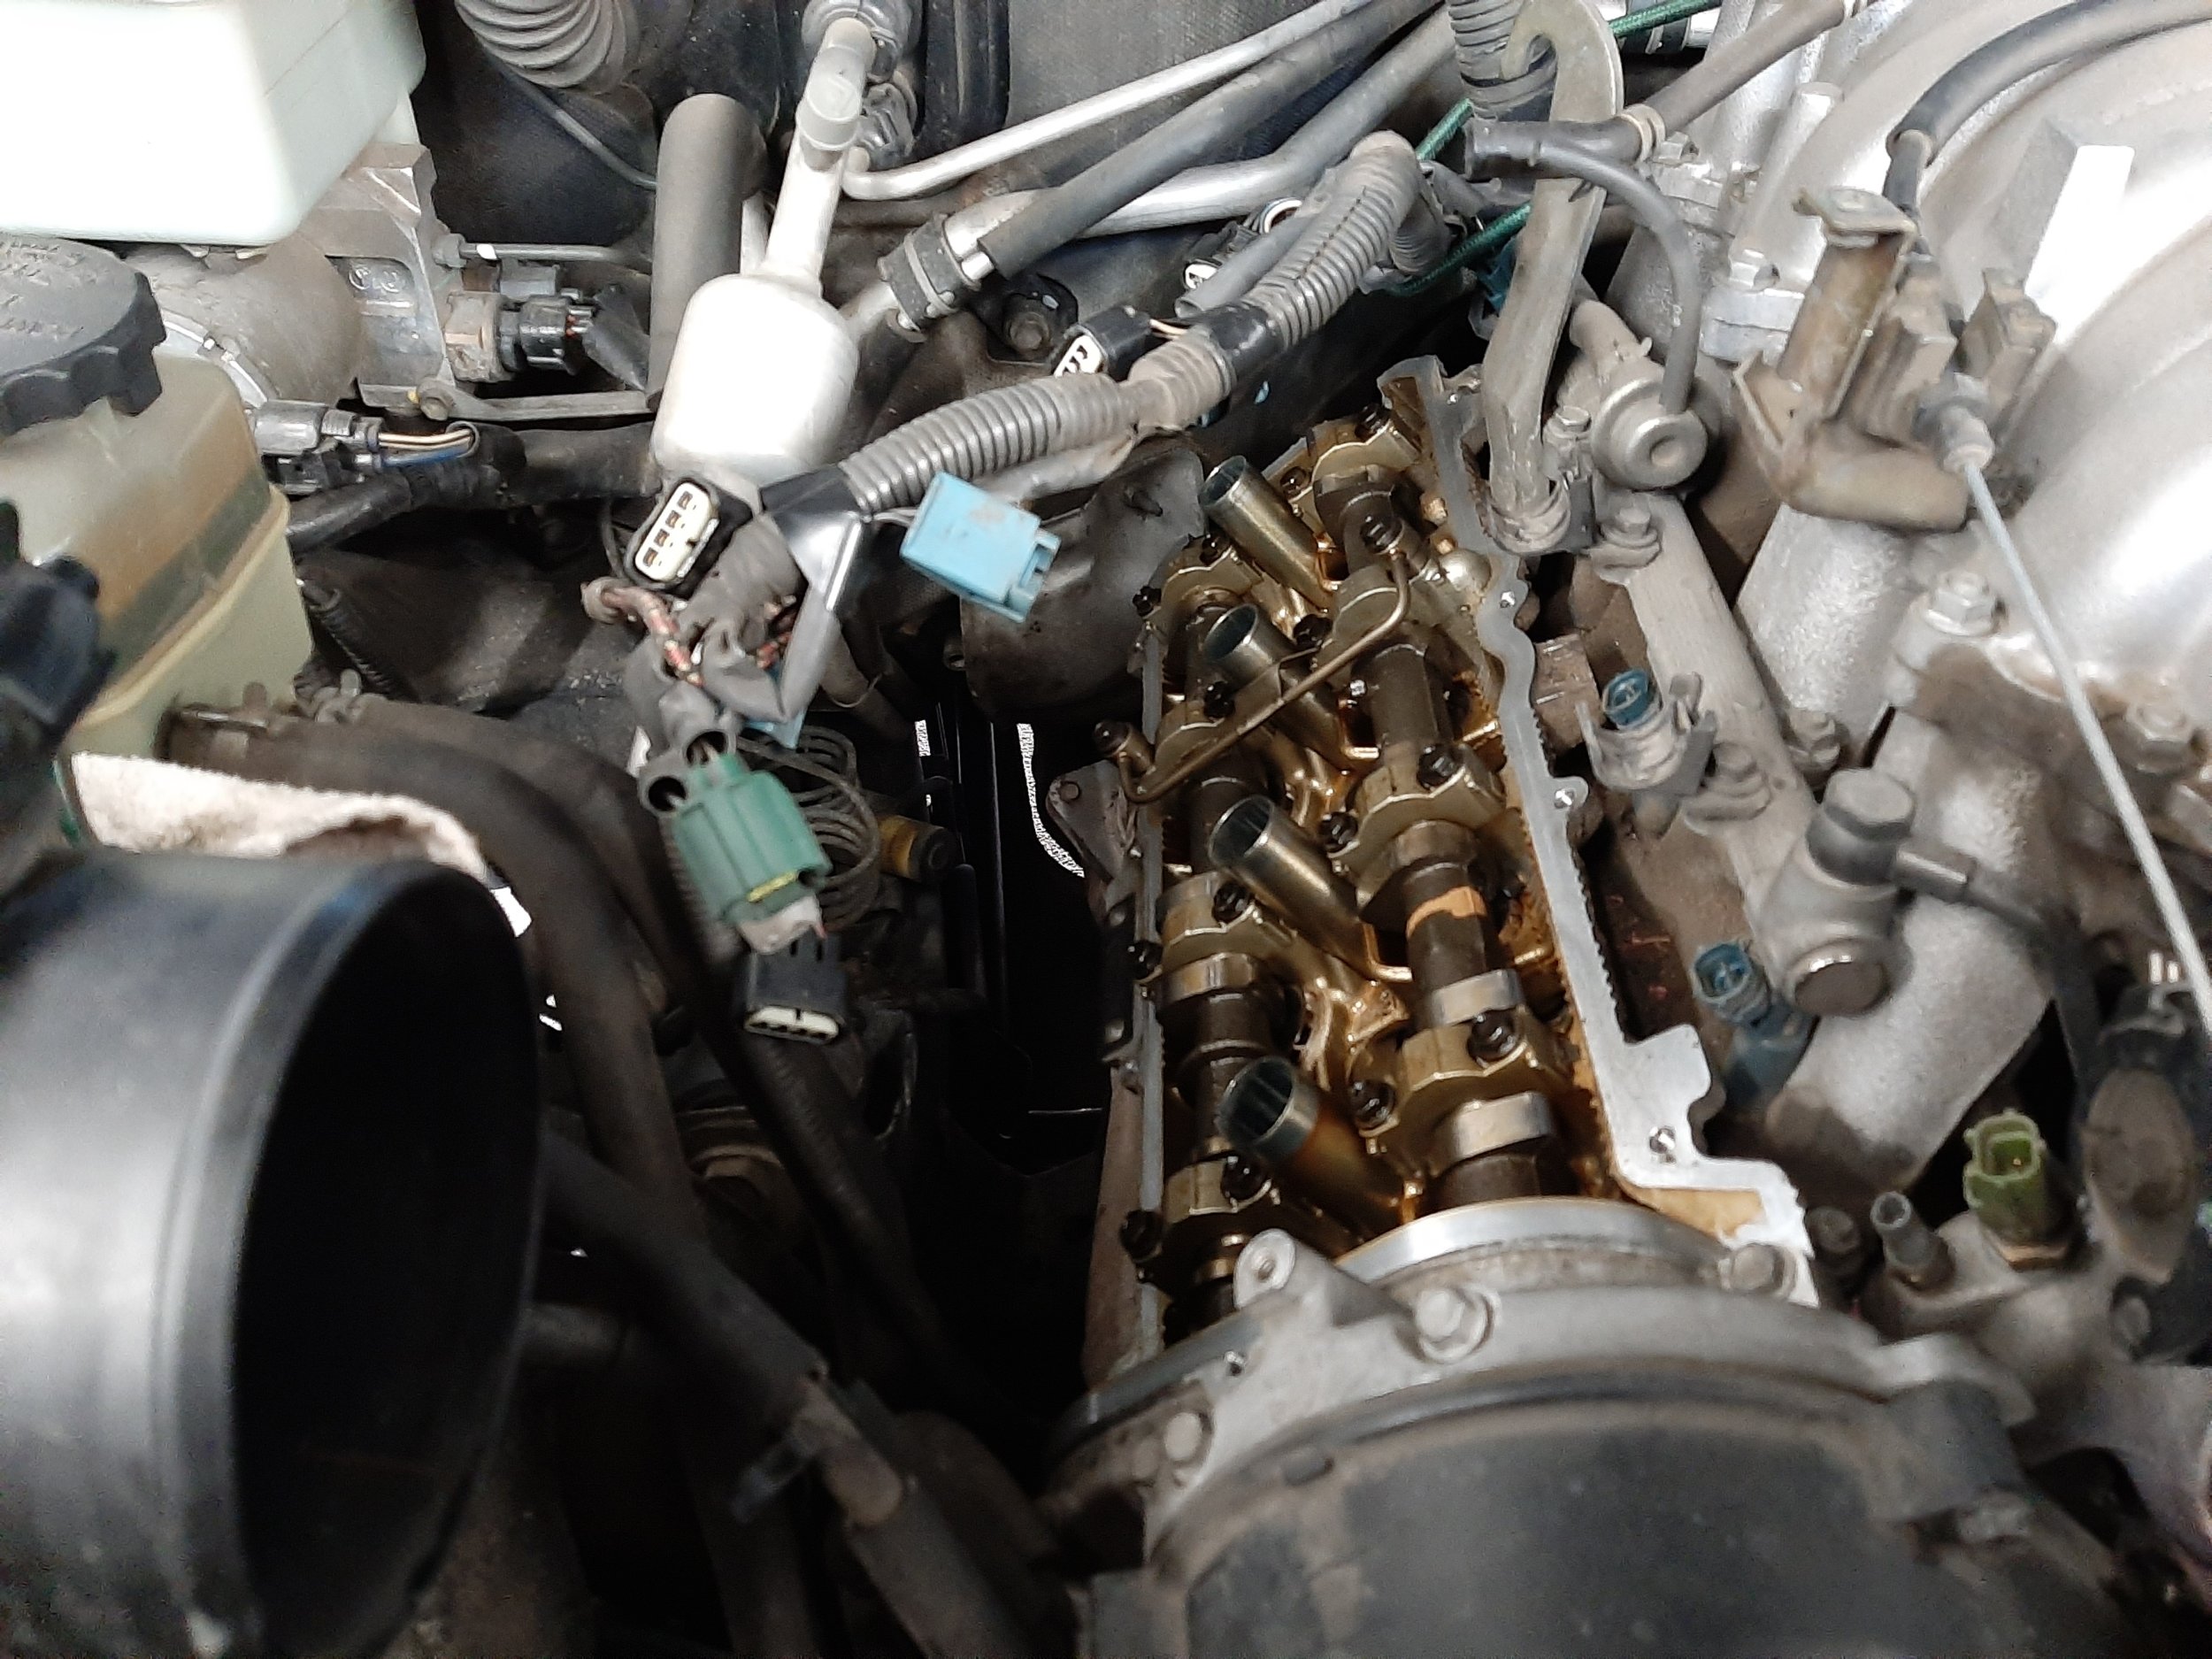
The last two pictures in this post are the of the wire loom bungeed up and out of the way. It is really hard to tell from the pictures, but there was a ton of room under there which made installing the half moons, FIPG and valve cover way easy.

There are a bunch of video's out there that cover the process of doing this work and I watched a few of them before digging in. There really wasn't one that stood out as being head and shoulders above the rest; but considering the nature of the work it really is quite straightforward.
My notes on the things I did were:
- Remove engine cover; 2 10mm cap nuts , 2 10mm bolts
- Remove Air Box; 1 10mm bolt (most of you will have two, I lost one years ago), 2 10mm hose clamps and 4 vacuum hoses
- Disconnect the 4 coil pack electrical connectors
- Remove the vacuum hose from the top of the valve cover (this is one of the 4 that connects to the air box)
- Remove the small vacuum hose from the top of the intake, tuck it behind the power steering reservoir
- Promptly break the two clips that hold the wiring harness, these are brittle plastic and were on their way out. This is the big loom that has the connectors for the fuel injectors and coil packs that runs along the top of the valve cover. Upon re-installation, zip ties were used to lock the loom in the remaining cradle of the clip.
- Remove two 10mm bolts for the ECU harness. Big bolt is firewall, small bolt is the head. This could be an optional step, but it helped in making room to get to the rear valve cover bolt on the top side of the engine and later was helpful in getting the wires out of the way for installing the valve cover.
- Unclip the small wire towards the front of the engine and under the lower valve cover bolt. This was done again to be able to move the wires out of the way.
- Remove the 4 coil packs; 10 mm bolt (torque 66 inch pounds or 5.5. ft lbs.)
- Remove the 9 valve cover bolts (torque 74 inch pounds or 7 ft. lbs, tighten in a star pattern, step the torque up in increments, snug, 55 inch pounds then final 74 inch pounds)
- Remove the valve cover.
- Remove the half moons at the rear of the head.
- Clean the valve cover and replace the seals (more on technique and tools later)
- Clean the valve cover bolts and replace the washers
- Clean the half moons
- Clean the head surface where the valve cover goes. Pay attention to the half moon slots and front corners where FIPG is needed.
- Disconnect the fuel injectors and two electrical connectors near the top of the VC.
- Tape the connectors to the loom and bungee the loom harness up; one pull it towards the steering wheel, one pull it towards the passenger. This raises the wires up and out of the way of the head, which makes it much easier to put the valve cover back in place as you don't have to fight wires or connectors during that process.
- FIPG the half moons and install them, you will know you did a a good job of cleaning them if you have to do a double take to tell which side goes to the valves and which goes to the firewall.
- Install the new valve cover gasket into the valve cover and then install the valve cover.
- Start working backwards on the list to put everything back together.
A technical write up would not be complete without pictures and while they are not step-by-step, here are a few for those needing motivation to wrench and or looking to do this work on their 2UZ-FE.
The parts to be installed. These are not from Mr. T, but I think they will be just fine for this purpose.
The old parts out and the tools used so far on the table. Note the air box is under the table.
A close up view of the removed parts and the pry bar. That pry bar was very handy for un-seating the valve cover and popping out the half moons. Take care with it, because of its size it can mess things up. Gently and slowly use its leverage to break the parts free.
The next three photos are all about replacing the seals. In the first one, you should be able to see the tabs bent up. The second is the tools used. The small screw driver was used to bend up the tabs. This small screw driver has a bent head, a very slight bend (see third picture) but it was perfect for walking the tabs up. Most of the other people use needle nose pliers to bend the tabs, but for me this worked swell. The big screw driver made short work of removing the old seals. Tap it in at the edge and it bends the old seal inward enough that it can just be popped out. The small punch was used to bend the tabs after the new seals were installed.
The last two pictures in this post are the of the wire loom bungeed up and out of the way. It is really hard to tell from the pictures, but there was a ton of room under there which made installing the half moons, FIPG and valve cover way easy.
Last edited:


