2005 PJ Trailers 20' Gooseneck Lo-Pro Equipment Hauler Revamp

Brucker

Hard Core 4+
Joined
Jul 10, 2013
Messages
1,245
Location
Broomfield, CO
Got the new metal rails and the trailer prepped by sanding off the weld areas. I usually tend to only take off a little more than needed. This keeps the touch up to a minimum. Then I positioned the rails and got them clamped into place.

IMG_20260723_172119703_HDR.jpg

IMG_20260723_172044750_HDR.jpg

IMG_20260723_172111620_HDR.jpg

I then welded the them into place. And repainted the areas I wouldn't be able to get to later. I plan on one last large paint touch up once the work has been completed. Nice thing about Rust Oleum paint, it touches up nicely.

Started adding the rest of the wood decking and discovered a few boards I just didn't want to use. A little warping that I can use clamps to get rid of is fine. But some of the boards have some cracking and warping that I just didn't want to waste my time using. So I will be picking up a couple replacement boards this week. This project is already behind schedule so what's the problem with pushing it back a couple more days? Ugh.

This is where the trailer deck progress is at. You will notice one of the cracked and warped boards that I am replacing.

IMG_20260727_115115484_HDR.jpg

IMG_20260727_115142216_HDR.jpg

IMG_20260727_115158470_HDR.jpg

IMG_20260727_115217682_HDR.jpg

From certain angles, the deck almost looks finished. Think I will be happy in the end.

IMG_20260725_172447171_HDR.jpg

IMG_20260727_115128874_HDR.jpg
 

Brucker

Hard Core 4+
Joined
Jul 10, 2013
Messages
1,245
Location
Broomfield, CO
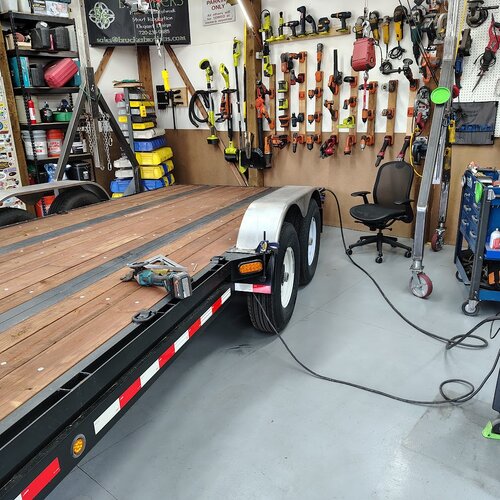
Got down to my client's and picked up a couple more boards. Got them cut to length, sealed the cut edges, then installed them. With all the boards firmly attached, I touched up the paint where needed. Deck came out well. And happy with everything thus far. And will be putting it to the test tomorrow. Need to unload and then install some equipment at a client's who do not have a forklift. So will get to test the revamped trailer with a fairly heavy load.

IMG_20260729_193132172_HDR.jpg

IMG_20260729_193033031_HDR.jpg

IMG_20260729_193022198_HDR.jpg

IMG_20260729_193010800_HDR.jpg

IMG_20260729_193052857_HDR.jpg
 

Brucker

Hard Core 4+
Joined
Jul 10, 2013
Messages
1,245
Location
Broomfield, CO
Man, that thing is beautiful! Especially when one looks at the before photos. Well done!

Mark
Awesome work, I’ve enjoyed he step by step progress. Did I miss something, what happened to the fenders?
Thank you for the kind words.

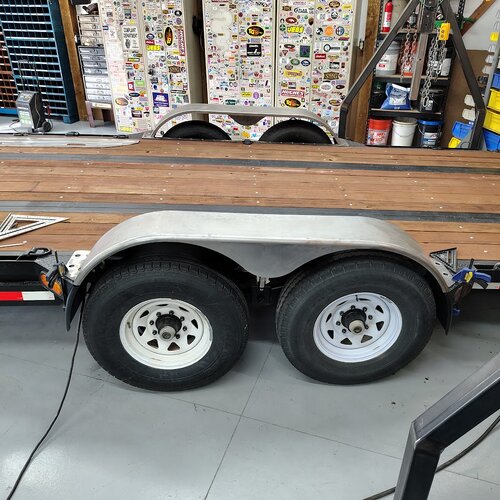
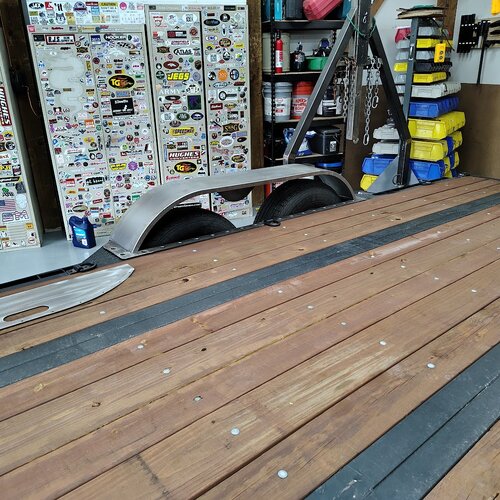
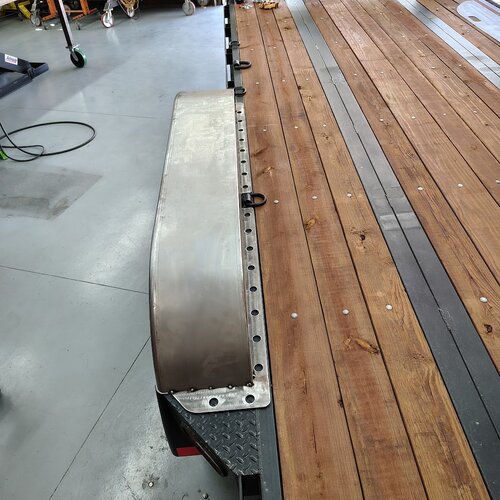
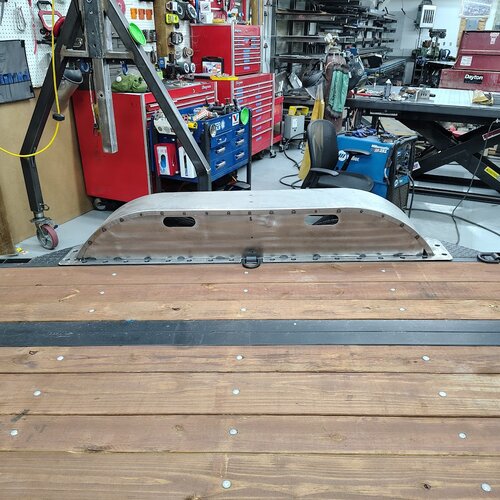
Trailer isn't finished yet, but I need to use it, so the removable fenders are sitting on one of the fab tables, waiting to be completed.

First heavy haul went really well. And I got 2 compliments from different folks today about it. Both said it looked brand new. That made me smile.

1000009513.jpg
 
Last edited:

Brucker

Hard Core 4+
Joined
Jul 10, 2013
Messages
1,245
Location
Broomfield, CO
Didn't realize I never updated this thread with fender photos and final overall photos. I will do that soon.

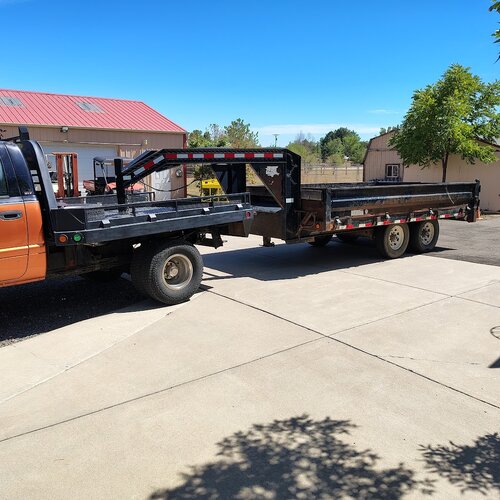
I ended up finally adding a dump trailer to the fleet. PJ Trailers 10k pound capacity, deckover with 8' x 14' bed. The 2' sides fold down and the split tailgate will swing up for dumping/spreading and will also swing to the sides for loading/unloading big items. And the pump powers the bed in both directions, up and down. It is a rust bucket, but I just so happen to have experience with those :cool: This will get worked over just like the above trailer did.
IMG_20260909_132951789_HDR.jpg
 

Brucker

Hard Core 4+
Joined
Jul 10, 2013
Messages
1,245
Location
Broomfield, CO
Still sorting out photos for the fenders. Had a computer give out and getting files recovered and back ups restored has not been fun.

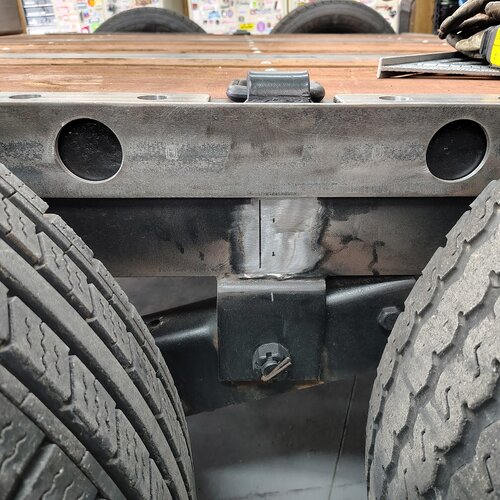
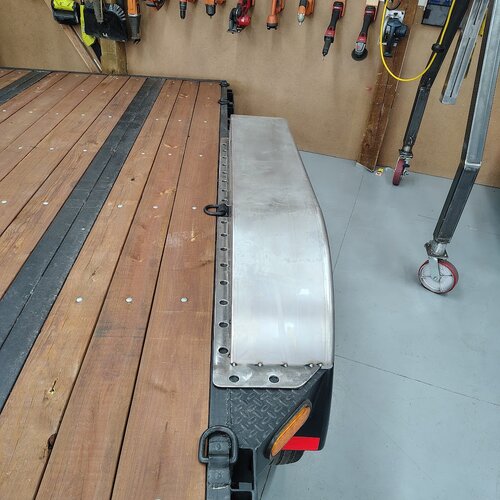
Anywho, removable fenders. Had the majority of the parts cut so I went about fitting them together. Cleaned off the coating from the area of the frame where I need to weld then placed the base for the new fender into position.

IMG_20261012_135352323_HDR.jpg

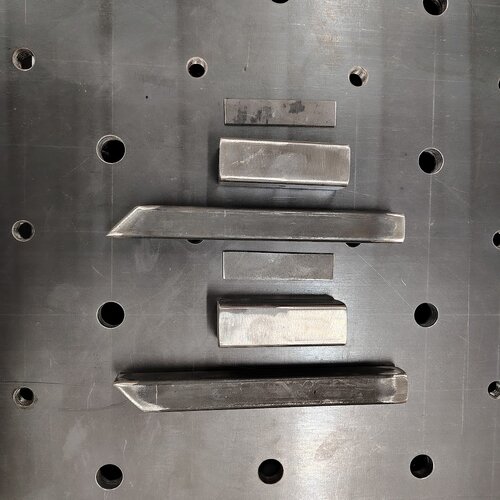
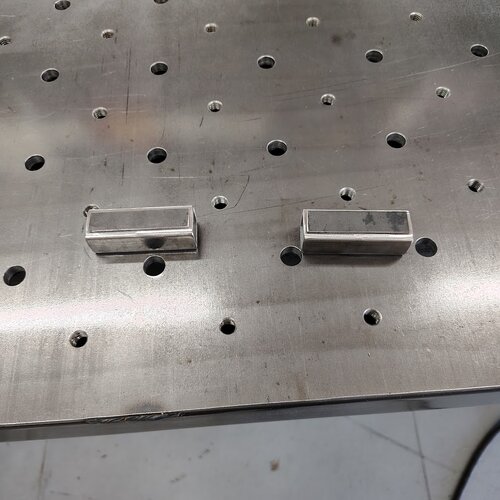
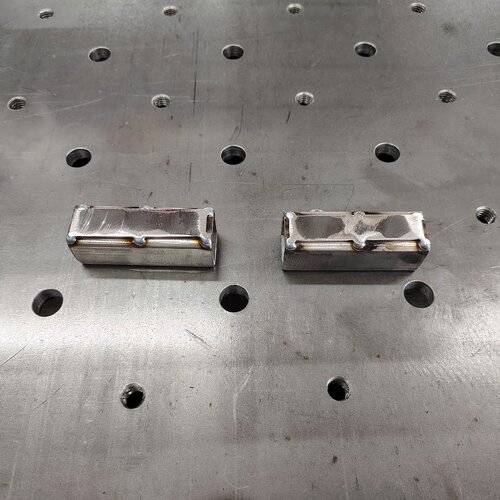
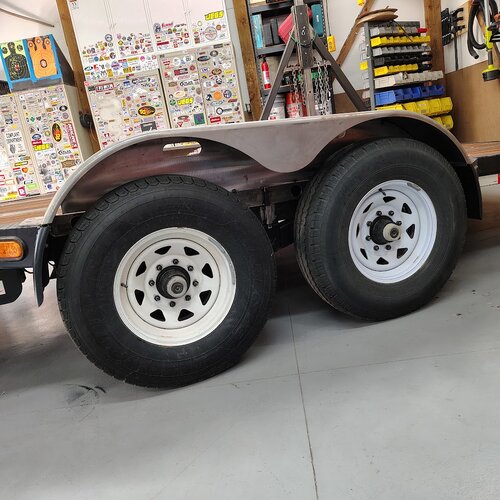
Cut parts for each side's fender "post" and it's mount to the frame. Welded together and cleaned up the post as well as welded the spacers to the back of the mounts. Then tacked the mounts to the frame and the posts to the fender bases.

IMG_20261003_144123236_HDR.jpg

IMG_20261012_121520808_HDR.jpg

IMG_20261012_133921662_HDR.jpg

IMG_20261012_140009125_HDR.jpg

IMG_20261012_135315969_HDR.jpg

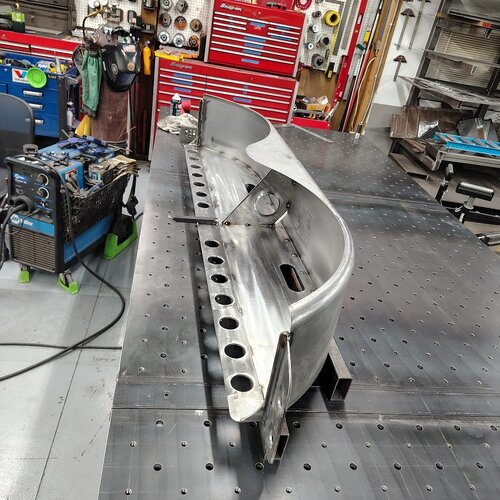
Fit the fender skins to the top of the bases
and tacked them into place.

IMG_20261012_142705598_HDR.jpg


IMG_20261012_142647892_HDR.jpg

IMG_20261012_142655029_HDR.jpg

IMG_20261012_144120124_HDR.jpg
 

Brucker

Hard Core 4+
Joined
Jul 10, 2013
Messages
1,245
Location
Broomfield, CO
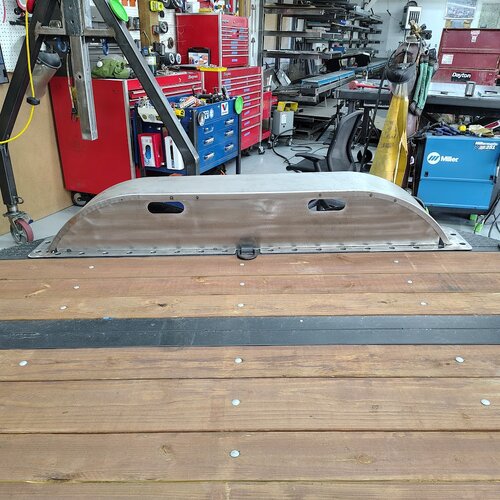
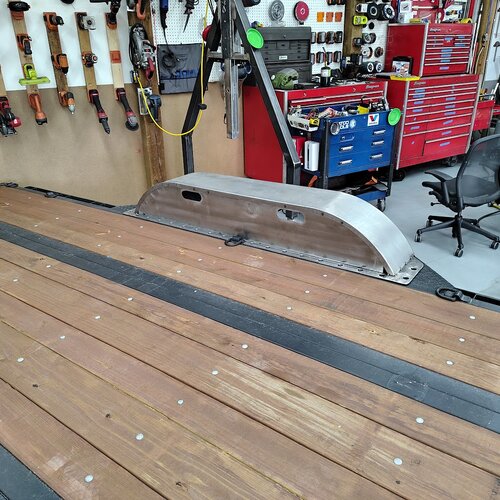
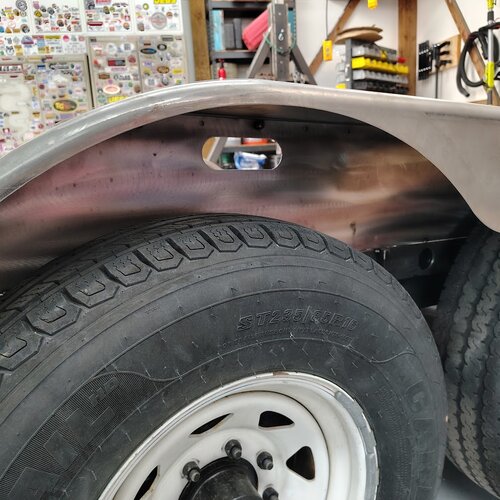
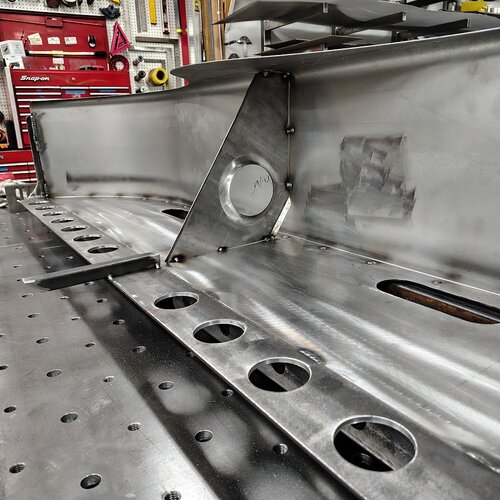
Added in the fender wells complete with hand hold cutouts and tacked them into place

IMG_20261012_144143666_HDR.jpg

IMG_20261012_144200978_HDR.jpg

IMG_20261012_144108608_HDR.jpg

IMG_20261012_144056066_HDR.jpg

IMG_20261012_144102335_HDR.jpg

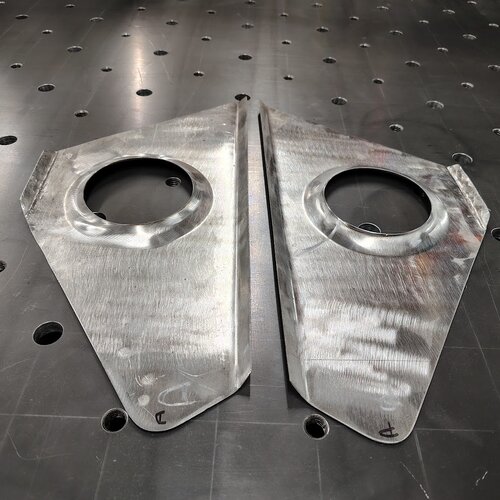
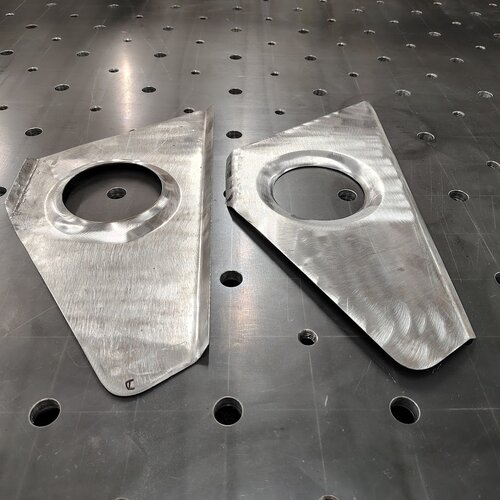
Fabricated a center gusset for each side. Cut out the pieces from sheet, the formed them with the press brake and a dimple die.

IMG_20261012_180723214_HDR.jpg

IMG_20261012_180807404_HDR.jpg
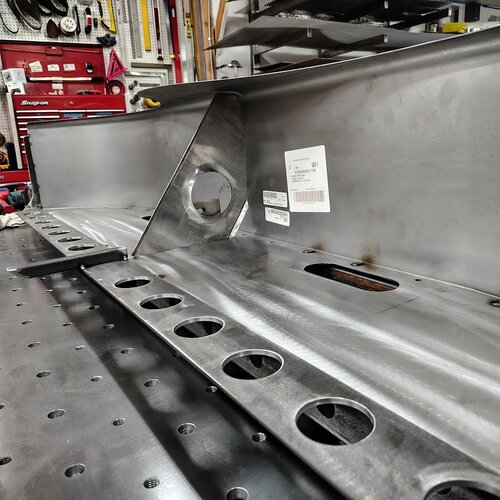
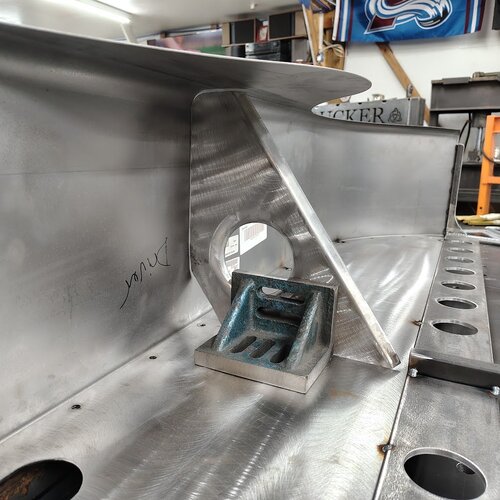
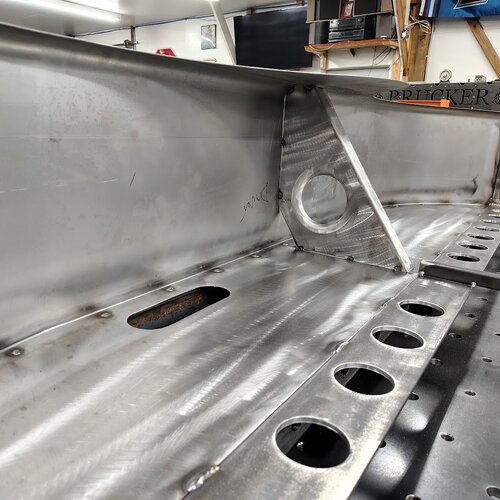
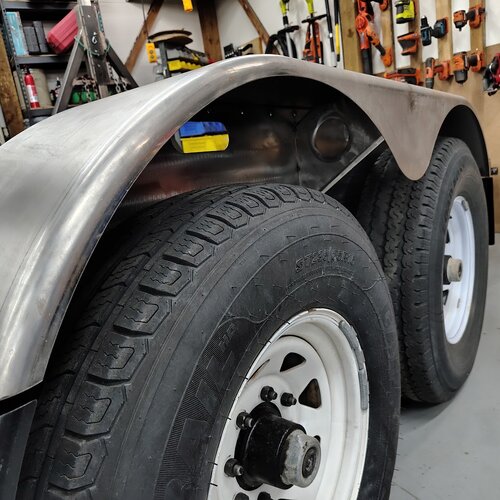
Removed the fenders to gain easier access for installing the gussets. Then fit and tacked them into position

IMG_20261012_210921948_HDR.jpg

IMG_20261012_210938749_HDR.jpg

IMG_20261013_181917026_HDR.jpg

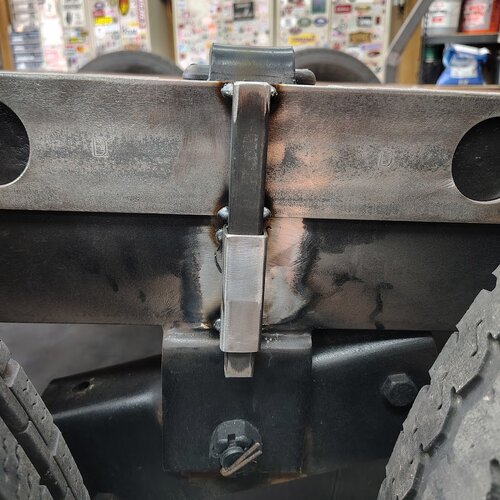
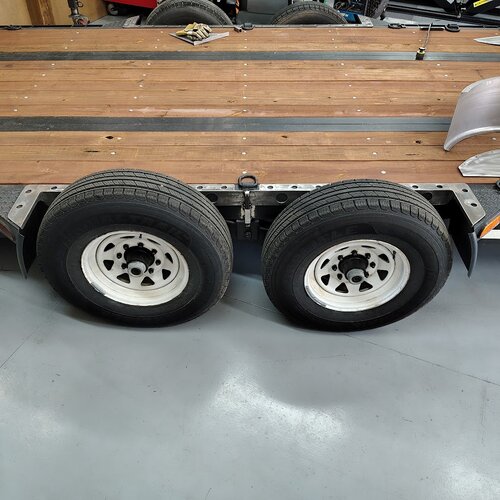
And test fit them once again before adding the latches and then final weld out

IMG_20261013_182323465_HDR.jpg

IMG_20261013_182349122_HDR.jpg
 

Attachments

  • IMG_20261013_181924777_HDR.jpg
    IMG_20261013_181924777_HDR.jpg
    255.3 KB · Views: 10
  • IMG_20261013_181948977_HDR.jpg
    IMG_20261013_181948977_HDR.jpg
    297.5 KB · Views: 9
Back
Top