So exciting!!! A lift is a wonderful tool and makes most every wrenching session better as the vehicle can go up and down versus you having to do the up and down. You will really appreciate the convenience. The 10K lift you guys are getting has ALI Certification and will handle pretty much any Toyota (or other manufacturer) vehicle in production today. It is super exciting to see you guys doing this. I hope that I'm not messing up your planning thread with this post. Hopefully it generates some excitement and gets you some more volunteers.
I have been around to see a couple of two post lifts installed. In both instances the installation was hired out. I looked for but didn't find how much it cost me to have my lift installed a few years ago - but it was very reasonable and worth the peace of mind. A guy I work with installed one on his own in a long weekend and said it was time consuming but easy. Wow, it has been
9 years since the lift was installed at AirRandy's.
The installation process is documented out on the interwebs quite a bit;
this is one article from a distributor that does a good job of covering the high level basics. The installation manual for the lift you guys are getting has been posted in this thread and it covers everything you would need to know to complete the install successfully. Even if you are a read the instructions only when needed kind of guy, in this case I would encourage you to make an exception and do it before starting the work.
")
The following is a recollection of my observations (along with a few inspirational pictures) on how a few of the subjects discussed above were done.
Moving lift columns around seems daunting because they are so large. At Randy's a a Kubota tractor bucket was used and at mine it was a small forklift. In both instances the posts were suspended by a strap that was placed closer to the base of the column than the center. There is a balance point and that is where the strap should go. While "heavy" equipment was used in the installs I observed, I have read that they can be moved with an engine hoist. Even with the heavy equipment, the columns were not ever very high off the ground, just high enough to clear the trailer and then once clear, lowered to about a foot or so off the ground as they were moved. Here a couple of photos of where the strap was placed for the columns of my lift.


Standing the lift columns up in their final position. For Randy's install, the installer just walked it on up by himself. Keep in mind, he does this day in day out and is familiar with the process. For the lift install in my shop, the installer and his assistant did it together. They did use the forklift to start to process of getting it leaned up. I'm sure with a few guys working together - they should stand right up. Once they are upright, they can be moved into the final position easily, by carefully sliding an inch or so at a time. Here are the columns being stood up.

Mounting of the columns to the floor is done with wedge anchor bolts. The base of the column has holes, once the columns are in their final position a hammer drill is used to drill into the floor at each of the column holes. The wedge anchor bolts are then pounded into the holes. Ultimately nuts will then be put on the anchor bolts to hold them for good - but before that there are spacers that need to be placed to get the columns level and plumb. As this is a used lift, you will want to consider getting a
lift installation kit which has the wedge anchor bolts and shims.
The columns are really the only large pieces of the lift, the rest of the parts take up very little space.
As mentioned above, lining everything up before anchoring the columns is important. Here is a shot of chalk lines that my installer used. In Randy's installation the installer had a fancy transit type set up.
To get the cross bar on the top of the lift in place, Randy's installer used two tall step ladders and my installer had a scissor lift.
Consider placing the power for the lift on a dedicated circuit and putting a switch on the column right next to controls for the lift. A dedicated circuit minimizes any risk from the breaker being tripped and the switch will allow you to quickly kill the power if you need to.
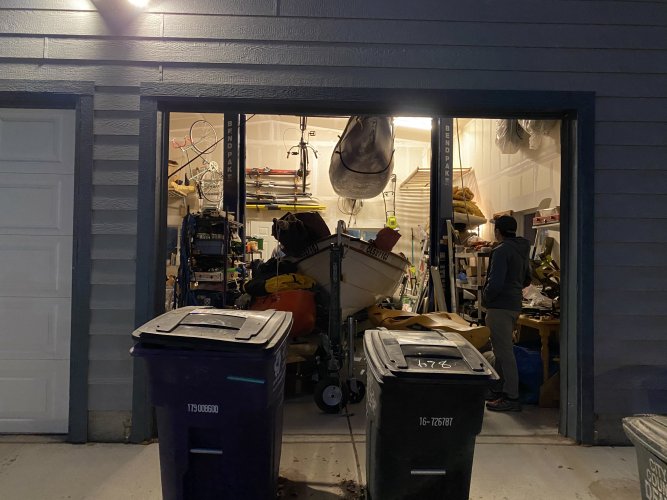
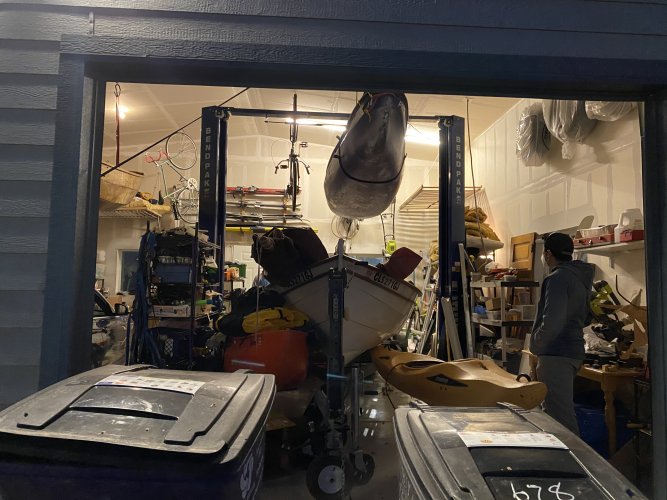
Finally, the end objective, the lift in use for the first time.