
You are using an out of date browser. It may not display this or other websites correctly.
You should upgrade or use an alternative browser.
You should upgrade or use an alternative browser.
IH8RUST: FJ60
- Thread starter IH8RUST
- Start date

RDub
Hard Core 4+
The connector contacts often oxidize causing the cluster to become a cluster. As you know there are many pins and mating sockets. Mine was acting up and a careful cleaning with de-ox it and mild abrasive fixed it. Worth a try.


IH8RUST
Hard Core 4+
- Joined
- Jun 13, 2024
- Messages
- 552
I ended up using wire brush to clean the connectors while I have it pulled out!The connector contacts often oxidize causing the cluster to become a cluster. As you know there are many pins and mating sockets. Mine was acting up and a careful cleaning with de-ox it and mild abrasive fixed it. Worth a try.
IH8RUST
Hard Core 4+
- Joined
- Jun 13, 2024
- Messages
- 552
Sitrep, I'm tired.
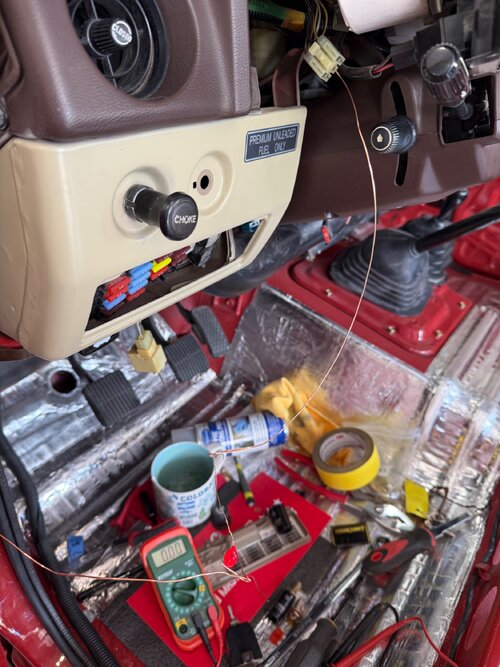
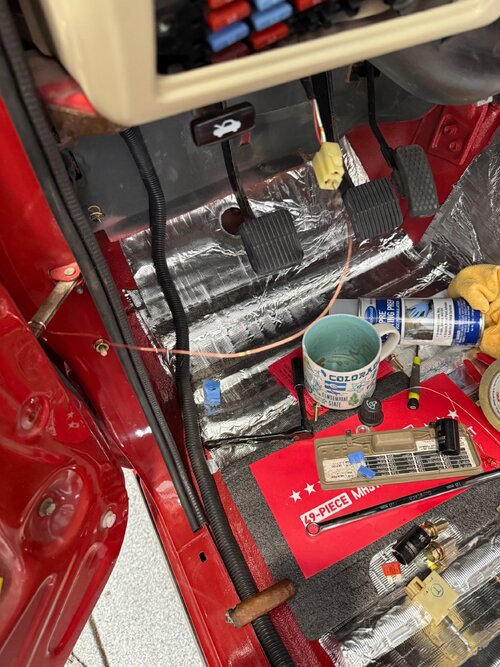
Went down the usual rabbit holes first: replaced the dimmer rheostat, replaced the headlight switch, pulled the cluster, and inspected the printed circuit (traces were fine). Meter read ~12V everywhere, so I kept chasing "where's the power going?" That was the trap.
What actually cracked it:
I have a couple of fixes in mind:
Went down the usual rabbit holes first: replaced the dimmer rheostat, replaced the headlight switch, pulled the cluster, and inspected the printed circuit (traces were fine). Meter read ~12V everywhere, so I kept chasing "where's the power going?" That was the trap.
What actually cracked it:
- A DMM will happily show 12V through a dead or high-resistance connection because it draws almost no current. Switched to using an LED as a load tester, and that told the truth: power was real all the way up to the cluster.
- The HVAC illumination was dead too, which meant it wasn't the cluster.
- Turns out it was the GROUND, not power. On these, the panel illumination grounds back through the dimmer. The bulbs had +12V the whole time; they just had no path to ground. Touching the bulb-return pin to bare metal instantly lit the whole dash. Ugh.
I have a couple of fixes in mind:
- Free version: bypass the dimmer and permanently bond the bulb-return wire to the ground wire (solder + heat-shrink). Dash and HVAC come on full bright every time. Yay (?)
- I still want dimming back with LEDs? Need to find a high-side PWM dimmer, but then I have to figure out how to house and mount it with OEM. Breaks my heart not having the knob, so I want to see if I can hack something together.
- "Works, then doesn't, same steps" = an intermittent connection, every time.
- Don't trust meter voltage on a loose wire; load-test with an LED or test light.
- Sort out whether it's a power OR ground problem before swapping parts. Giving the circuit its own ground during testing can mask a faulty factory ground.
- Stock rheostats don't dim LEDs, go PWM/high-side. I still don't fully understand why the F the whole thing worked before, and now it doesn't.
IH8RUST
Hard Core 4+
- Joined
- Jun 13, 2024
- Messages
- 552
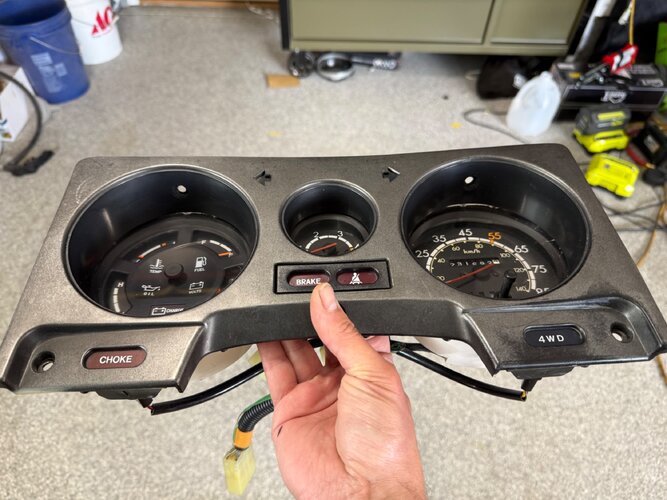
Before.
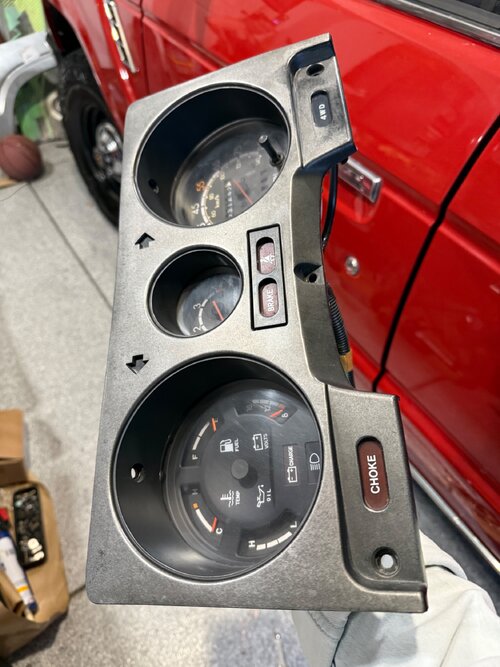
Since I have it out, wet sanded with 5000-10000, then used the Chemical Guys V38 with a wool pad to polish the glass. It buffed out most of the hairline scratches, gave it a nice clear shine.
Going to attempt to paint the bezel, waiting on the paint to arrive.
Since I have it out, wet sanded with 5000-10000, then used the Chemical Guys V38 with a wool pad to polish the glass. It buffed out most of the hairline scratches, gave it a nice clear shine.
Going to attempt to paint the bezel, waiting on the paint to arrive.
 |  |
Last edited:

IH8RUST
Hard Core 4+
- Joined
- Jun 13, 2024
- Messages
- 552
Got myself a PWM dimmer. Running tests on battery and ignition and I have LEDs with a dimmer. Now, I have to retrofit.

Using this one: https://www.amazon.com/dp/B01ERR7E4Q?ref=ppx_yo2ov_dt_b_fed_asin_title&th=1 - requires no rewiring for those interested.
Using this one: https://www.amazon.com/dp/B01ERR7E4Q?ref=ppx_yo2ov_dt_b_fed_asin_title&th=1 - requires no rewiring for those interested.
Last edited:


justcruisin
Wincher
Looks perfect! Beautiful work, Will.Finished. Imperfections, included.

IH8RUST
Hard Core 4+
- Joined
- Jun 13, 2024
- Messages
- 552
Thanks, Sam! Came out pretty good for two hours of work, and most of that was masking the part.
- Gave the ashtrays the zinc coating treatment before I sent them off to Branden D. for the door cards. He does good work.
- Finished the frontend, replaced all the old bolts with new ones.
- Redid the connectors for the markers with the Sumitomo; now they're nice and sealed. Old wires were short; I did some splicing and saudering to extend them. On that note, LSWiring has near identical colors and gauges. I might just have to take a stab at redoing the rear harness someday.
- Repainted the ventilation in the cabin; it was wet when I took the picture, but it looks fantastic now.
 |  |  |  |


KC Masterpiece
Hard Core 4+
- Joined
- May 4, 2019
- Messages
- 2,149
I want to start smoking again just to use a freshly zinc coated ashtray.
Damn that 60 is looking good!
Not sure if you posted on them but care to share info on those sweet battery terminals?
Damn that 60 is looking good!
Not sure if you posted on them but care to share info on those sweet battery terminals?
IH8RUST
Hard Core 4+
- Joined
- Jun 13, 2024
- Messages
- 552
I want to start smoking again just to use a freshly zinc coated ashtray.
Damn that 60 is looking good!
I smoke cigars, that's my excuse.
IH8RUST
Hard Core 4+
- Joined
- Jun 13, 2024
- Messages
- 552
Found it, nothing special, your Amazon garden variety terminals: https://www.amazon.com/dp/B09GLVT5H2?ref_=ppx_hzod_title_mob_b_fed_asin_title_0_0
IH8RUST
Hard Core 4+
- Joined
- Jun 13, 2024
- Messages
- 552
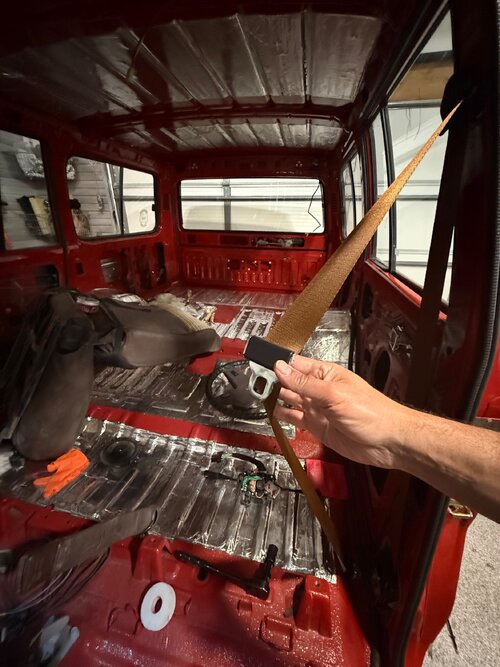
@timmbuck2 told me to get my act together and finish the rig so I can join them on the 60 run, project planning all the interior work now, trying to figure out headliner color since I get one shot at it.
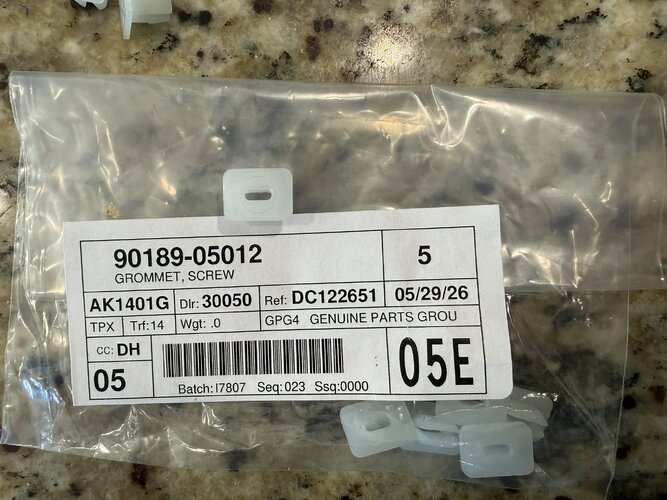
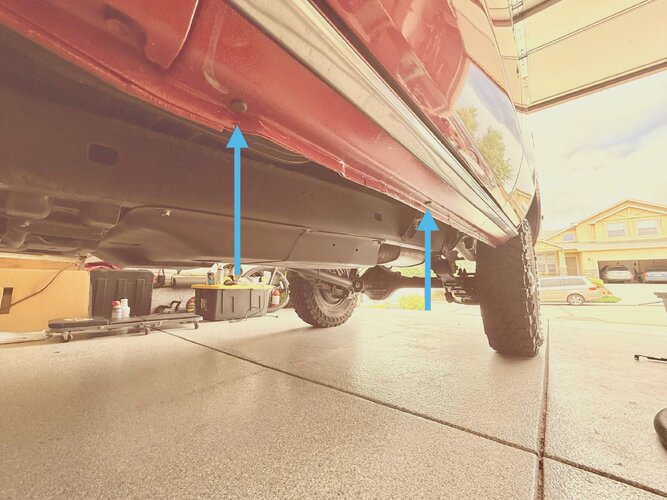
Meanwhile, found the grommets for the rocker panel. Also, those holes, they need plugs. Before I plugged them, I used the compressor to blow out stuff, about 10lbs of sandblast media. Very important things.
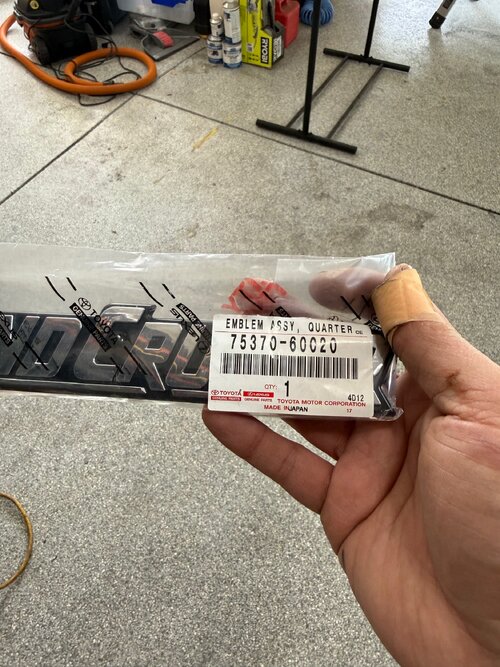
Installed the driver's side quarter panel emblem.
Meanwhile, found the grommets for the rocker panel. Also, those holes, they need plugs. Before I plugged them, I used the compressor to blow out stuff, about 10lbs of sandblast media. Very important things.
 |  |
Installed the driver's side quarter panel emblem.
