rckhound
Rising Sun Member
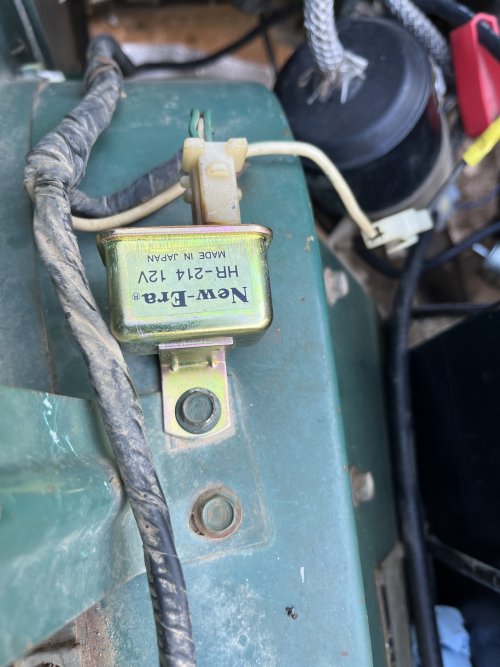
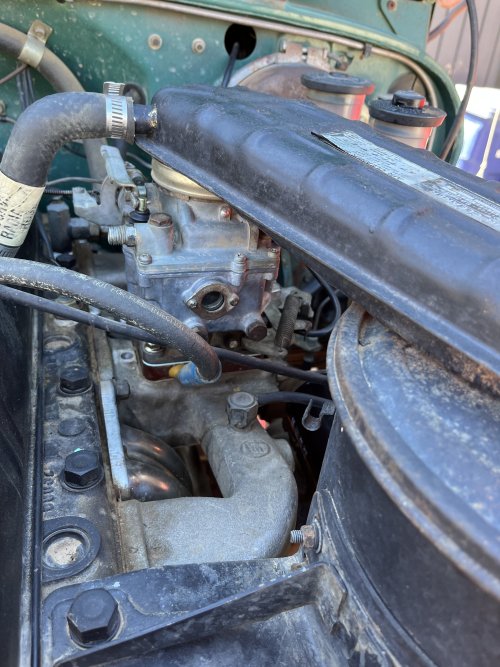
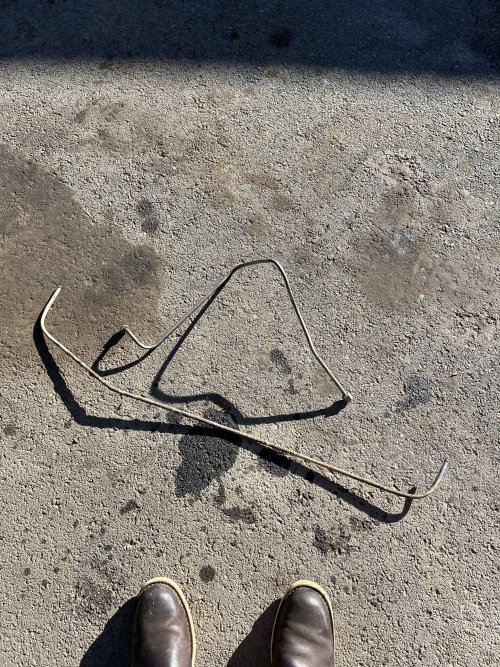
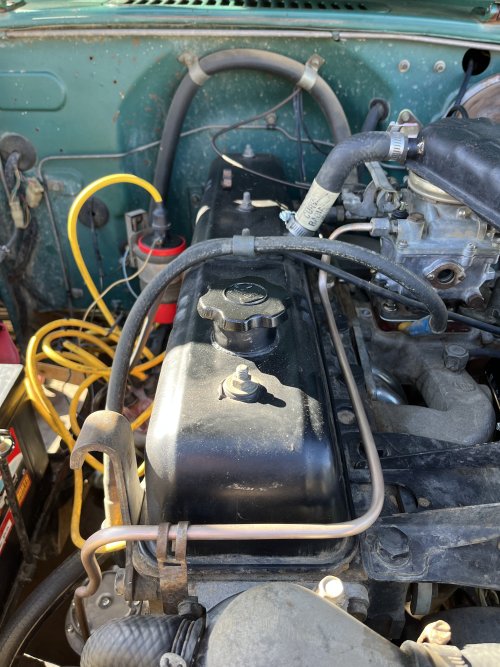
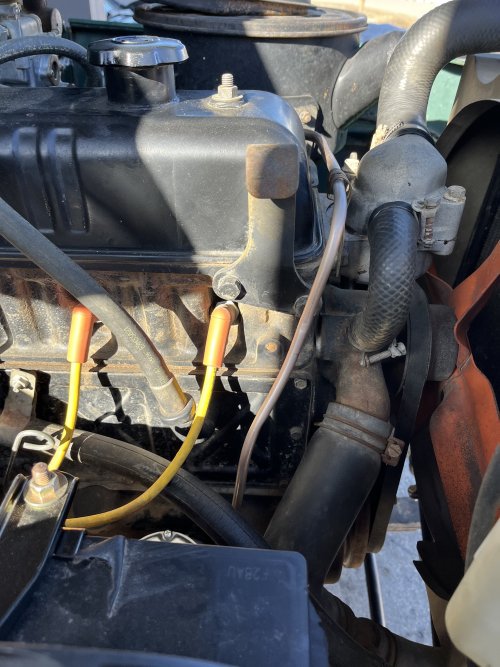
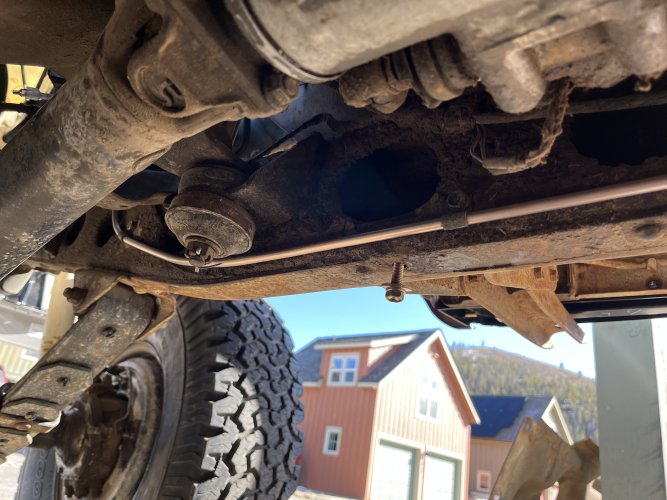
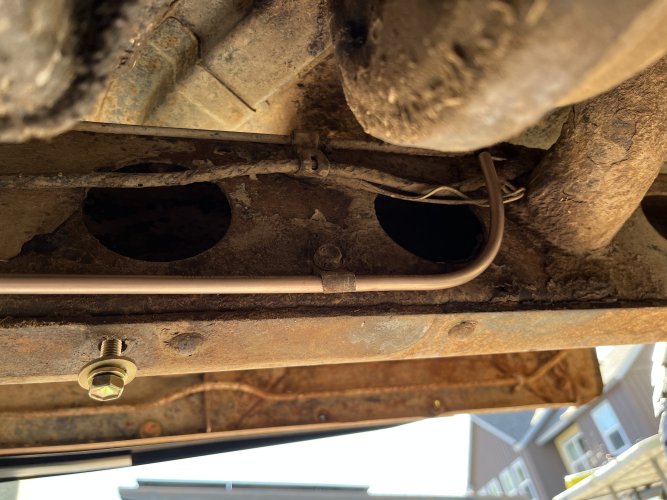
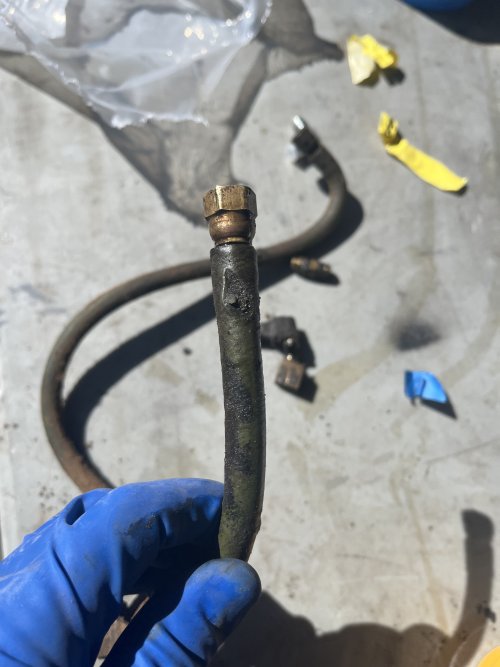
Martin do you have photos of where they ported it? I have the right size brass tubing from other carb repairs. Remember the hole size?I sent one to Jim C awhile back. Turned out great but expensive. Did another recently and had a friend with a machinists drill press do it for beer, also turned out great. Just needed to find the right size brass tube for the line. Seems easy if you have the right tools and have one to compare to.