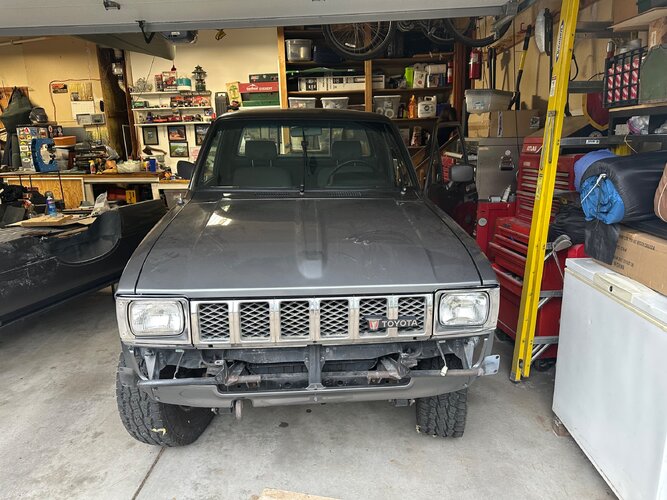
1982 Toyota RN48 SR5 Long Bed thread

original Gray or current Blue

  • gray

    Votes: 16 94.1%
  • blue

    Votes: 1 5.9%

  • Total voters
    17

Old40Dog

Rising Sun Member
Joined
Mar 2, 2009
Messages
1,909
Location
Far, Far South Side, Cotopaxi, Calirado
Looking nice Mike!šŸ‘ In all of your parts searches might you have any ideas as to where I might source a Tilt Wheel Steering Column Cover for a 1980 RN37? Lots of covers for Non-Tilt columns. Others are welcome to chime in too.
 

Telly

Rising Sun Member
Joined
Jan 4, 2008
Messages
1,720
Location
Monument
I think the dash and seats are original. The seats always had covers I believe. I replaced the cracked ā€˜wood’ dash with a new OEM one. Can’t believe Toyota still had that part.
It’s looking reeeeeeally good!
 

SteveH

Hard Core 4+
Joined
Aug 10, 2006
Messages
3,132
Location
Colo Springs
It was garaged for many years at the owner's house here in the Springs. Telly replaced the woodgrain dash piece with new/OEM.

The seat vinyl is original and they have covers on them from day 1, I think. There may be a small split, or the beginning of one, in the driver's seat.
 

simps80

Rising Sun Member
Joined
Jan 22, 2009
Messages
2,947
Location
Arvada, CO
snip quote

progress

ran a batch of hardware particularly the bed mount bolts through the vibratory tumbler
then painted the heads in preparation for mounting the bed..more on that later- not so fast said the universe.

Not so fast said the universe…

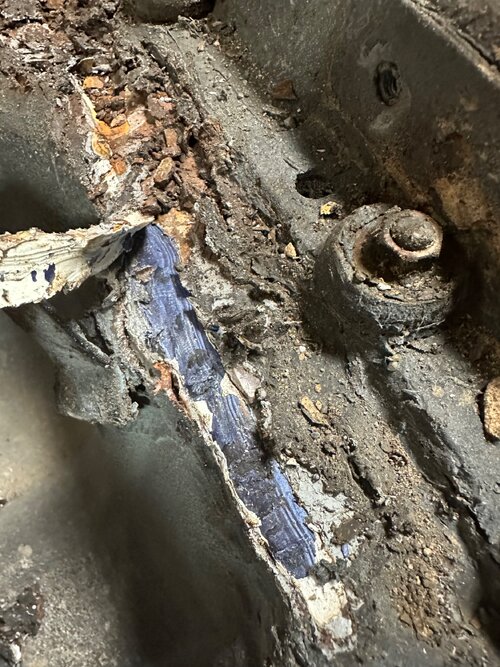
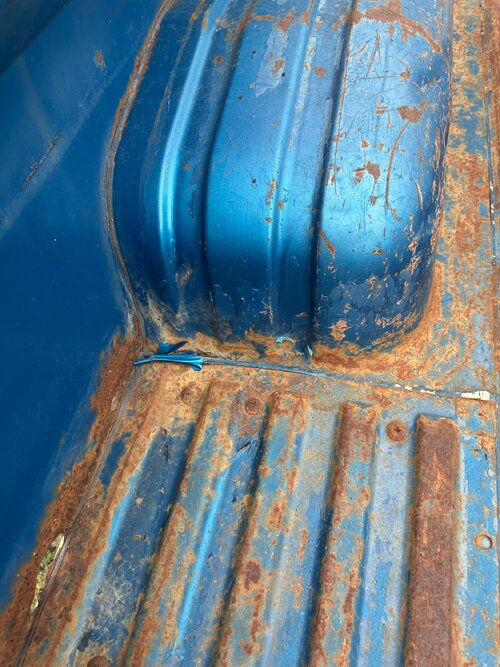
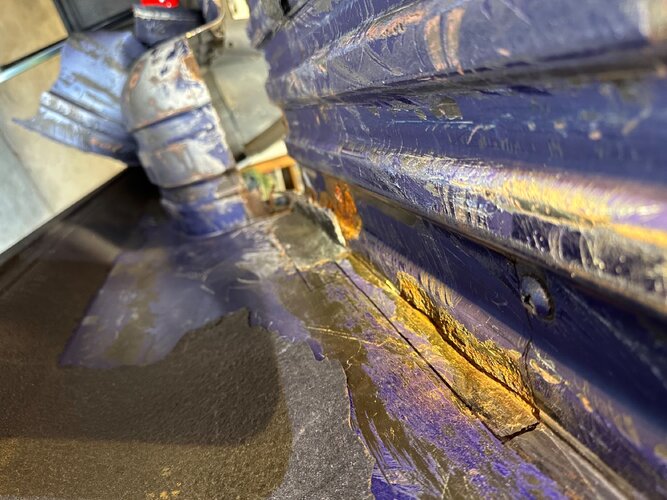
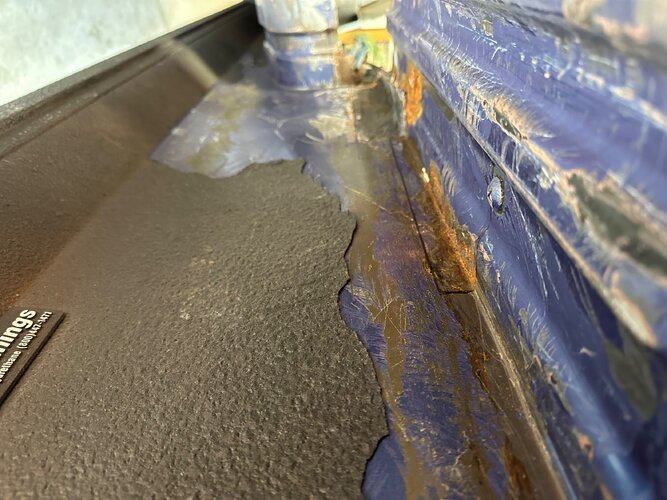
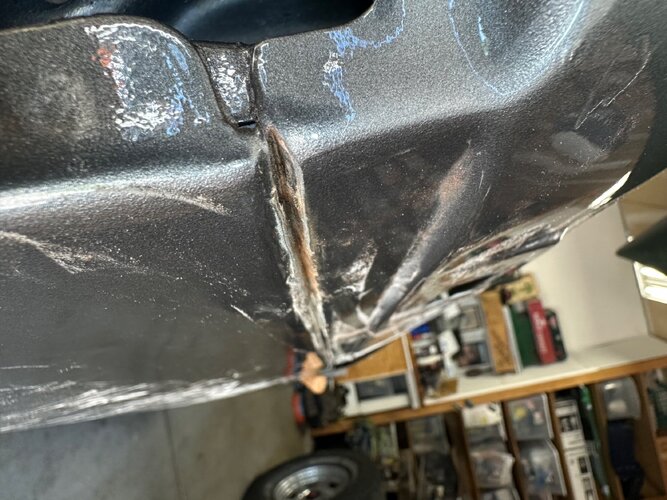
i started mounting the bed permanently then noticed this:

IMG_9232.jpeg

I figured it would be wise to fix that.
i could’ve easily hid it, a little rust converter and some putty and paint..but that would be a blatant misrepresentation of things

i also figured maybe i should do that off the frame so i could get good access to the area and hopefully patch it without scratching up the new paint.

not a big deal to remove the one bed cross member cut that little piece of metal out make a new one strip the bed liner back and weld it in. should be able to do that without affecting the brand new $$$ paint job. Would require a new rhino lining but it’s the best approach.

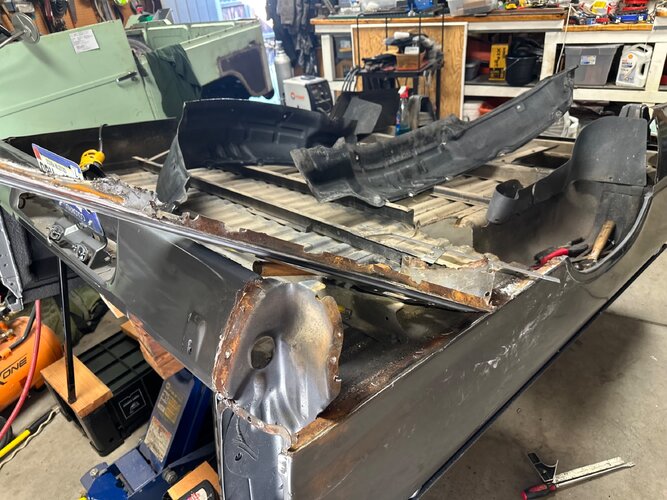
so me and a few friends took it off the frame and flipped it upside down

IMG_9230.jpeg

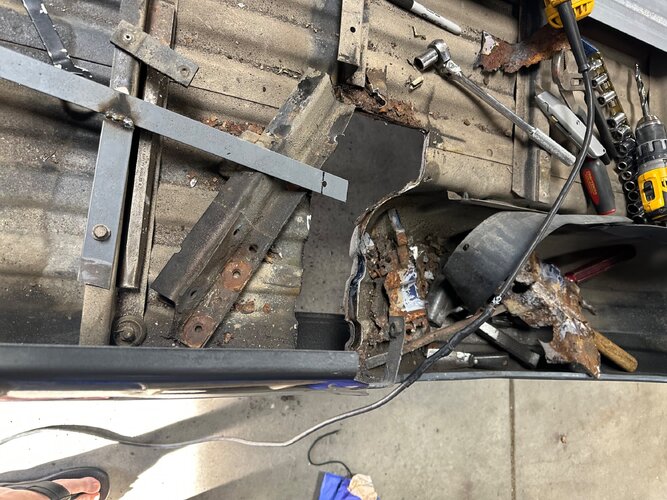
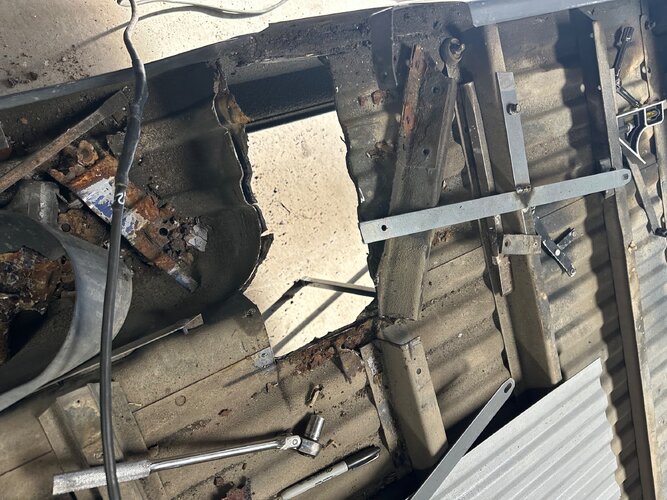
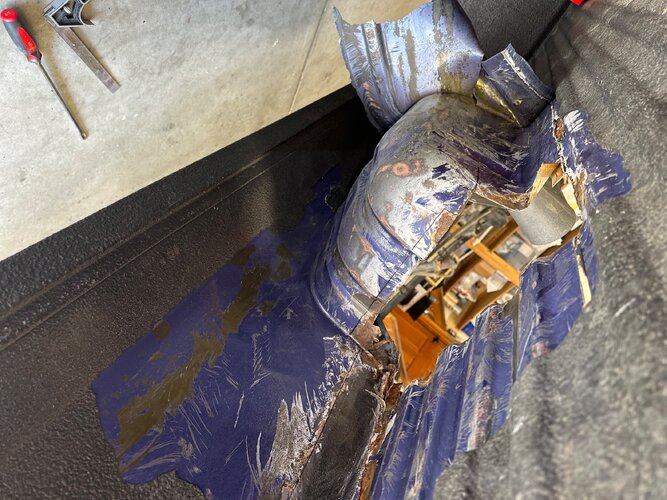
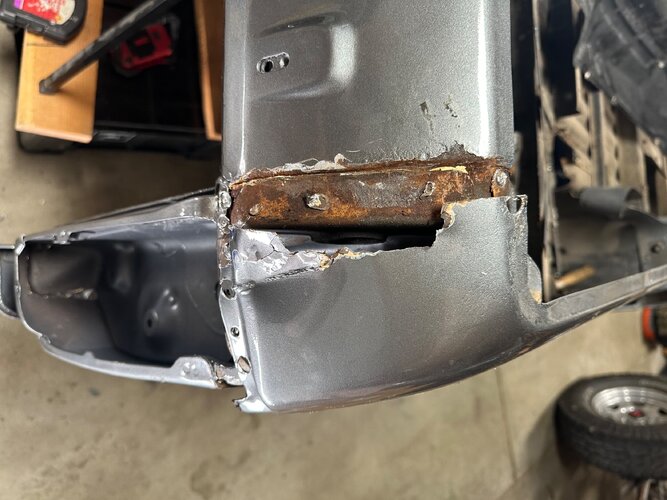
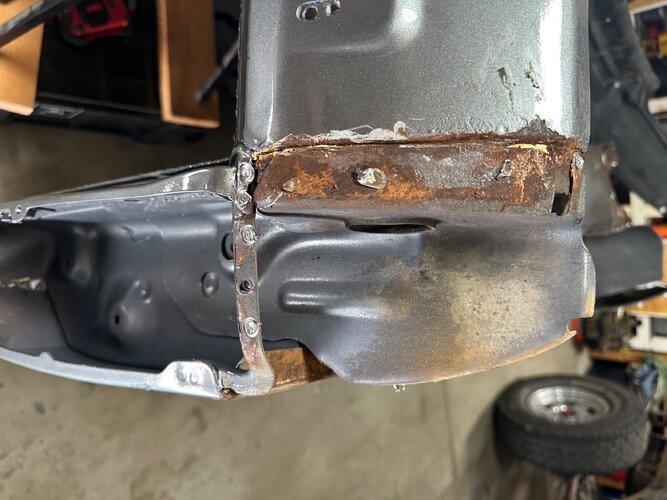
I started by trying to remove the cross brace six bolts and some spot welds no problem, and welp.. turns out this is a huge rabbit hole.

this area from the wheel well to base was made of very little metal and a whole lot of some flexible what appears to be silicone on the bottom and then the rhino lining on the top side..

IMG_9231.jpeg

IMG_9235.jpeg

IMG_9237.jpeg

So here’s where I am at.
this needs fixed.
it will require a new wheel well and a portion of the floor.

I imagine the other side was done similarly as I can see the putty like surface in similar spot.

I don’t have the facilities to do this repair.
It needs out on a rotisserie to be able to access both sides top and bottom at the same time.

does anyone have a recommendation on someone who can do this type of repair on a rotisserie or similar jig?

I realize this will be difficult compounded by the presence of this rhino lining so I know it won’t be cheap, but ideally the person who does this could do so while protecting the new paint?

let me know if such a place exists that I can take this bed to.

the good news is I have reinspected the entirety of the truck and chassis and there arent any other problem areas

the chassis is really nice
i think I am going to clean and paint the chassis while it’s open

IMG_9214.jpeg

IMG_9212.jpeg
 
Last edited:

Crash

Rising Sun Member
Joined
Aug 23, 2005
Messages
4,559
Location
Denver
snip quote


Not so fast said the universe…

i started mounting the bed permanently then noticed this:

IMG_9232.jpeg

I figured it would be wise to fix that.
i could’ve easily hid it, a little rust converter and some putty and paint..but that would be a blatant misrepresentation of things

i also figured maybe i should do that off the frame so i could get good access to the area and hopefully patch it without scratching up the new paint.

not a big deal to remove the one bed cross member cut that little piece of metal out make a new one strip the bed liner back and weld it in. should be able to do that without affecting the brand new $$$ paint job. Would require a new rhino lining but it’s the best approach.

so me and a few friends took it off the frame and flipped it upside down

IMG_9230.jpeg

I started by trying to remove the cross brace six bolts and some spot welds no problem, and welp.. turns out this is a huge rabbit hole.

this area from the wheel well to base was made of very little metal and a whole lot of some flexible what appears to be silicone on the bottom and then the rhino lining on the top side..

IMG_9231.jpeg

IMG_9235.jpeg

IMG_9237.jpeg

So here’s where I am at.
this needs fixed.
it will require a new wheel well and a portion of the floor.

I imagine the other side was done similarly as I can see the putty like surface in similar spot.

I don’t have the facilities to do this repair.
It needs out on a rotisserie to be able to access both sides top and bottom at the same time.

does anyone have a recommendation on someone who can do this type of repair on a rotisserie or similar jig?

I realize this will be difficult compounded by the presence of this rhino lining so I know it won’t be cheap, but ideally the person who does this could do so while protecting the new paint?

let me know if such a place exists that I can take this bed to.

the good news is I have reinspected the entirety of the truck and chassis and there arent any other problem areas

the chassis is really nice
i think I am going to clean and paint the chassis while it’s open

IMG_9214.jpeg

IMG_9212.jpeg
Ah, the cost of doing things right. Good luck with the search for someone to do what you need.
 

treerootCO

Rising Sun Member
Joined
Aug 22, 2005
Messages
5,427
Might find one overseas. This page has some good breakdowns of how it is assembled with part numbers (most are discontinued).

Double-check the models and look at the Highlux as well:


simps80

Rising Sun Member
Joined
Jan 22, 2009
Messages
2,947
Location
Arvada, CO
You could replace it with a fiberglass repro bed.

possibility but i think i can’t do it

i decided i am going to fix this bed.
i have done harder repairs like the floor in the 1969 was harder

this is just inconvenient because of the immobility and positioning of the bed

so I have a floor section coming and i am going to YotaJims (or whatever it’s called now)to see if i can find two wheel well hunks to start with

basically i am going to cut out all the bad and start forming back from there and will do it in whatever formed pieces I need to

unfortunate i didn’t know about this before the new paint work.

i have decided that mentally i will approach this with the expectation that the bed will need repainted when complete
 
Last edited:

simps80

Rising Sun Member
Joined
Jan 22, 2009
Messages
2,947
Location
Arvada, CO
took a ride out to yoda jims
they have a bed or twenty
a couple of them are good enough to harvest what I need from..

he won’t sell me anything but the whole bed for $500 which none of them are in as good of shape as the one i have but a couple of them have this rear wheel well section i need.

IMG_9307.jpeg

but looking at the structure it’s really simple.
it’s the ribbed bed floor atop the flat steel flange of the well. the only ā€˜hard’ section is the wheel well section with the inverted ribs and the rounded inboard corner.

i think I can cut all the bad out of my bed make the flange flat section of the well
and use the section of floor that is coming i ordered new.

then with what’s left of the ribbed floor section invert it to make the inverse rib section of the wheel well.
then the only thing is forming the rounded inboard corner of the well and welding it all together.

or…spend the 500 cut all that out of yoda jim’s bed clean and weld in as a unit…

i think i am going to try method 1 before the $500 salvage bed option
 

MDH33

Hard Core 4+
Joined
Mar 8, 2006
Messages
7,944
Location
Trapped in a corn field
Cheap 2wd toyota pickup bed trailer you might be able to cut up for parts. Might be able to sell the tailgate and recoup some cost too.

 
Last edited:

simps80

Rising Sun Member
Joined
Jan 22, 2009
Messages
2,947
Location
Arvada, CO
thanks @MDH33
thats cheaper than yota jim’s!
now to figure out where to put it so the hoa karens don’t complain
 

simps80

Rising Sun Member
Joined
Jan 22, 2009
Messages
2,947
Location
Arvada, CO
that facebook guy is kind of a flake so I started in on the bed today.
it’s fine
it will be not that bad
made a jug to triangulate the bed brace that also has a bed mount integrated so i can get it back together square and true for the mounts
then cut back to good metal.
a cut off wheel burning through rhino lining is a new smell for me. would not recommend 0 stars

the panel in the background of the photos is a 79-83 repro bed chunk from canada i should be able to use that for both sides and the wells other than the flat and round sections

IMG_9320.jpeg
IMG_9319.jpeg

i switched it up and worked on some clean work for the end of the day

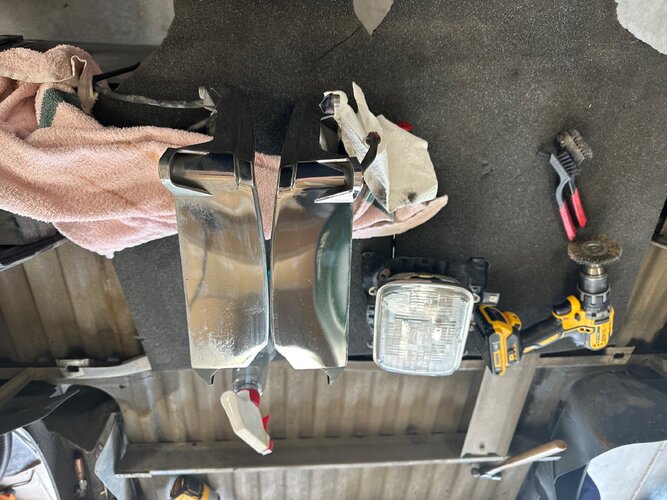
took some polishing compound to the light bezels and headlight trim rings etc
big difference before and after

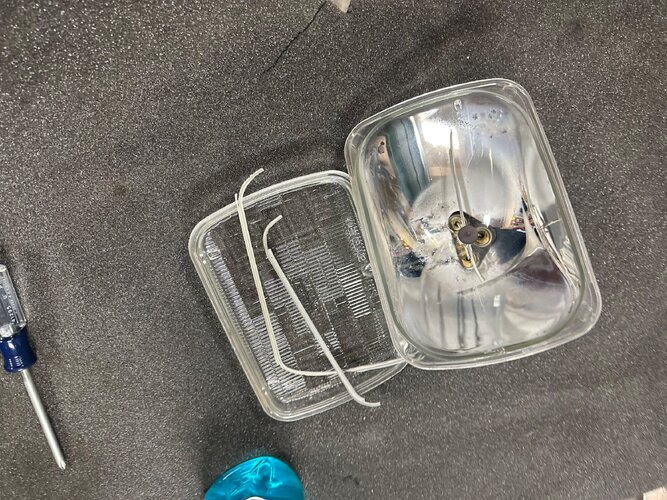
the ps headlight is Koito original and was in nice shape
the ds was a replacement and fell apart in my hands when i took the trim ring off the bucket

started polishing the grill but got called in for dinner so that’s where it’s at

good progress

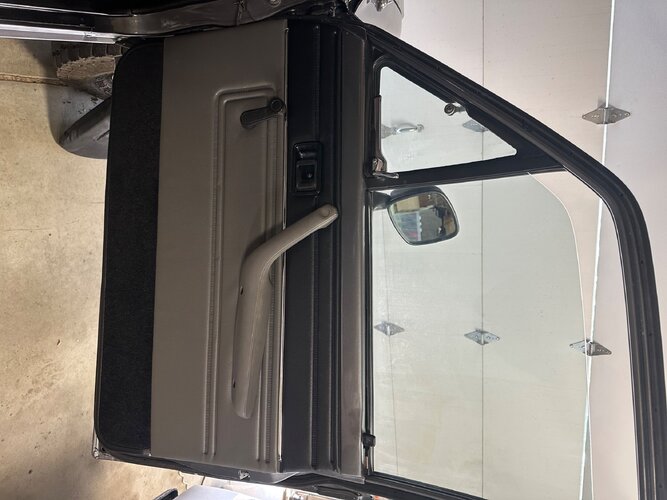
oh also got both doors put back together this week handles locks glass regulators wing window and weatherstripping
starting to feel like a truck again

IMG_9317.jpeg

IMG_9322.jpeg

IMG_9323.jpeg
 

simps80

Rising Sun Member
Joined
Jan 22, 2009
Messages
2,947
Location
Arvada, CO
took a break from this for a bit
waited on some parts
started back up with non bed work


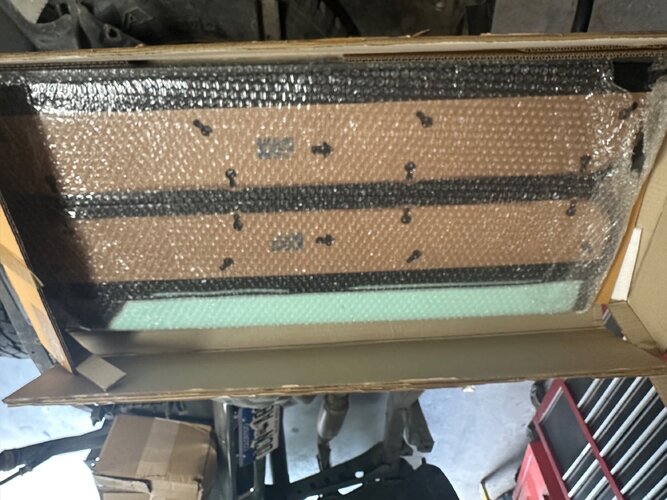
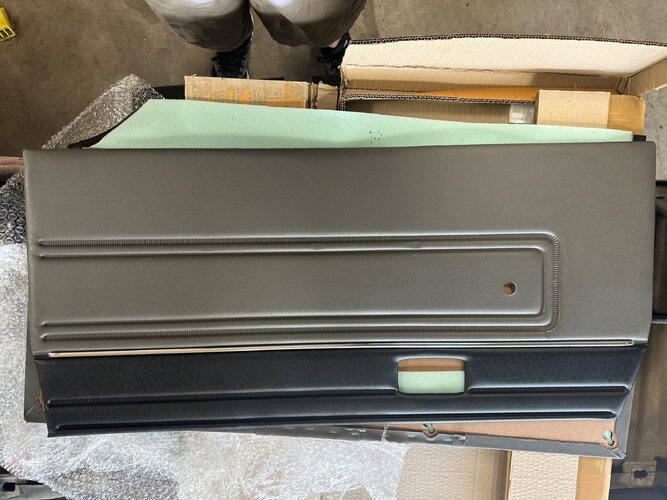
got the door cards in from thailand they’re really nice for $400 they should be
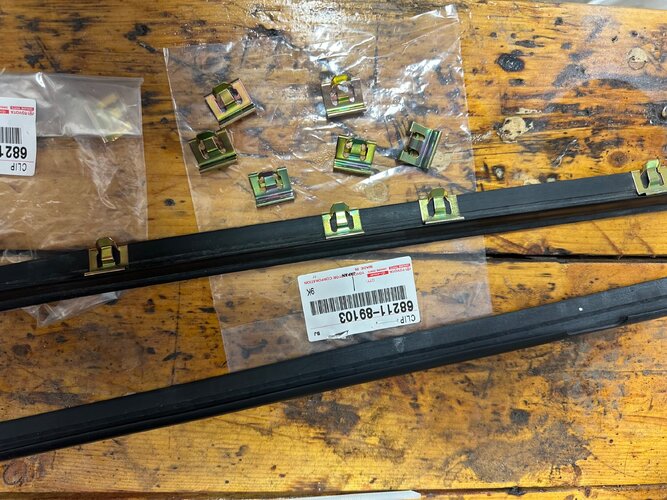
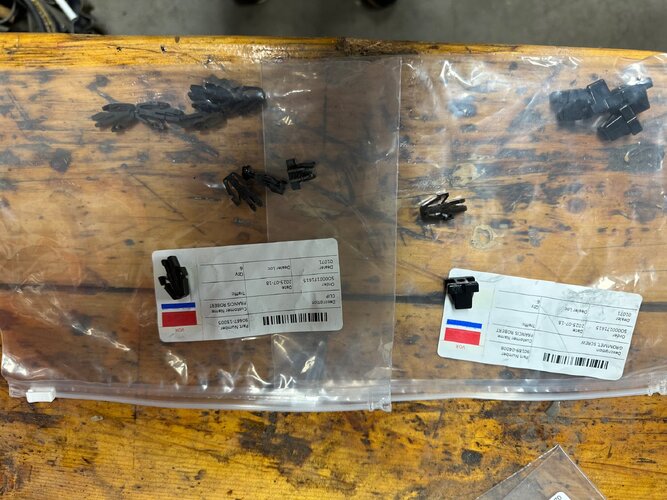
got all the clips for the mouldings etc from decatur toyota in

turned out nice

IMG_0070.jpeg

IMG_0071.jpeg

IMG_0078.jpeg

IMG_0076.jpeg

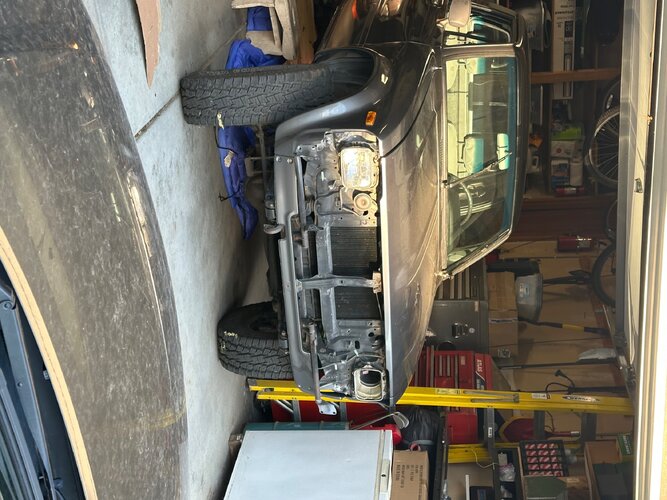
then i put the front back together
also ordered all new clips for the grill cause some were broke and some were missing

IMG_0080.jpeg

IMG_0082.jpeg

looks like a truck

next will be the front and rear bumper
and then back on that fā€ā€™k#%* bed
 
Last edited:

Crash

Rising Sun Member
Joined
Aug 23, 2005
Messages
4,559
Location
Denver
Door panels look like new. Having OEM parts makes it fun and easy. Easier.
 

FJCDan

Rising Sun Member
Joined
Aug 9, 2010
Messages
1,028
Location
West Denver
Man you've really gone down the rabbit hole on this one.
 
Back
Top