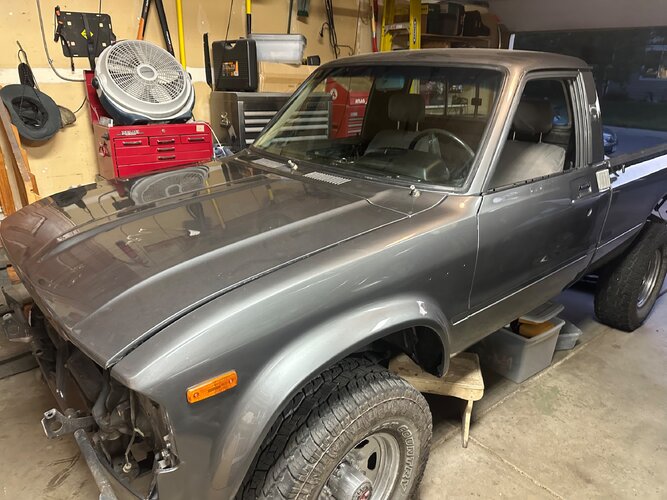
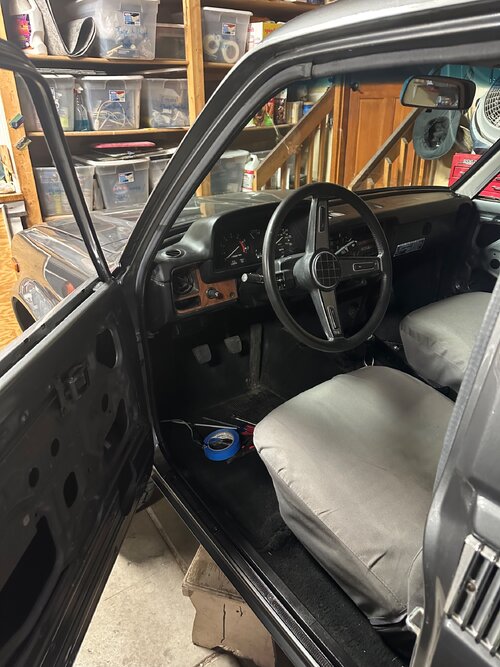
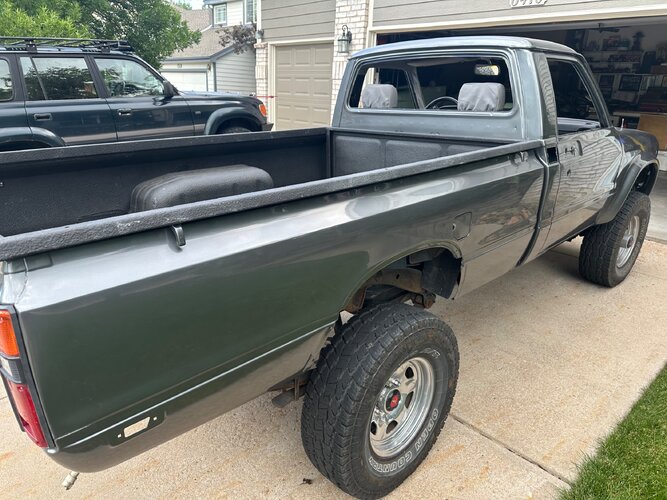
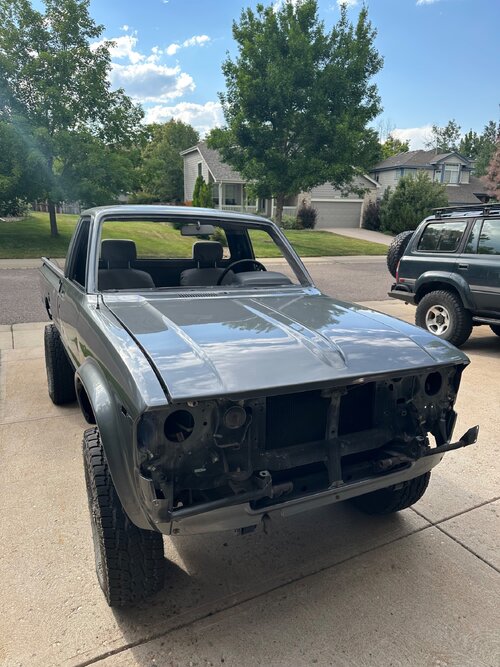
1982 Toyota RN48 SR5 Long Bed thread

original Gray or current Blue

  • gray

    Votes: 16 94.1%
  • blue

    Votes: 1 5.9%

  • Total voters
    17

DaveInDenver

Rising Sun Ham Guru
Joined
Jun 8, 2006
Messages
14,015
Location
Grand Junction
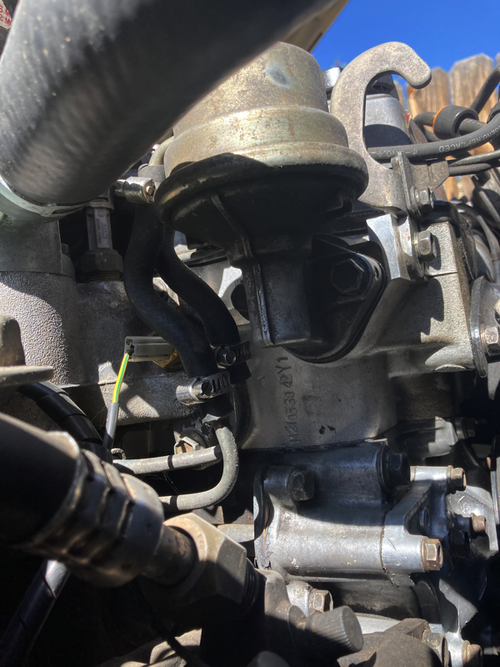
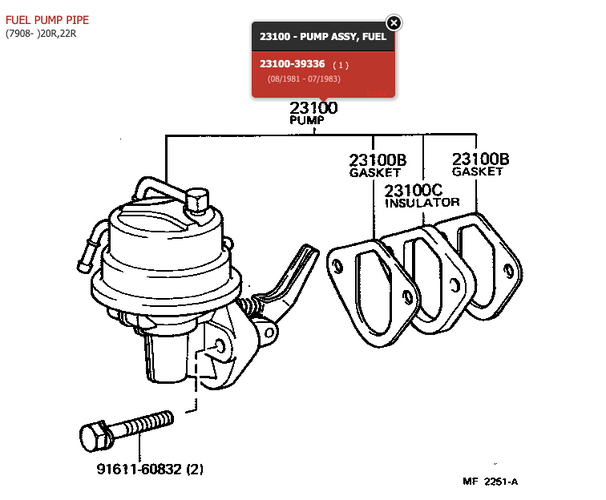
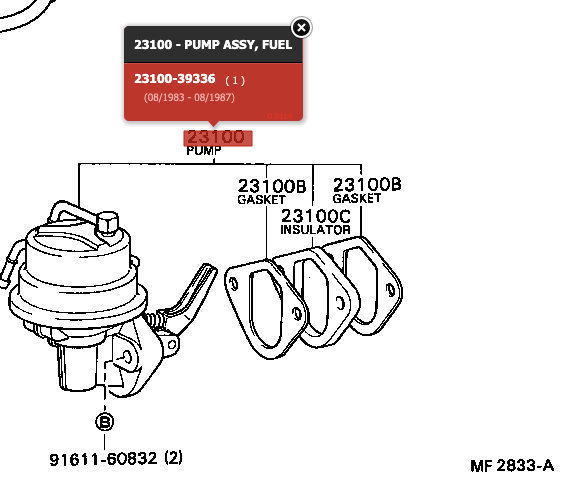
I have 23100-39336 as the part number for the fuel pump on 22R. That's what I got for the 1985 RN65 and it's definitely correct. But that's a later laser block 22R so of course possible there's a difference. I don't see how the 2F pump would easily work, if your 1982 is plumbed like the 1985 it would take very long rubber hoses to make it to the hard pipes under the manifold.

IMG_4368_mid.png

There's an aftermarket boxed version that has the Kyosan in it, the Hygrade 41330, if you can find it.

ToyoDIY crosses it to all 22R in 4R/Truck, Corolla, Corona and RJ70/77 in their EPC data.

https://www.toyodiy.com/parts/xref?s=23100-39336

Screenshot 2025-06-13 at 16.22.39.png

Screenshot 2025-06-13 at 16.14.13.png

Act quick, there's two of the Kyosan on eBay for $80!

https://www.ebay.com/itm/173698357254
 
Last edited:

simps80

Rising Sun Member
Joined
Jan 22, 2009
Messages
2,947
Location
Arvada, CO
thanks @DaveInDenver!
ordered from the ebay guy
brand new oem is good!

the carter replacement was 25 bucks so i will put that in to hopefully make my deadline to the painter

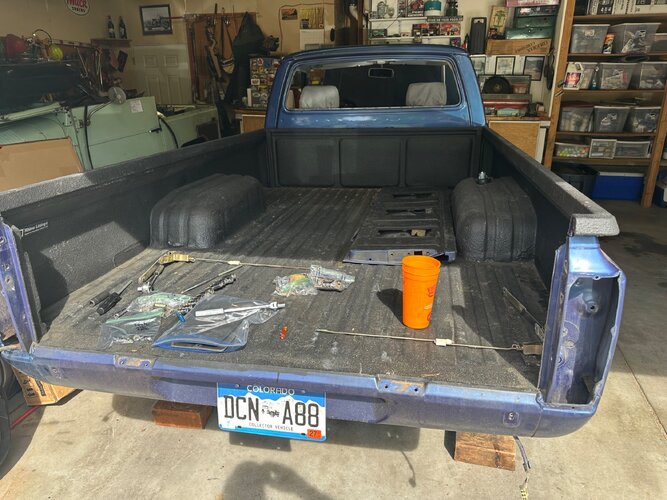
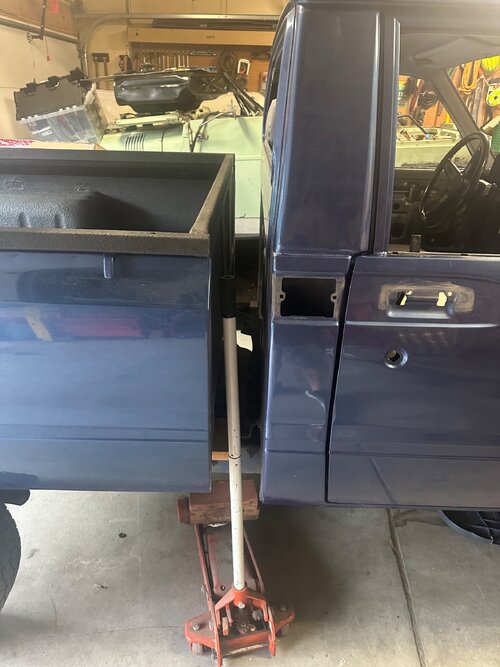
i gotta still pull the bed and figure out some sketchy way to transport it on blocks on the frame or something cause i want him to paint the front of the bed and the back of the cab

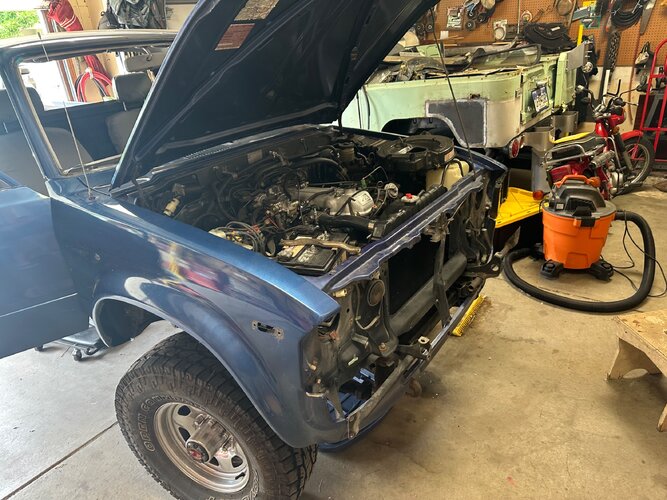
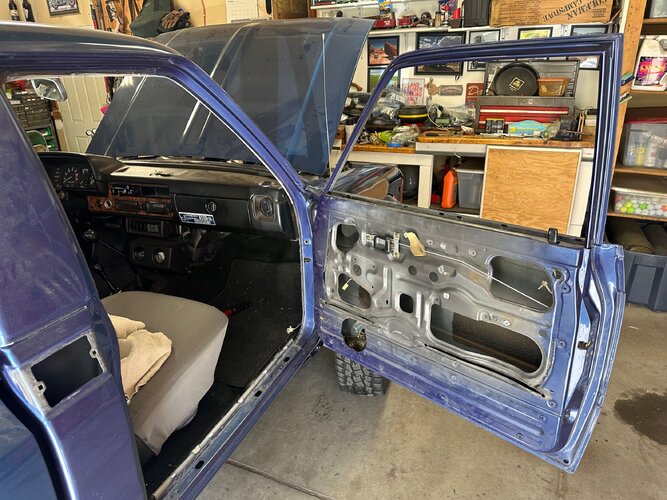
got everything off the cab and doors and radiator support

so he should be able to do a complete job

debating on stripping the stickers off the under part of the hood need to see if they make repops
i could just tape them myself but prefer whatever is underneath is painted back to gray but it might still be gray under there

i am over thinking as usual
 

HDavis

Hard Core 4+
Joined
Feb 13, 2019
Messages
1,384
i gotta still pull the bed and figure out some sketchy way to transport it on blocks on the frame or something cause i want him to paint the front of the bed and the back of the cab
Ratchet strap the bed down to the frame, like a big x. Then, make sure you slap the bed and state "Thats not going anywhere".
 

simps80

Rising Sun Member
Joined
Jan 22, 2009
Messages
2,947
Location
Arvada, CO
got it pretty much stripped
even the tail gate is hollow he even painted under the catches and latches and inside
the rear light buckets so good work by him!

need to unmount the bed and move it back as far as i can and then give it a hand bath and drop it off

Steve did a good job on the color change to blue. had to go down pretty far to find the gray lines to paint back to

IMG_9082.jpegIMG_9081.jpegIMG_9080.jpeg
 

simps80

Rising Sun Member
Joined
Jan 22, 2009
Messages
2,947
Location
Arvada, CO
i got the bed up and back.
turns out it’s still gray back there
but i think i will leave it like this anyway so the painter can get back there a little easier
kind of a bitch of a job with one person
IMG_9090.jpeg
 

simps80

Rising Sun Member
Joined
Jan 22, 2009
Messages
2,947
Location
Arvada, CO
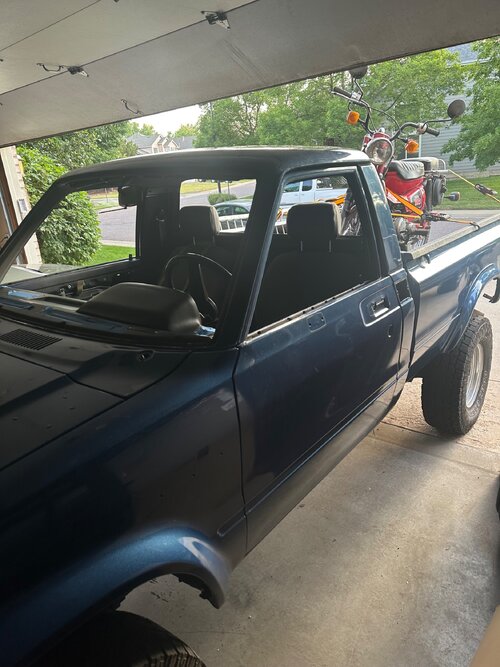
despite my inhibitions I drove it paint shop this morning

21 miles door to door side roads through denver with a honda ct100 strapped to the bed that’s strapped to the frame with no lights and no glass.

every cop I passed i just assumed would pull me over, but nope and nothing fell off so that’s a win

the ct110 is partial payment for the paint work, it was fun to own and tool around on for a couple years, but I don’t have the cash to pay in full so glad he was interested in the bike as partial trade..
in case someone was wondering why i put that in the bed to drive across town drawing more attention to myself lol


excited to see it in toyota 143 Dark Metallic Gray!

IMG_9093.jpeg
 
Last edited:

simps80

Rising Sun Member
Joined
Jan 22, 2009
Messages
2,947
Location
Arvada, CO
parts notes-

jt4rn48s0c005****

Basic Vehicle Data​

Model Year: 1982

Make: TOYOTA

Model: Pick-Up

Vehicle Type: TRUCK

Series: SR5 (1/2 ton)

Doors: 2

Body Class: Pickup

Manufacturer: TOYOTA MOTOR CORPORATION

Plant Country: JAPAN

Powertrain Data​

Engine Cylinders: 4

Displacement (L): 2.37

Engine Configuration: In-Line

Engine Model: 22R/22R-EC/22R-TEC

Primary Fuel Type: Gasoline

Drive Type: 4WD/4-Wheel Drive/4x4

General Specifications​

GVWR: Class 1: 6,000 lb or less (2,722 kg or less)

Safety Specifications​

Brake System Type: Hydraulic


-----------------------------------------------------------------------------------------------

RH front bumper extension
1751918308897.png


NLA
Source:https://www.ebay.com/itm/131978343121
Status: Purchased
-------------------------------------------------------------------------

Toyota 85192-12010 Head Cover, WIPER Ar
NLA
Source:https://www.ebay.com/itm/365669618121
Status: Purchased
-------------------------------------------------------------------------

LH Front Door panel assembly SR5 black
No OEM option found yet

RH Front Door panel assembly SR5 black

Toyota 67610-89139-01​

1981-1983 Toyota Pickup 676108913901

LH and RH pair being remanufactured available here:
have query into supplier

--------------------------------------------------------------------------

Stripe Kit
 
Last edited:

simps80

Rising Sun Member
Joined
Jan 22, 2009
Messages
2,947
Location
Arvada, CO
he still has it just trying to get organized list for the re-assembly phase when it’s done
 

simps80

Rising Sun Member
Joined
Jan 22, 2009
Messages
2,947
Location
Arvada, CO
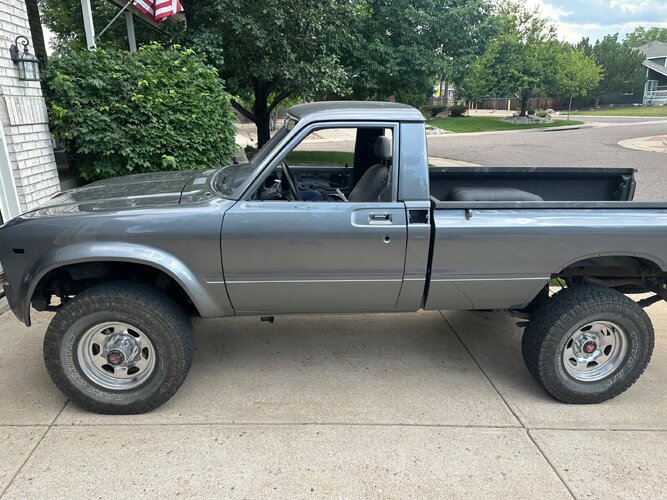
got it back from paint
it’s really pretty 😍 particularly in the sun

now starts reassembly process
but first a bath
need to get the sr5 stripes ordered
found all the other items that needed attention on disassembly including

-new sr5 door cards from Thailand
-new wiper arm bolt cover thingy
-new RH bumper cover/return plastic thingy

really glad i took this down as far as i did.
not a speck of blue anywhere now including under the hood
firewall, radiator support, inside of cab, back of cab, and bed

all match vin color code 143 “Dark Gray Metallic”


IMG_9175.jpeg

IMG_9176.jpeg

IMG_9179.jpeg
 

simps80

Rising Sun Member
Joined
Jan 22, 2009
Messages
2,947
Location
Arvada, CO
i forgot these two
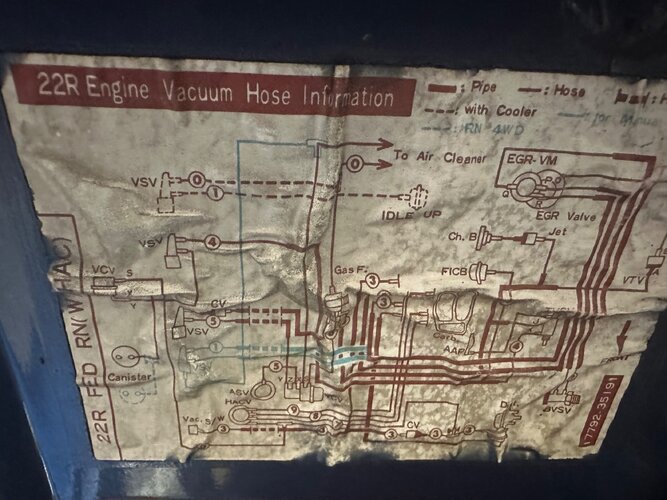
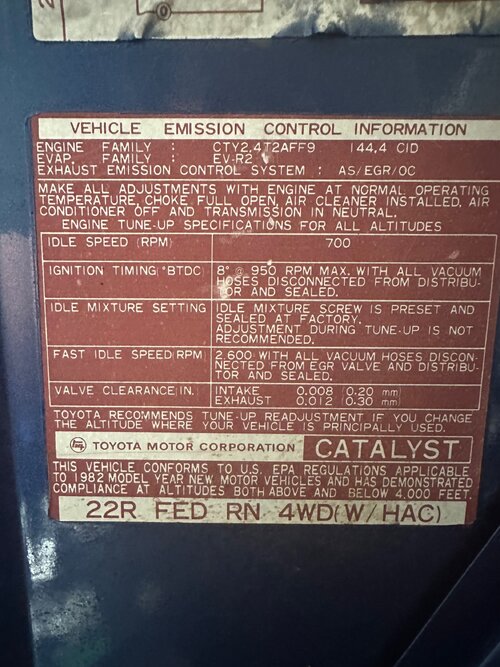
i need to find repros of the under hood stickers Intook off so the hood could be painted clean w/o stickers

let me know if anyone has a source for these

the emissions one “22r fed 4wd w/ hac” one is tough

IMG_9092.jpeg

IMG_9091.jpeg
 
Last edited:

HDavis

Hard Core 4+
Joined
Feb 13, 2019
Messages
1,384
Love the color change back to original. It looks sooo good!
 

subzali

Hard Core 4+
Joined
Aug 22, 2005
Messages
10,703
Location
Denver CO
I wonder how my 40 would look in that color
 

simps80

Rising Sun Member
Joined
Jan 22, 2009
Messages
2,947
Location
Arvada, CO
progress

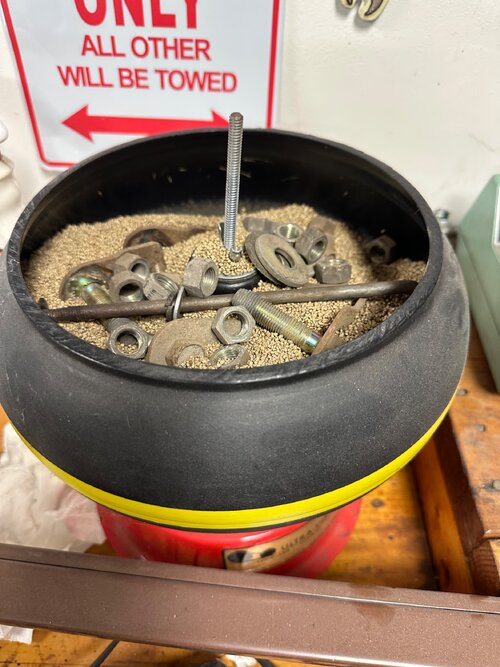
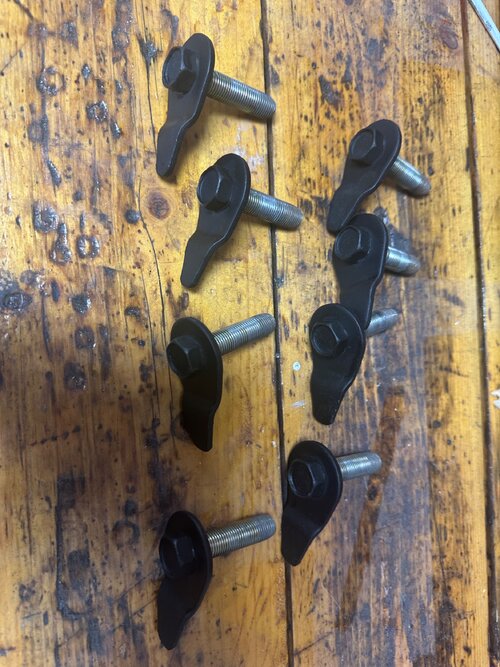
ran a batch of hardware particularly the bed mount bolts through the vibratory tumbler
then painted the heads in preparation for mounting the bed..more on that later- not so fast said the universe.

i should have been doing parts and component restoration while the truck was gone. I always forget how refreshing the stuff that comes off before it goes back on is time consuming.

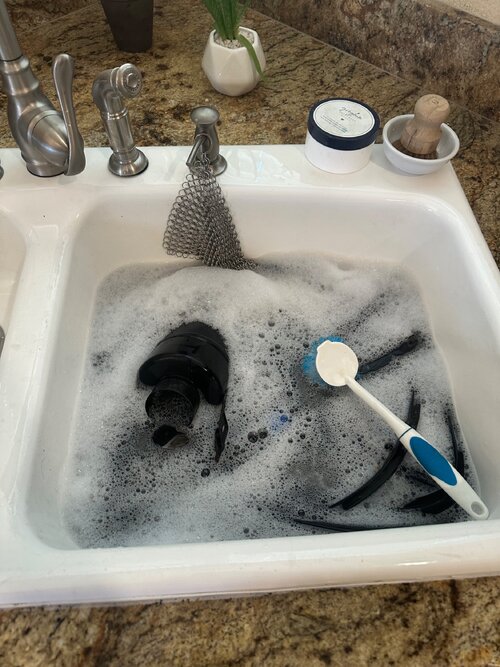
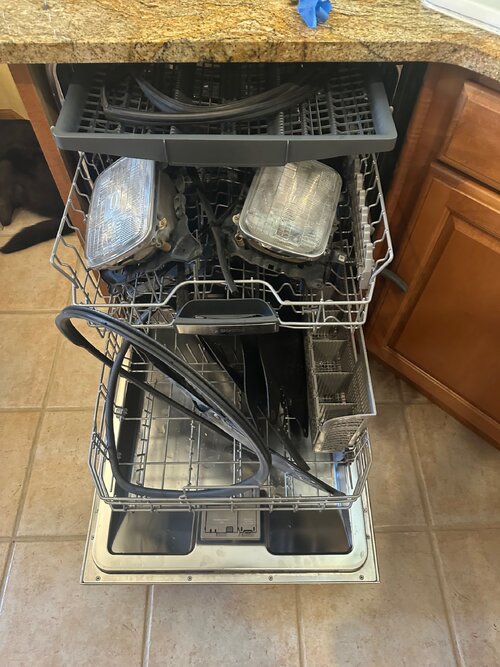
I used the Toyota parts washer after a kitchen sink pre-soak on all the rubber and rubber-adjacent bits like the mudflaps etc.

I had pulled the headliner back from the door opening so that it could get fresh paint.

So i started with that, gluing the headliner back in place in the door opening. Then put the pre-molded rubber around the lip.

i sanded the plastic sills down starting at 100 up to 600 then painted them with adhesion promoter and plastic paint.
it all turned out good.

the glass guy came in friday and put the new windshield in and the rear slider back in.

I then got the windshield wiper linkage out back in and the antennae.

then I started on a ocd project or two.

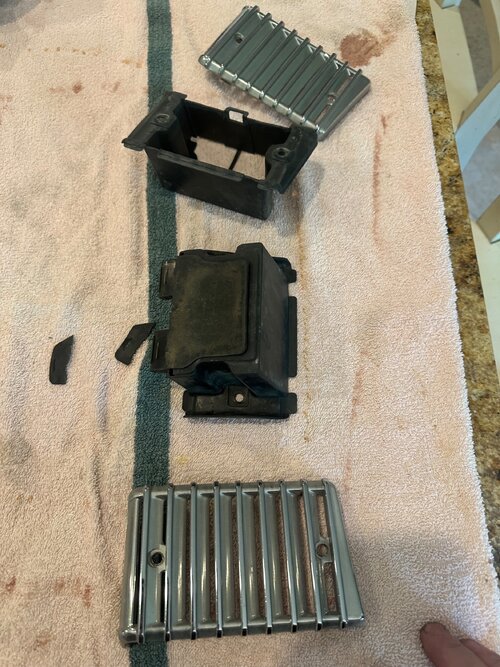
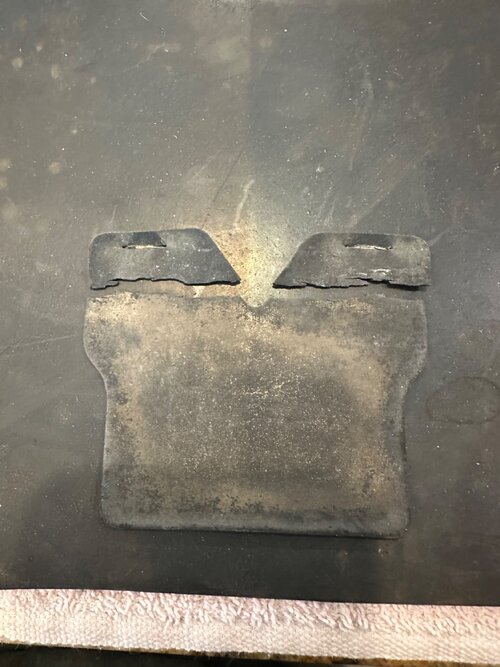
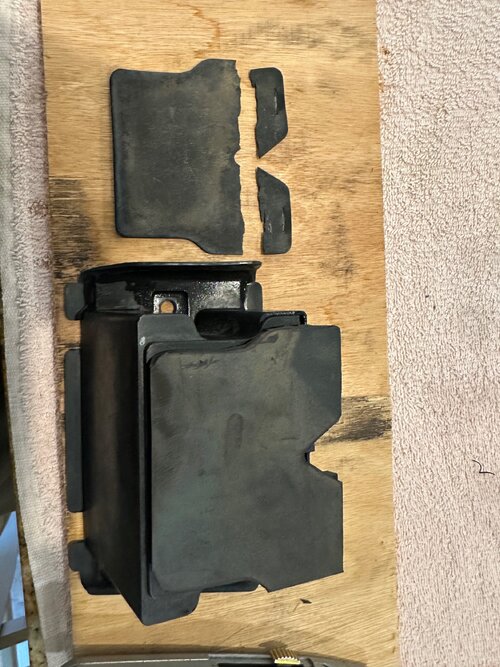
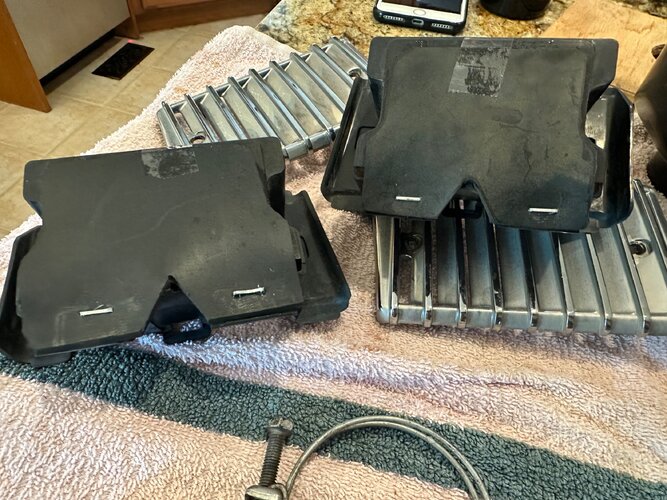
the original external b pillar chrome ‘vents’ have a plastic box behind them. those boxes have a rubber backing that is stapled yes stapled and glued to the back of the box. I presume this is so nothing gets down into the b pillar through the chrome vents. these rubber backers were wrecked, the ps one was missing entirely except for the scraps stapled to the box. so i cut new ones out and restapled them and recorded them to the boxes.

i buffed the chrome vents with a dremel and buffing wheel with a little polishing compound and then put them in.

incidentally all of these accessories on the outside use screws with little plastic snap in capturing nuts that snap into square holes.

I took all those out they are behind all the lights and the chrome vents etc. I took them out so they wouldn’t get painted over, not so they would be painted but because if in while painted it is less good for adhesion..
anyways…some of them were too brittle to reuse and I was pleasantly surprised to see that ace hardware has exactly the right ones.

ok the last ocd project was the air intake resonator and the two clamps.
very visible pieces so I tumbled the clamps, then buffed with the dremel. they turned out pretty good, then brass wheeled the resonator/muffler whatever it’s called that goes to the air i cleaner housing with a rubber coupling, gave that a good prime and paint and it looks good.

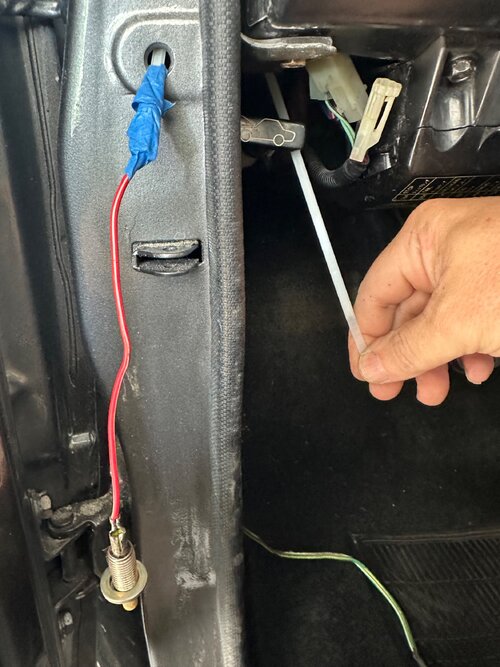
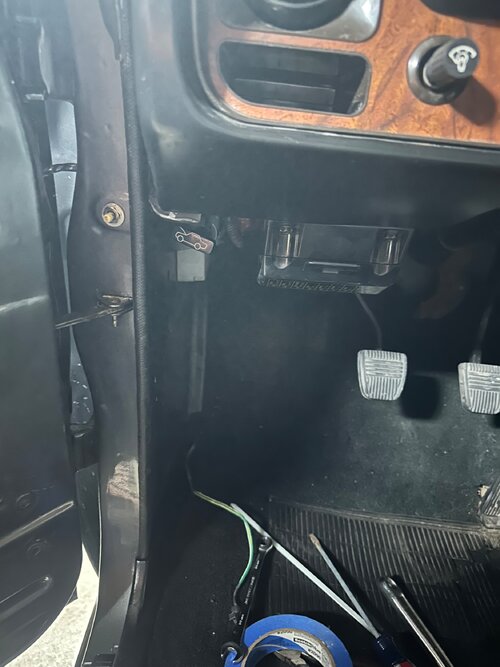
i then switched to putting parts in the drivers door sill like the open door light switch which was considerably more difficult than it should have been.. i wound up using a long zip tie then taping it to the wire side of the switch like a fish tape then pulling it up and around to the original connector under the dash

anyway - just documenting
IMG_9184.jpegIMG_9195.jpegIMG_9197.jpegIMG_9196.jpegIMG_9198.jpegIMG_9199.jpegIMG_9201.jpegIMG_9202.jpegIMG_9205.jpegIMG_9206.jpegIMG_9207.jpegIMG_9209.jpeg
 

Crash

Rising Sun Member
Joined
Aug 23, 2005
Messages
4,559
Location
Denver
progress

ran a batch of hardware particularly the bed mount bolts through the vibratory tumbler
then painted the heads in preparation for mounting the bed..more on that later- not so fast said the universe.

i should have been doing parts and component restoration while the truck was gone. I always forget how refreshing the stuff that comes off before it goes back on is time consuming.

I used the Toyota parts washer after a kitchen sink pre-soak on all the rubber and rubber-adjacent bits like the mudflaps etc.

I had pulled the headliner back from the door opening so that it could get fresh paint.

So i started with that, gluing the headliner back in place in the door opening. Then put the pre-molded rubber around the lip.

i sanded the plastic sills down starting at 100 up to 600 then painted them with adhesion promoter and plastic paint.
it all turned out good.

the glass guy came in friday and put the new windshield in and the rear slider back in.

I then got the windshield wiper linkage out back in and the antennae.

then I started on a ocd project or two.

the original external b pillar chrome ‘vents’ have a plastic box behind them. those boxes have a rubber backing that is stapled yes stapled and glued to the back of the box. I presume this is so nothing gets down into the b pillar through the chrome vents. these rubber backers were wrecked, the ps one was missing entirely except for the scraps stapled to the box. so i cut new ones out and restapled them and recorded them to the boxes.

i buffed the chrome vents with a dremel and buffing wheel with a little polishing compound and then put them in.

incidentally all of these accessories on the outside use screws with little plastic snap in capturing nuts that snap into square holes.

I took all those out they are behind all the lights and the chrome vents etc. I took them out so they wouldn’t get painted over, not so they would be painted but because if in while painted it is less good for adhesion..
anyways…some of them were too brittle to reuse and I was pleasantly surprised to see that ace hardware has exactly the right ones.

ok the last ocd project was the air intake resonator and the two clamps.
very visible pieces so I tumbled the clamps, then buffed with the dremel. they turned out pretty good, then brass wheeled the resonator/muffler whatever it’s called that goes to the air i cleaner housing with a rubber coupling, gave that a good prime and paint and it looks good.

i then switched to putting parts in the drivers door sill like the open door light switch which was considerably more difficult than it should have been.. i wound up using a long zip tie then taping it to the wire side of the switch like a fish tape then pulling it up and around to the original connector under the dash

anyway - just documenting
IMG_9184.jpegIMG_9195.jpegIMG_9197.jpegIMG_9196.jpegIMG_9198.jpegIMG_9199.jpegIMG_9201.jpegIMG_9202.jpegIMG_9205.jpegIMG_9206.jpegIMG_9207.jpegIMG_9209.jpeg
Barrett-Jackson baby!
 

MDH33

Hard Core 4+
Joined
Mar 8, 2006
Messages
7,944
Location
Trapped in a corn field
This is going to be one fine pickup! 👍
Those pesky little plastic snap nuts are all over the front of FJ60's too. Going to have to look in my local Ace and see if they have them.
Are you redoing seat upholstery, dash, etc?
 

simps80

Rising Sun Member
Joined
Jan 22, 2009
Messages
2,947
Location
Arvada, CO
the dash looks new to me.
I think Doug or Steve ( @Telly amd @SteveH ) refurbed it or it’s just been kept in a garage

the seats the last time i took these covers off were perfect too but I will need to verify

it seems like this truck lived in a garage it’s whole life cause everything seems unaged

maybe doug or steve can tell us more about its history
 
Back
Top