AxleIke
Hard Core 4+
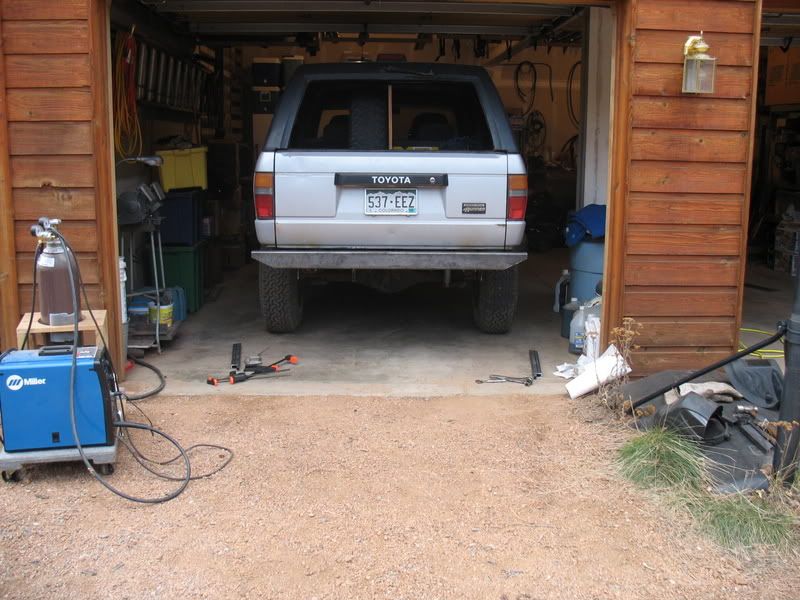
As many of you know, I had a "not so well welded" bumper on my truck at CM06. Being low on fundage at the time, (mostly due to transfer case gears and air lockers) I re-welded my old bumper to serve until i got the time and motivation to build a new rear bumper.
This is Phase 1. Basically structure. Some cosmetic grinding, but mostly just tacking, fitting, and solid-welding the whole thing.
I'm reusing my old trailer hitch brackets. They are 1/4 plate, and already custom cut and drilled to my frame. Plus, they have been super reinforced.
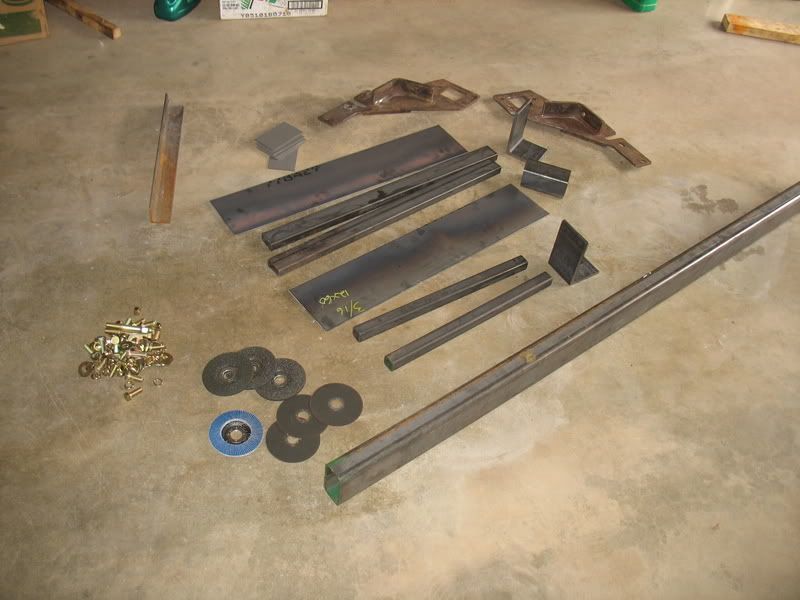
The main beam, lower wing plates, and forward brackets are all 3/16. The top wing tubes are 1/8 because i couldn't find 3/16 in the size tube I wanted. I'm confident it is strong enough. The tabs going to the frame brackets on the bumper are 3/8" uneven angle. Again, I wanted 3x6, and that was the thinest I could get.
The frame brackets are held on with 4, 1/2" G8 bolts, the bumper is held onto the frame brackets with 4 more, and the front wing support is bolted with the same.
I'm *hoping* I won't have any further embarrassing bumper issues. We'll see.
On to the pictures.
__________________________________________________
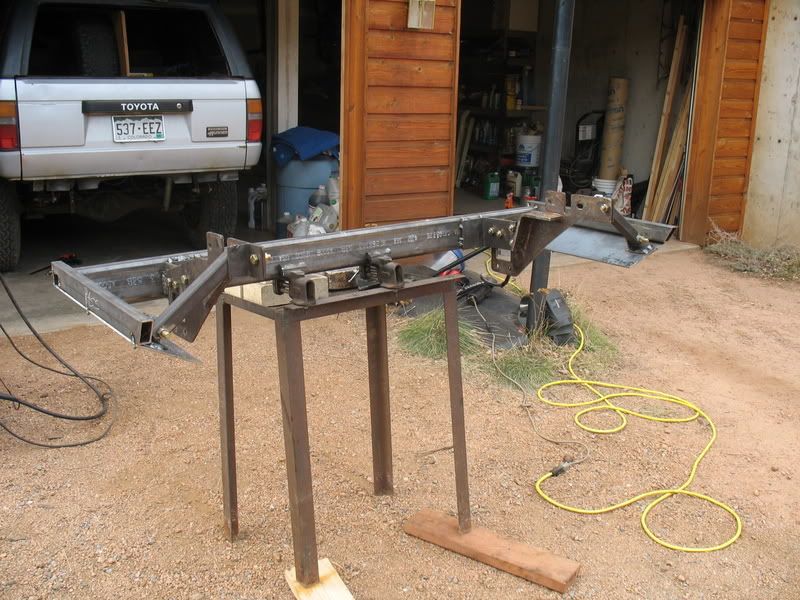
A DIY bumper kit?
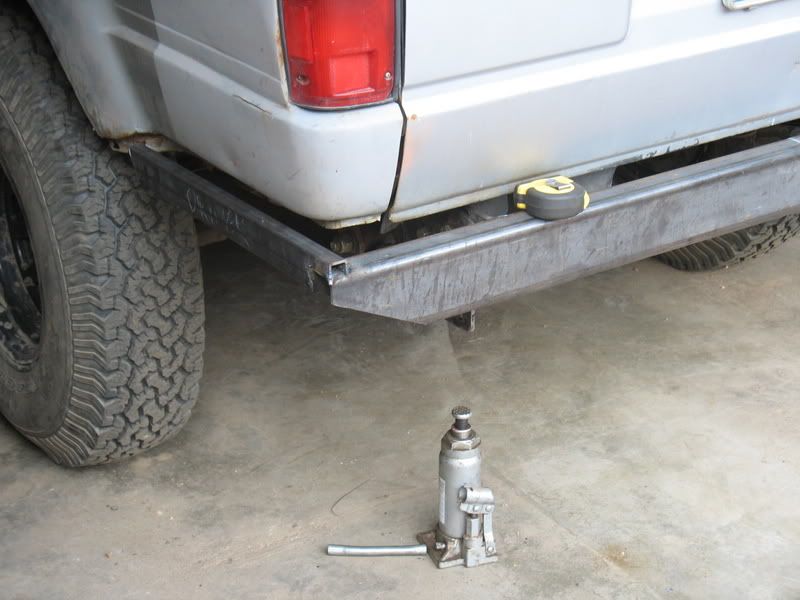
Lining up the main beam. This was the most time consuming part. Measure, move, remeasure, move, measure, adjust...ad nauseum.
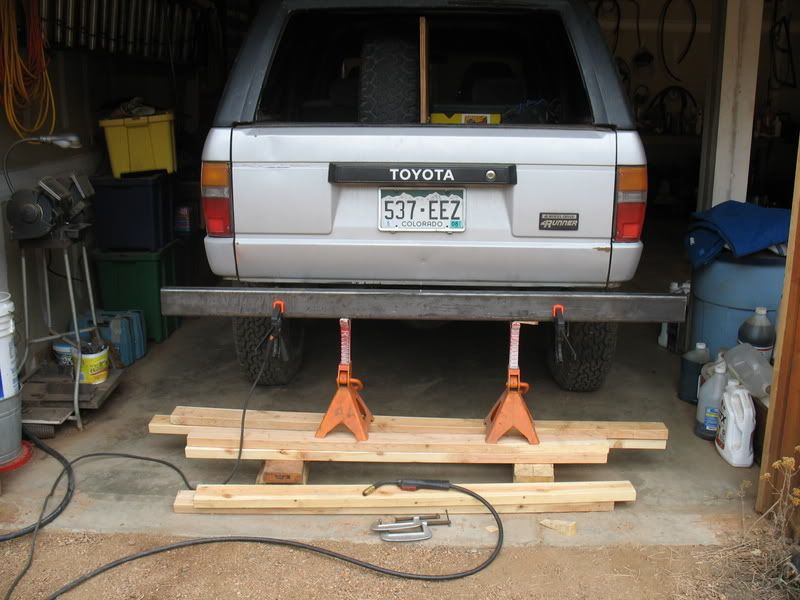
Finally got it straight. I also trimmed off the corners.
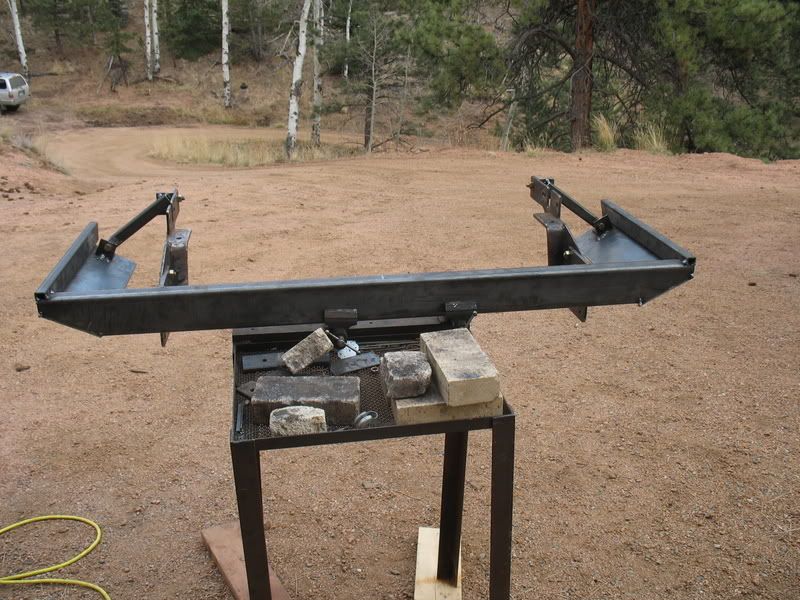
Tacked on the upper part of the wings...
Measuring for the wing-to-frame support, this table is pretty handy.
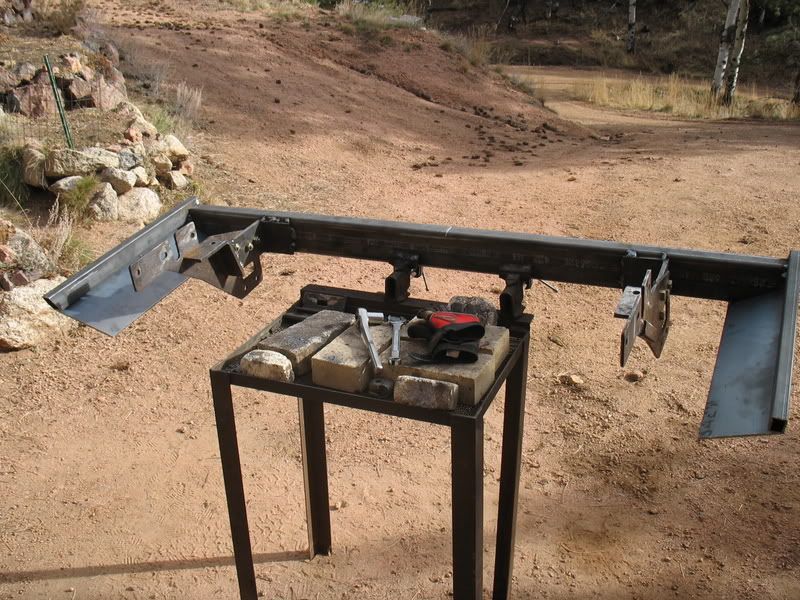
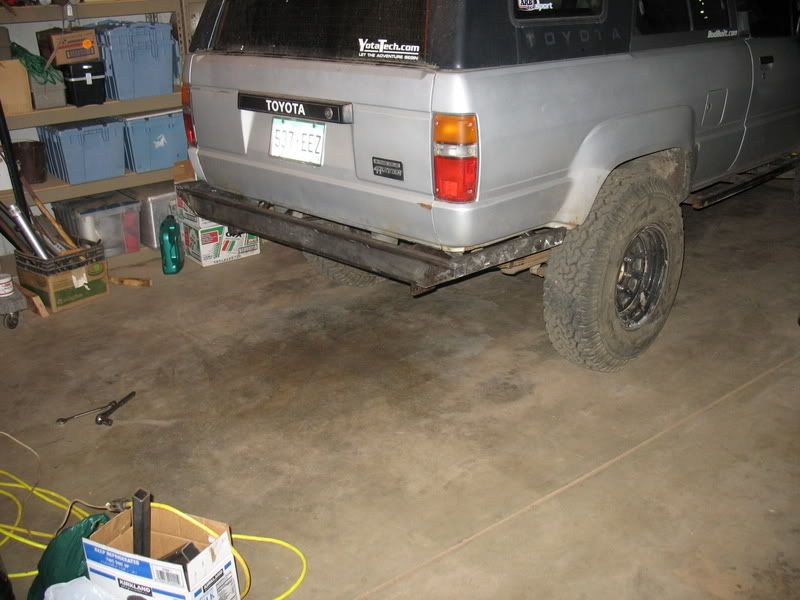
All tacked up, ready for welding. I bolted everything together to hold the bumper rigid to avoid warping. I also went VEERRRRYYYY SLLLOOWWWWLY to the point of irritation on my part. But, no warpage was worth it.
got scout?

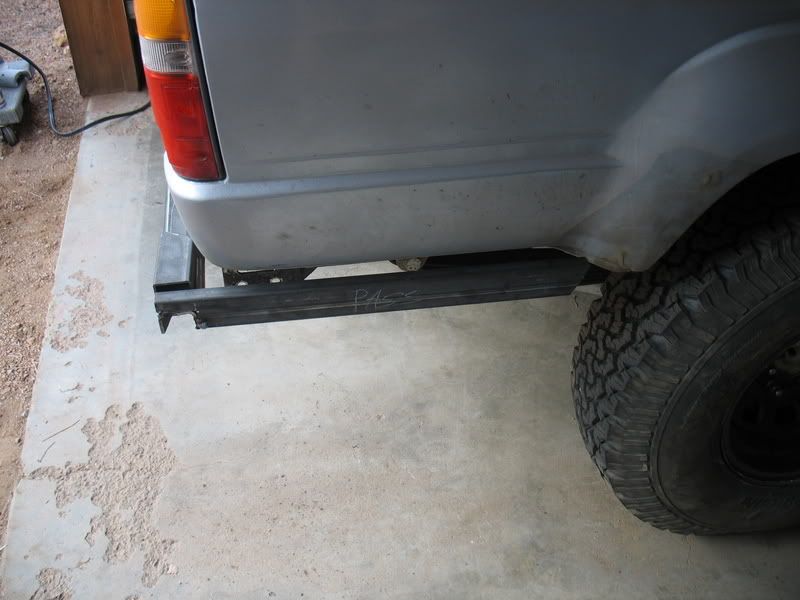
Phase 1 complete....Fully welded.
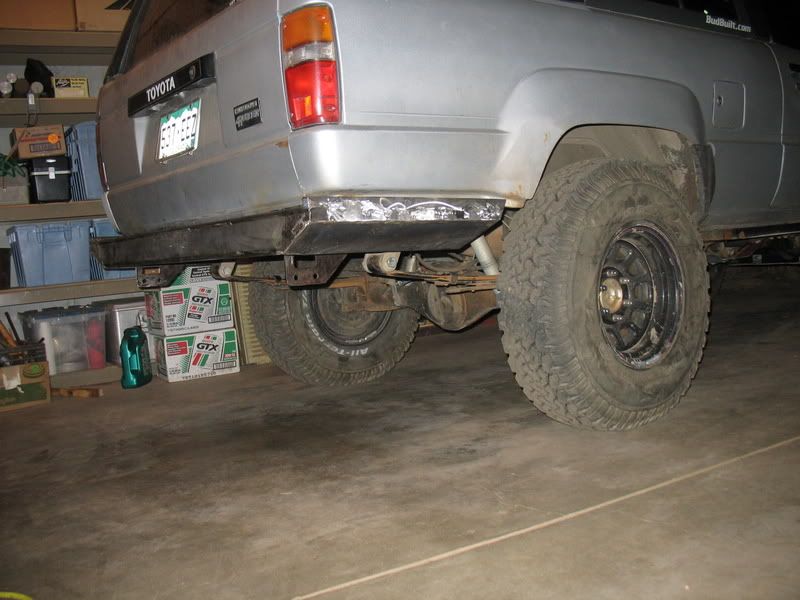
Phase 2 will be adding the receiver hitch (recovery), as well as the cosmetic welding. Phase 3 will be tail light hoops, and paint.
Stay Tuned....
This is Phase 1. Basically structure. Some cosmetic grinding, but mostly just tacking, fitting, and solid-welding the whole thing.
I'm reusing my old trailer hitch brackets. They are 1/4 plate, and already custom cut and drilled to my frame. Plus, they have been super reinforced.
The main beam, lower wing plates, and forward brackets are all 3/16. The top wing tubes are 1/8 because i couldn't find 3/16 in the size tube I wanted. I'm confident it is strong enough. The tabs going to the frame brackets on the bumper are 3/8" uneven angle. Again, I wanted 3x6, and that was the thinest I could get.
The frame brackets are held on with 4, 1/2" G8 bolts, the bumper is held onto the frame brackets with 4 more, and the front wing support is bolted with the same.
I'm *hoping* I won't have any further embarrassing bumper issues. We'll see.
On to the pictures.
__________________________________________________
A DIY bumper kit?
Lining up the main beam. This was the most time consuming part. Measure, move, remeasure, move, measure, adjust...ad nauseum.
Finally got it straight. I also trimmed off the corners.
Tacked on the upper part of the wings...
Measuring for the wing-to-frame support, this table is pretty handy.
All tacked up, ready for welding. I bolted everything together to hold the bumper rigid to avoid warping. I also went VEERRRRYYYY SLLLOOWWWWLY to the point of irritation on my part. But, no warpage was worth it.
got scout?
Phase 1 complete....Fully welded.
Phase 2 will be adding the receiver hitch (recovery), as well as the cosmetic welding. Phase 3 will be tail light hoops, and paint.
Stay Tuned....