
A HUGE thanks to Nathaniel (my Elmer  ) for putting this together and for making up the awesome parts we needed for our antenna building party...And a huge thanks Andrea for letting Nathaniel out of the house despite her current condition
  - we owe you Andrea.
Also, a big thank you to John and his wife for their hospitality and use of their garage, backyard, shed, tools, etc. etc. etc. Things took longer than planned (as they always do) so thanks for hanging in there with us.
I'm pretty sure everyone had a great time, shared some good times, had quite a few good laughs, and all of us came away with an awesome antenna and maybe, just maybe an understanding of how this stuff works (ok, that might be a bit of a stretch for me ).
).
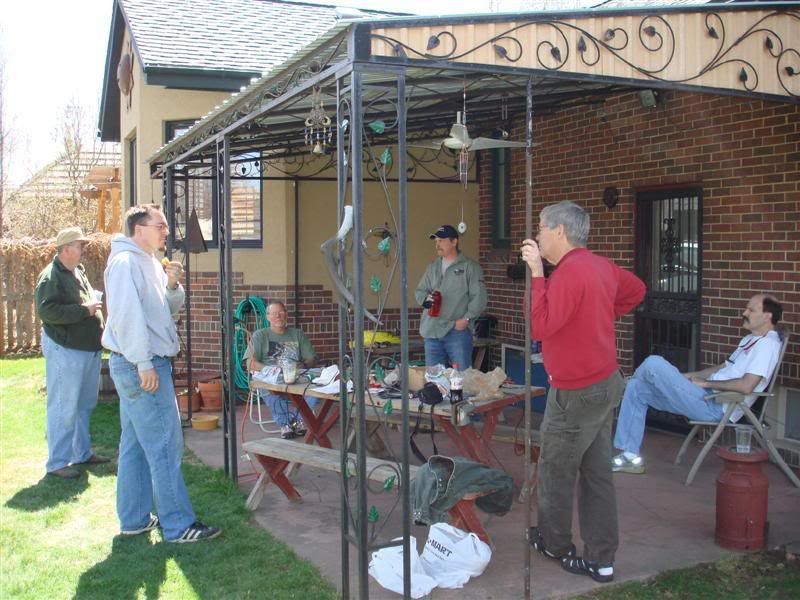
Here are some pics of the day...It was perfect weather for building an antenna
Step One - Gather...you have to start somewhere right
Step Two - Cut some copper wire (40" seemed to do the trick here)
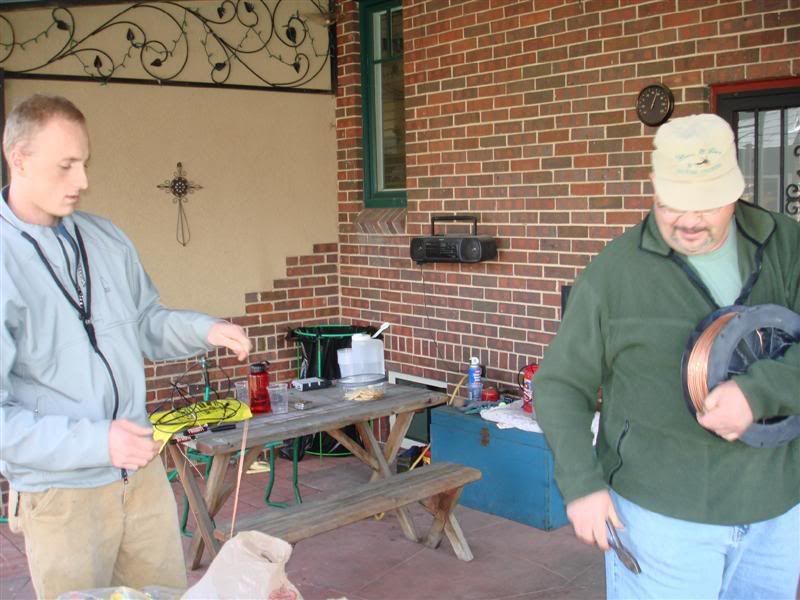
Step Three - Grab the antenna base doodad (technical antenna speak) that the copper wire will wrap around

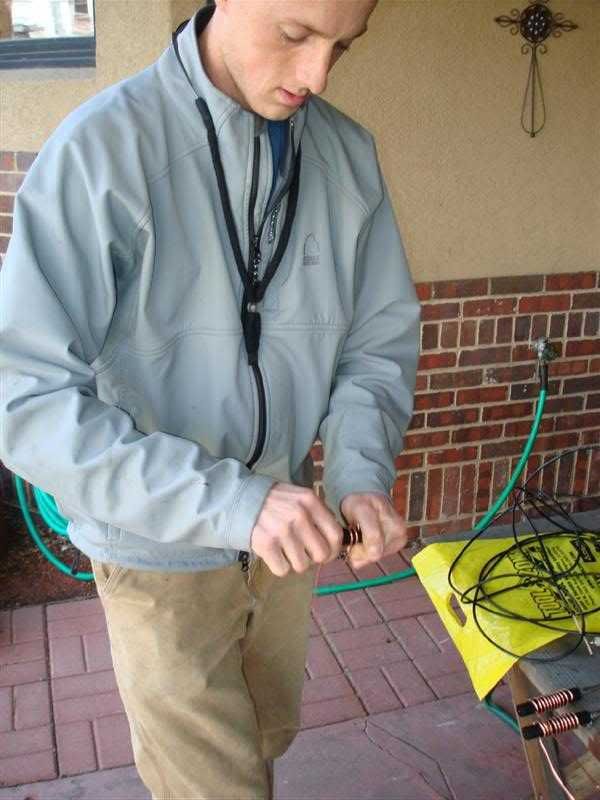
Step Four - Wrap the copper around the doodad 10 and a half times with proper spacing...Note: We discovered later on that Ricardo cannot count to 10 
Step Five - Crimp a ring connector to the copper at the antenna end of the doodad, with the ring connector and a washer under the antenna attachment bolt...Note: We (ok, I) discovered that it is possible to break the pretty doodads by cranking the antenna down into the doodad too hard Nathaniel started referring to the act of breaking stuff as "Jefficizing" something. The rest of the day we all heard quite often Nathaniel state "And don't Jefficize it" or "Be careful not to Jefficize that"...Should you make one of these in the future, please don't Jefficize it
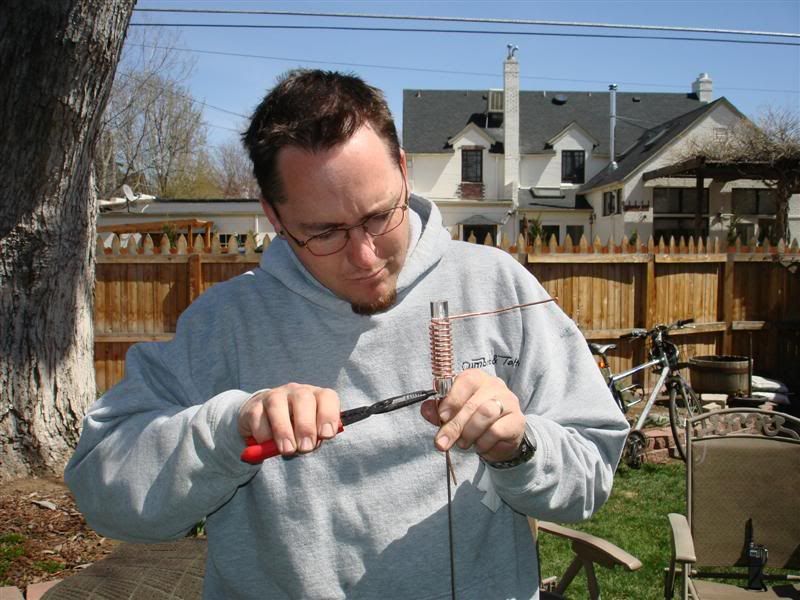
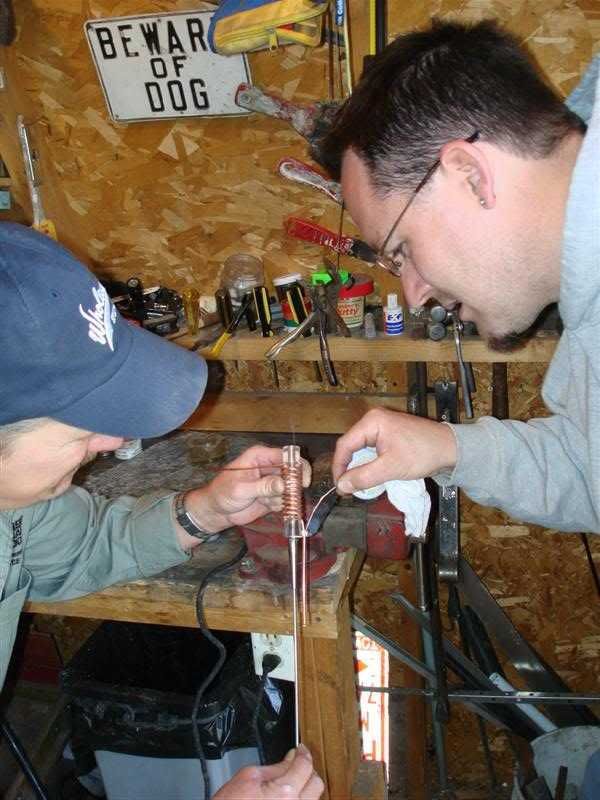
Step Six - Put some solder on the ring connector and the copper at the antenna end of the doodad and then clip off the excess copper wire...Note: This should only be attempted by highly trained professionals and requires intense concentration...
Step Seven - Remove ~3" of the outer sheath from the antenna end of your coax (this is at the opposite end from the connector). Now you are ready to "de-braid" the outer shield of braided wire on your coax. It was determined that if you've had daughters and have ever had to remove their braids, then you should be considered an expert at this step . Debraid down to where the outer sheath was cut, then twist it all back up into a thin long wire ...Also remove 1/2" from the inner sheath to expose the center conductor and add some solder to it.

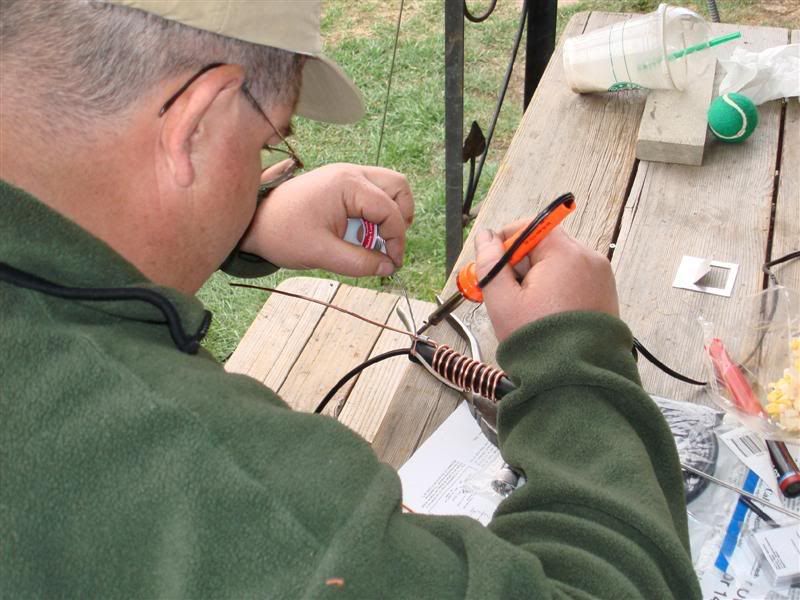
Step Eight - Solder the exposed center conductor to the forth copper wrap down from the top by going under the copper wrap. At this point you'll be cursing yourself for getting the wraps so tight and this is also probably the point where you'll notice whether you can count to 10, or not.
Put a second ring connector on the bottom of the doodad with the copper wire and the twisted up outer braid going through the connector crimp point. Bend it 90 degrees and put a bolt into the base of the doodad to hold the ring connector in place. Then crimp and throw some solder on it (getting the feeling we like to solder?). Don't forget the twisted up outer braid or you'll get to do this step twice...I became pretty good at this step, and others, on account I got to do them twice.
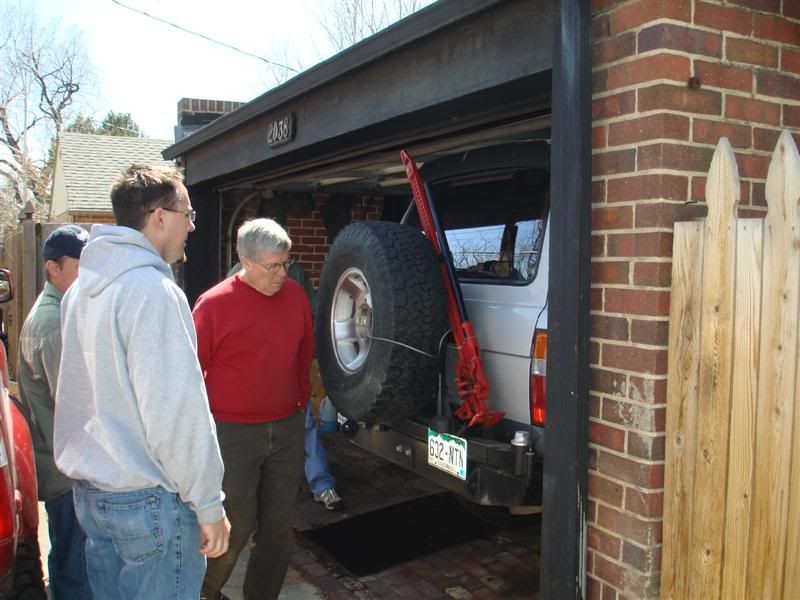
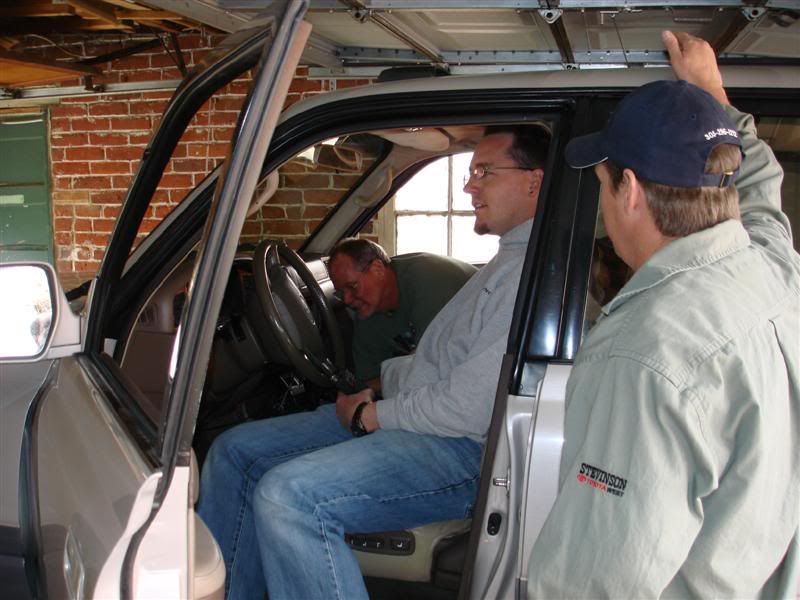
Step Nine - If you've made it this far then throw some heat shrink wrap around the doodad and copper wire etc. and go scout out a spot to mount your new antenna. Here, the experts look for the perfect antenna mounting spot on an 80.
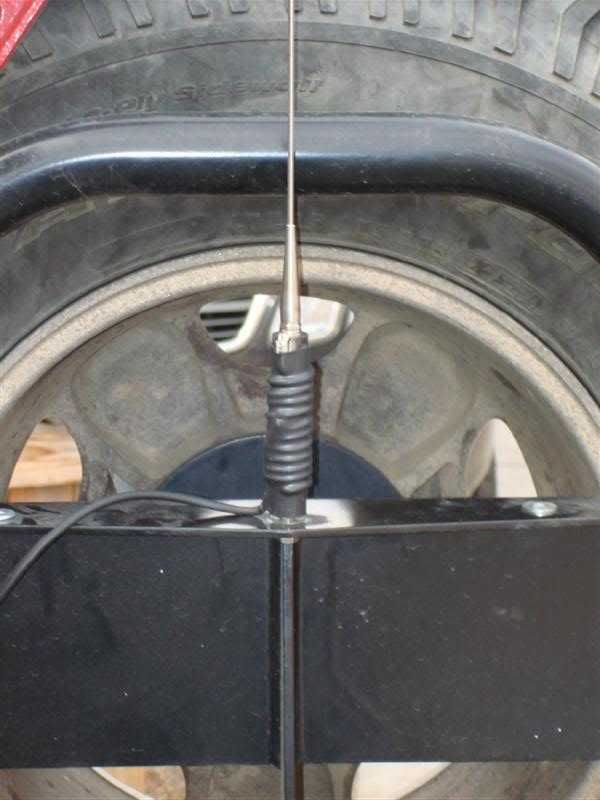
Step Ten - Homebrew antenna with heat shrink wrapping mounted and ready for testing.
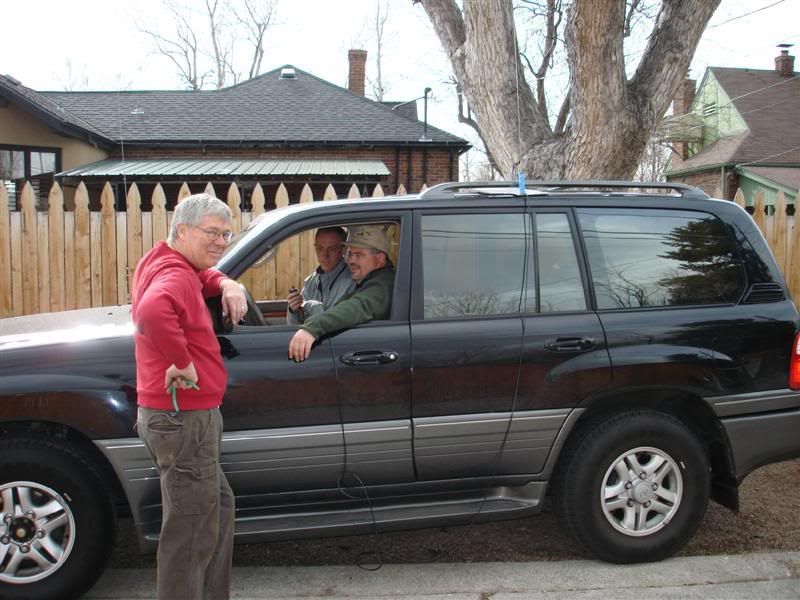
Step Eleven - Testing the homebrewed antenna.
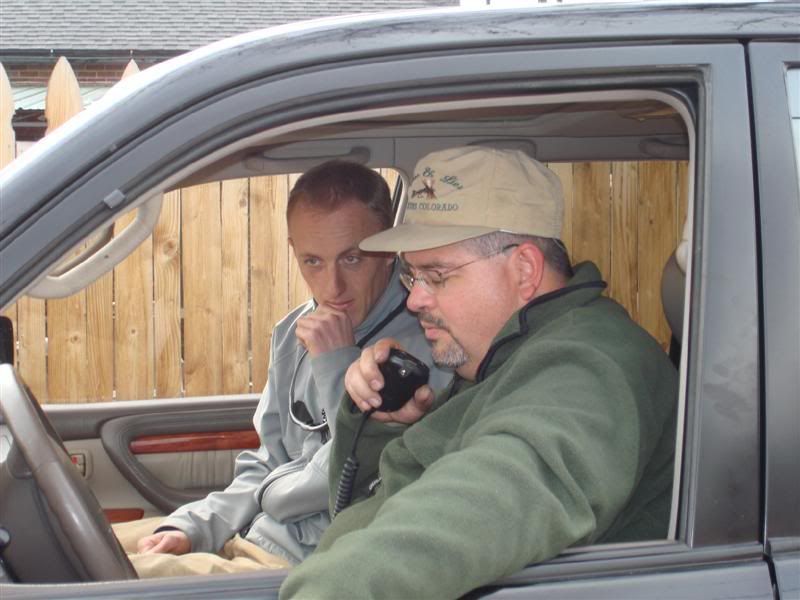
Step Twelve and Thirteen - Testing more homebrewed antennas. Note: Check out the fancy "NPS" mount. Never heard of a NPS mount? It is a "No Parking" sign, upside down, with a hole drilled in it. Results were S8/S9 signal strengths...Ricardo and Matt were able to chat with a gent located around 6th and Federal from John's place (by old Stapleton) at as low as just 5 watts of power! Way
) for putting this together and for making up the awesome parts we needed for our antenna building party...And a huge thanks Andrea for letting Nathaniel out of the house despite her current condition - we owe you Andrea.Also, a big thank you to John and his wife for their hospitality and use of their garage, backyard, shed, tools, etc. etc. etc
. Things took longer than planned (as they always do) so thanks for hanging in there with us.I'm pretty sure everyone had a great time, shared some good times, had quite a few good laughs, and all of us came away with an awesome antenna and maybe, just maybe an understanding of how this stuff works (ok, that might be a bit of a stretch for me
).Here are some pics of the day...It was perfect weather for building an antenna
Step One - Gather...you have to start somewhere right
Step Two - Cut some copper wire (40" seemed to do the trick here)
Step Three - Grab the antenna base doodad (technical antenna speak) that the copper wire will wrap around
Step Four - Wrap the copper around the doodad 10 and a half times with proper spacing...Note: We discovered later on that Ricardo cannot count to 10
Step Five - Crimp a ring connector to the copper at the antenna end of the doodad, with the ring connector and a washer under the antenna attachment bolt...Note: We (ok, I) discovered that it is possible to break the pretty doodads by cranking the antenna down into the doodad too hard
Nathaniel started referring to the act of breaking stuff as "Jefficizing" something. The rest of the day we all heard quite often Nathaniel state "And don't Jefficize it" or "Be careful not to Jefficize that"...Should you make one of these in the future, please don't Jefficize it
Step Six - Put some solder on the ring connector and the copper at the antenna end of the doodad and then clip off the excess copper wire...Note: This should only be attempted by highly trained professionals and requires intense concentration...
Step Seven - Remove ~3" of the outer sheath from the antenna end of your coax (this is at the opposite end from the connector
). Now you are ready to "de-braid" the outer shield of braided wire on your coax. It was determined that if you've had daughters and have ever had to remove their braids, then you should be considered an expert at this step . Debraid down to where the outer sheath was cut, then twist it all back up into a thin long wire ...Also remove 1/2" from the inner sheath to expose the center conductor and add some solder to it.
Step Eight - Solder the exposed center conductor to the forth copper wrap down from the top by going under the copper wrap. At this point you'll be cursing yourself for getting the wraps so tight and this is also probably the point where you'll notice whether you can count to 10, or not
.Put a second ring connector on the bottom of the doodad with the copper wire and the twisted up outer braid going through the connector crimp point. Bend it 90 degrees and put a bolt into the base of the doodad to hold the ring connector in place. Then crimp and throw some solder on it (getting the feeling we like to solder?). Don't forget the twisted up outer braid or you'll get to do this step twice...I became pretty good at this step, and others, on account I got to do them twice
.
Step Nine - If you've made it this far then throw some heat shrink wrap around the doodad and copper wire etc. and go scout out a spot to mount your new antenna
. Here, the experts look for the perfect antenna mounting spot on an 80.
Step Ten - Homebrew antenna with heat shrink wrapping mounted and ready for testing
.
Step Eleven - Testing the homebrewed antenna.
Step Twelve and Thirteen - Testing more homebrewed antennas. Note: Check out the fancy "NPS" mount. Never heard of a NPS mount? It is a "No Parking" sign, upside down, with a hole drilled in it
. Results were S8/S9 signal strengths...Ricardo and Matt were able to chat with a gent located around 6th and Federal from John's place (by old Stapleton) at as low as just 5 watts of power! Way
Last edited: