The table is super cool!
It is the African Outback table. I don't think it is very heavy but you have to be tall enough to reach the rack. It appears the stainless is a very high grade as well.

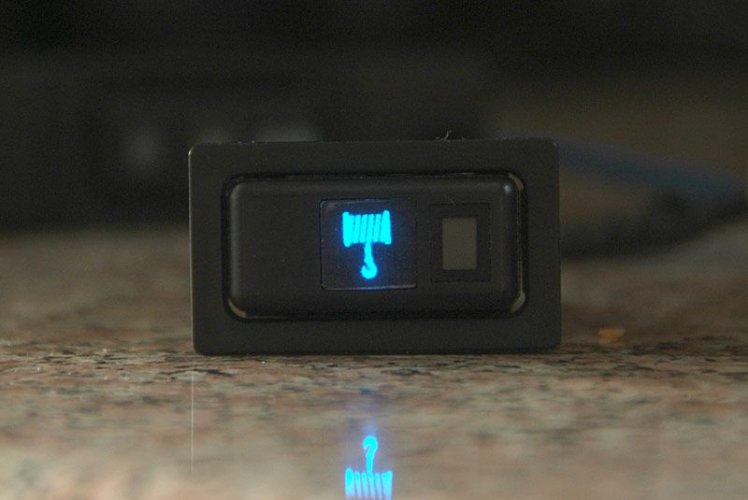
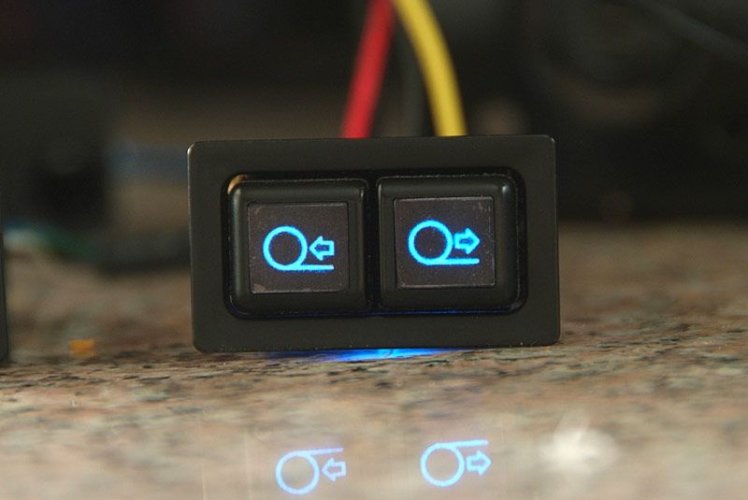
New buttons!
First one turns on the winch? Second one controls it?
I used a defroster button out of a 4runner for the wince enable. I ran the ground through it so that the winch in and winch out controls are only active when the enable button is active. It also has a light so I know it is on. The 4 runner switches are the right style but you will need to source some clear plastic because the lables are a sandwich of things and can't be sanded clear.
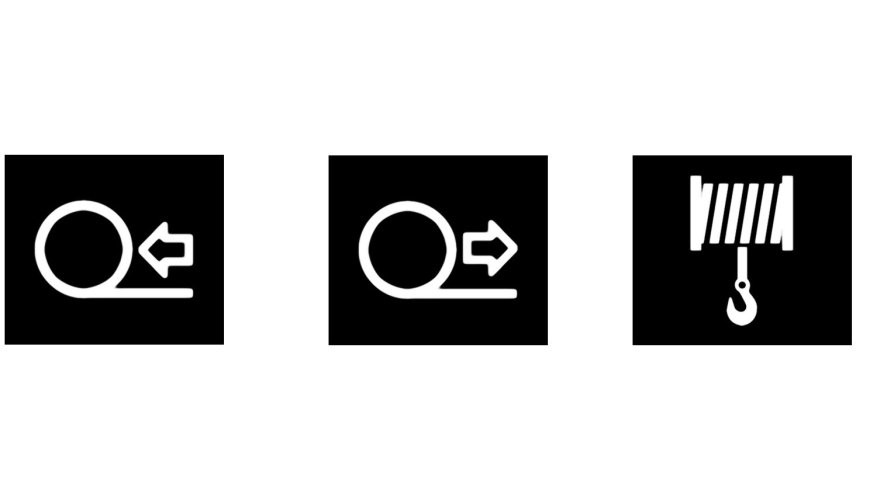
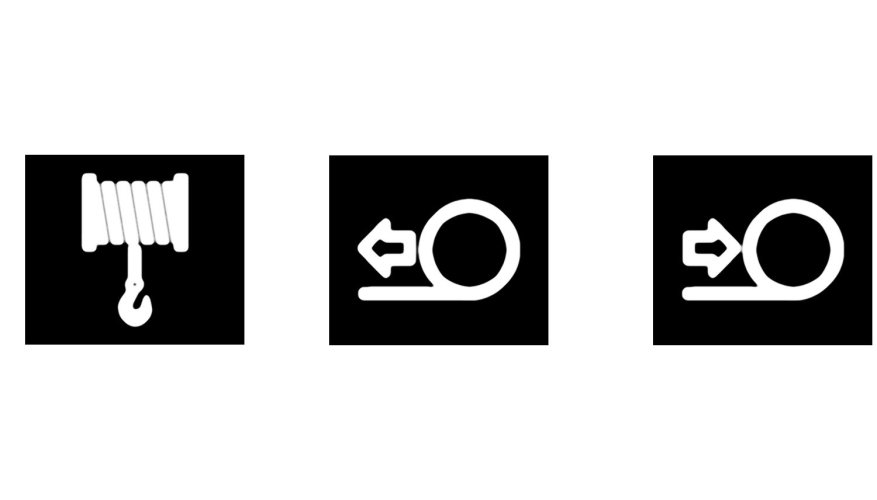
The stock button labels are clear plastic that is silk screened from the back. All of them have a green overlay and some of them also have a black mask. That was sanded off with 1200 grit sandpaper and followed up with plastic polish. The labels are from http://forum.ih8mud.com/80-series-tech/274776-switch-relables-printable-single-sheet.html - NLXTACY just cleaned up a bit. That gets printed on some card stock and superglue makes the paper translucent. I used a green silk screen paint to keep the OE color even though I use blue LEDs behind it. Without the green the color is more blue. I like the teal color and it keeps everything matching. The last step was to use vinyl to keep light showing through the paper so that was applied in reverse to the buttons. Here are the images used. The bigger one is the mask that is behind it.

you need to pop that engine out and install this...
http://www.titanmotorsports.com/to1fzenpr1hp.html

you need to pop that engine out and install this...
http://www.titanmotorsports.com/to1fzenpr1hp.html