nuclearlemon
Hard Core 4+
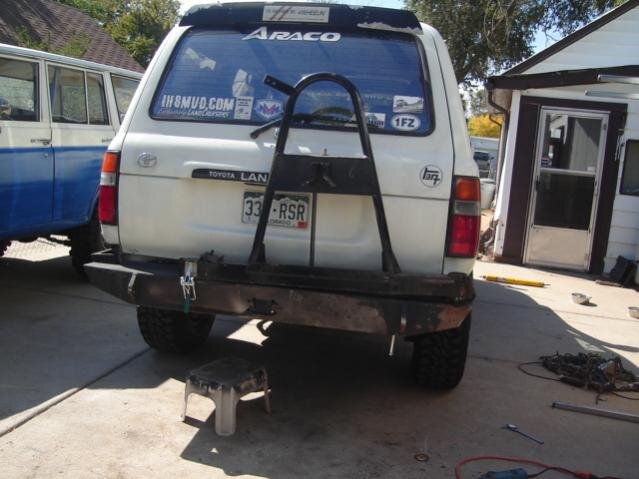
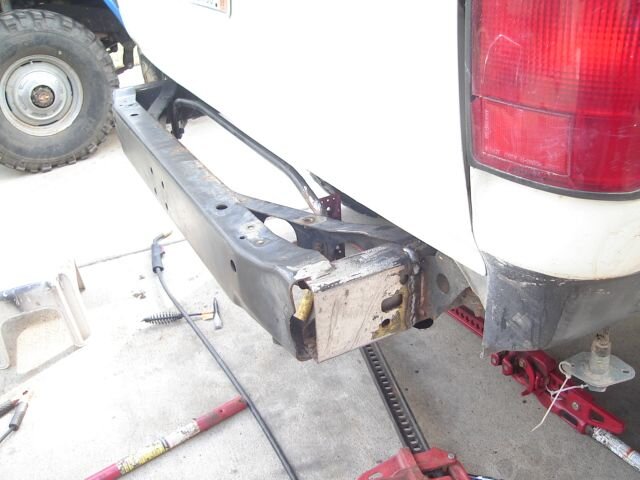
Whats the plan for the slider?
that's another fix i gotta deal with.

Whats the plan for the slider?


 )
) and that doesnt' even include the required land cruiser bottle cap opener for the backside of the spare carrier
")
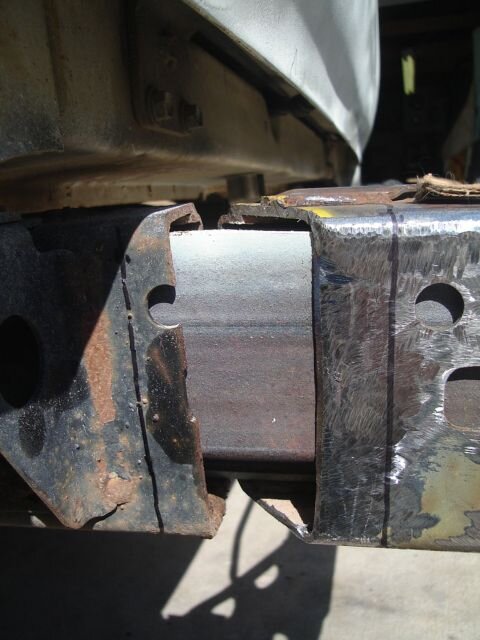
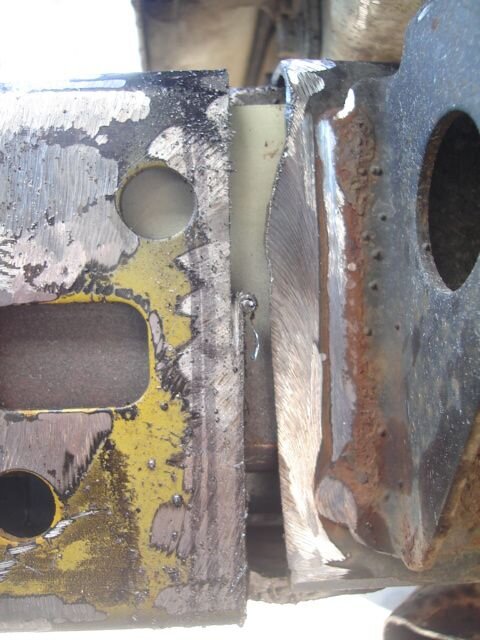
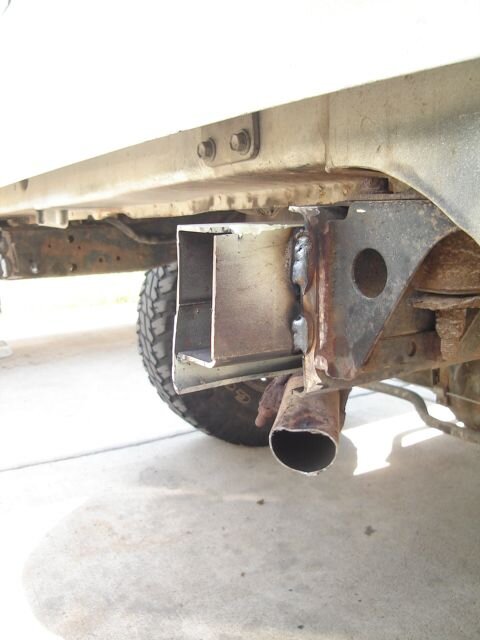
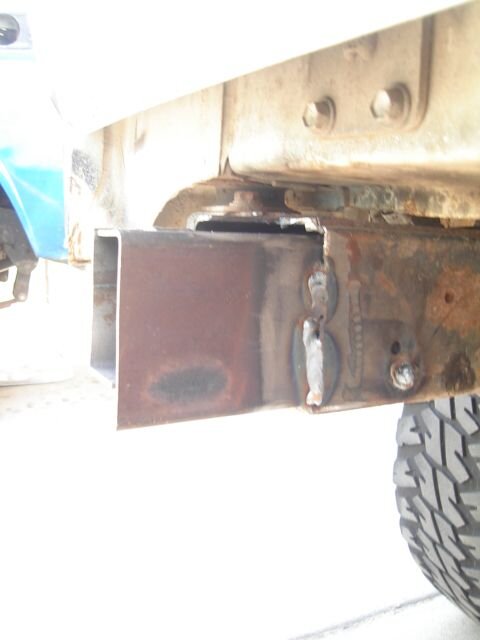
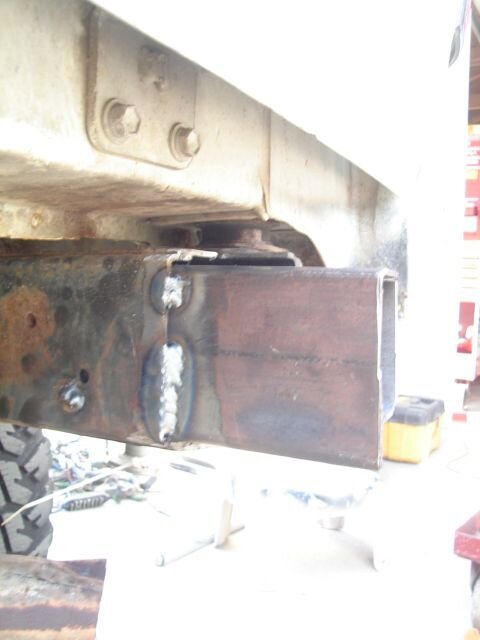
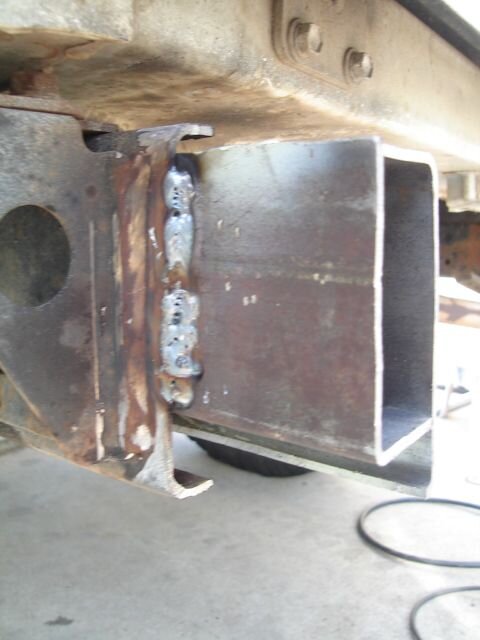
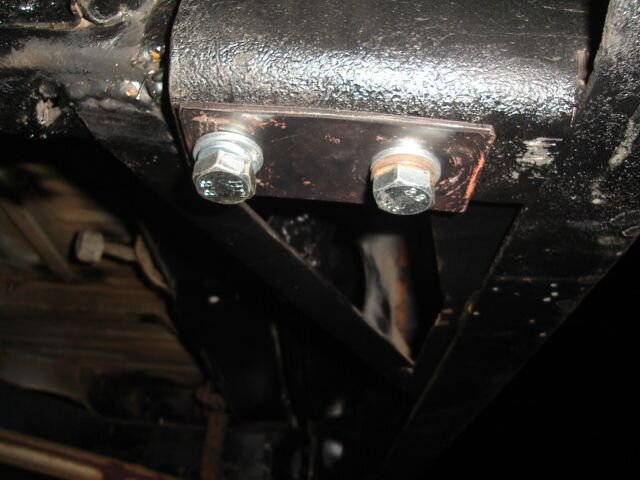
I think it looks great too, though those really porous welds I'd grind out and re-do. It looks like no gas was flowing at all.
.
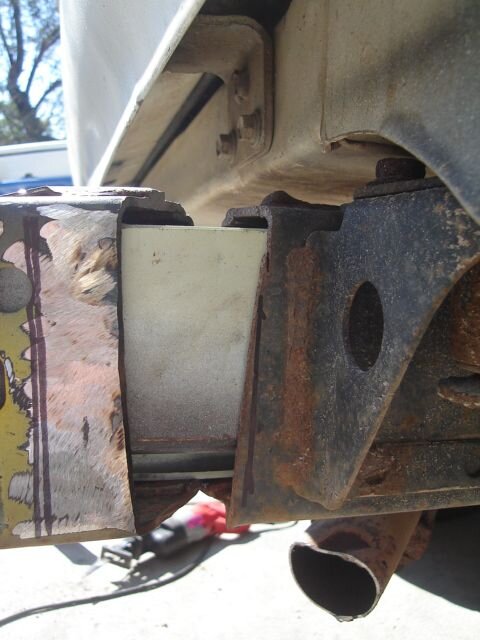
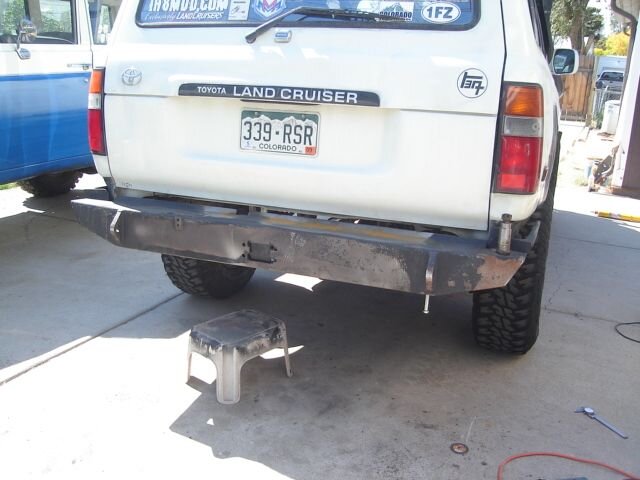
ive got some plastic material at home to make the pad under the carrier when it's closed and i'm guessing the slide piece is just a chunk of stainless or aluminum sheetmetal and i've got some heavy aluminum that i can cut up and rivet in. i've also got a lp lamp that i was going to mount on the 40, but i never made that carrier.ok, tire carrier is mounted. bearings worked great. it does appear that the plastic pad i have won't be thick enough, so i'm going to try to find something thicker, if i can't, i'll just cut multiple layers since they're held by bolts.
")
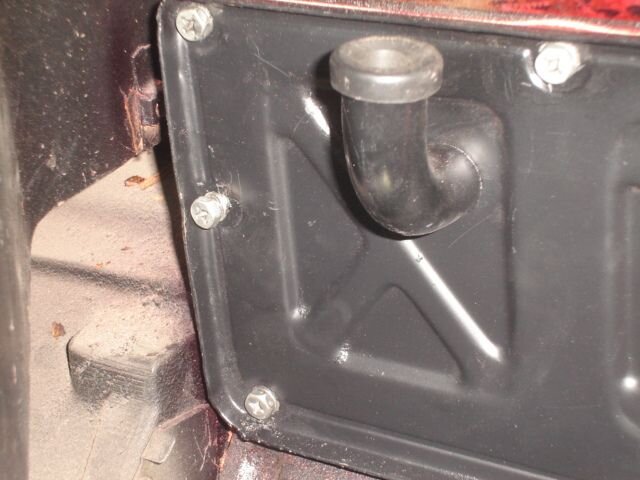
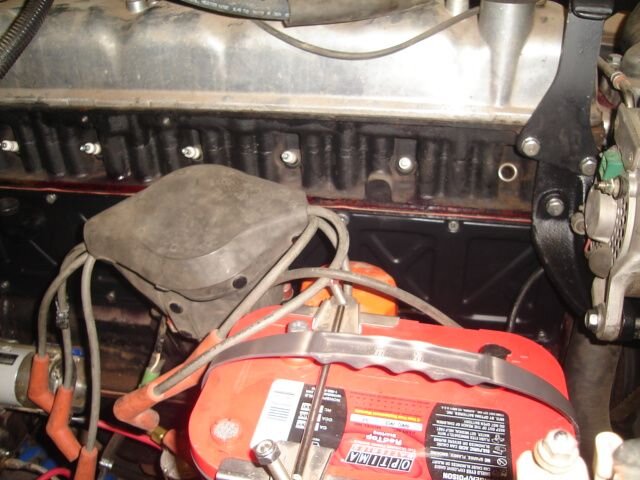
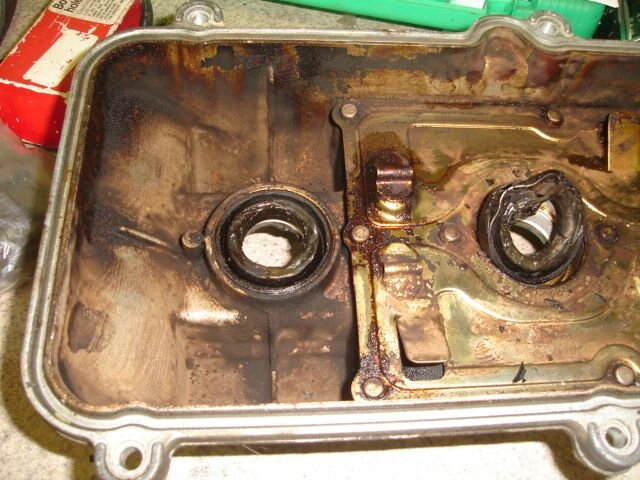
 and, of course, it's in a most hideous place. for now, i tightened everything else up, so i don't screw up the seal between the gasket and the block...i'll loosen everything and try again next weekend. meantime, the dizzy is just sitting in place to keep any dust out.
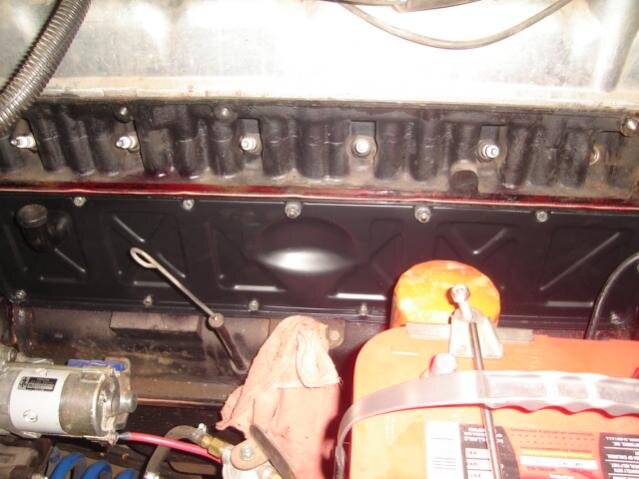
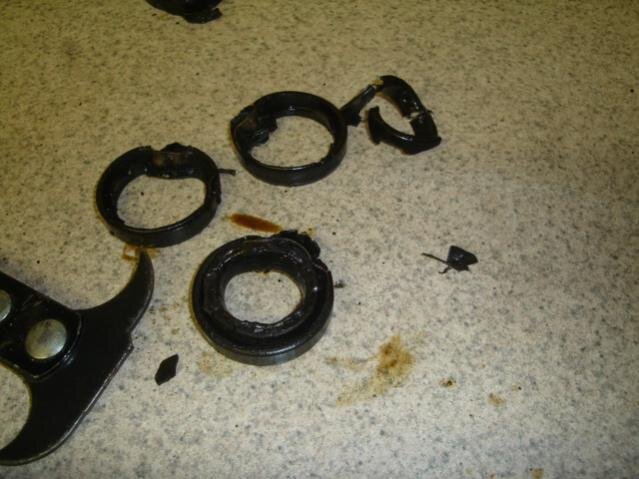
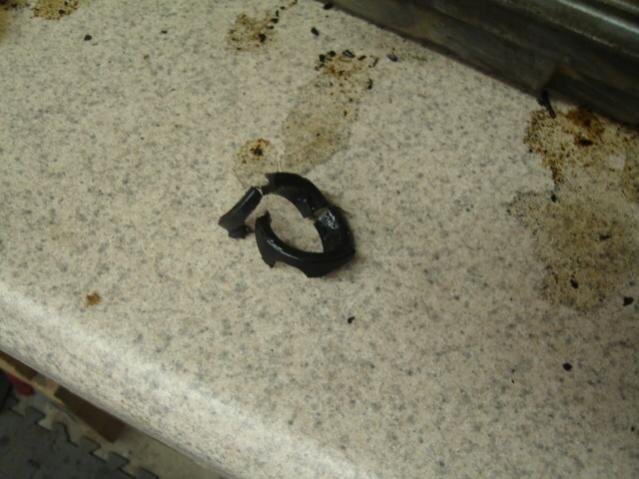
 somewhere there was a little japanese engineer laughing his butt off the plug gaskets made a very eery crunching sound as i was attempting to get them out.
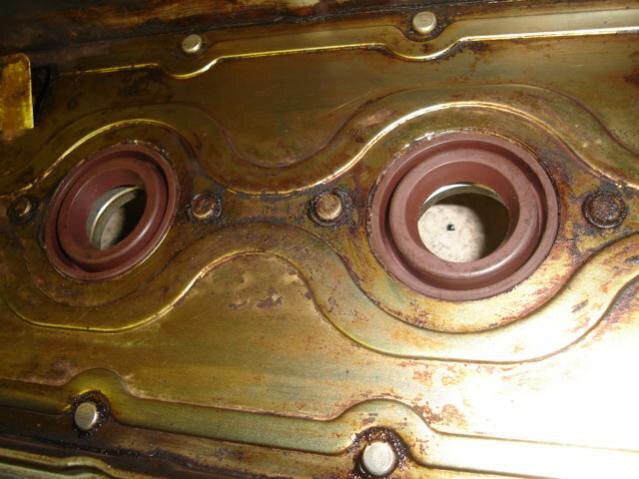
 put some dye in the radiator, hopefully it will leak a bit overnight and i'll be able to determine if my new radiator is bad.