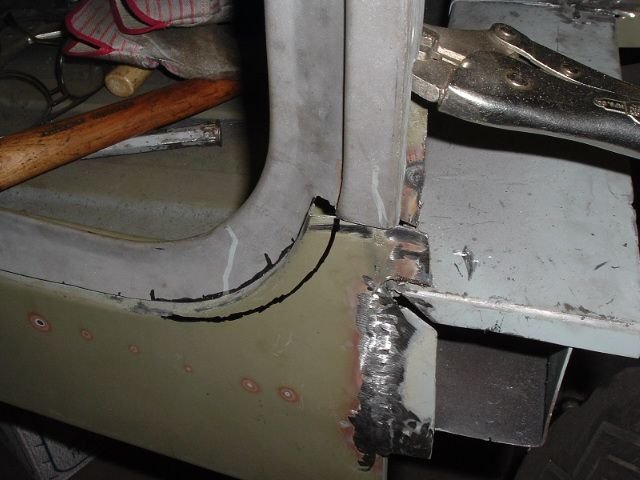
I am having trouble following you jeff. Do you just need to remove the section you have outlined on the brown tub? Or to you want to bend it in? What?
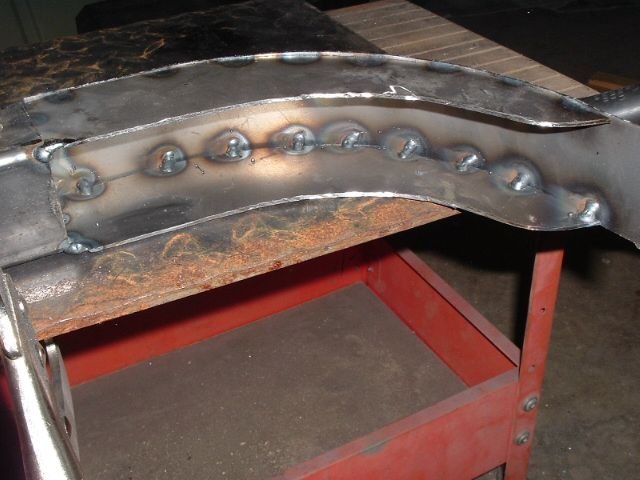
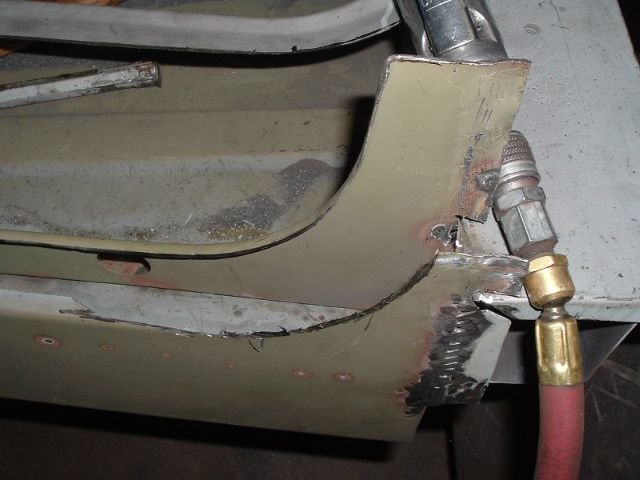
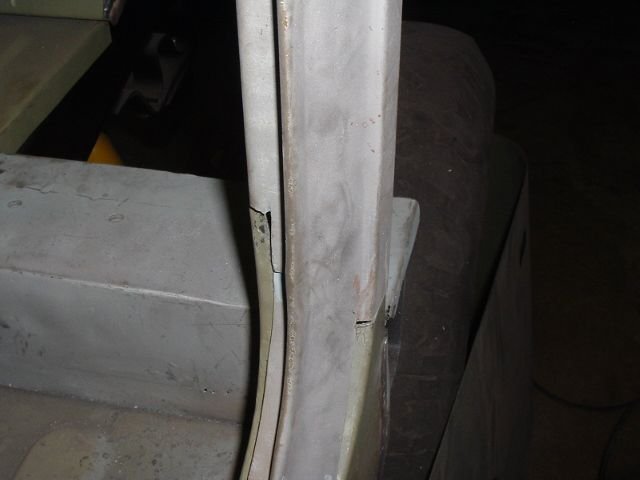
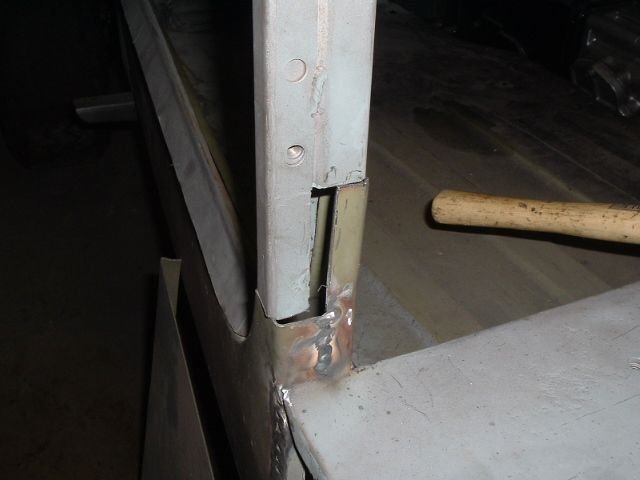
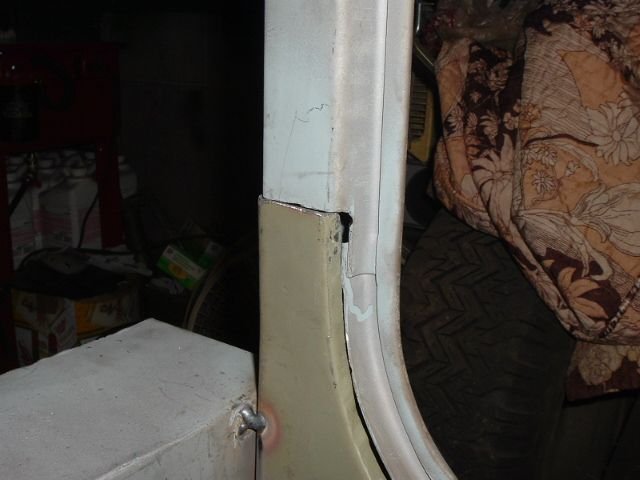
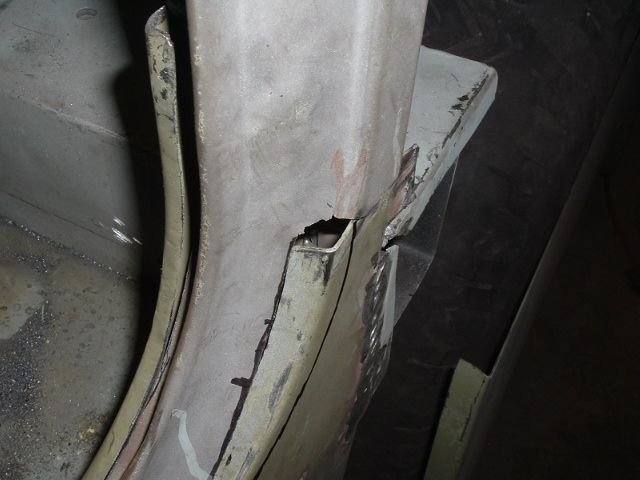
Correct, the mark shows where the profile of the rocker should be. I am trying to match the profile of the rocker panel (incorrect due to the bend occurring too far forward) with the profile of the lip (which is the original lip from the factory). The door won't close properly if I simply welded it in the way it is now. Basically the two main things I am thinking of are to either cut that section out, or to somehow re-bend it to the proper profile, which seems to me to be less likely to work.
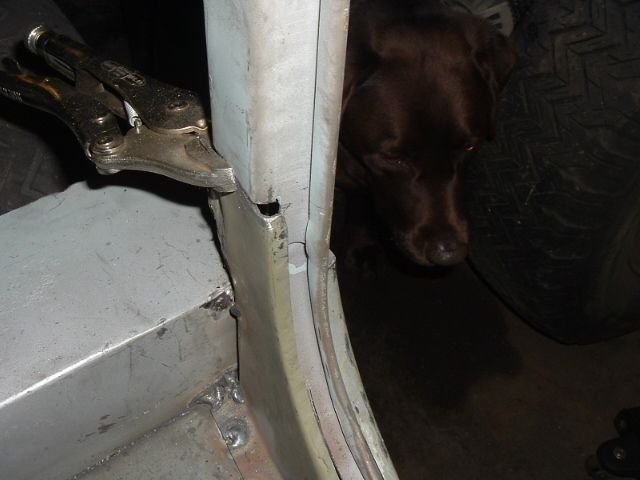
It looks like you want to section that part out so the new will slide in there? Is that correct?
Kinda sorta. If the replacement rocker panels had been bent properly to begin with, it wouldn't have been a problem. I am very happy, overall, with all the parts I've purchased from CCOT, and it's a given that the installer needs considerable skill to build a tub practically from scratch. They've been helpful over the phone and email. This particular problem really has me scratching my head on the best approach though. If the
Heritage parts had been available when I was buying parts for this project I may have gone in that direction though.
That a tough bit oh business there, but if that's that you need to do, I would find a plasma cutter and torch it out. Oxy will over heat the area and warp the crap out of it.
I don't have plasma, so my precision cutting is generally with a small, air powered cutoff wheel.
I am sure there is someone on the west side who has a portable unit, I think I am too far away for ya.
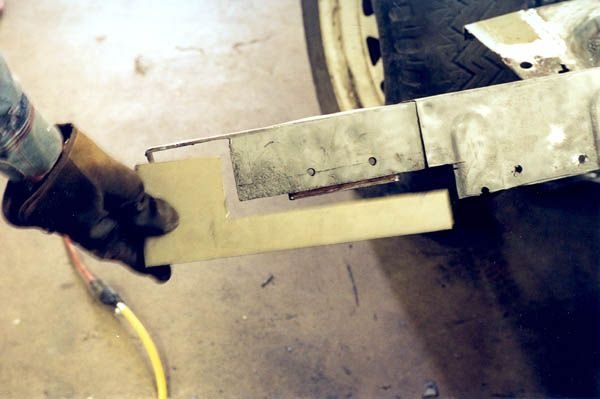
Oh I can cut it out, and cut and bend a curved, crescent shaped piece to graft in. That's kind of the direction I'm leaning towards.
Thanks for posting up; you're among the folks in this club who has a LOT of experience with this sort of thing, and I really respect your advice!

")
 to the 2x12 rear quarter support!