
You are using an out of date browser. It may not display this or other websites correctly.
You should upgrade or use an alternative browser.
You should upgrade or use an alternative browser.
IH8RUST: FJ60
- Thread starter IH8RUST
- Start date

IH8RUST
Hard Core 4+
- Joined
- Jun 13, 2024
- Messages
- 538
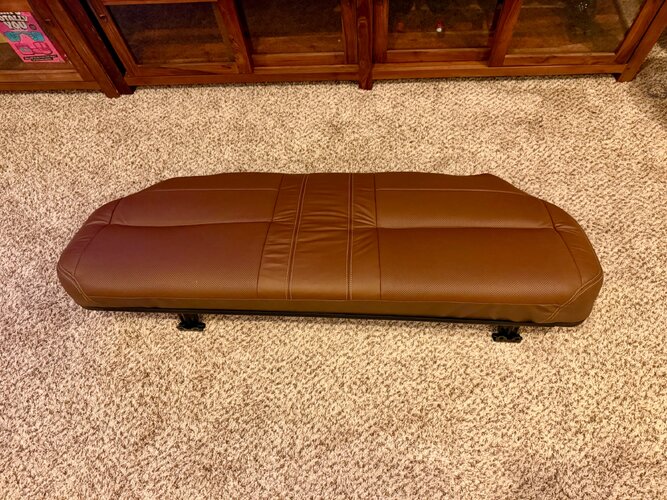
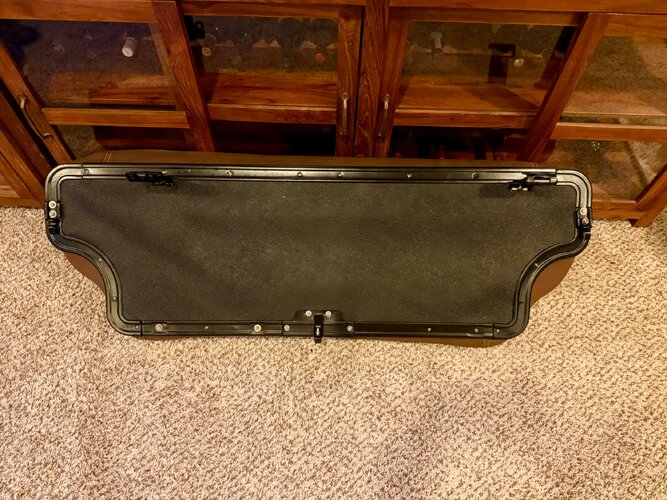
Paid Josh a quick visit earlier, the whole way I was thinking, this seat isn’t made for long trips so now I have a brainworm nagging me to get a Scheel-Mann.
Anyone have experience with those? It’s going to throw my whole interior plans for a loop, so before I got too far down the line, I’d like feedback.
Anyone have experience with those? It’s going to throw my whole interior plans for a loop, so before I got too far down the line, I’d like feedback.

CardinalFJ60
Rising Sun Member
i don’t have experience with those, but I installed the procar elite in my 60 like 15 years ago. Bolt in, they’ve been great for me; I’ve logged lots of seat time. (40k miles?).
IH8RUST
Hard Core 4+
- Joined
- Jun 13, 2024
- Messages
- 538
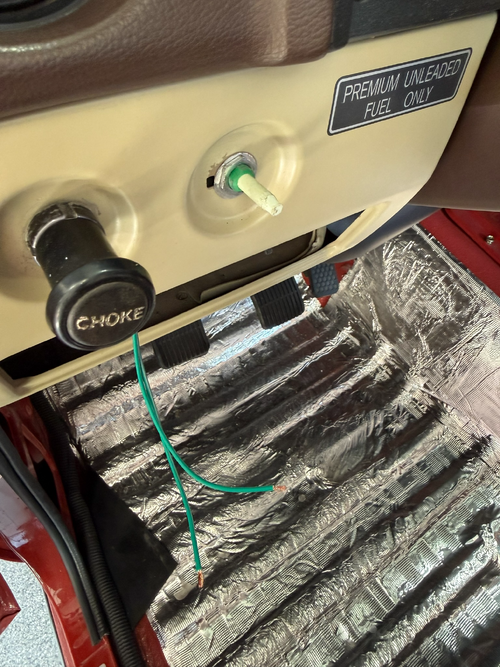
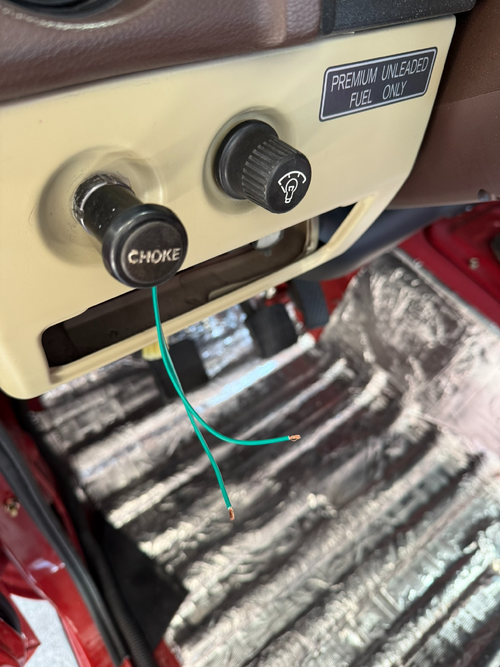
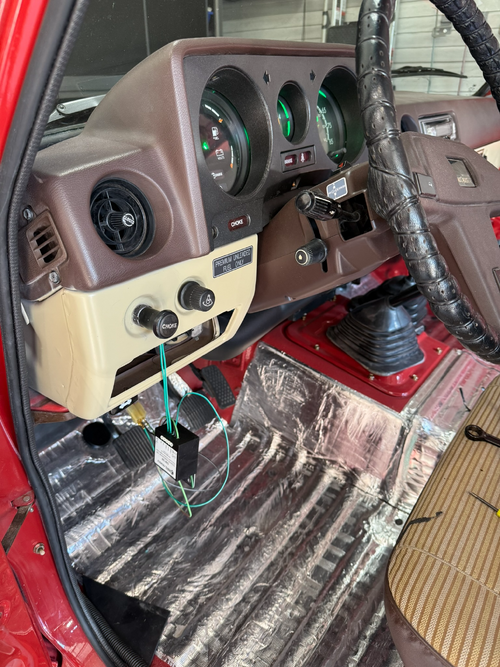
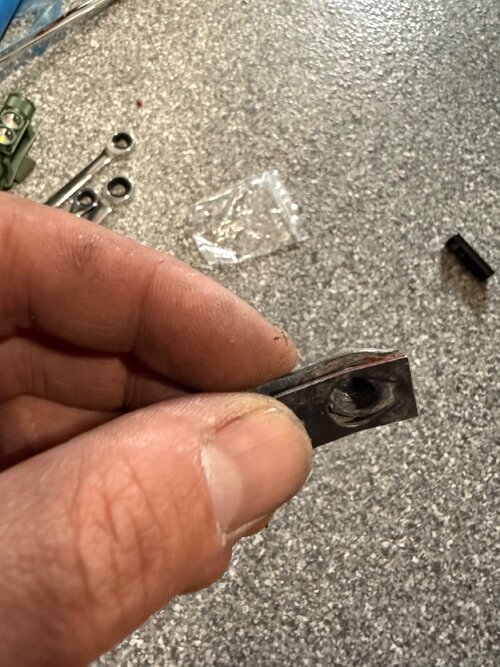
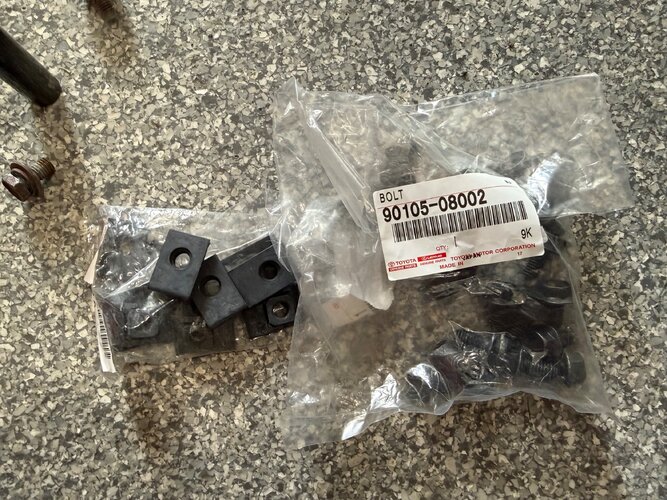
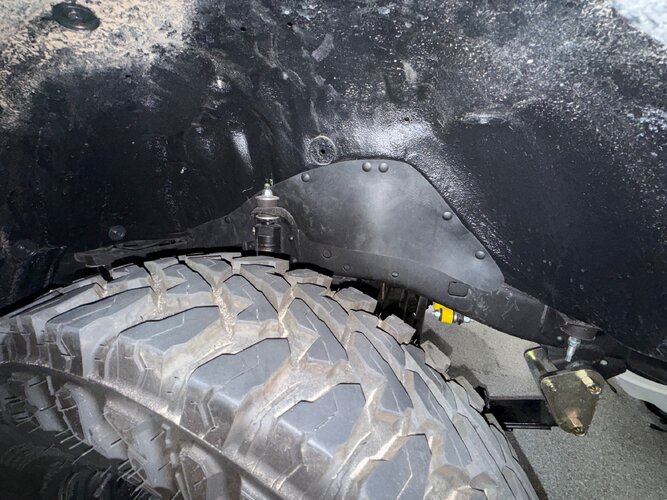
3D printing is out of the question; going with a controller + pot. The pot is standalone; I had to shave off enough to make it work with the knob. Fits nice, looks fine. I'll mount the box somewhere and run an inline fuse for safety. So far, it seems to be fine, will take it for a spin to see if it'll hold. All of this is because I decided I had to be special and go with LEDs.
 |  |  |

IH8RUST
Hard Core 4+
- Joined
- Jun 13, 2024
- Messages
- 538
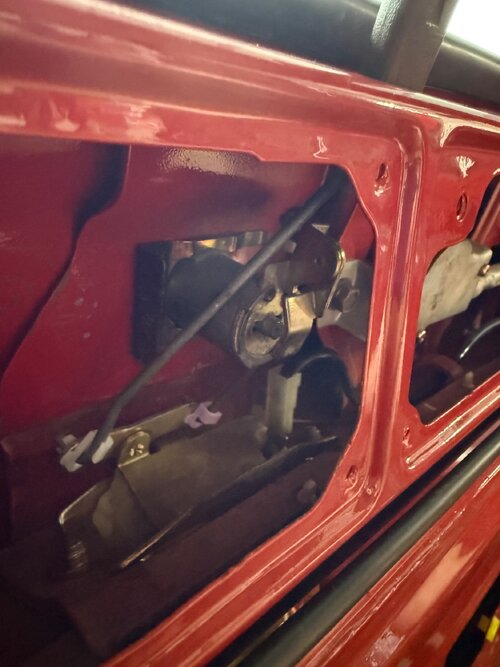
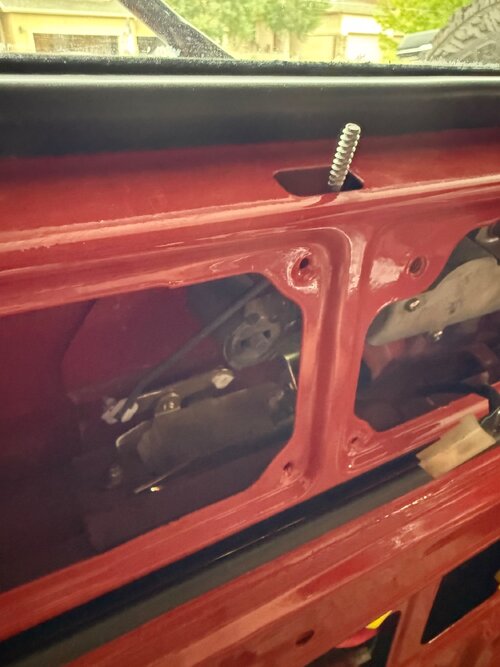
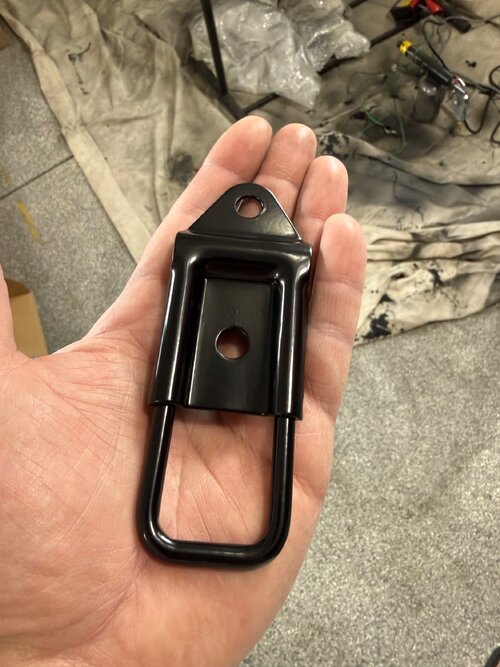
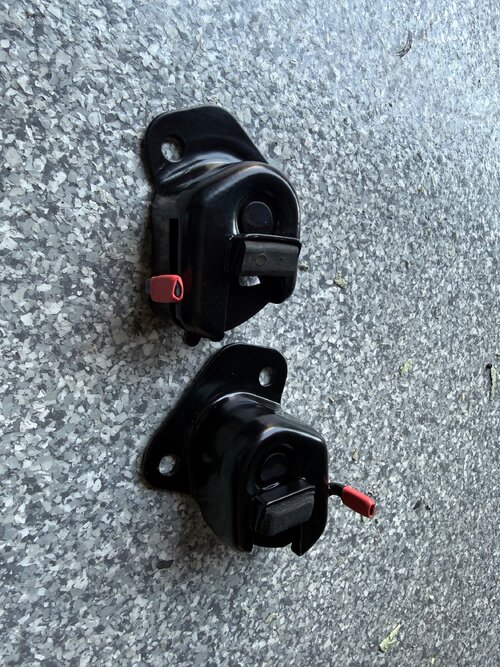
And my happiest moment all week. I found the 3.5mm rod that connects to the latch rocker assembly. I thought I had lost it, for a whole month+ I’ve been going through the mental toil trying to figure out an alternative. Found it in a box.
I can finally push the button and open the upper gate like a normal person.
I can finally push the button and open the upper gate like a normal person.
 |  |
Last edited:
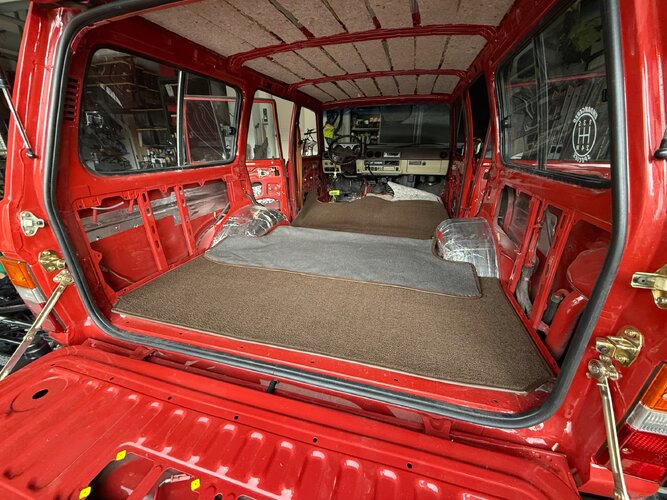
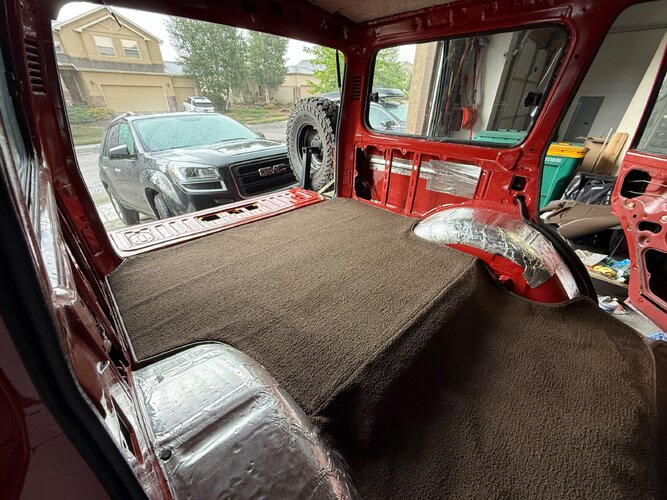

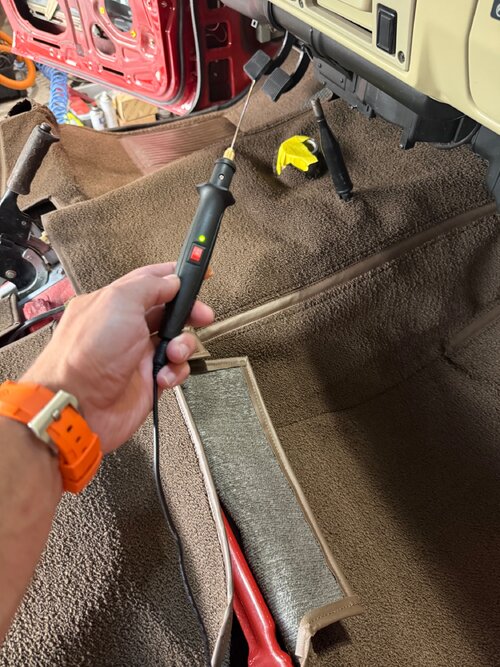
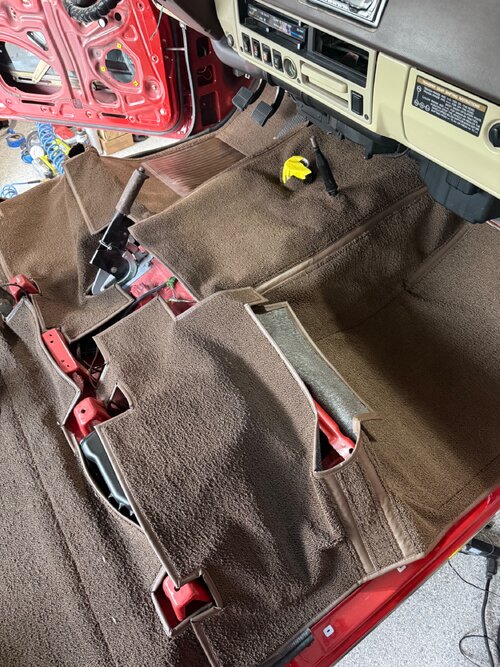
You have an idea and that’s what is driving you. Over the last few decades of working on Cruisers - Toyota products in general - I’ve found that the engineering that went into the original product makes recreating the original luster pretty intuitive and you are doing a bang up job so far. Lots of resources to suss out including this forum so keep after it.Jute padding glued and laid down. Rear carpet in place to get a feel for it. Please keep encouraging me. I get one chance at all of this. I have no idea what I’m doing or how it should look like.

Last edited:
IH8RUST
Hard Core 4+
- Joined
- Jun 13, 2024
- Messages
- 538
Well, sir, today has been interesting. Put the seat back on to go for a joy ride, no dice. Wouldn't turn on. Battery fully drained.
So I started chasing the dead battery and traced it to the alternator. Diagnostic steps:
Let's see what TPI says.
So I started chasing the dead battery and traced it to the alternator. Diagnostic steps:
- Battery tested healthy: 12.56V resting, engine off, after full charge.
- Charging output looked normal: 13.70V at the battery terminals, engine running.
- Battery kept going dead over a few days parked, so I ran a parasitic draw test: multimeter in series at the negative terminal, key off, doors closed. Measured a consistent draw of roughly 0.45-1.0A. Normal for this truck is under 50mA.
- Pulled every fuse one at a time (cab fuse box and the auxiliary fuse block): draw unchanged.
- Unplugged the alternator's regulator connector: draw unchanged.
- Disconnected the dedicated charge cable running from battery positive to the alternator BAT stud: draw dropped to zero immediately. Reconnected and repeated to confirm; result is consistent.
- The charge cable is point-to-point (battery post, inline fuse, alternator stud, no other taps), so the alternator is the only load on that path.
Let's see what TPI says.
 who dis at the Lowe’s parking lot?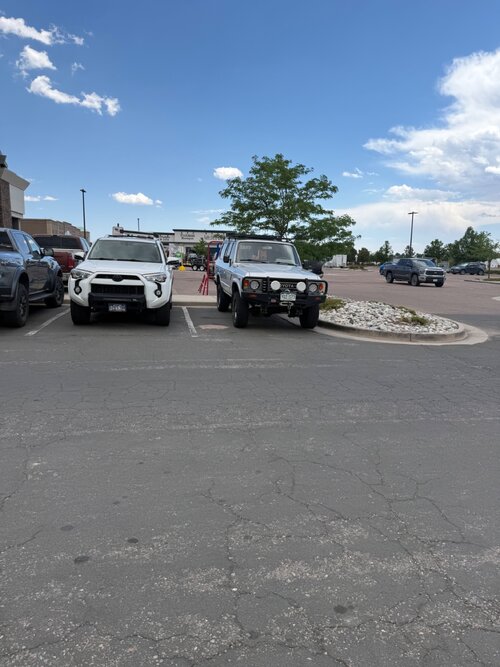

KC Masterpiece
Hard Core 4+
- Joined
- May 4, 2019
- Messages
- 2,144
Looks like me but I am an outlaw with no front plate.