MDH33
Hard Core 4+
Looks good Matt.
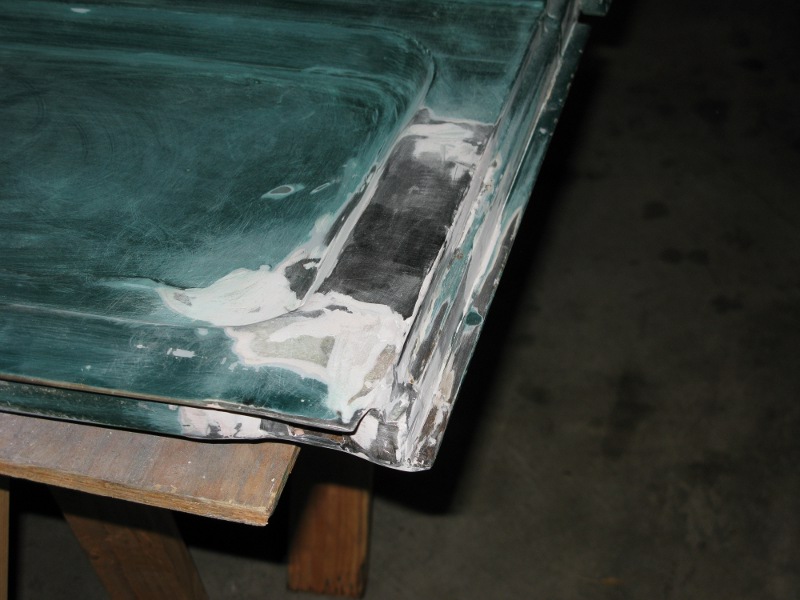
Is that Rustic Green? Want to spray some doors for me??")
Is that Rustic Green? Want to spray some doors for me??


 The original color is Dune Beige (as far as I can tell).
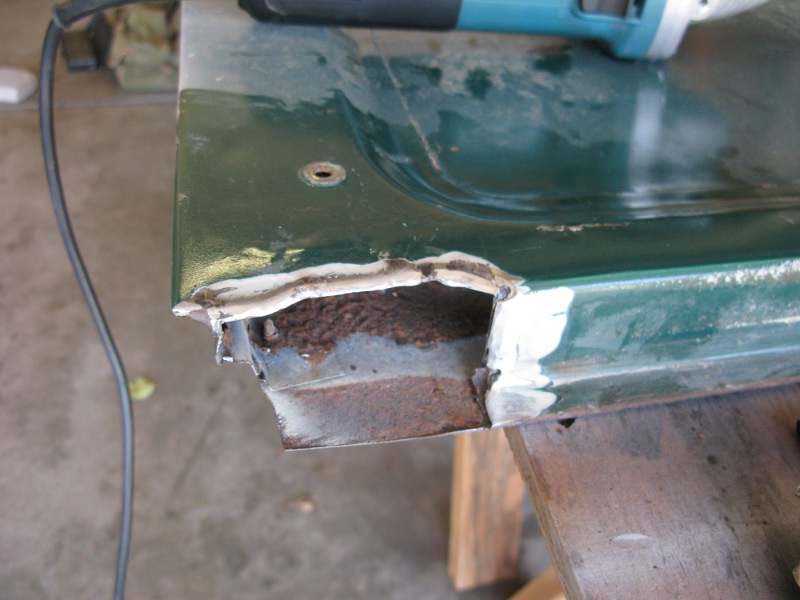

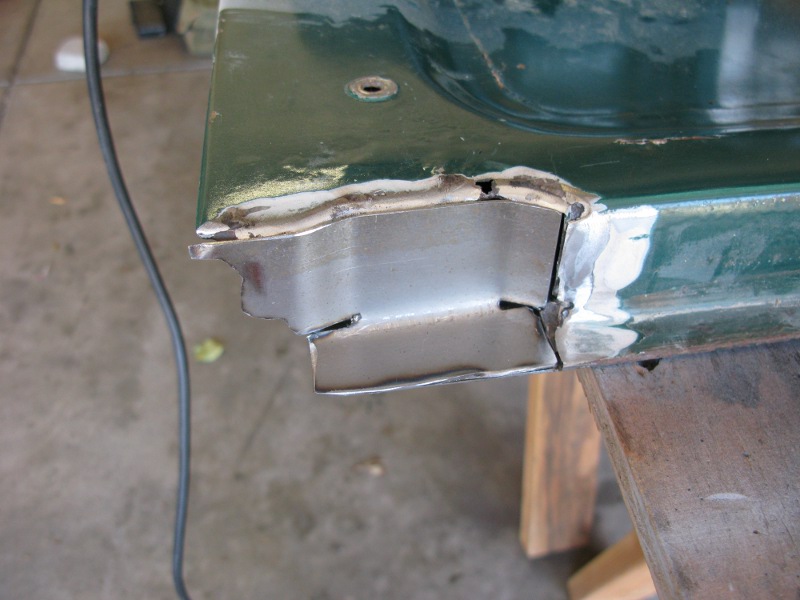
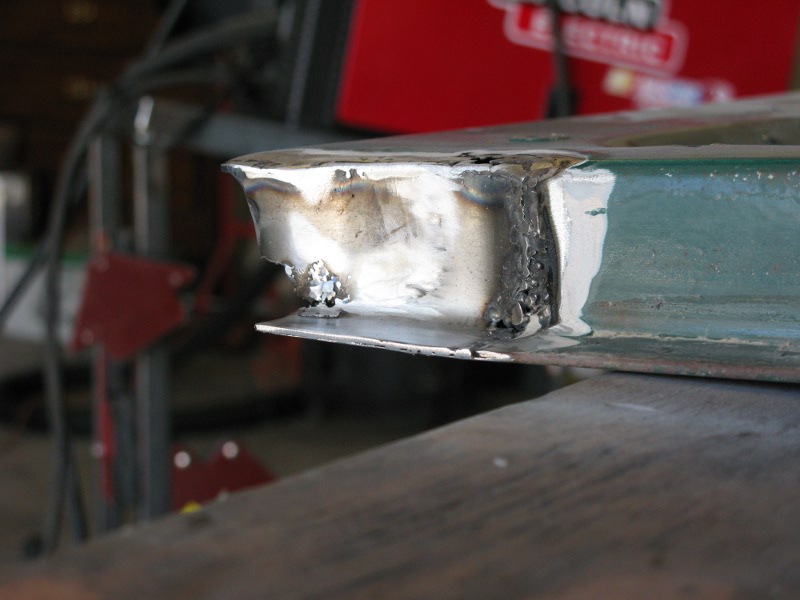
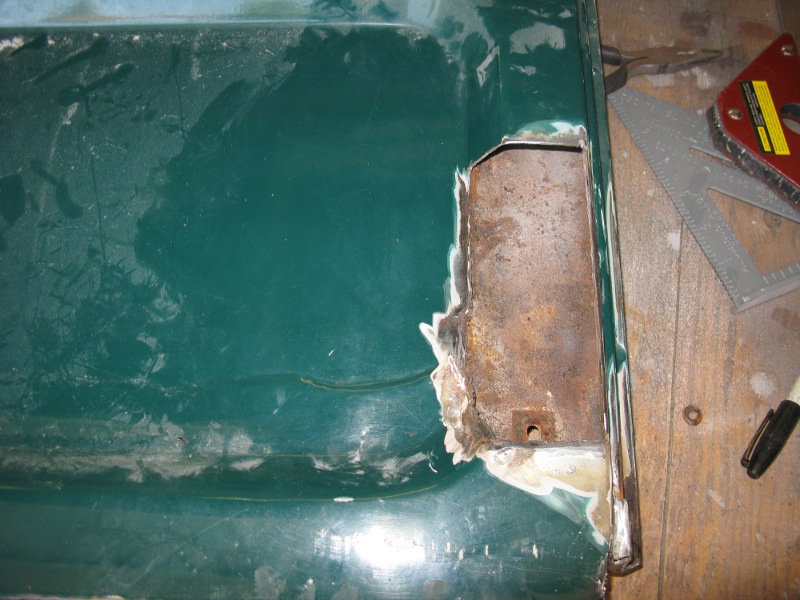
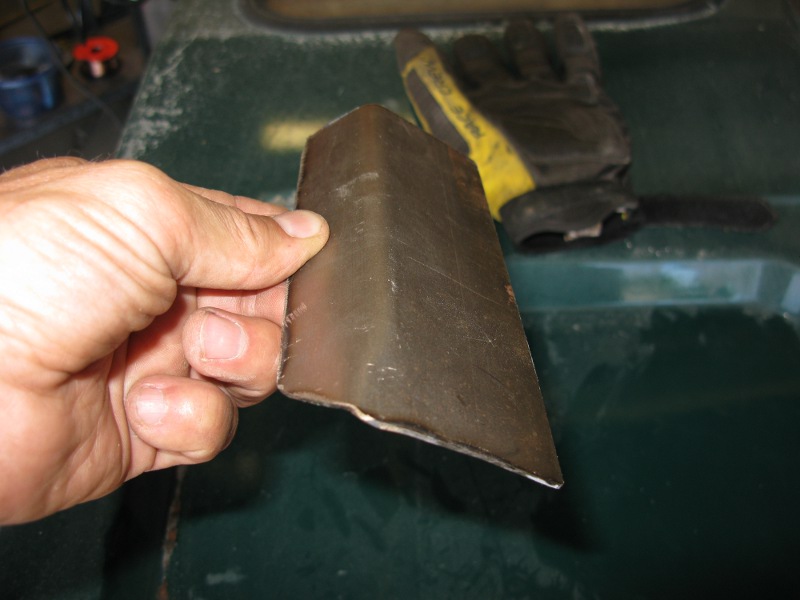
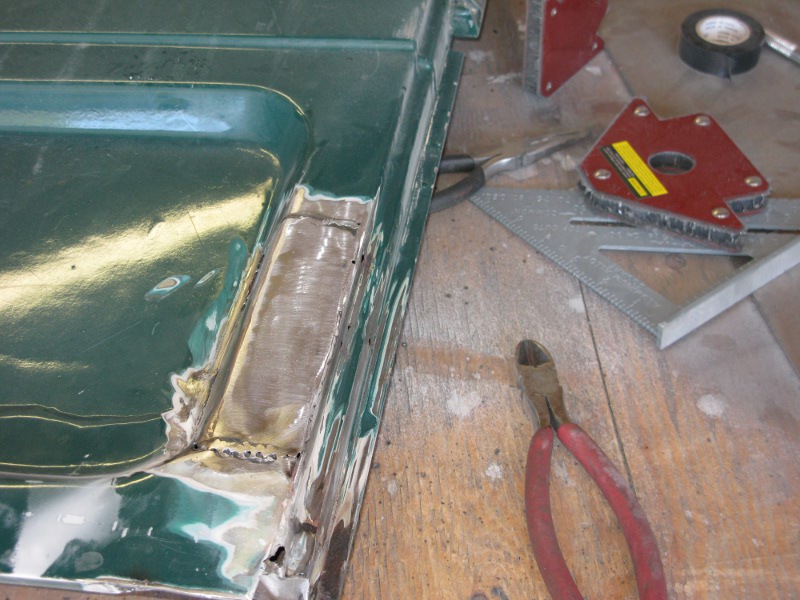
Turns out I didn't cut away enough of the bad metal, so I couldn't get good welds on the inner side. It's strong enough, but will require some "post processing."
