zornff
0
I'd cut the back half off and make an fj45 pu. Oh wait, thats just me ") . Keep up the good work, and get ALL the rust out.
. Keep up the good work, and get ALL the rust out.
. Keep up the good work, and get ALL the rust out.. Keep up the good work, and get ALL the rust out.

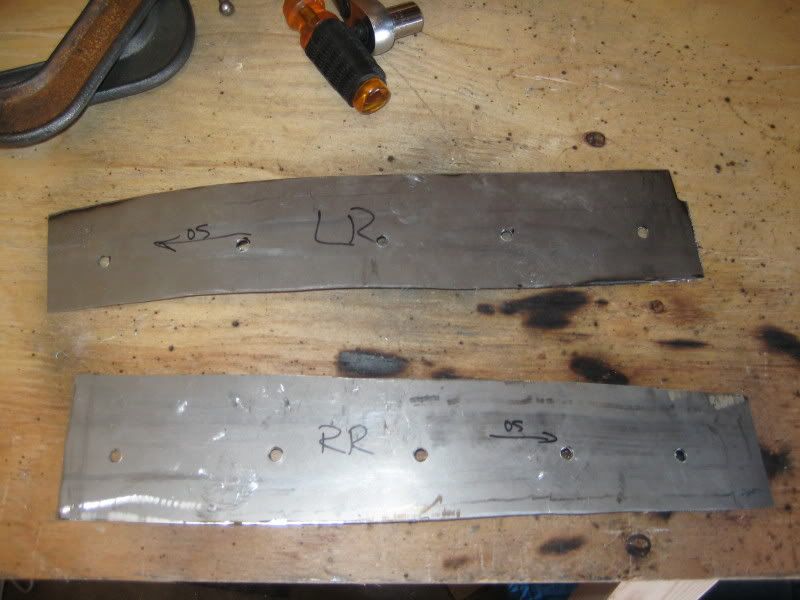
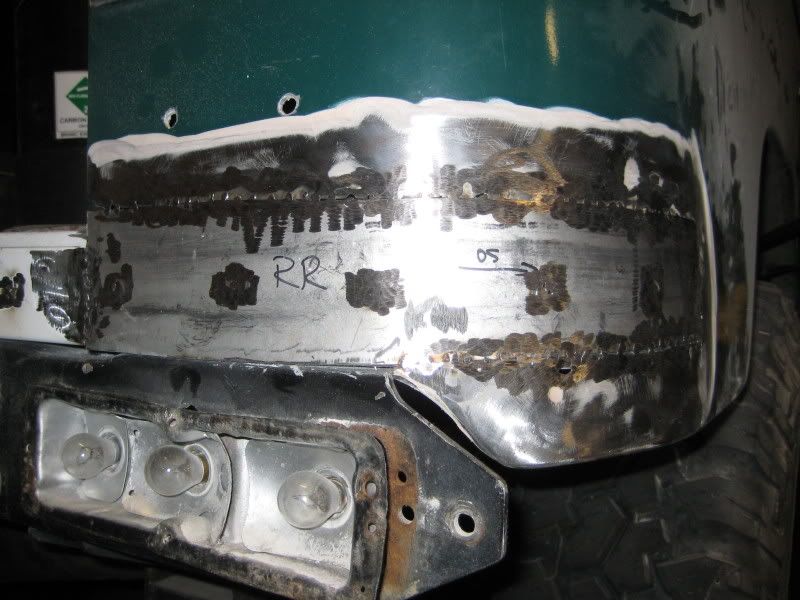
So now I need to cut new sheet metal for the fenders, and fill in a few gaps in other areas to finish this up. Since I don't have a welder at the moment, this last step could take a while....

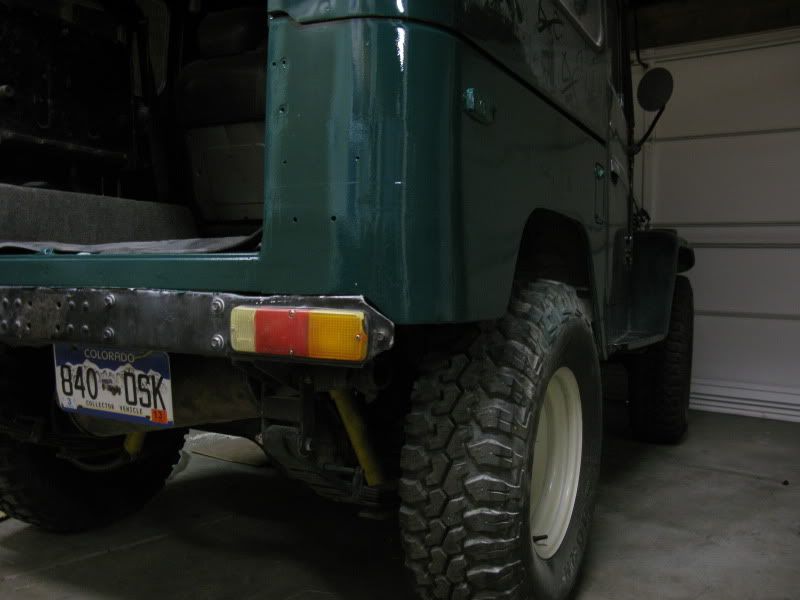
Looks like a new exhaust system is somewhere on the list, too.

")

 Did you ever get your transmission trouble worked out? I have a spare H42 if you want to try a swap.
Did you ever get your transmission trouble worked out? I have a spare H42 if you want to try a swap.

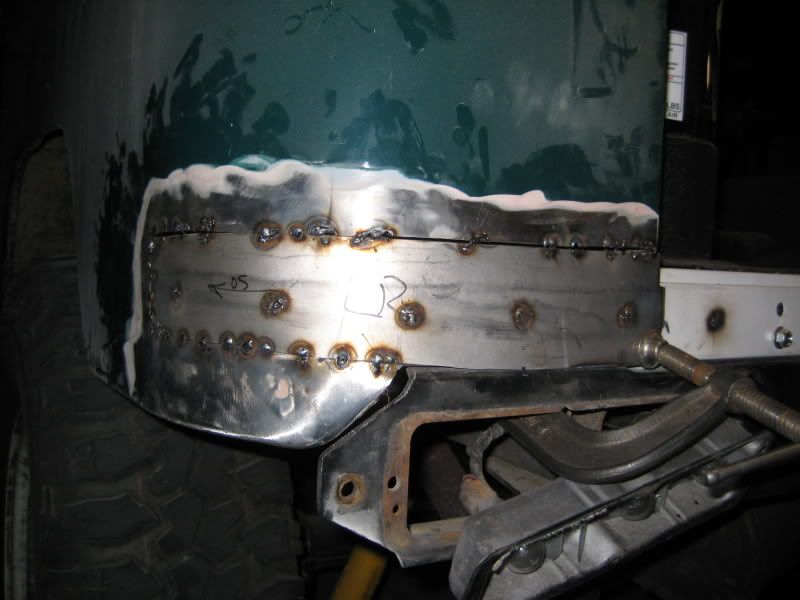
A few things I've learned after my first attempt at body work and painting:
1. I'm not nearly as good at painting as I thought I was.
2. "Pretty good" is not good enough in the world of body work. As soon as you paint, all the imperfections are spotlighted.
3. Finding a sweet spot between paint thickness, spray pattern and PSI is a complicated science.
4. Repainting only the section around the patched area yields less than optimal results.
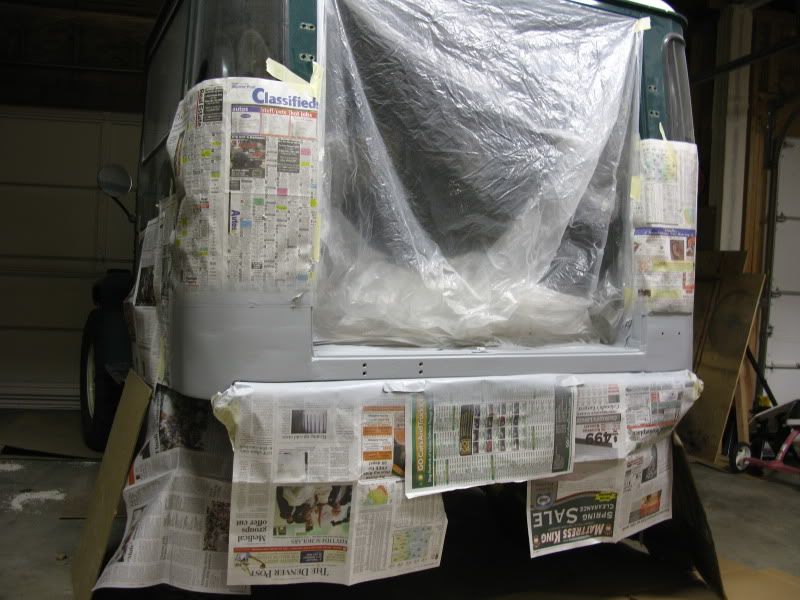
Since these panels have other rust and imperfections, I wasn't trying to make this fix "show quality." But the perfectionist in me is having some trouble with the finishing work. I'm going to try and rough up the paint (both the new paint and a bigger section of old), and clean it up tonight. Good news is that I'm basically done (finally).