• RS MAY CLUB MEETING
    Hi Guest: Our monthly RS meeting on Wed. May 1st will be held at the Rooney Sports Complex. Details and directions are here. Early start time: 7:00 pm. to take advantage of daylight. We'll be talking ColoYota Expo and Cruise Moab.
    If you are eligible for club membership, please fill out an application in advance of the meeting and bring it with you.

Yikes! This might be a more than a one afternoon project!

Rzeppa

Rising Sun Member
Joined
Aug 24, 2005
Messages
8,242
Location
Kittredge CO, USA
This is gonna be the trickiest part because the front spring hanger attaches in front of that body mount boss. Gotta get that part righ, yet it has the least clearance from the muffler. On my back, underneath there, I pondered how much work it would be to remove the xhaust for better access. Um, nope, don't wanna go there. That would add WAY more to the scope of this task.

IMG_20240304_203706238.jpg
 

Rzeppa

Rising Sun Member
Joined
Aug 24, 2005
Messages
8,242
Location
Kittredge CO, USA
As Johnny Utah wrote above, I hate Mag Chloride and the rust it causes! I mean, my '76 FJ40 took 2 decades before it got to the point where I had to do serious rust resto. When I got it in 1982, they used regular sodium chloride, table salt. But noooo, we have to make the roads safe for idiots who don't have capable vehicles or know how to drive in the snow! Since it's first life in Arizona, this truck has only been in Colorado 13 years and look at what CDoT has done! At least the '76 only had body rust, not frame rot like this! Grrrr :rant:
 
Last edited:

KC Masterpiece

Hard Core 4+
Joined
May 4, 2019
Messages
1,334
Jeff really sorry to see that much rust. Glad you can handle it in house.

If I was still closer I would bring my bore scope over. I ran that through the whole frame to make sure nothign else was hiding in there.
 

Rzeppa

Rising Sun Member
Joined
Aug 24, 2005
Messages
8,242
Location
Kittredge CO, USA
Jeff really sorry to see that much rust. Glad you can handle it in house.

As you might imagine I have been thinking you and what you had done to your 60 recently. It definitely would be a lot easier if I had this up on a lift like yours was done instead of lying on my back to work on the inside parts, but I have the left rear corner up on a hilift (with wood landscaping tie chunks and a jack stand under the left rear frame just in case something happens with the hilift).

I plan to use the same technique your guys used, cut out all the rot and replace with new metal. I am super-glad this is on the left side instead of the right side, which I repaired 8 years ago. That was such a PITA because of the brake and fuel lines running along there. I had to fabricate a heat shield to keep those lines safe. The gotcha on this side is the tight clearance next to the muffler.

I have also previously repaired the round crossmember (cut each end and then sleeved each end), and the rearmost crossmember was completely replaced by the 4x4 Labs rear bumper.
 

KC Masterpiece

Hard Core 4+
Joined
May 4, 2019
Messages
1,334
Jeff are you considering fluid film inside the fame rails? I am planning to do that on mine. Good to see the metal looks good where you have cut it back.

You started on project and now you have two!
 

Rzeppa

Rising Sun Member
Joined
Aug 24, 2005
Messages
8,242
Location
Kittredge CO, USA
Well, I got the first piece welded in last night. I spent a good bit of time vacuuming the dust off my welder, it's been a couple years since I last used it, and between woodworking and metalworking I generate a lot of dust in that garage.

Man I hate welding on my back! :weld:

IMG_20240307_210156939_HDR[1].jpg
 

Rzeppa

Rising Sun Member
Joined
Aug 24, 2005
Messages
8,242
Location
Kittredge CO, USA
Jeff i have had good luck cutting heavier steel with a 4-1/2" angle grinder and 1/16" cut off wheels from harbor freight. I think you will find it much quicker than a die grinder.

I've never seen a 4.5" wheel that thin, I should check that out. I have also used a sawzall on thicker steel, and I have a chop saw too. What would make this really quick would be a plasma cutter, but I don't do enough to make the cost worthwhile.
 

DaveInDenver

Rising Sun Ham Guru
Joined
Jun 8, 2006
Messages
13,084
Location
Grand Junction
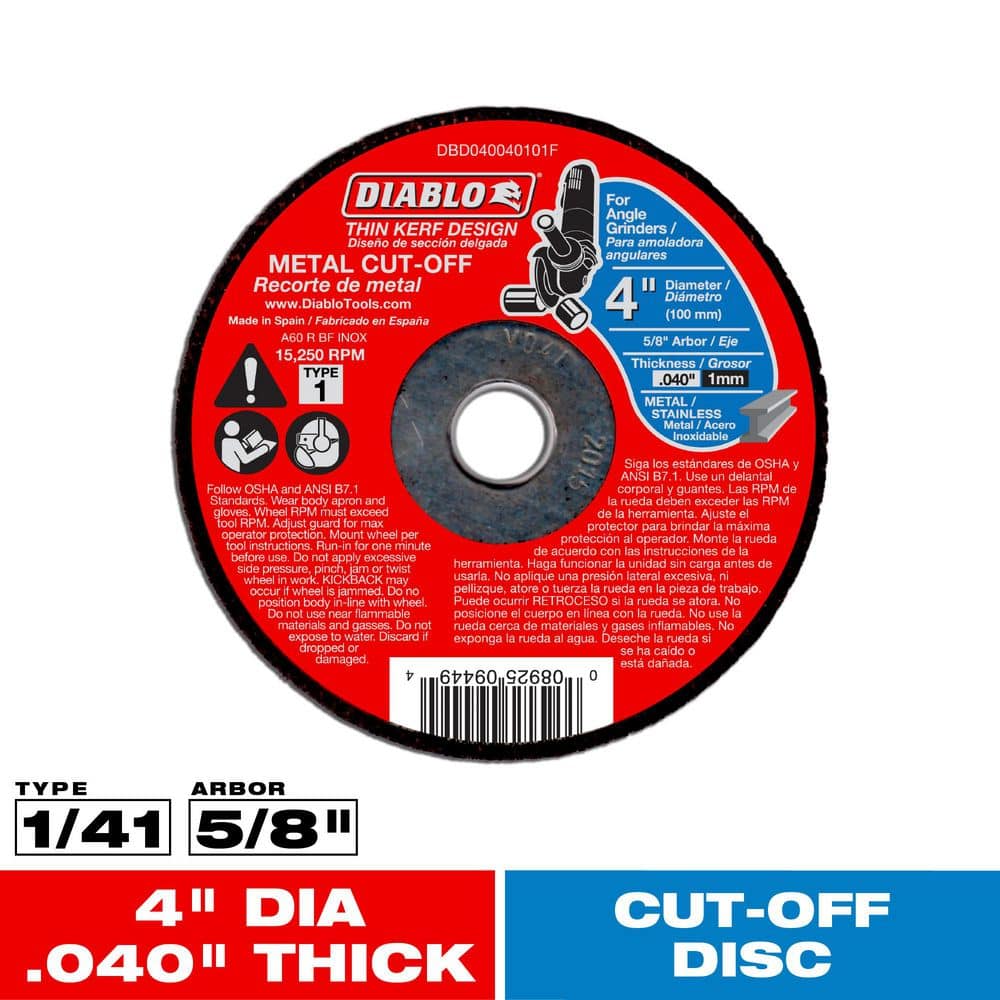
Diablo makes a 0.040" thick angle grinder cut-off. It's a 4" wheel for 5/8" arbor.


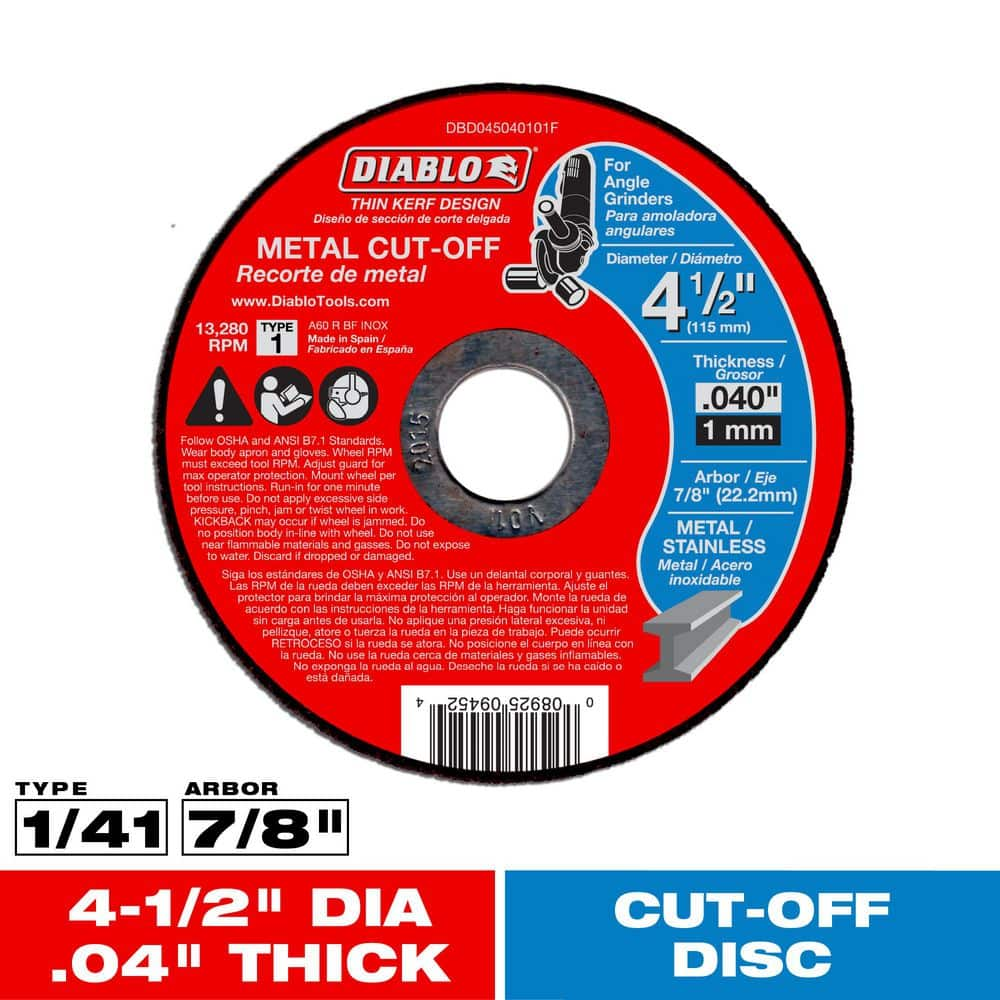
They also make a 4-1/2" one for a 7/8" arbor.


Please use the guard with these! Don't want anyone splitting their face open.

They also have 3/64" kerf and 1/16" kerf cut-off wheels that are more mechanically robust. I kinda thought 1/16" was the normal thickness for an angle grinder cut-off wheel?
 
Last edited:

Rzeppa

Rising Sun Member
Joined
Aug 24, 2005
Messages
8,242
Location
Kittredge CO, USA
I got a late start and didn't get a lot done last night. I used a piece of cardboard to make a stencil, then laid it on the metal stock and marked where to cut. Switching to a 1/16" wheel really sped things up.

IMG_20240308_214552683[1].jpg
IMG_20240308_215851387[1].jpg
 

Rzeppa

Rising Sun Member
Joined
Aug 24, 2005
Messages
8,242
Location
Kittredge CO, USA
Hey Mike, that was a great suggestion. I picked up a couple of super-thin 0.40" 4.5" wheels at Ace this morning and they cut way faster than the 3" 1/16" on the air die grinder!


IMG_20240310_112629260.jpg
 

Rzeppa

Rising Sun Member
Joined
Aug 24, 2005
Messages
8,242
Location
Kittredge CO, USA
Laying the original cardboard template over the part showed where I had to continue to shape it. Thank goodness it was all removing steel instead of starting over because I cut too deeply.

IMG_20240310_161346579.jpg
 

Rzeppa

Rising Sun Member
Joined
Aug 24, 2005
Messages
8,242
Location
Kittredge CO, USA
I got it welded in, too tired for pictures tonight. It was a bunch of work getting the magnets to hold it just right before I started welding. Anyone else have fun with their magnets keeping their stuff line up before they stroked a spark? Vise Grips are good when you can get the angle.

Working on my back is tiring! I got little burns all over my chest before I figured out I need to put an old leather coat over me my chest, but I figured that out too so all good. I estimate this is piece two out of around 5 pieces before I can weld the spring hanger back on.

Yowza. definitely more than one afternoon!
 

Rzeppa

Rising Sun Member
Joined
Aug 24, 2005
Messages
8,242
Location
Kittredge CO, USA
Last night's work - not anywhere near as pretty as those TIG welds in the picture that Steve posted in the random pictures thread, but decent penetration. Tonight with be the 3rd and last piece of the inside frame rail before starting on the outside frame rail.

IMG_20240311_201708930.jpg
 
Top