
HoneyBadger
Rising Sun Member
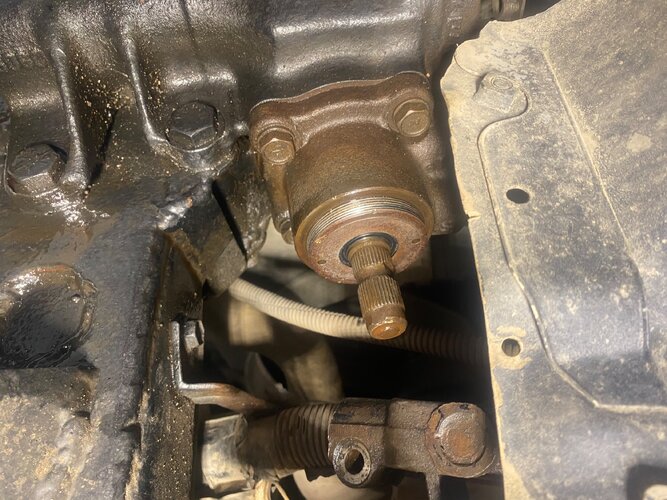
Recently noticed my steering box was hemorrhaging power steering fluid.
Seemed to be coming from the small seal on the back around the input shaft.
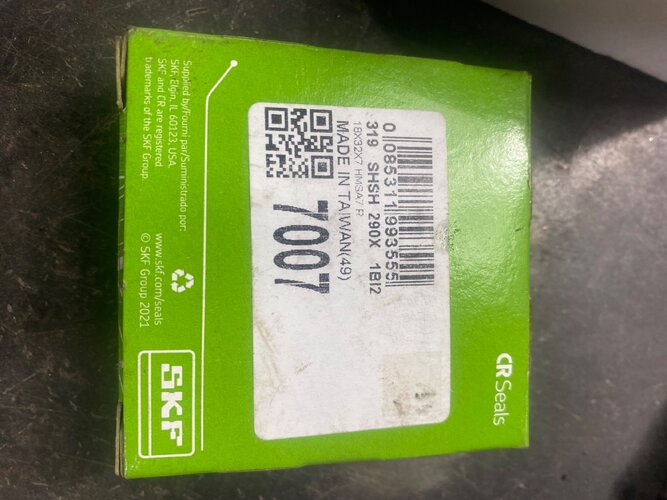
Turns out this seal is readily available.
It’s part number 7007 at Napa. It’s listed as being the power steering pump shaft seal for the 1989-1992 Toyota Cressida. (Yeah, look that one up.)
Anyways…
My application was pretty easy because the access to the steering box is so readily available through my driver side wheel well. This steering box is from a late 80’s-early 90’s IFS pickup/4-runner. It’s my understanding that this seal also fits the 80 series Land Cruisers as well.
I don’t remember exactly what my steering box came out of, as I bought it from Bill Morgan years ago and it had been sitting in his basement for an eternity. So who knows for sure.
I got the two different types is spanner wrenches needed for this job off of Amazon.
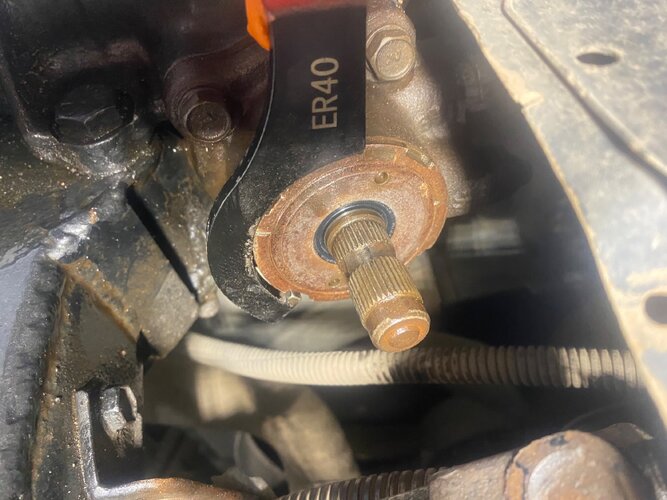
First this typical spanner wrench to remove the outer ring nut.
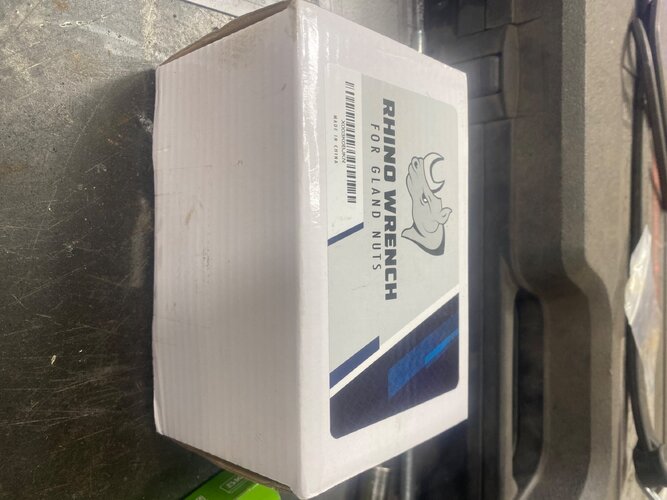
And then this pin spanner wrench “for gland nuts”.
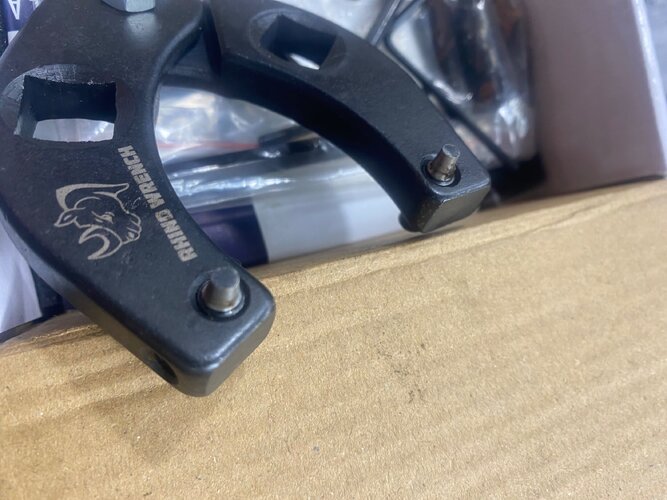
The smallest pin size in the kit was still too big for the holes. But I liked the overall design and heavy duty nature of the tool, so I decided to keep it and I turned the pins down to fit.
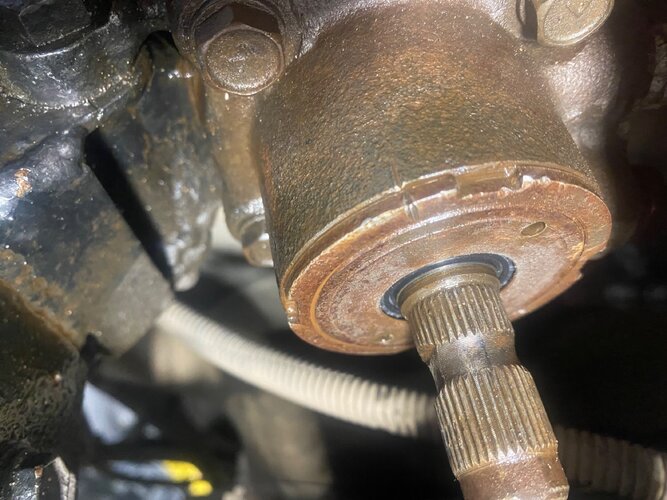
The first step is to take a chisel and make a mark that is on the casing, the outer ring nut, and the inner seal nut.
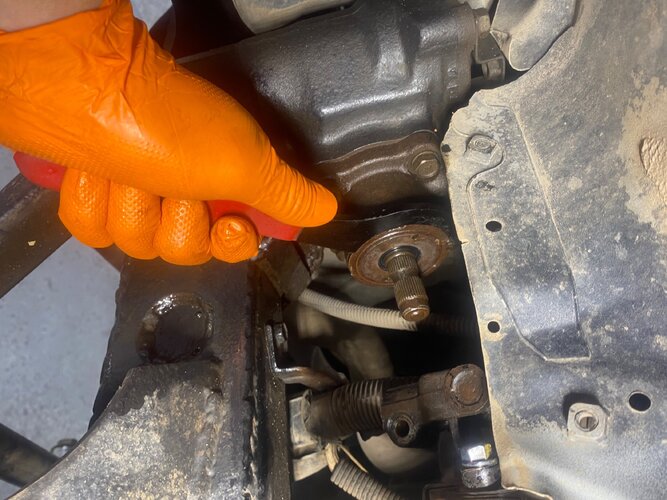
Then, using the ring nut spanner wrench, remove the outer ring nut.
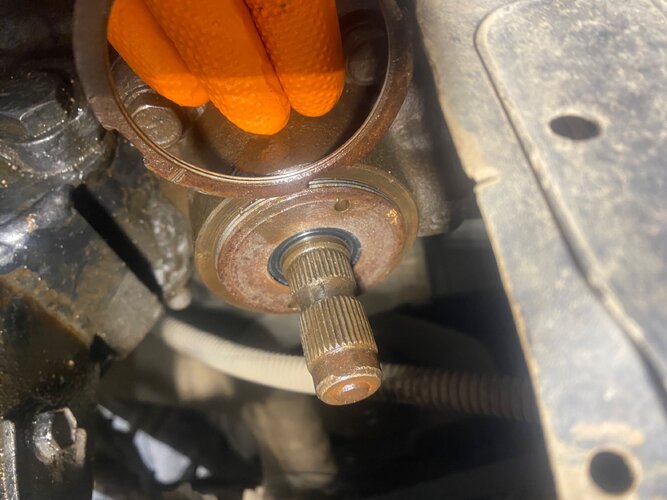
Note that the ring and inner seal nut sit flush with each other. This will be critical later for reassembly when getting the inner nut back down to where it needs to be, rather than counting rotations.
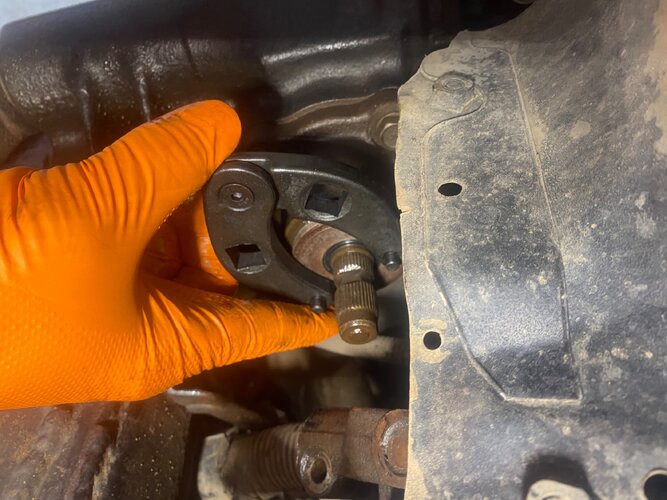
The pin spanner wrench is then used to remove the inner nut.
This is where all the power steering fluid starts draining out all over the place. So have a pan ready.
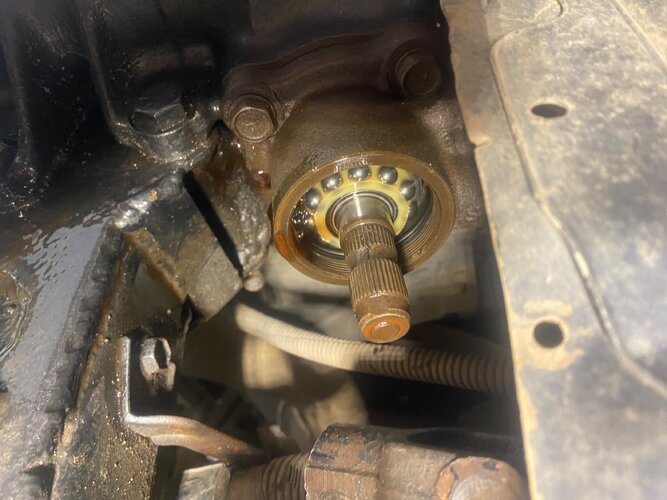
This is what it looks like inside. Don’t disturb the ball bearing.
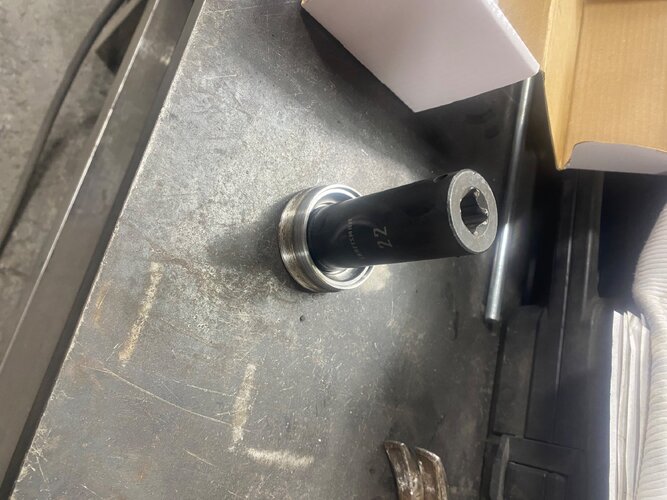
The old seal popped right out. And I used a 22mm socket to set the new one.
Then, reverse order all the steps. At the end, make sure your chisel marks line up, or are at least as close as possible. And you’re good to go.
You’ll need about 3/4 of a quart of ATF (or power steering fluid, which ever one your vehicle uses) to replace the spilled fluid.
(Also, can someone please tell me why all of the sudden all uploaded pictures on the forum are all rotated 90°? This is really irritating.)
Seemed to be coming from the small seal on the back around the input shaft.
Turns out this seal is readily available.
It’s part number 7007 at Napa. It’s listed as being the power steering pump shaft seal for the 1989-1992 Toyota Cressida. (Yeah, look that one up.)
Anyways…
My application was pretty easy because the access to the steering box is so readily available through my driver side wheel well. This steering box is from a late 80’s-early 90’s IFS pickup/4-runner. It’s my understanding that this seal also fits the 80 series Land Cruisers as well.
I don’t remember exactly what my steering box came out of, as I bought it from Bill Morgan years ago and it had been sitting in his basement for an eternity. So who knows for sure.
I got the two different types is spanner wrenches needed for this job off of Amazon.
First this typical spanner wrench to remove the outer ring nut.
And then this pin spanner wrench “for gland nuts”.
The smallest pin size in the kit was still too big for the holes. But I liked the overall design and heavy duty nature of the tool, so I decided to keep it and I turned the pins down to fit.
The first step is to take a chisel and make a mark that is on the casing, the outer ring nut, and the inner seal nut.
Then, using the ring nut spanner wrench, remove the outer ring nut.
Note that the ring and inner seal nut sit flush with each other. This will be critical later for reassembly when getting the inner nut back down to where it needs to be, rather than counting rotations.
The pin spanner wrench is then used to remove the inner nut.
This is where all the power steering fluid starts draining out all over the place. So have a pan ready.
This is what it looks like inside. Don’t disturb the ball bearing.
The old seal popped right out. And I used a 22mm socket to set the new one.
Then, reverse order all the steps. At the end, make sure your chisel marks line up, or are at least as close as possible. And you’re good to go.
You’ll need about 3/4 of a quart of ATF (or power steering fluid, which ever one your vehicle uses) to replace the spilled fluid.
(Also, can someone please tell me why all of the sudden all uploaded pictures on the forum are all rotated 90°?
This is really irritating.)