Almost a week and no update has been posted but that does not mean no progress has been made...
Jeff, I now understand about the center arm. It has not been done yet and is on the short list of projects but definitely needs to wait until after I get through with this one.
Thanks to Subzali, I will be using a knuckle centering tool to make sure I get the correct shims for the 60 series knuckles.
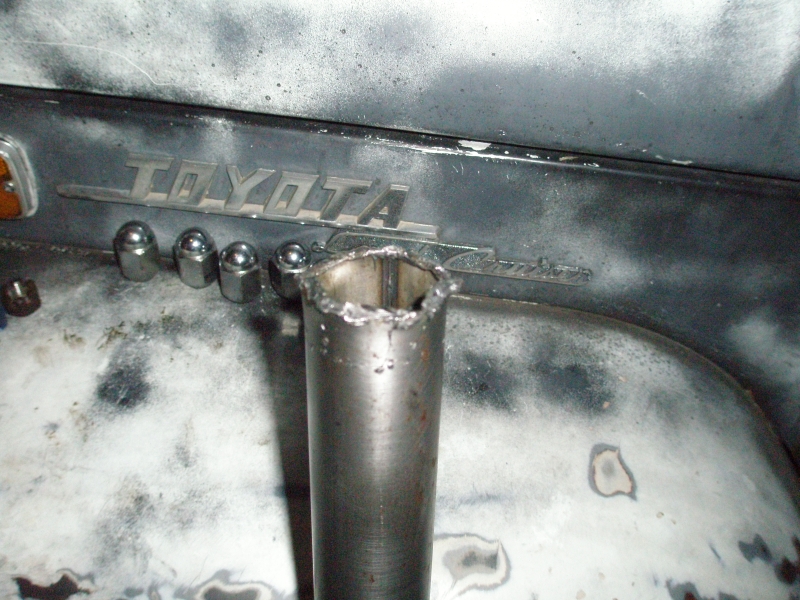
My birfield/axle separating tool worked. The long side axle was really smooth, two drops and it was out. The short side was not soo smooth, but it eventually separated as well. The ends of my pipe are a bit deformed from the ordeal. In my enthusiasm to use the tool, I neglected to really clean out the grease from the birfield housing. That first drop was a messy one.

The FJ60 birfields have been cleaned up. Putting the cage and balls back in is one of the things from the WBPP that Crash helped me with. I took them apart and put them together several times after they were cleaned up so that I am now very familiar with how they go together. Hopefully, it just like learning the rubics cube, i.e. by the next time I have to do it again I will have forgotten.
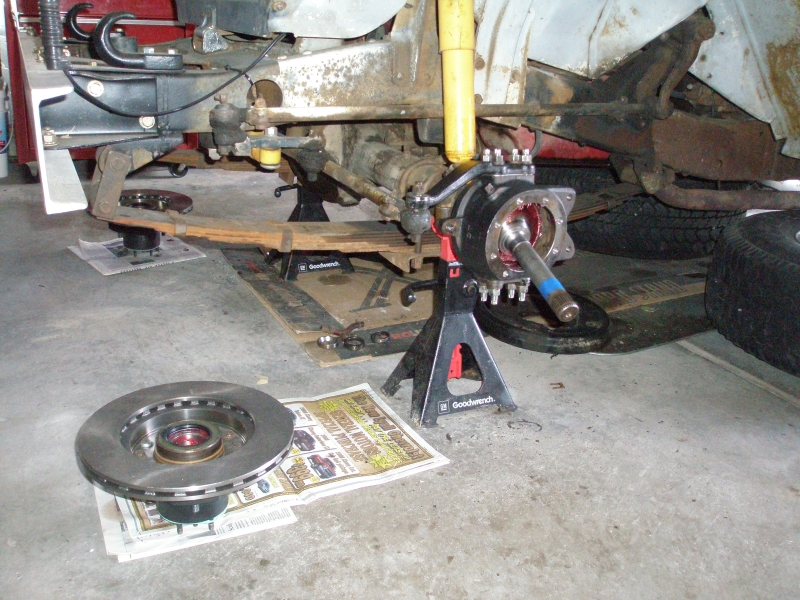
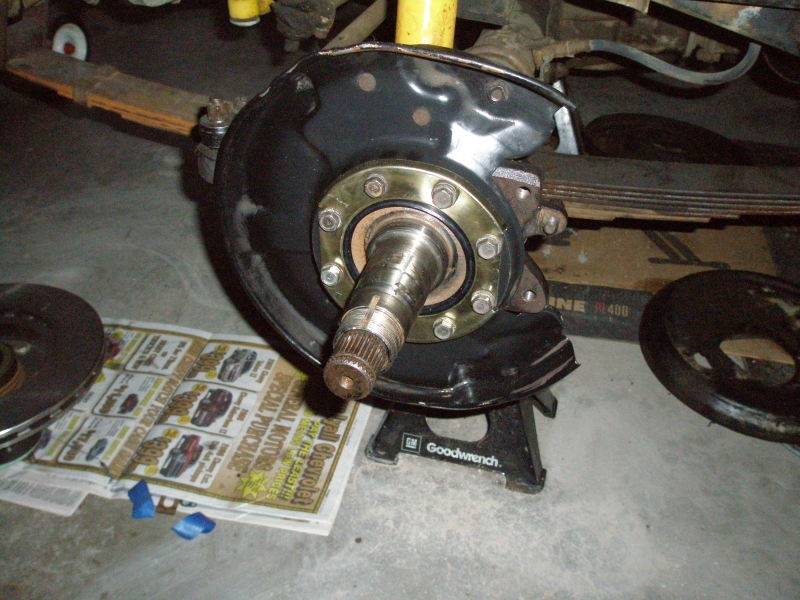
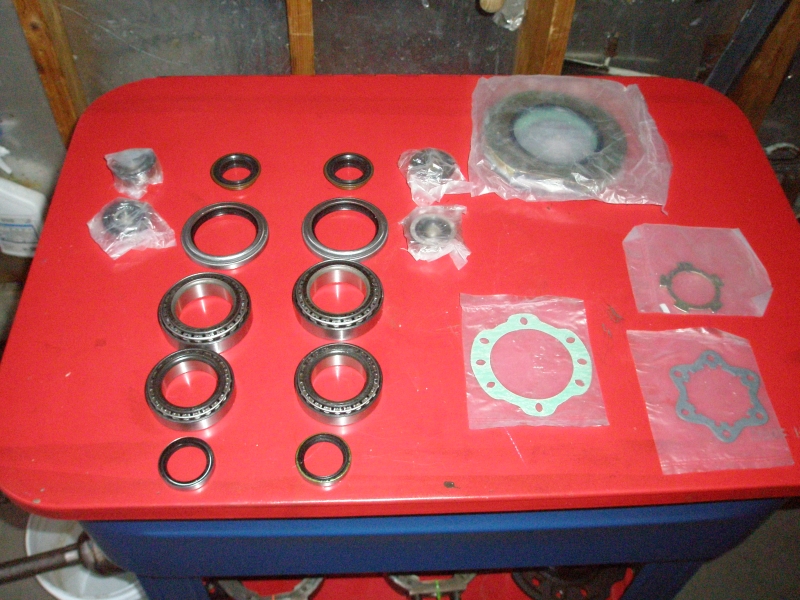
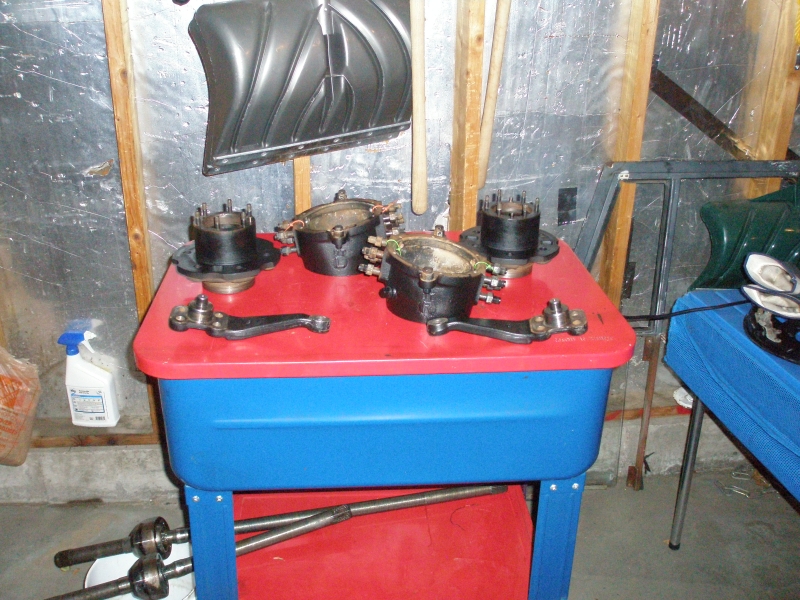
The new wheel bearing races have all been put in place. I used the old races to get them seated. I also have the wheel studs in place. They still need to be fully seated as they have about 1/8" gap. For the last little bit, it will be a two person job; one to hold the housing while the other works the socket to seat the studs firm.
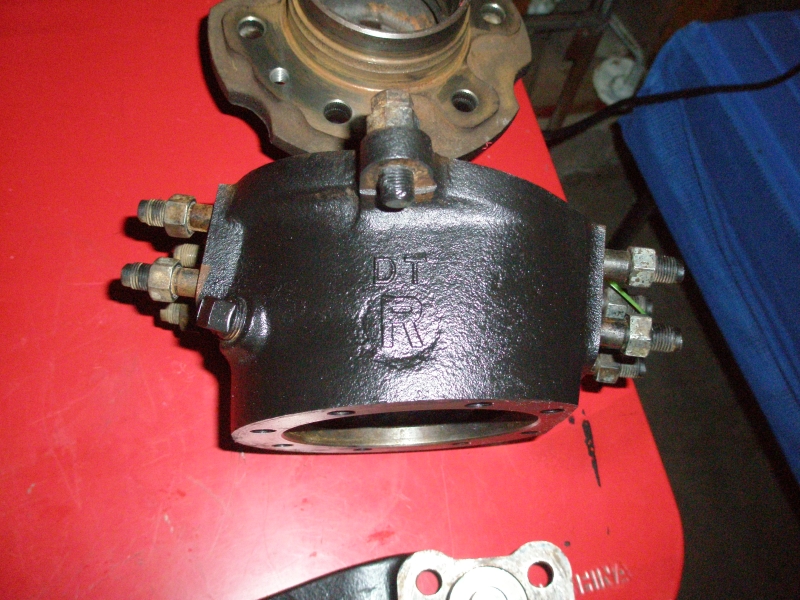
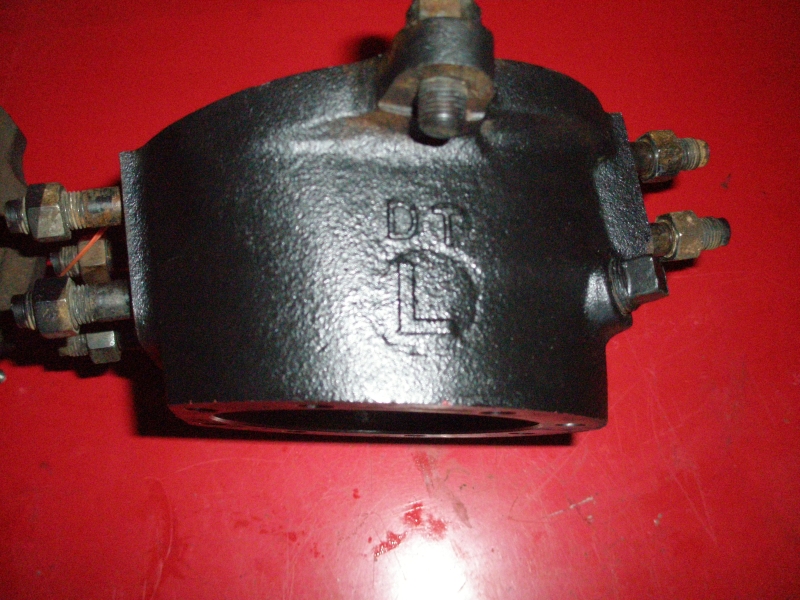
While the knuckle studs on the FJ60 doaner were all in good shape, I went ahead and replaced them with new ones purchased from Toyota. It is one of those things that didn't need to be done, but as long as I was in there it makes sense to go ahead and do. The new studs are nice and shiny and have a torx head so getting them installed was a breeze. A 11/32 socket is just the right size for the torx head.
A technical note here, all threads are being coated with anti-seize as they go back in. Having dealt with snapped bolts because they have frozen in place has made me a firm believer in making sure whatever goes together will also come apart (if needed) without breaking.
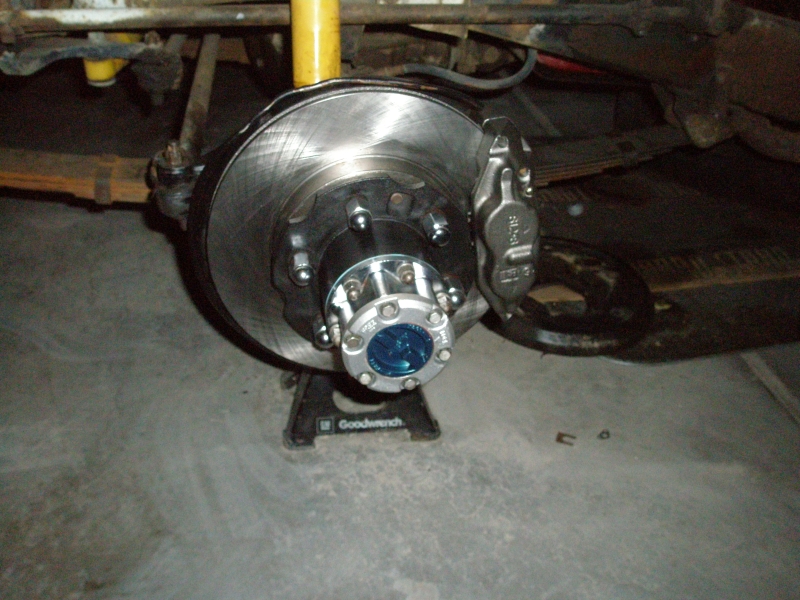
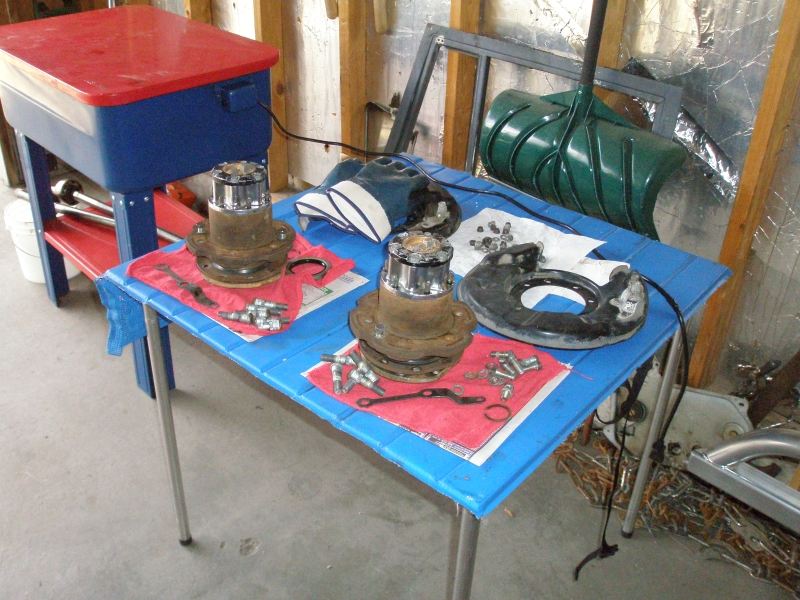
I cleaned up the hub dials, sanded off the old paint, taped them off and put on some new color. It is not a standard issue color scheme, but I like it just fine as the outer ring is color coordinated with my bumper

. While I was at it all the hub internals were taken apart cleaned, greased up and put back together. New o-rings were installed. The hubs are like new.
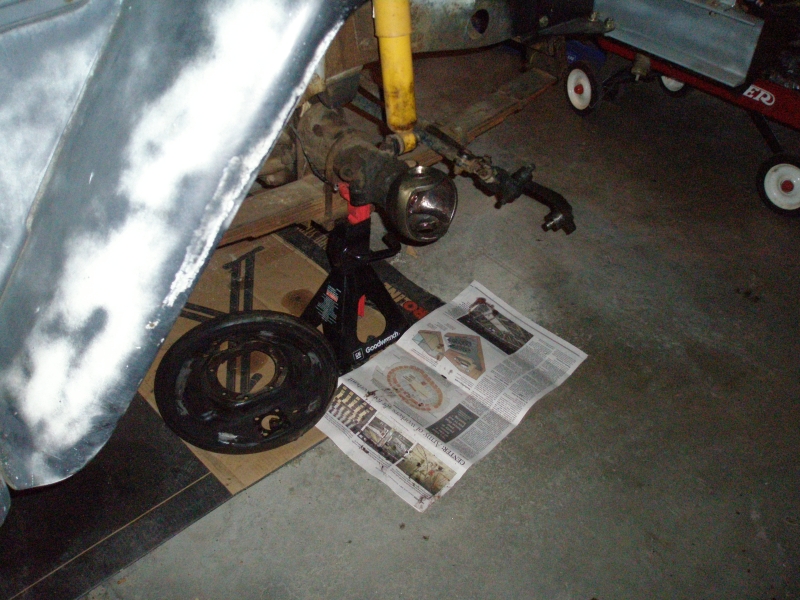
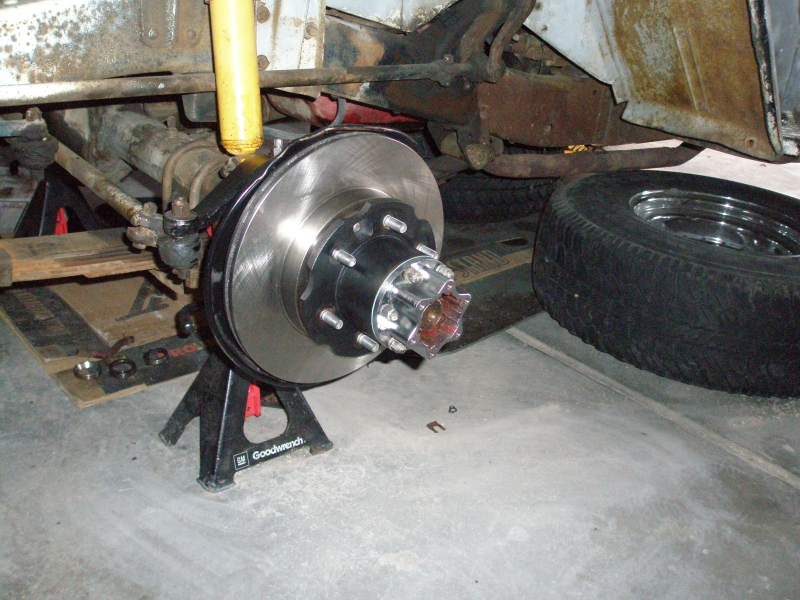
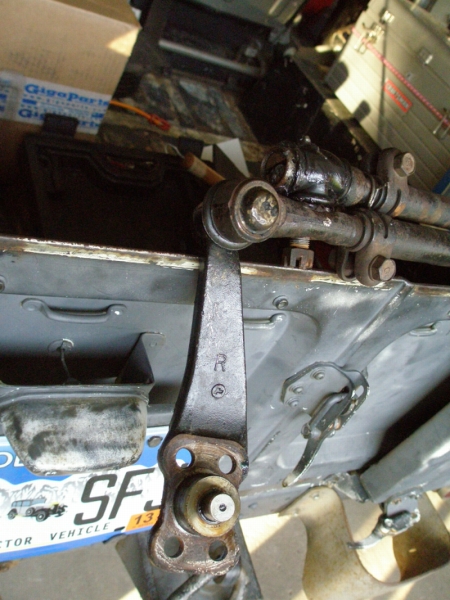
Last night I removed the knuckles and components from the drivers side axle on the FJ40. I'm having a bit of trouble getting the steering arm seperated from the tie rod, so I may end up borrowing Wes's puller. I just can't seem to get my puller to stay in place as it tightens up. Tonight I finished up the passenger side. Here it is ready for the FJ60 parts.
For all that are following and have lent a hand so far, thanks.

 . PM me to arrange getting it, only thing is I (my wife) would appreciate it if you also take the axle housing as well. It should be a bit lighter than when I picked it up, but it is still heavy enough to hold down those jack stands.
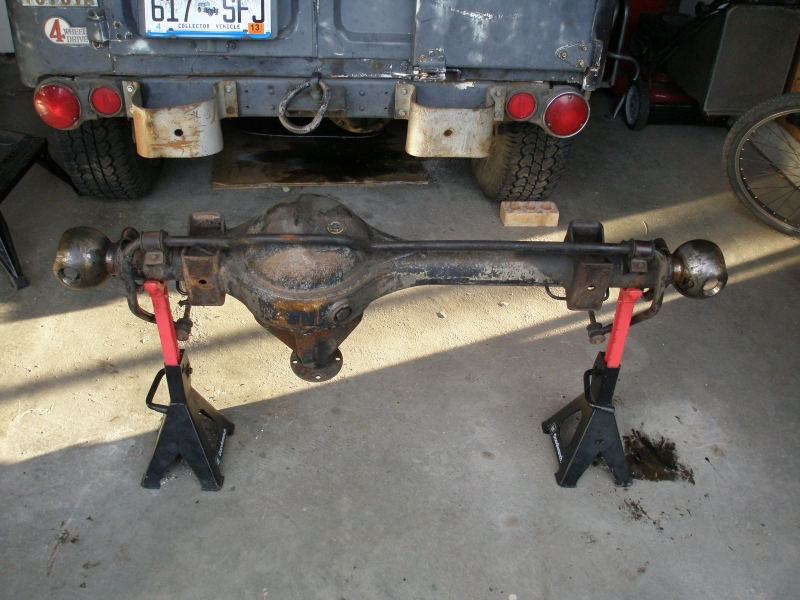


")

")