Aisan Carburetor Rebuild

RicardoJM

Hard Core 4+
Joined
Jul 18, 2007
Messages
2,582
Location
Centennial, CO
A year or so ago, I bid on a couple of parts carbs and rebuild kit on the e-bay. Upon arrival, one of the carbs looked to be pretty much complete and the other was a complete rusted mess. The rebuild kit box was torn up pretty good, but the parts were still in sealed plastic bags. The whole works went into the “someday pile”.

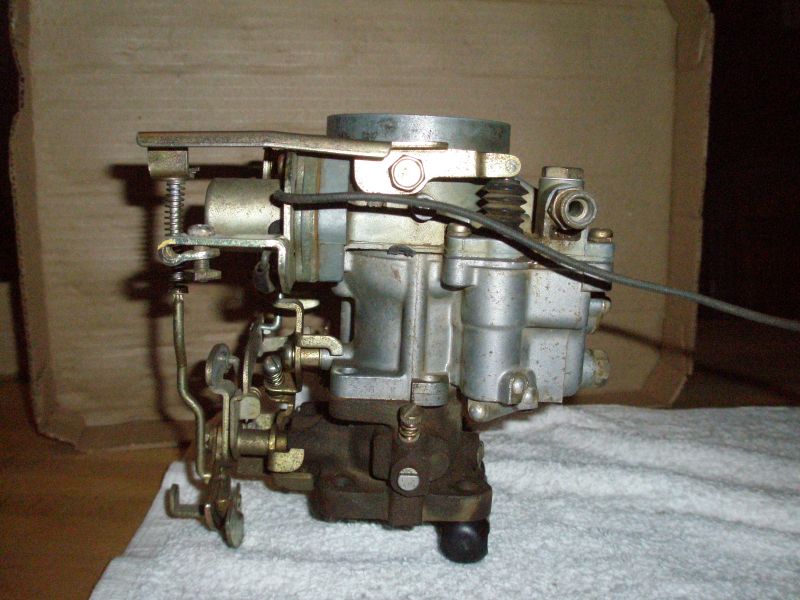
In my continuing quest to learn, I recently rebuilt the carburetor. The starting point is a 1973 Aisan carburetor with a build date code of 2I4 (Sep. 4, 1972) on the air horn. The carb had a tag on it indicating it had previously (at least once) been rebuilt.
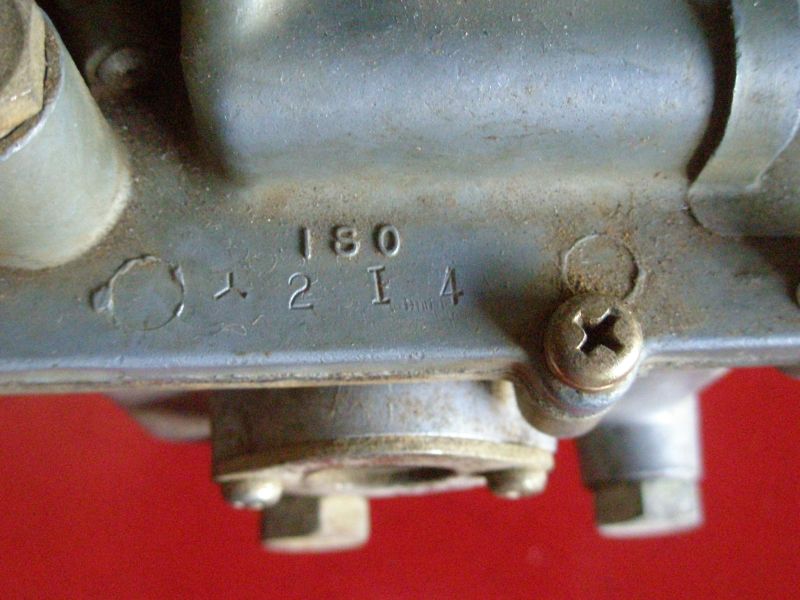
builddate.jpg

start.jpg


If you have the time to research, you will find there is very little about the rebuild process that has not been covered. I found the FSM to be a very useful guide on the teardown process. I also got some very good advice and tips from Martin (MDH33) who has done a few carb rebuilds. I took just under 250 photos during the process and took very detailed notes during the teardown. Even with the large number of photos, as I was doing this write up there are photos of steps/things that I missed. There are a large number of parts and pieces that need to be removed for cleaning. However do not fully disassemble every piece of the carb; butterfly valves and leave and linkage should be kept as intact as possible.
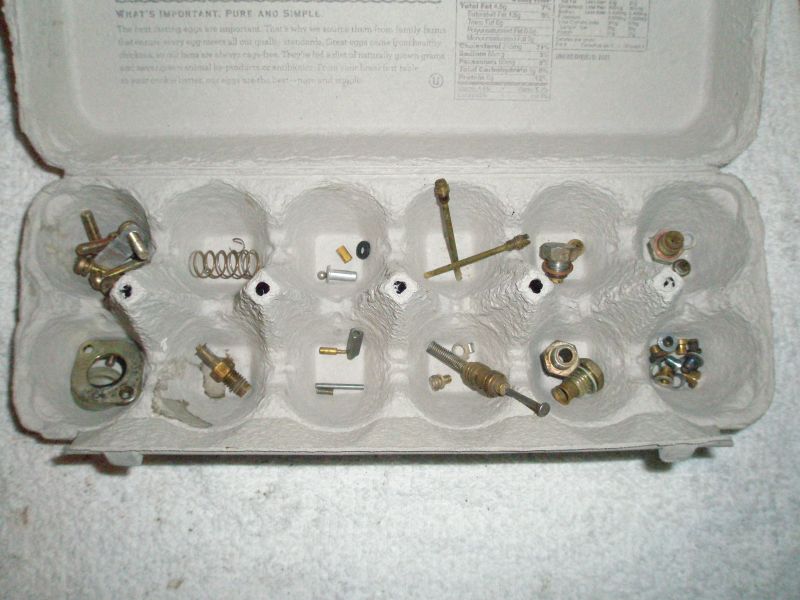
eggcarton.jpg

mainpieces.jpg

secondarypieces.jpg


If the starting point is a working carb, chances are pretty good the rebuild process will be uneventful because all the parts are there. In my situation, I did encounter a couple of parts issues; missing a screw/bolt and the sight glass had a chip. Aside from that the carb I started with was pretty much intact.
 
Last edited:

RicardoJM

Hard Core 4+
Joined
Jul 18, 2007
Messages
2,582
Location
Centennial, CO
Tools and Carb Kit

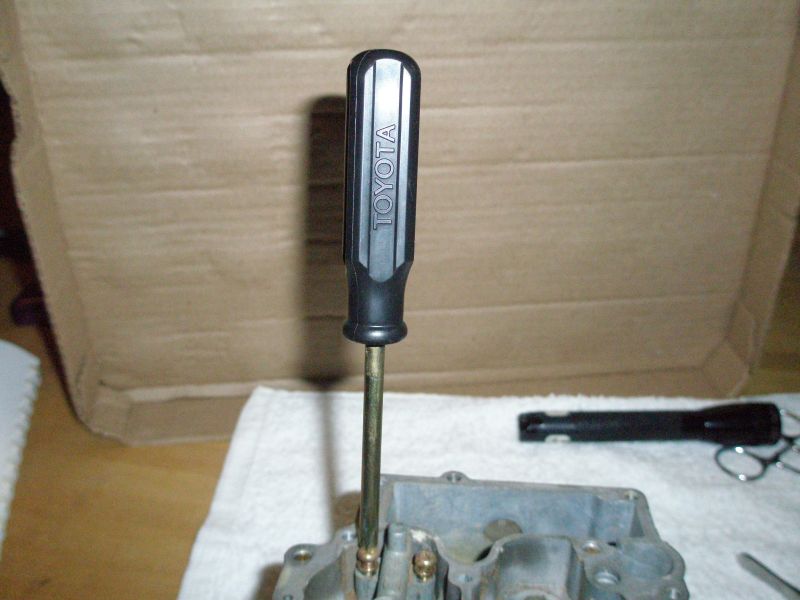
There are a few tools used in the rebuild that come in very handy and might not be in the common tool kit. Forceps and tweezers are very useful for the linkage pin clips and a clip at the bottom of the accelerator pump hole. A magnifying glass is needed for reading the size on the jets. Flat head screw drivers with heads wide and thick enough for the jets heads are a must have. It may take some minor grinder trimming on a couple of flat head screw drivers to get them perfect. A ¼” drive 9mm deep socket is needed to remove the power valve. A small measuring stick comes in handy for setting the level of the float. A Philips head screw driver, 17, 14, 12 and 10 mm wrenches and/or sockets should round out the tools needed. I came across this in the junk yard and could feel the cruiser karma..

UPDATE 12-3-2012: A small impact driver (Harbor Freight special) comes in handy for dealing with stubborn screws.

tools1.jpg


There are varying levels and types of carb kits. The most basic contain new gaskets and seals and the more robust include new components and jets. The kit I used was a Keyster and it came with all the gaskets and many new components; jets, power valve, needle valve, idle mixture screw, accelerator pump, and steel balls.
 
Last edited:

RicardoJM

Hard Core 4+
Joined
Jul 18, 2007
Messages
2,582
Location
Centennial, CO
Teardown Overview

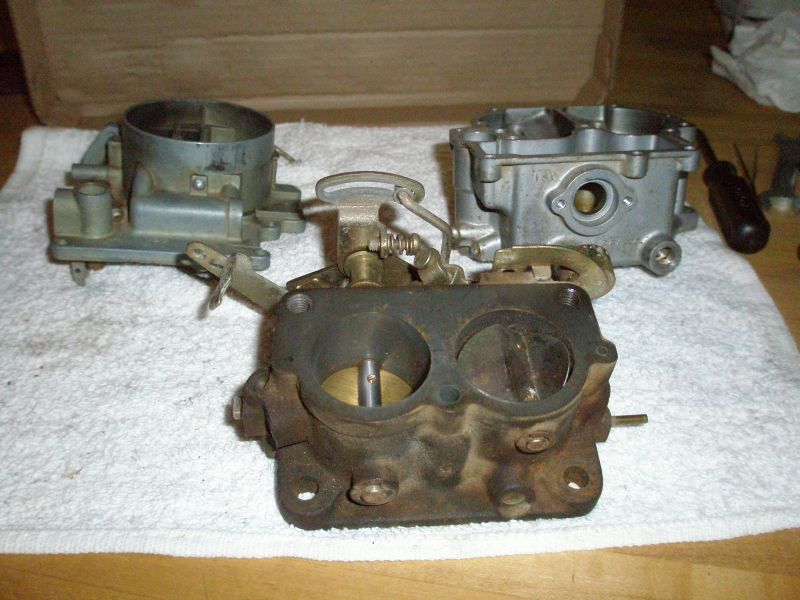
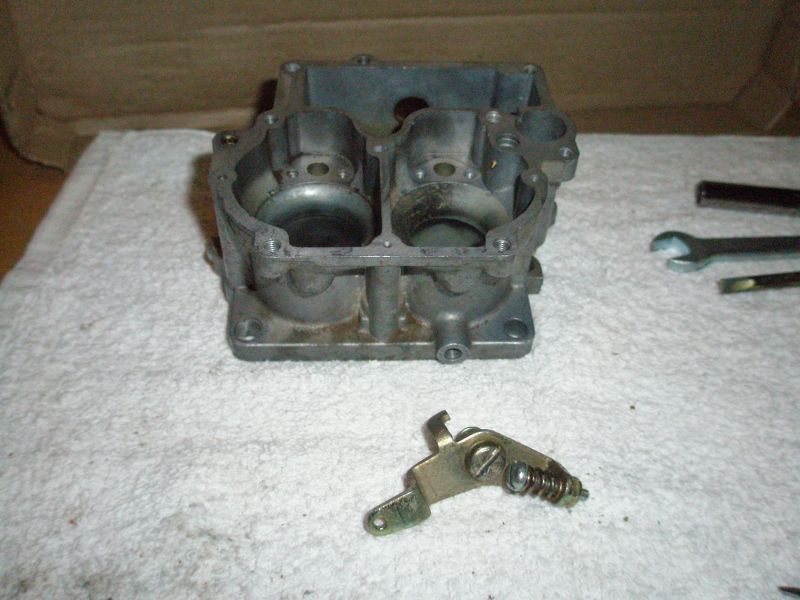
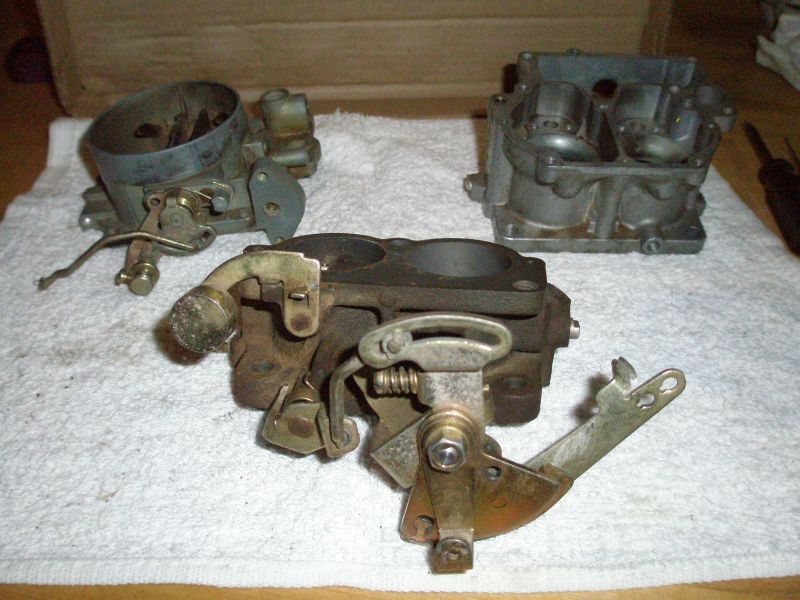
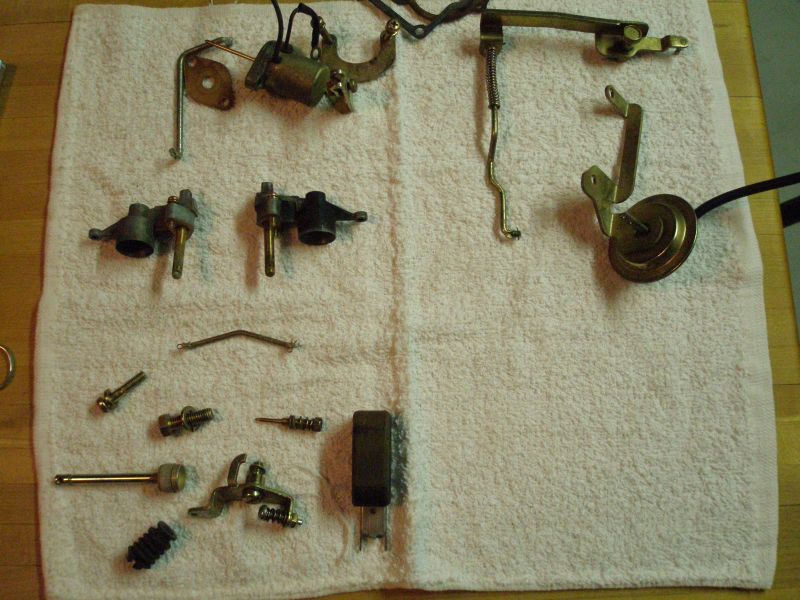
The objective of the teardown is to break down the carb into small enough pieces that they can be inspected and cleaned. When the teardown is completed there are a bunch of really small pieces (stuff in the egg carton picture above) and some miscellaneous larger pieces (stuff on the white towel picture above) and the three main carb pieces; Air Horn (upper left), Body (upper right) and Base (lower center) of this picture.

threemainpieces.jpg


As mentioned above, do not remove and tear down the butterfly valves. The screws that hold the plates to the shaft will be destroyed during disassembly and they are not easy to find. Also, keep as much of the linkage attached as possible. This helps upon reassembly. If the carb needs work in these areas, it might be best to send it off to the professionals.

When progressing through the teardown, everything should be kept neatly organized and together. Taking lots of notes and pictures is appropriate. Some time will pass between teardown, cleaning and reassembly and it is very easy to forget what goes where.
 

RicardoJM

Hard Core 4+
Joined
Jul 18, 2007
Messages
2,582
Location
Centennial, CO
Teardown – Separating the Air Horn from Body

The objective of this step is to remove the accelerator pump lever, remove idle solenoid, disconnect linkages, remove seven screws, remove the choke breaker, and separate the air horn from the body.

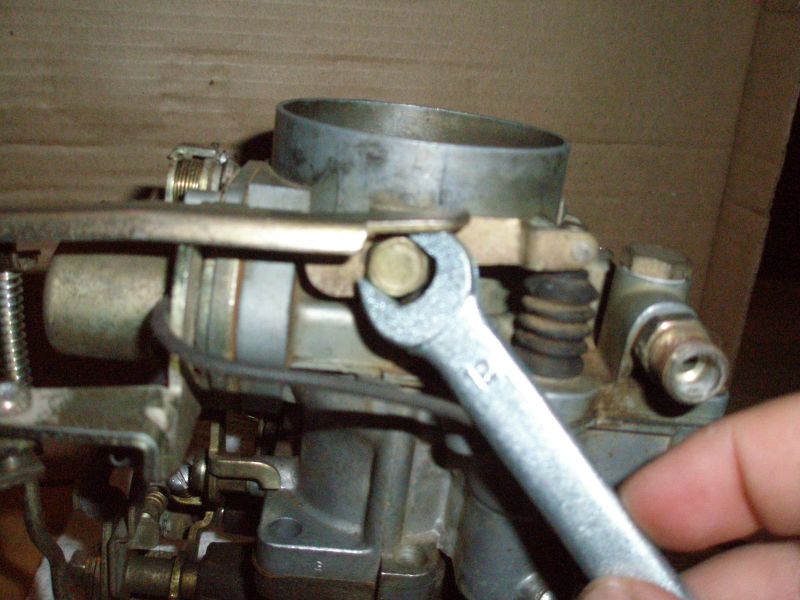
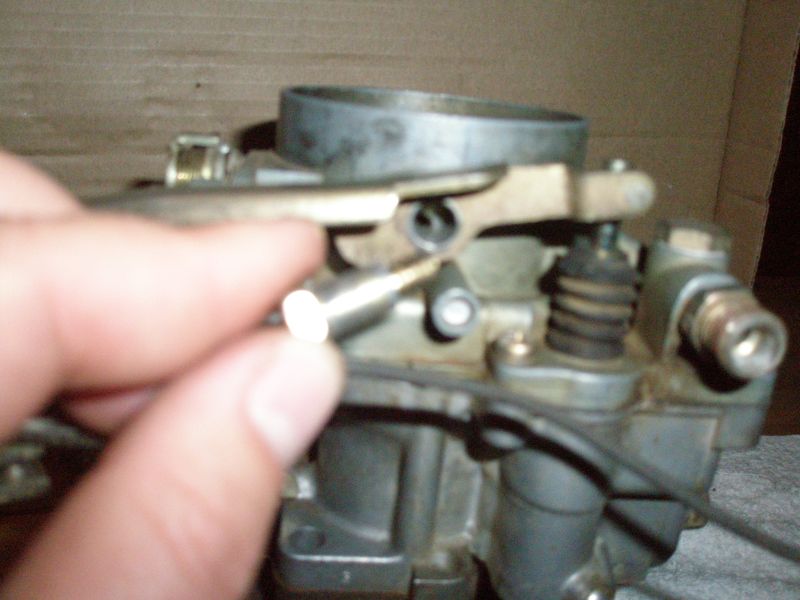
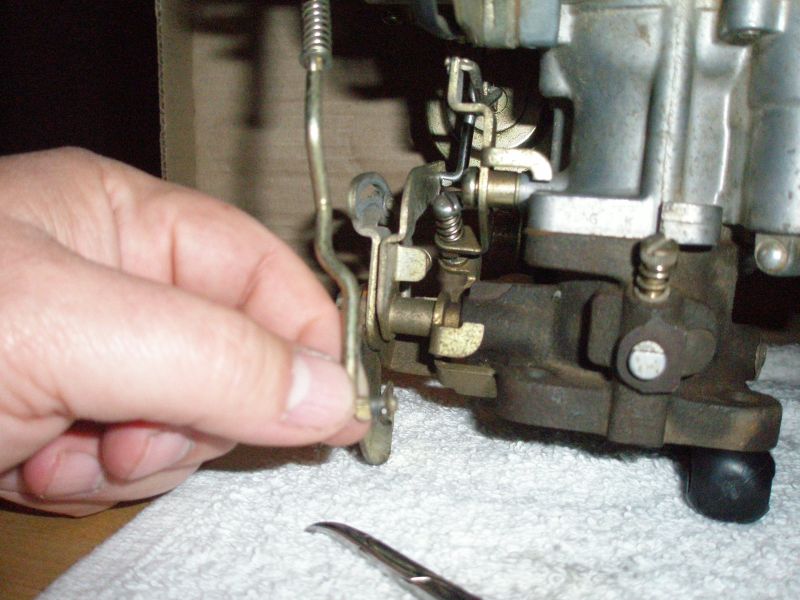
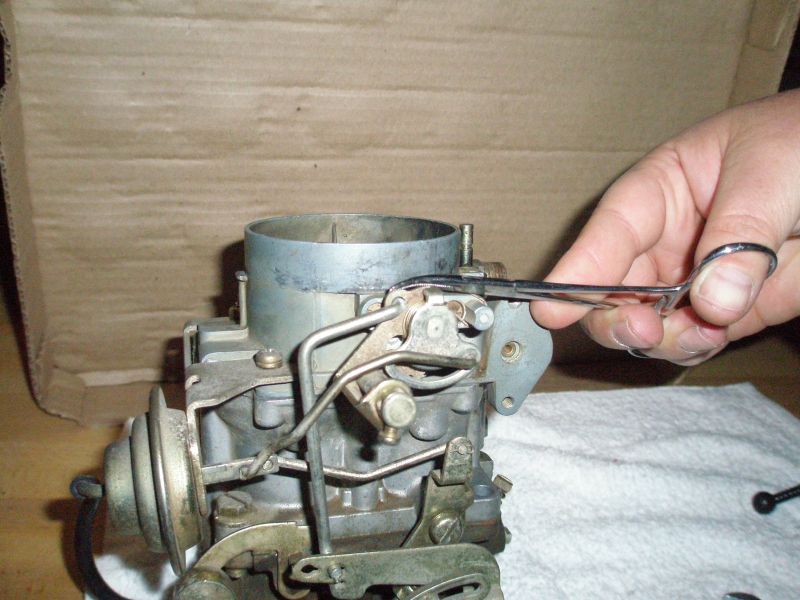
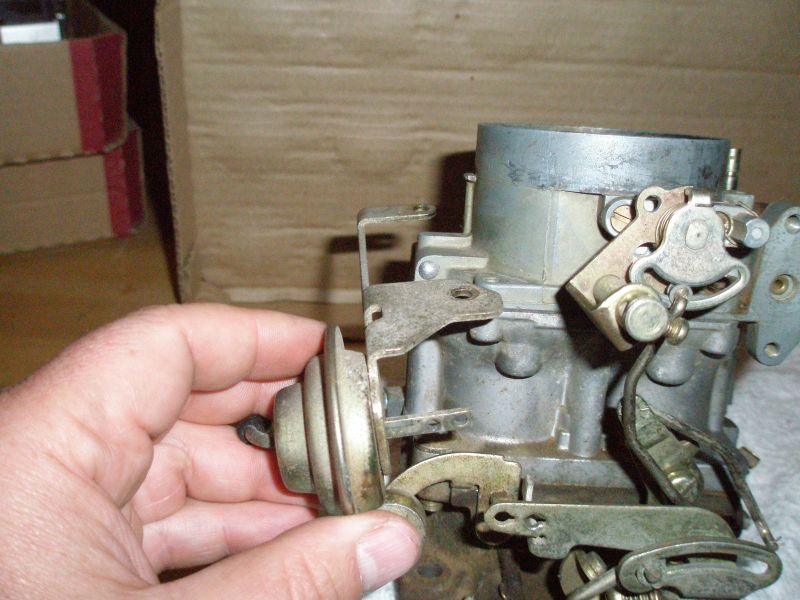
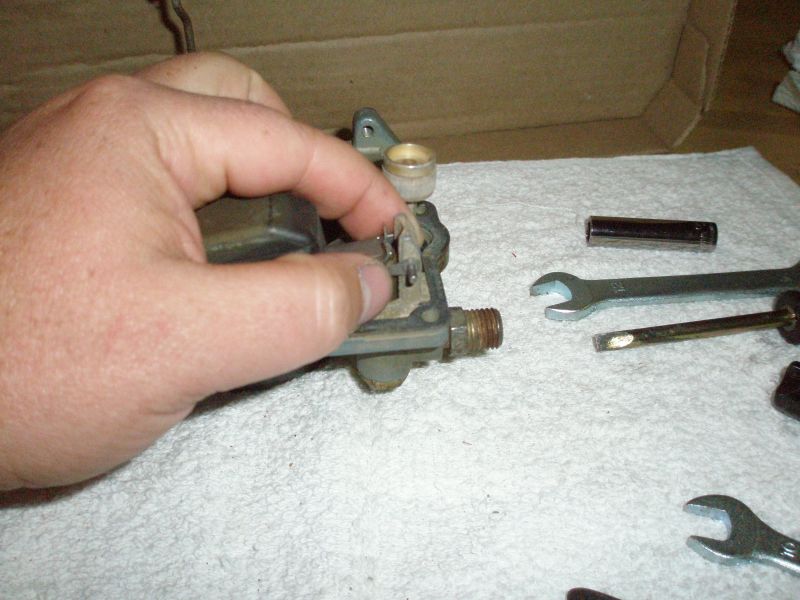
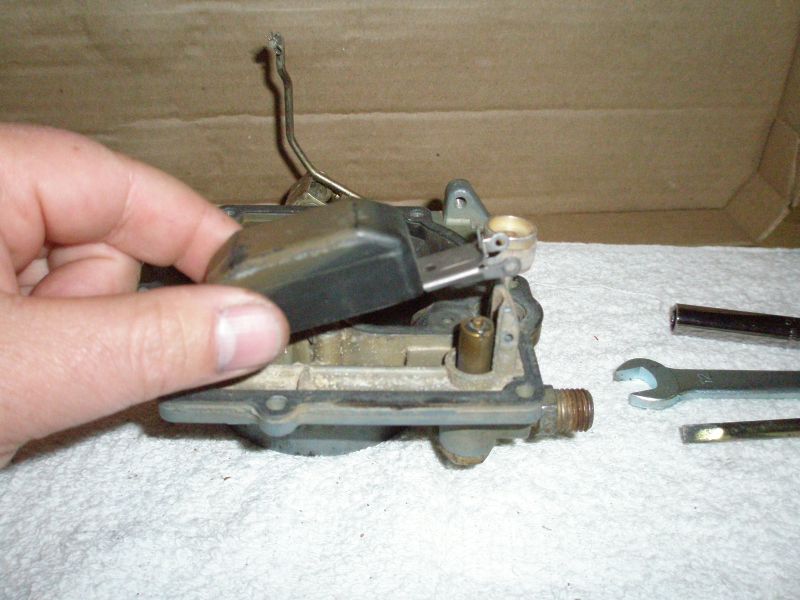
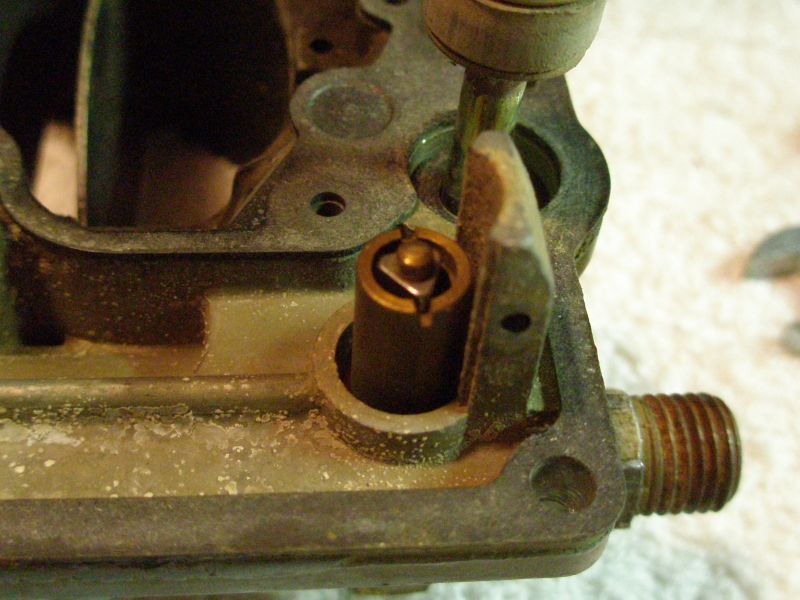
To remove the accelerator pump lever, a 12mm wrench (or socket) is used to loosen and remove the pump lever bolt. Next remove the retainer clip that holds the pump lever rod to the linkage at the base of the carb. Now remove the accelerator pump lever and rod from the carb assembly. It will just slide away to the side.

pumplever1.jpg

pumplever2.jpg

pumplever3.jpg


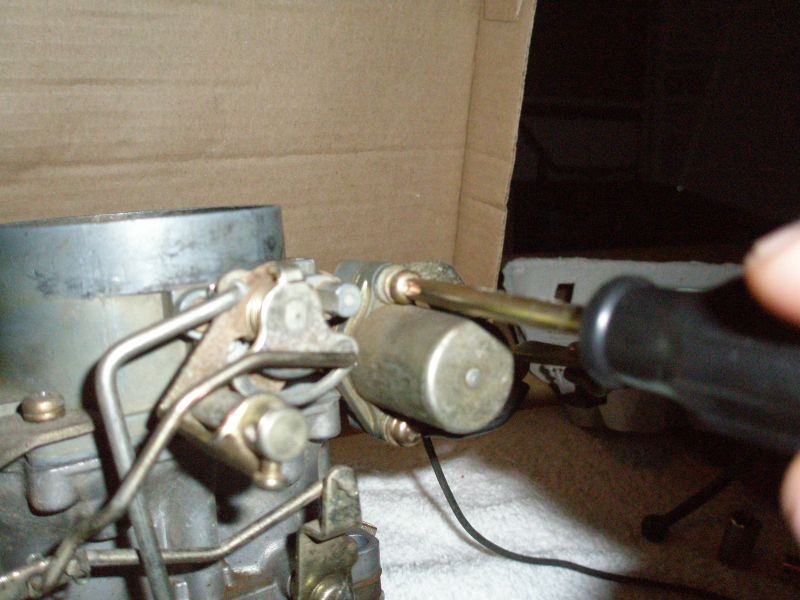
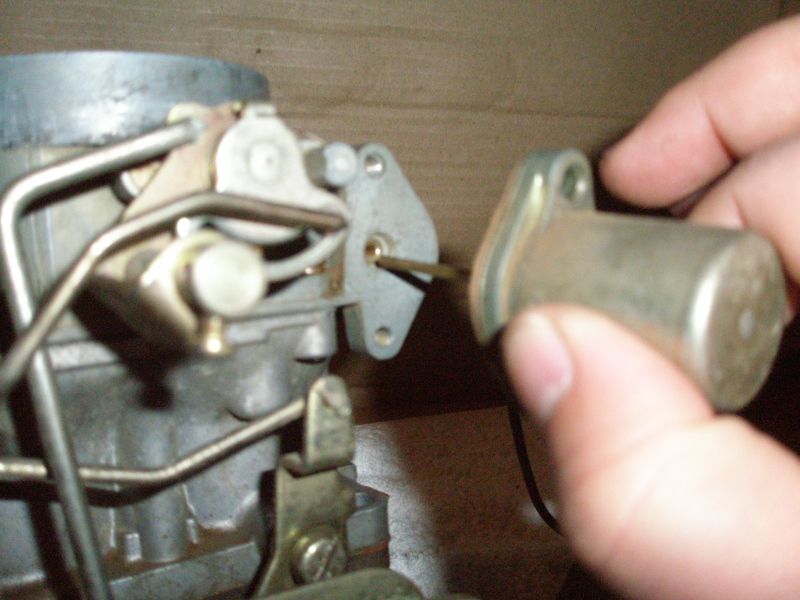
To remove the idle solenoid, remove the two screws that hold the idle solenoid in place. With the screws removed the assembly can be pulled off the carb. There is a gasket between the solenoid and the carb body that is sometimes missing. This gasket will be replaced with one from the rebuild kit.

solenoid1.jpg

solenoid2.jpg


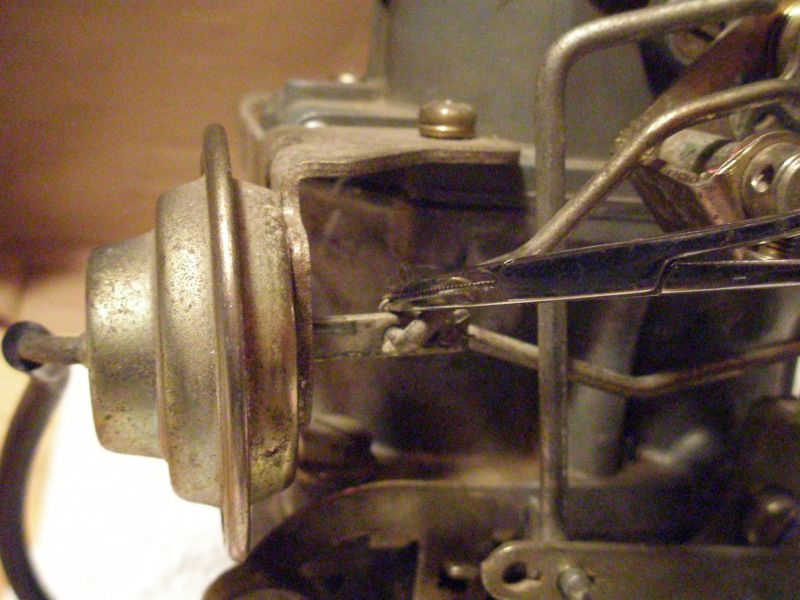
Next remove the retainer clips and two linkages on the choke breaker.
linkages1.jpg


Next remove the retainer clip and one linkage at the top of the choke arm.

linkages2.jpg


With the linkages out of the way, remove the seven screws that hold the air horn to the body. In the left hand side of the first picture four are visible; two of these four hold down the choke breaker bracket and one is holding down a metal tag. In the second the three remaining screws are visible. Remove all of these screws out and set the choke breaker aside. An important note, the choke breaker should not be dipped. The choke breaker should be inspected by applying vacuum to it, if the arm moves in then it is ok.

sevenscrews1.jpg

sevenscrews2.jpg

sevenscrews3.jpg


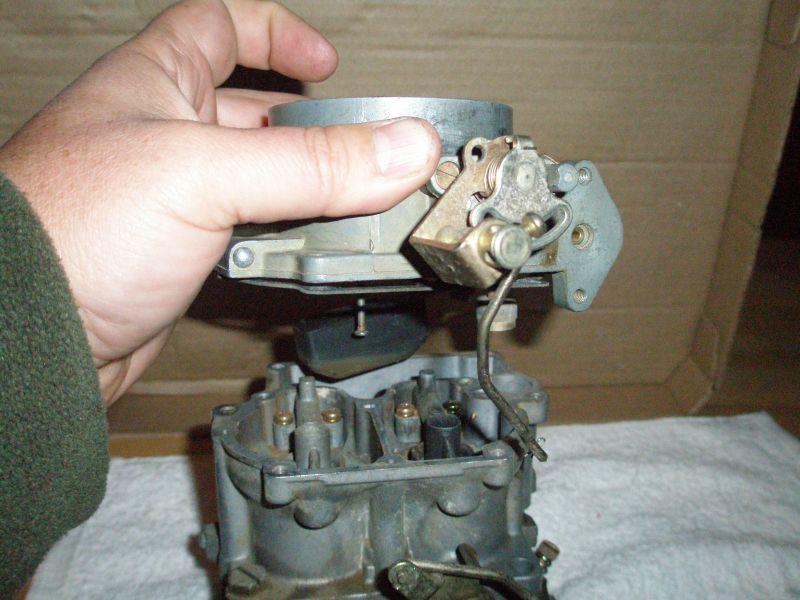
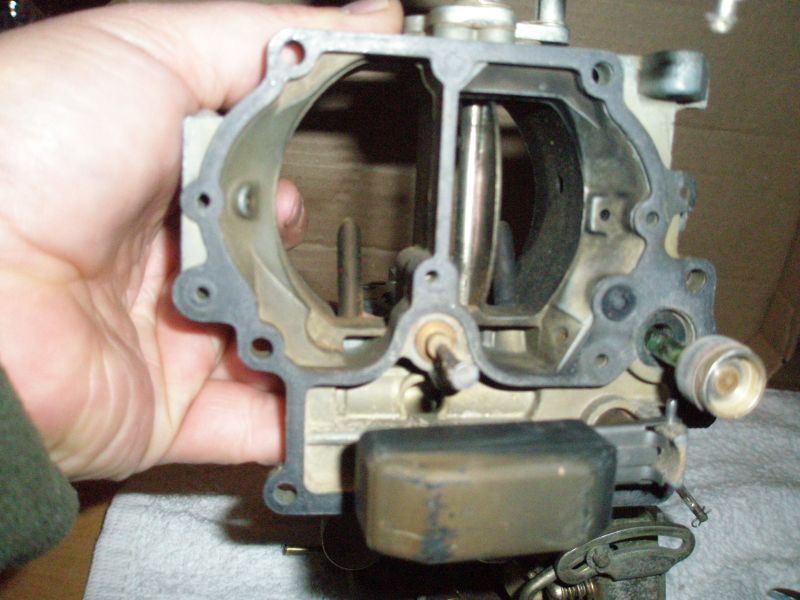
Carefully pull the air horn up and off the carb body. There is a gasket between these two pieces that will sometimes tear. This gasket will be replaced with one from the rebuild kit. Also, there is a washer gasket that should stay on the base, but is often stuck to the gasket. This was the case with me and you can see the washer gasket at 10:00 from the pump.

pullairhorn1.jpg

pullairhorn2.jpg


My carb kit came with many replacement linkage retainer clips, fortunately I did not need to use any of them.
 

RicardoJM

Hard Core 4+
Joined
Jul 18, 2007
Messages
2,582
Location
Centennial, CO
Teardown – Removing the tiny steel balls

There are two small steel balls in the carb; small ball goes in big hole, big ball goes in small hole – recite this often enough and it is easy to remember which ball goes where.

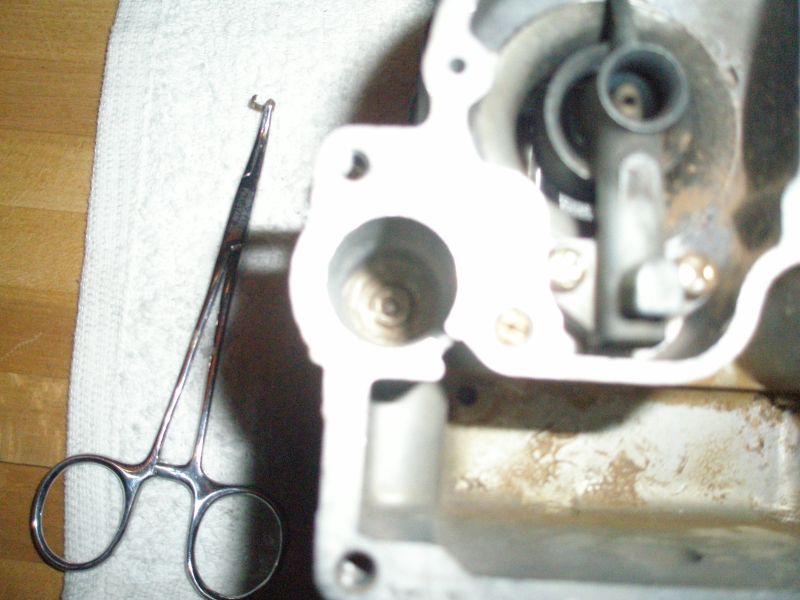
Let’s get the small ball, to do this remove the spring, clip and small ball from inside the accelerator pump hole. The spring should just lift up, the clip is best removed with forceps and the ball should just roll out. Be careful with the ball, it is tiny. On some carbs the ball is really stuck down in there because of old varnished fuel and/or oxidation. These are poor quality pictures, but in the first you can see the hole and the forceps have the clip. In the second you can see the ball sitting at the bottom – it is in there just squint your eyes.

smallball1.jpg

smallball2.jpg


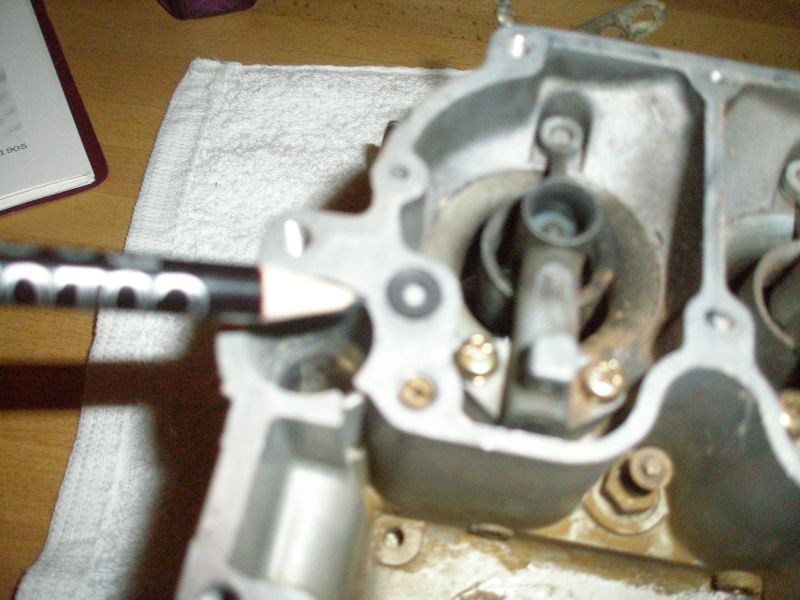
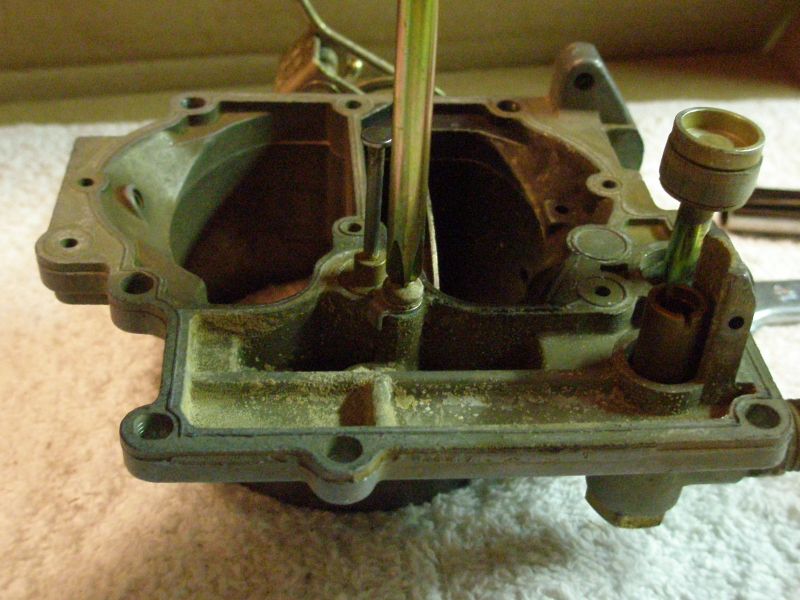
Let’s get the big ball. This ball is hidden very well. To get it remove the gasket/washer, aluminum plug, and discharge weight first and then the ball. In the first picture, the pencil is pointing to the gasket/washer. Remember, sometimes this washer gasket gets stuck to the gasket between the air horn and carb body; that’s where mine was. I put it in its proper place for the photo. This washer gasket will be replaced with one in the rebuild kit.

bigball1.jpg


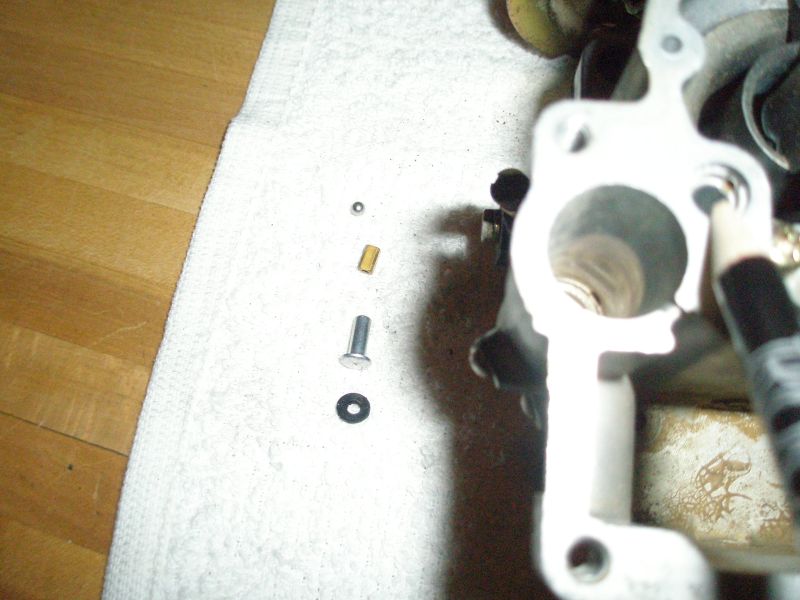
The aluminum spacer should just fall out when the carb is turned upside down – but be careful because the discharge weight and ball will also just fall out. Here again these parts can really be stuck. When everything is out ok, here are the pieces and the order they go in.

bigball2.jpg


The order and orientation of all these parts is important. Together with the accelerator pump they shoot a small jet of fuel into the primary barrel of the carb when you “pump the gas”. It is a really cool thing to see when bench testing the carb. My carb kit came with replacement steel balls.
 

RicardoJM

Hard Core 4+
Joined
Jul 18, 2007
Messages
2,582
Location
Centennial, CO
Teardown – Removing Venturis

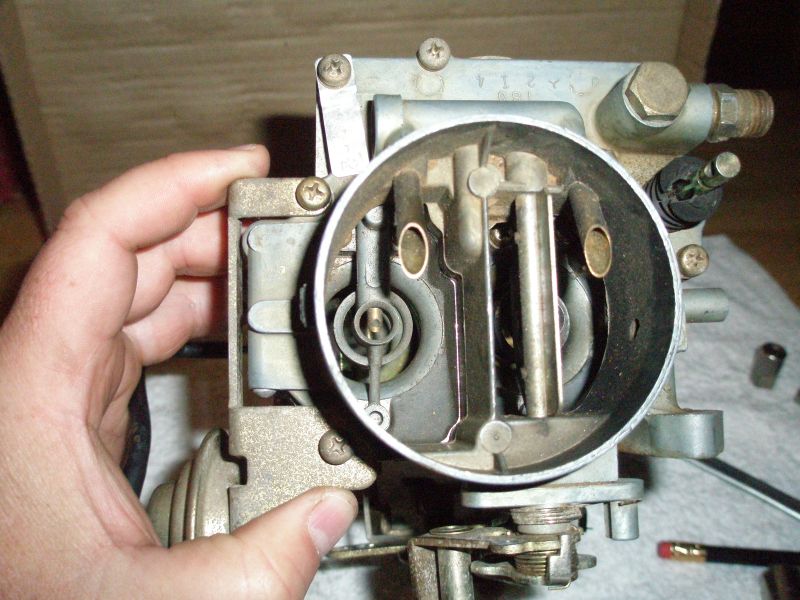
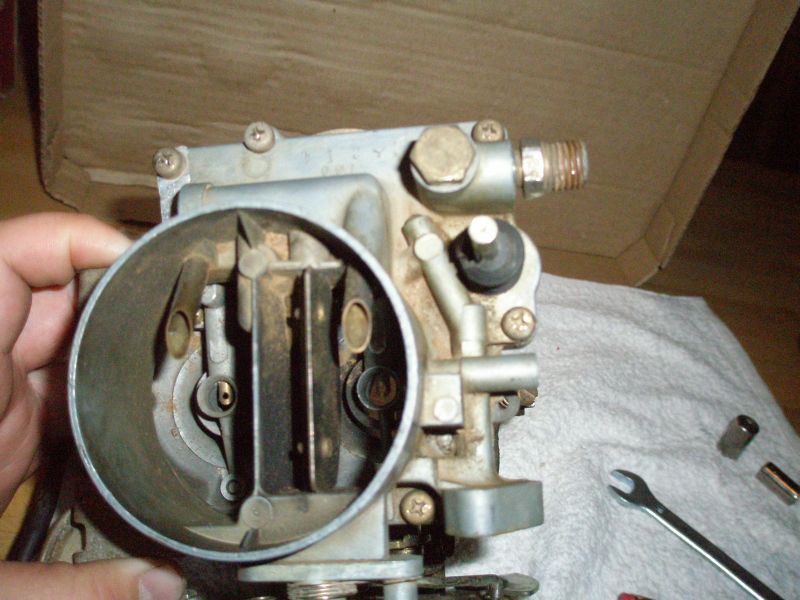
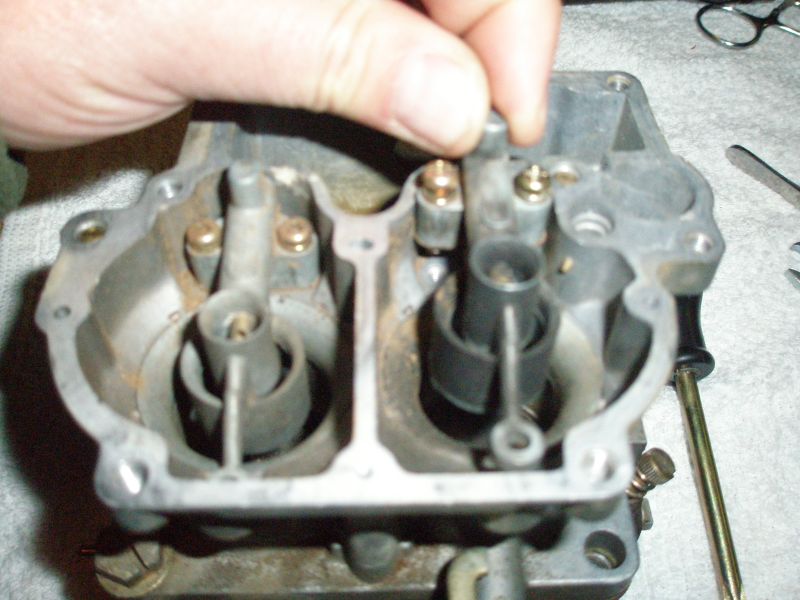
Inside the carb body are the primary and secondary venturis. These are held into the carb body with two screws each. The venturi need to be removed for cleaning. Before removing them, identify the primary and secondary. It is very important that these are not mixed up during reassembly. I got lucky and the venturi in my carb are exactly the same, still I kept these separate and made sure they were put back in the same place. In the photo below the primary venturi is being removed. The primary venturi is the one right next to the “big ball, little hole”.

venturi1.jpg


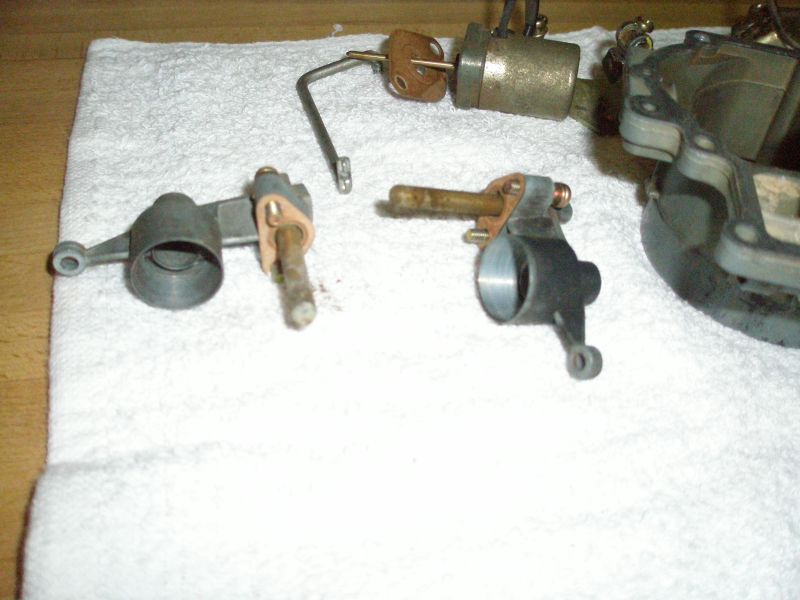
Each venturi also has a gasket that will be replaced with one from the rebuild kit. Here are both venturi and you can see the gasket.

venturi2.jpg
 

RicardoJM

Hard Core 4+
Joined
Jul 18, 2007
Messages
2,582
Location
Centennial, CO
Teardown – Removing the Jets

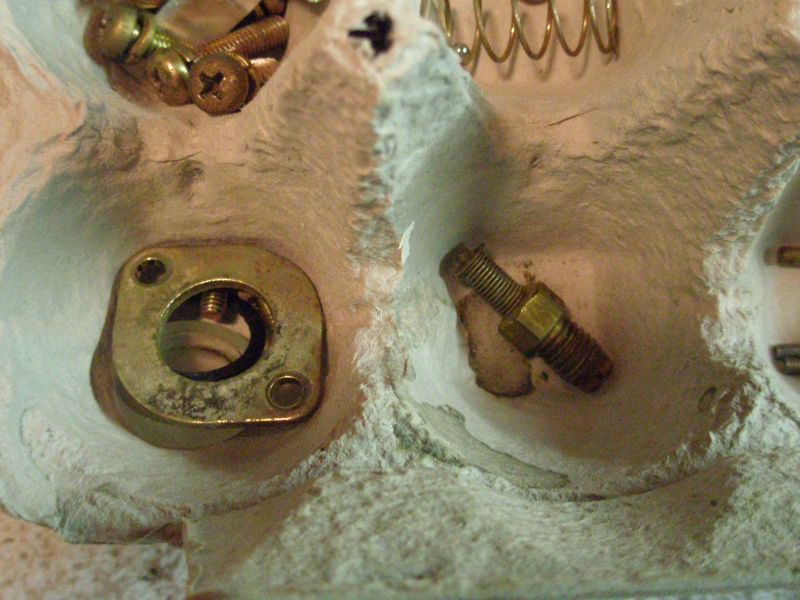
There were 7 jets in this carb; 2 “slow” jets, 2 “regular” jets, 1 “power valve” jet and 1 “spare regular” jet and 1 “spare power valve” jet. All these jets should be removed and soaked in the carb dip. The jets are made out of soft metal and easily deformed. Make sure the best fitting flat head screw driver is used for each jet; failure to do so will likely result in destruction of the jet.

jets8.jpg


When removing the regular jets (primary and secondary), some grinding may be needed on the sides of the screw driver so that it fits through the plug hole.

The jets all look very similar, but each one is a different diameter. It is very important to keep track of each jet, its size and where it came from. Each jet should have the size stamped on it. A magnifying glass will be needed to read the size.

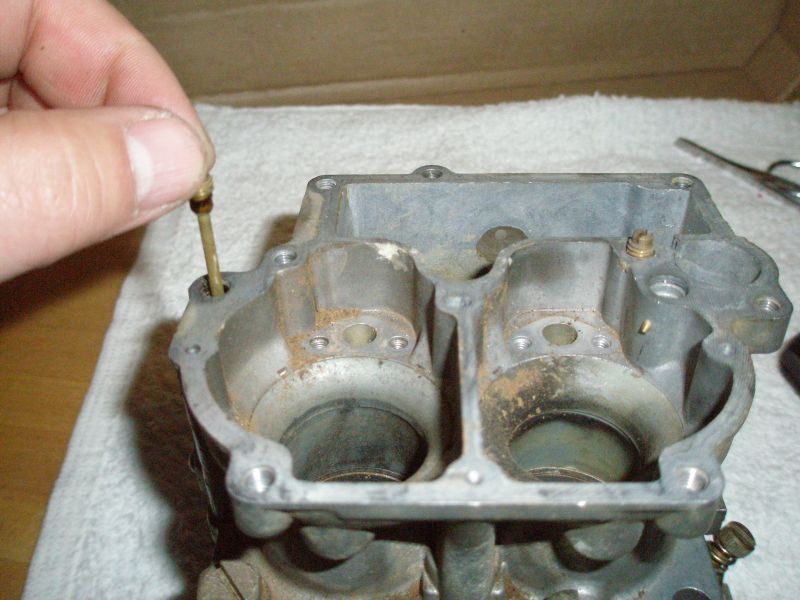
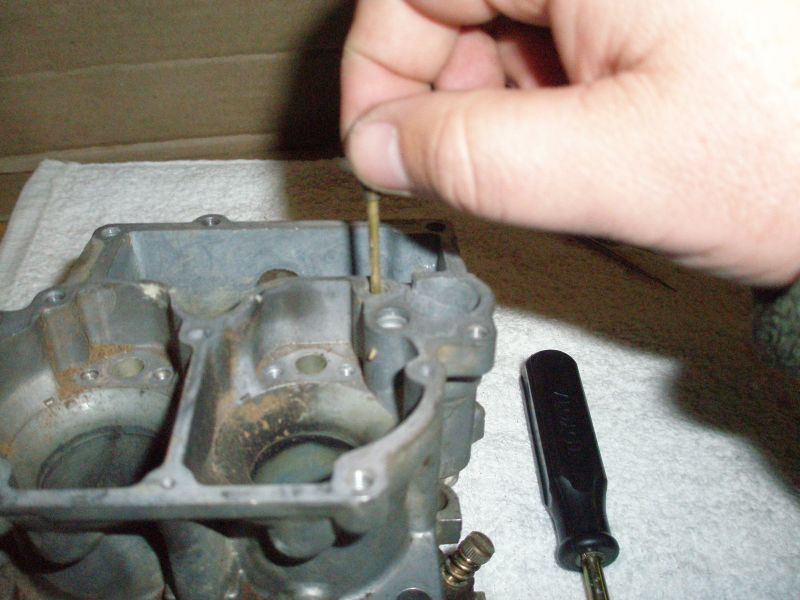
The “slow” jets are long and there is one for the primary and secondary. In the first photo, I am removing the “slow” jet for the secondary. In the second photo, I am removing the “slow” jet for the primary. Use the magnifying glass to read the size of each jet and write down the size and location.

jets1.jpg

jets2.jpg


There are “spare” jets that need to be removed. To get to them remove the plugs on the carb body. The plugs are just below the sight glass. Use a 12mm wrench/socket to remove each plug. In the first photo I am removing the primary plug. Each plug has a gasket and a spare jet in it. Separate the spare jet from the plug. Read the size of each jet and write down the size and location.

jets3.jpg

jets4.jpg


Next the primary jet and secondary jets are removed. I don’t have good photos of this, but basically run the screw driver through the plug hole to remove each jet. Each jet will have a gasket. As with all the jets so far, as soon as the jet is removed, read the size and write down the size and location. The plug holes are where the plugs were removed from.

jets5.jpg


Finally the power valve is removed. The 9mm deep socket is used to remove the power valve. The power valve jet is on the bottom of the power valve. I don’t have good photos of this step. The power valve is at the bottom of the fuel bowl in the v shaped slot on the back end of the first photo. The power valve (with the power valve jet still attached) is in the egg carton slot to the right of the sight glass pieces in the second photo.

jets6.jpg

jets7.jpg


My carb kit came with a replacement power valve in it. My carb kit also came with replacement jets, oddly though it only had one “slow” jet.
 

RicardoJM

Hard Core 4+
Joined
Jul 18, 2007
Messages
2,582
Location
Centennial, CO
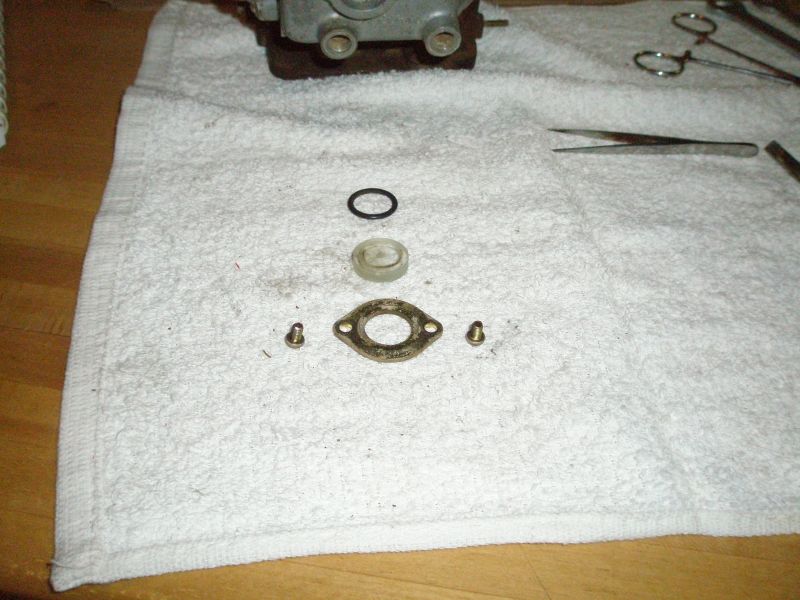
Teardown – Sight glass removal

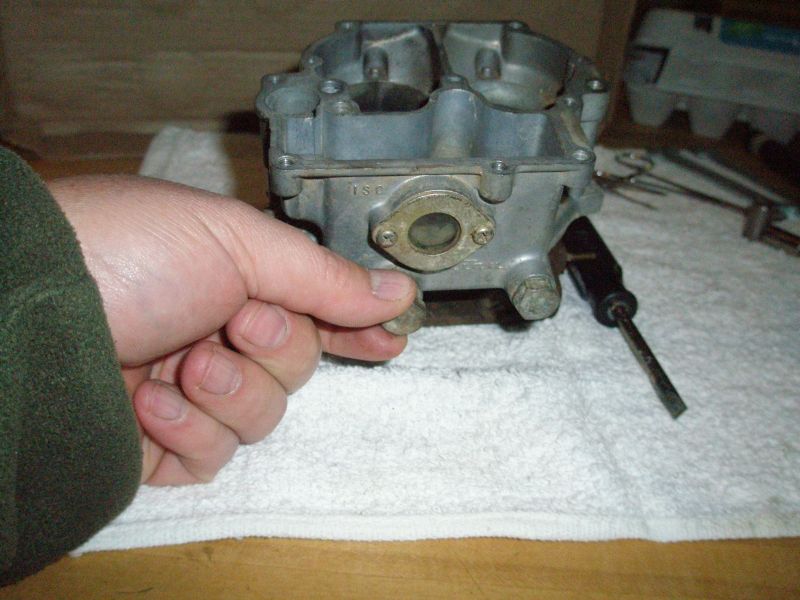
Removing the sight glass is very straight forward. Just remove the two screws and push the pieces out from the inside with a finger. The sight glasses came in plastic and glass; there are specific gaskets for each and they are not interchangeable between the two. My carb had a glass and it had a chip.

sightglass1.jpg
 

RicardoJM

Hard Core 4+
Joined
Jul 18, 2007
Messages
2,582
Location
Centennial, CO
Teardown – Separating the Body from the carb Base

The carb body is held on to the carb base with three screws. Two of the screws also have a head that will allow you to use a wrench/socket to remove.

scews1.jpg


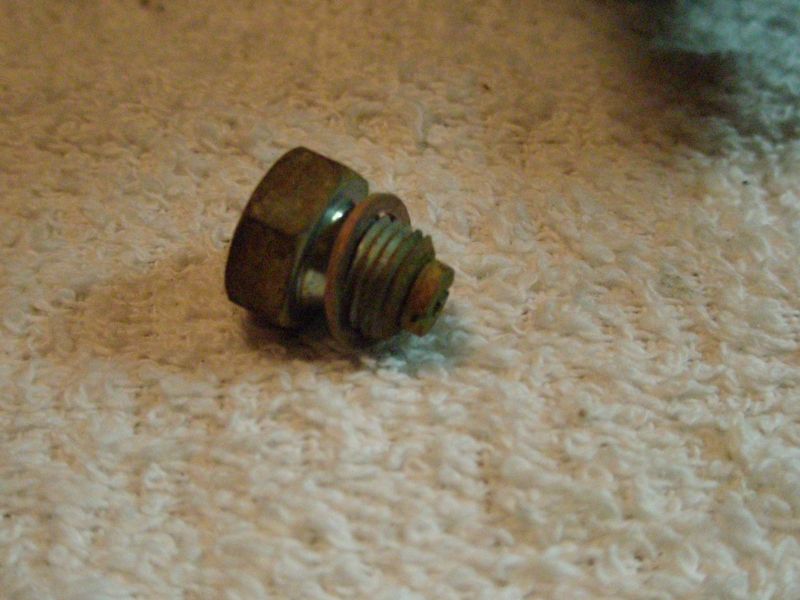
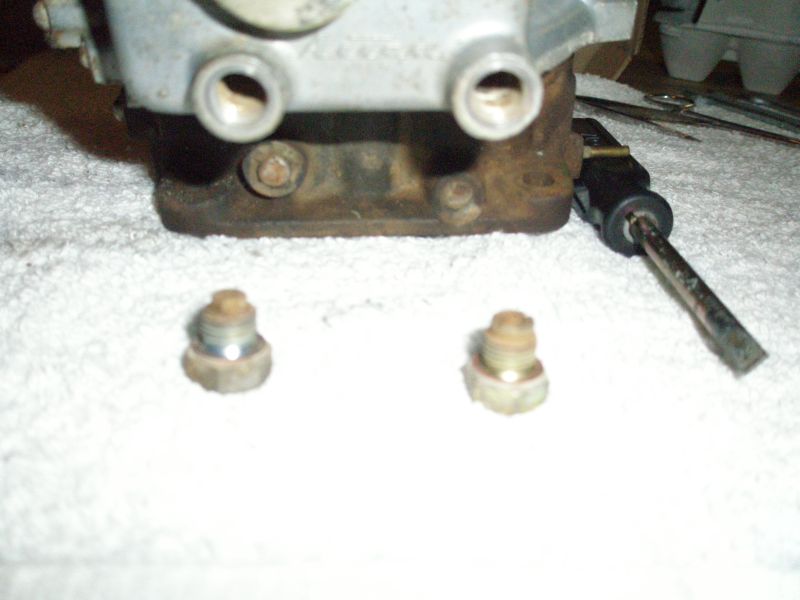
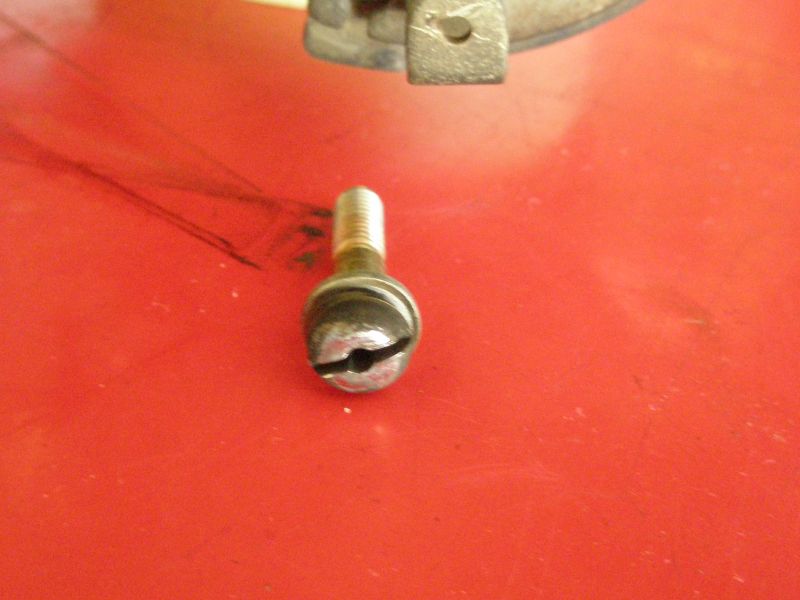
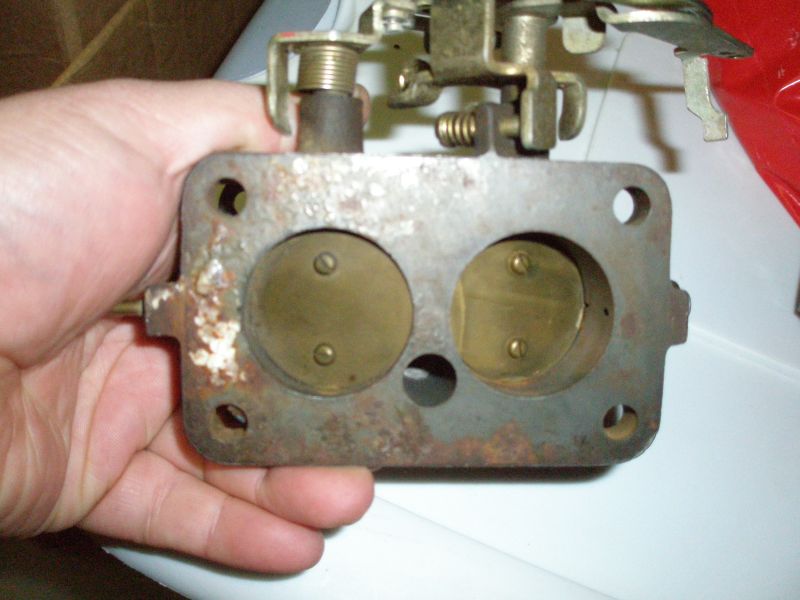
The third screw is accessed from the bottom of the carb body. This screw has a hole going all the way through it. The first photo is what the screw looks like. In the second photo, you will find the screw in the hole that is between the primary and secondary bores.

screws2.jpg

screws3.jpg


Upon removing all three, the carb body can be separated from the carb base. There is a gasket between the two pieces. This gasket will be replaced with one from the rebuild kit.

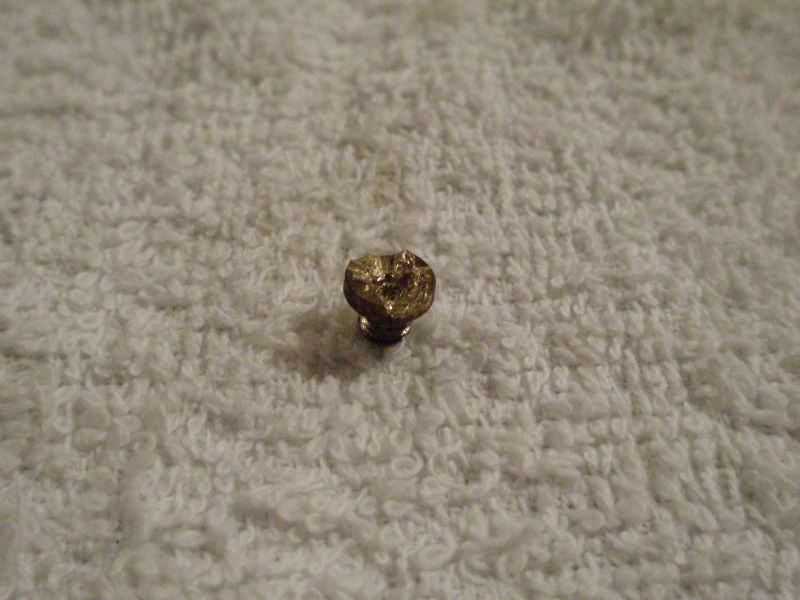
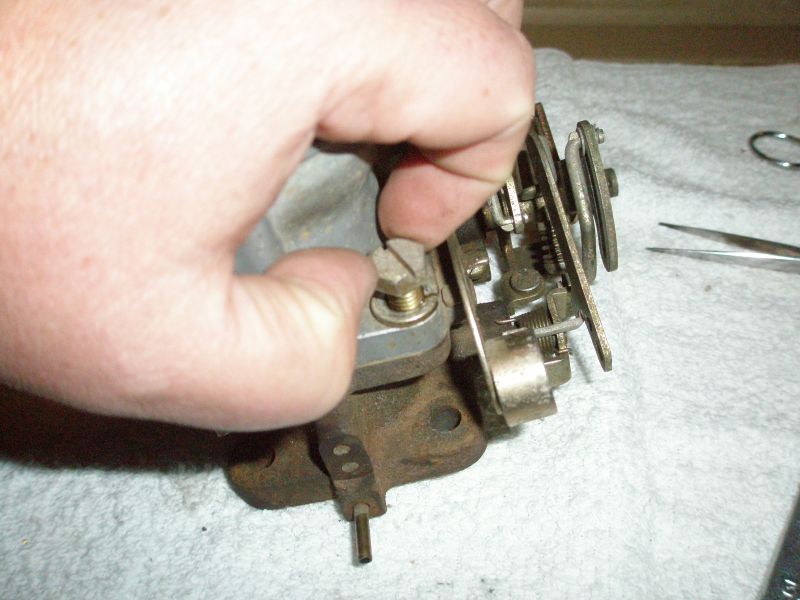
The carb body will have a pivot arm for linkage on it. This can be left attached, but in my situation I removed it using a flat head screw driver. There screw holding it on to the carb body also has a washer

screws4.jpg
 

RicardoJM

Hard Core 4+
Joined
Jul 18, 2007
Messages
2,582
Location
Centennial, CO
Teardown – Air Horn parts

The float, needle valve assembly, power valve piston assembly, accelerator pump, accelerator pump boot and fuel inlet assembly are removed from the Air Horn.

The float is held in place by a pin. Slide out to the side and remove the float. Inspect the float for damage or holes. If it is damaged, it will need to be replaced.

float1.jpg

float2.jpg


With the float removed the needle valve assembly pieces are visible.

needle1.jpg


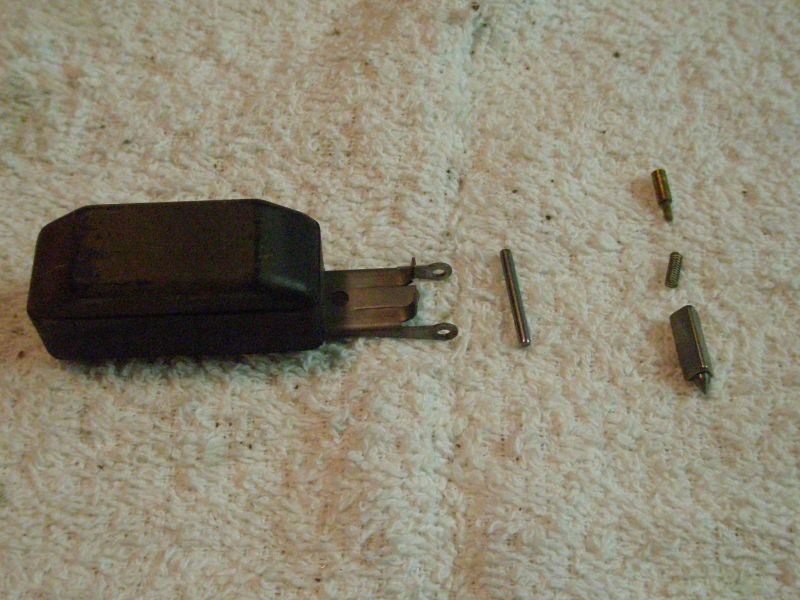
The three needle valve pieces; needle, spring and pin in the needle valve can be pulled out. The float, float retaining pin and three needle valve pieces and their orientation are.

needle2.jpg


Remove the housing of the needle valve pieces. I did not have a flat head screw driver wide and enough, so I used a chisel. I did not take a picture. There is a gasket on the end of the housing. My carb kit came with all new parts for the needle valve assembly.

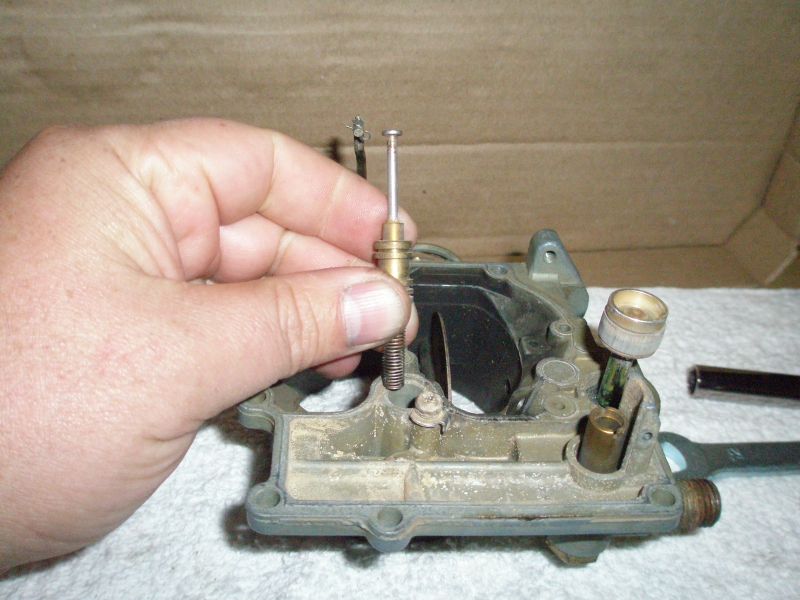
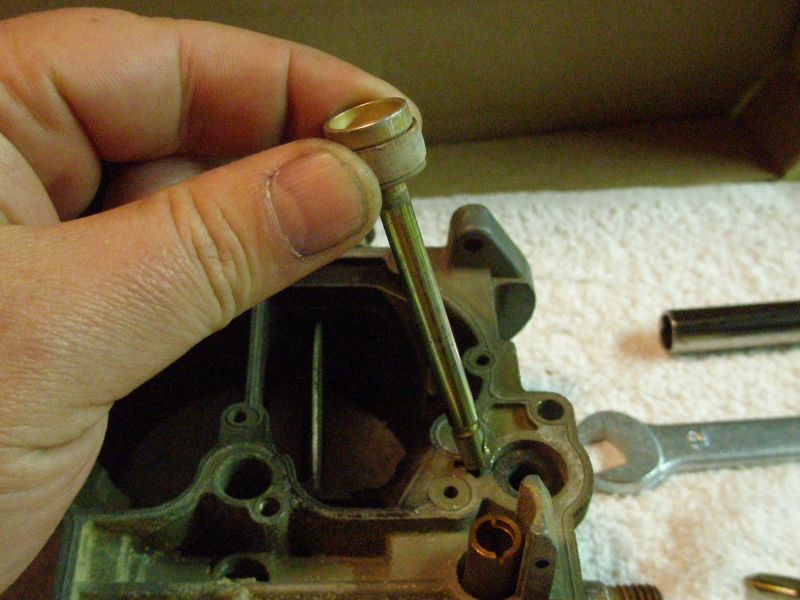
The power valve piston assembly is held in place by a retainer. A Phillips head screw driver is used to remove the screw holding the retainer to the Air Horn. The retainer, lock washer and screw can be removed from the air horn.

piston1.jpg


The two power valve piston pieces; piston and spring can be pulled out.

piston2.jpg


The accelerator pump is removed by pulling it out and the accelerator pump boot is removed using a flat edge.

accpump1.jpg

accpump2.jpg


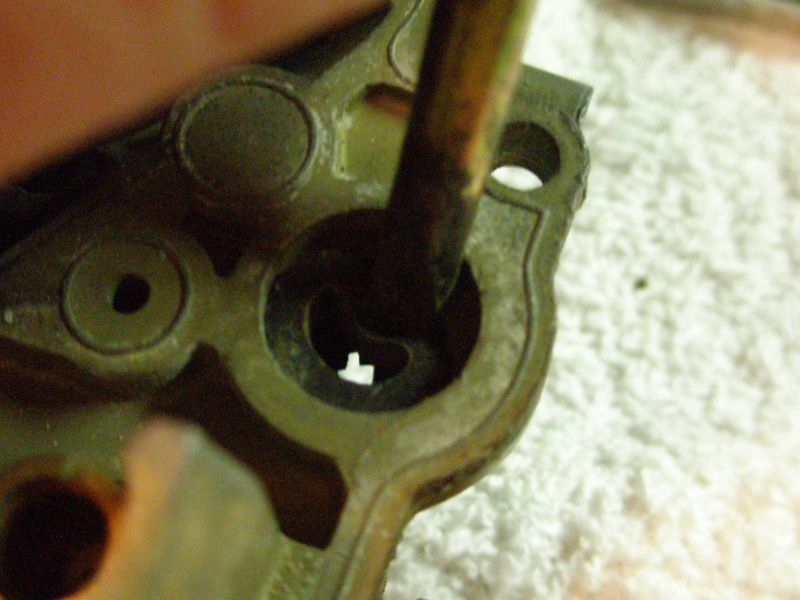
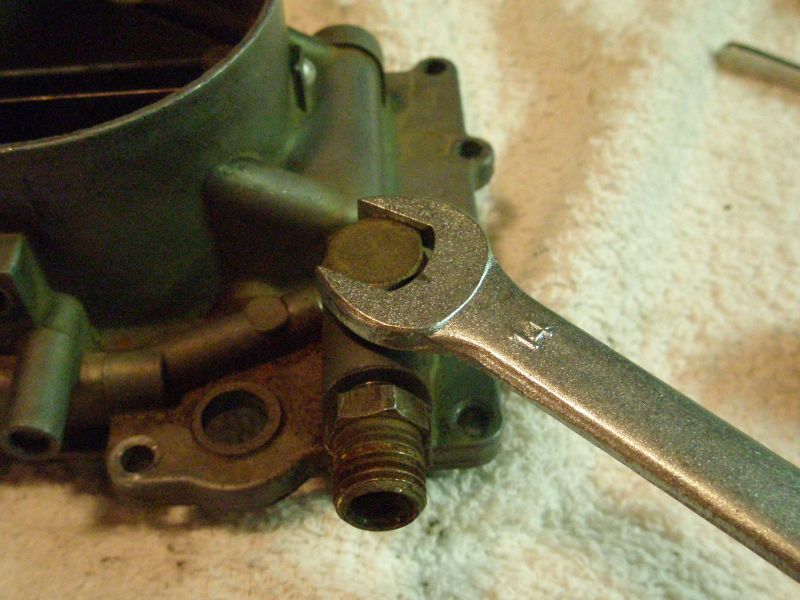
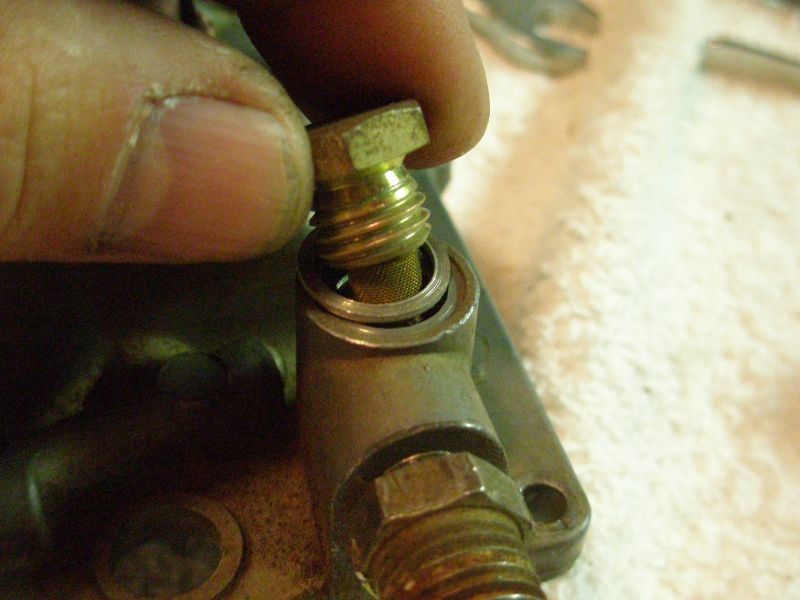
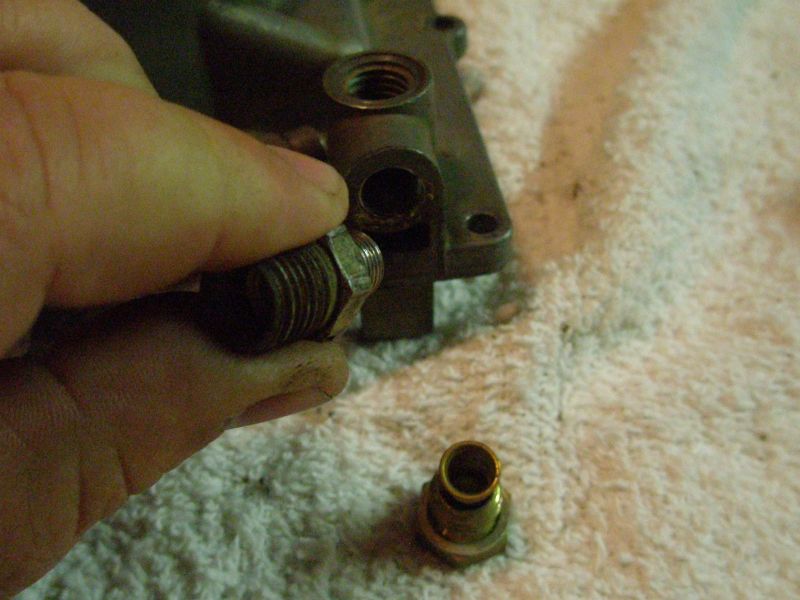
The fuel inlet assembly is removed using a 14mm wrench/socket. Under the top nut is a gasket and screen.

fuelinlet1.jpg

fuelinlet2.jpg

fuelinlet3.jpg
 

RicardoJM

Hard Core 4+
Joined
Jul 18, 2007
Messages
2,582
Location
Centennial, CO
Teardown Carb Base parts

The only part in the carb base that needs to be removed is the idle mixture screw. Everything else is linkage that should be left intact. The linkage and butterfly valves should be inspected for smooth operation and defects.
 

RicardoJM

Hard Core 4+
Joined
Jul 18, 2007
Messages
2,582
Location
Centennial, CO
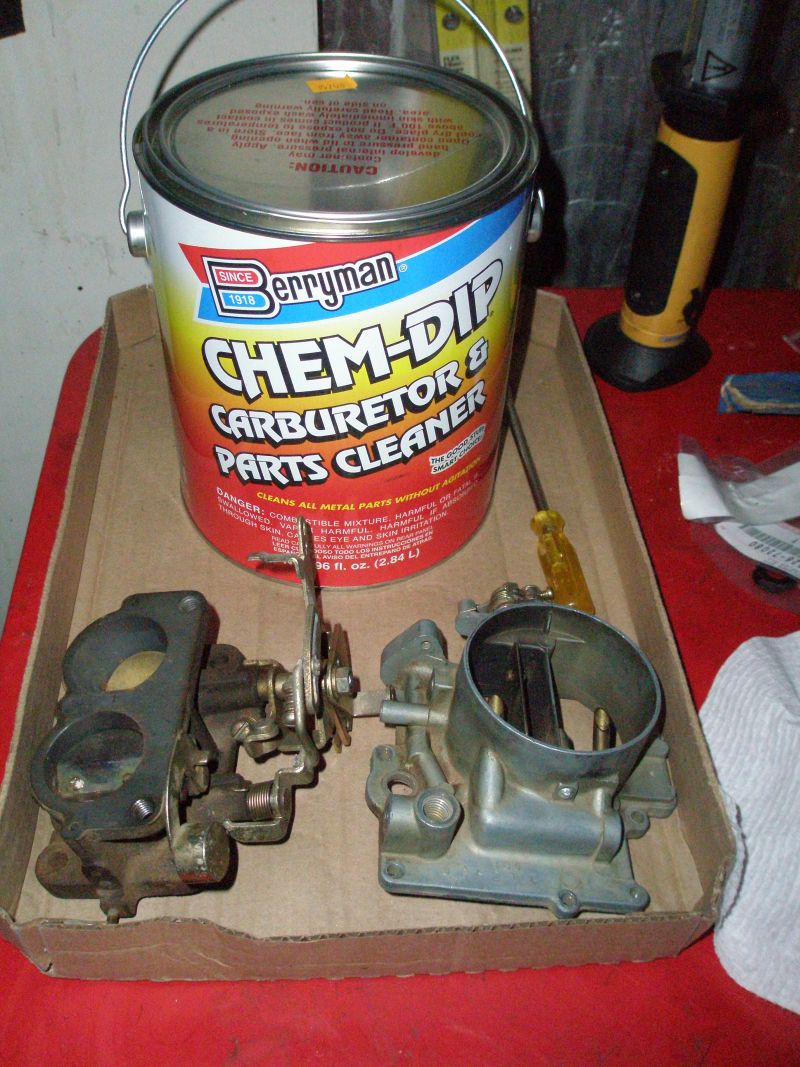
Cleaning Overview

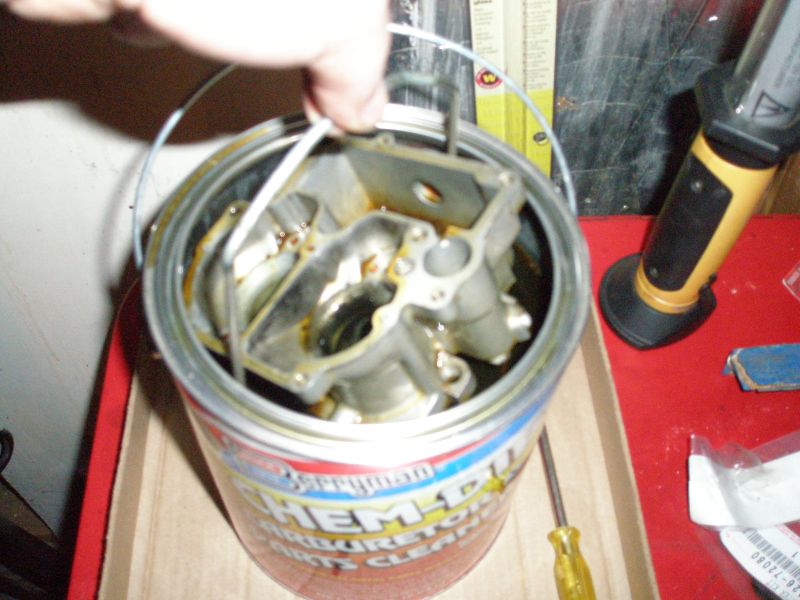
The objective of cleaning is remove varnished fuel, dirt and grime from all the pieces and parts and passages of the carburetor. The effective method of doing this involves dipping the parts in carburetor cleaner for a day.

cleaner1.jpg

cleaner2.jpg


After dipping the parts need to be rinsed and an air hose can be used to dry the parts. The air hose should also be used to blow-out all the passages in the carb parts. The carb dip is not good for rubber, plastic or skin. Care should be taken to not submerse any parts that have rubber or plastic.

The carb dip can is not big enough to hold all the carb parts at one time. I was told that the cleaning is even more effective if the parts are dipped, rinsed, and dried with the air hose twice – so I did this and as a result it took several days to complete the cleaning.
 

RicardoJM

Hard Core 4+
Joined
Jul 18, 2007
Messages
2,582
Location
Centennial, CO
Jets

If you are rebuilding a carb from your own truck and your truck has been running fine – skip this post as you are best off making sure you put each jet back in the same place when you re-assemble the carb.

In my case, I did not know the history of the carb that I was rebuilding, I’d never seen it running. The FSM details the jet sizes that should be used in a 2 barrel carb. I posted a threads on Rising Sun and IH8MUD seeking input on jet size recommendations for my situation. I was pretty fortunate to have all the sizes in my carb kit to match up with what others in the club have had success with but not quite fortunate enough to have the jet sizes recommended by one of the Aisan carb professionals.
 

RicardoJM

Hard Core 4+
Joined
Jul 18, 2007
Messages
2,582
Location
Centennial, CO
Reassembly

Basically, you put everything back together in the reverse order of the teardown. All worn or damaged parts should be replaced. All replacement parts that come in the carb kit should be used as appropriate.

Upon completing the assembly, the accelerator pump arm should be adjusted so that it has 8mm of travel.

assemble1.jpg

assemble2.jpg


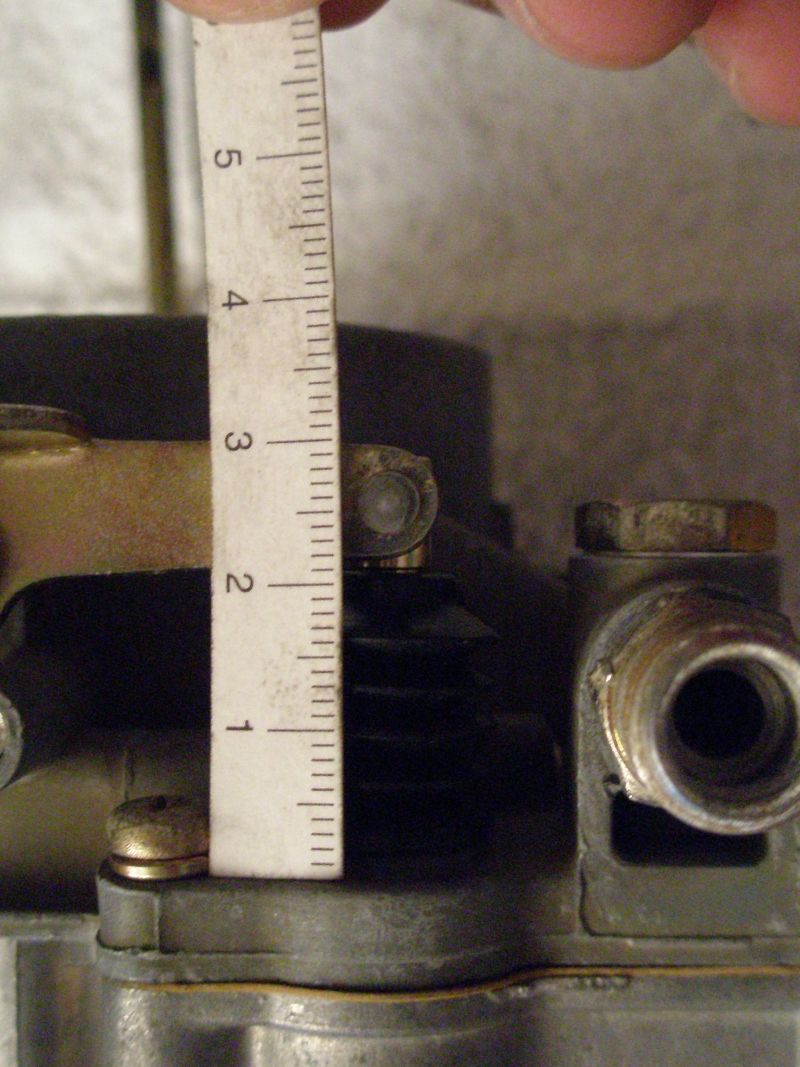
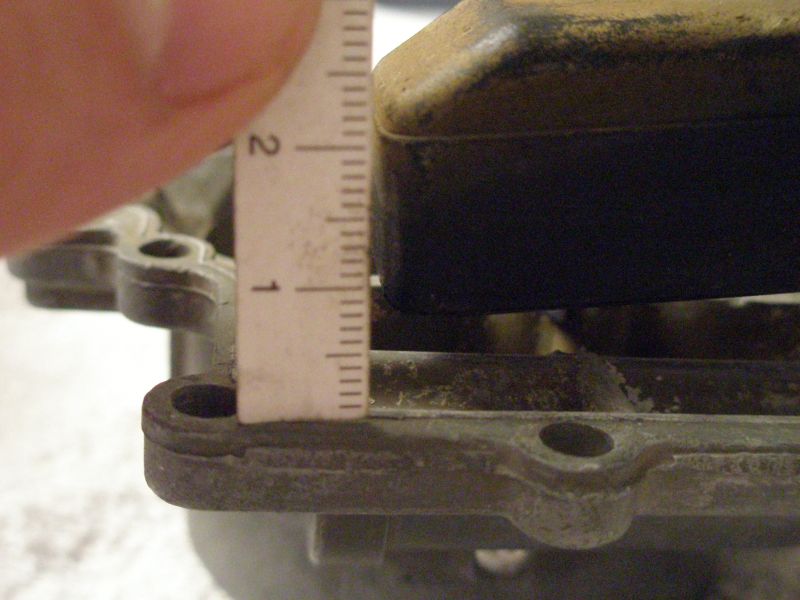
The float should be adjusted so that when it is inverted and resting on the needle (with its own weight) the distance between the float and the surface of the air horn is 4.1mm. Even though this photo makes it look like the bottom of the float is like at 9mm - it is just the angle at which the photo was taken.

assemble3.jpg


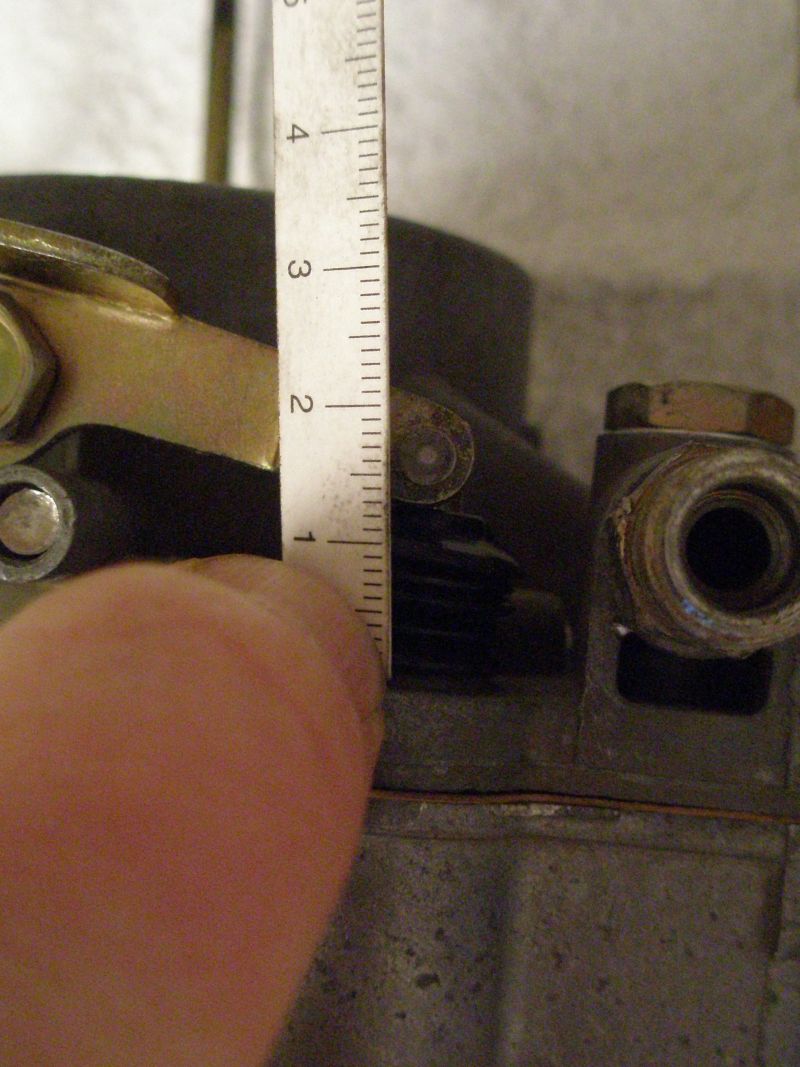
The float should also be adjusted so that when t is right side up, there is a 1mm gap between the float and the needle.
 

RicardoJM

Hard Core 4+
Joined
Jul 18, 2007
Messages
2,582
Location
Centennial, CO
Results

Wow, my truck is now running with the rebuilt carb:thumb:. There are not any earth shattering performance improvements that I can notice. It is very satisfying to know more about my carb, how it is put together and how it works.

I took it out on the snow run to Devils Canyon last Sunday and to the meeting on Wednesday night and my son is driving it to work and school everyday. It does start up much stronger and is warming up better than before the rebuild.
 

rover67

Rising Sun Member
Joined
Nov 1, 2007
Messages
9,802
Location
Boulder, Co
Excellent job Ricardo, and Excellent post! I like seeing the true tech!

Carbs are one of the most satisfying things on a vehicle to get right!
 

DaveInDenver

Rising Sun Ham Guru
Joined
Jun 8, 2006
Messages
14,344
Location
Grand Junction
Watch out Robbie, Trail Tech Editor in training! Awesome thread Ricardo and I don't even have any of those archaic carb thingies.
 

subzali

Hard Core 4+
Joined
Aug 22, 2005
Messages
10,805
Location
Denver CO
If you are rebuilding a carb from your own truck and your truck has been running fine – skip this post as you are best off making sure you put each jet back in the same place when you re-assemble the carb.

In my case, I did not know the history of the carb that I was rebuilding, I’d never seen it running. The FSM details the jet sizes that should be used in a 2 barrel carb. I posted a threads on Rising Sun and IH8MUD seeking input on jet size recommendations for my situation. I was pretty fortunate to have all the sizes in my carb kit to match up with what others in the club have had success with but not quite fortunate enough to have the jet sizes recommended by one of the Aisan carb professionals.

http://www.risingsun4x4club.org/forum2/showthread.php?t=11336&highlight=jet
http://forum.ih8mud.com/40-55-series-tech/332115-carb-jets-5280-feet.html

:thumb:

Great writeup Ricardo! Maybe I'll just tackle this job myself for my truck! :D
 

Jacket

Moderator
Staff member
Joined
Feb 3, 2006
Messages
5,482
Location
Lafayette
There are a large number of parts and pieces that need to be removed for cleaning. However do not fully disassemble every piece of the carb; butterfly valves and leave and linkage should be kept as intact as possible.
Learned that one the hard way. The FSM describes the process for disassembling the valves from the air horn, so I went for it. Broke both brass screws...... Luckily Ace has a good selection of small brass (in SAE), so I retapped it and reassembled.

Very nice writeup overall. I thought about letting someone else do my rebuild, but I decided to rebuild mine about a month ago and I'm glad I did it. I learned quite a bit about the carb construction, tuning, and that spaghetti throttle linkage. I thought it was a pretty fun project.

Which rebuild kit did you use? I posted somewhere else that I was surprised at the variability in the parts list included in the different kits. Even the Keyster kits vary quite a bit.
 
Back
Top