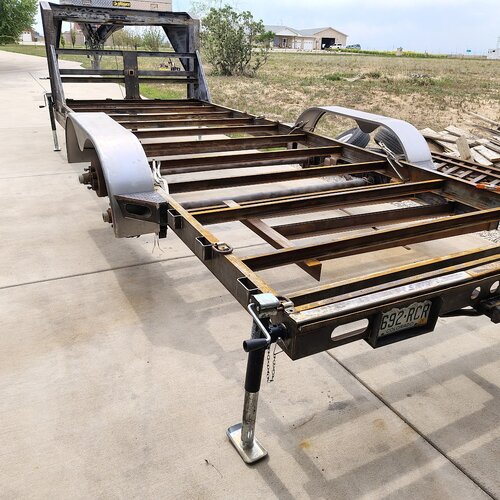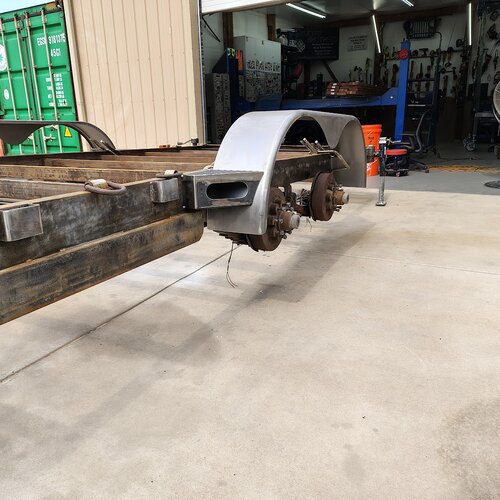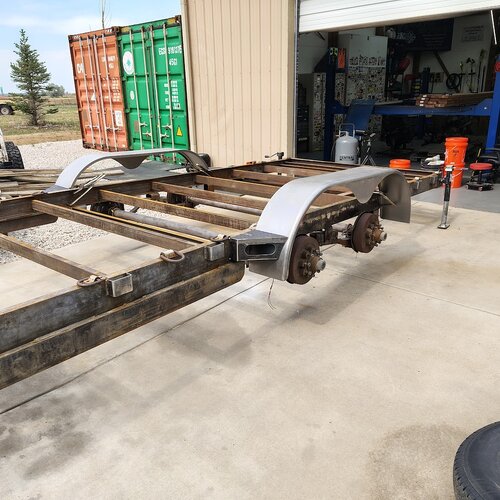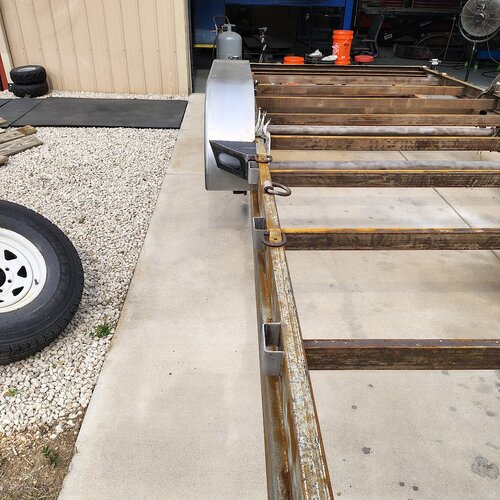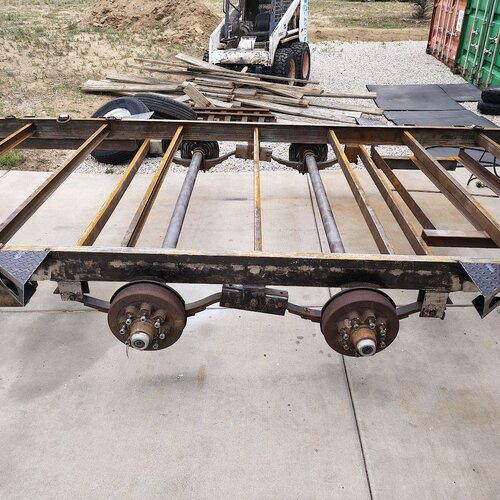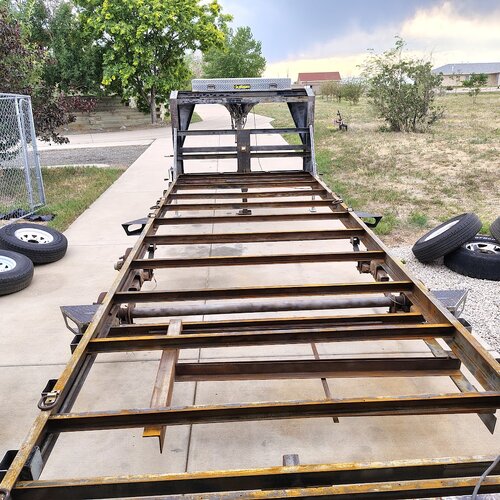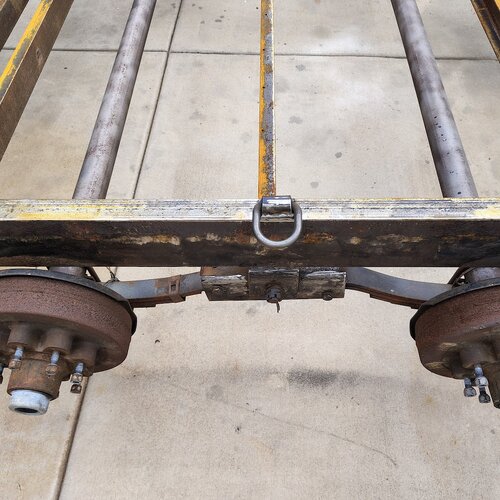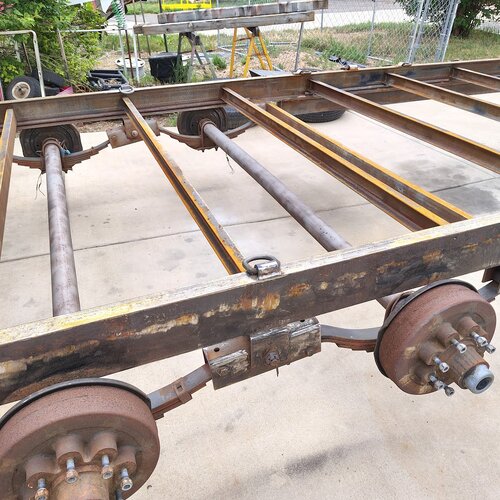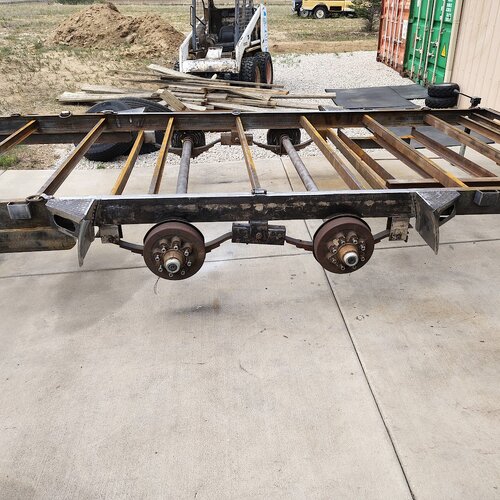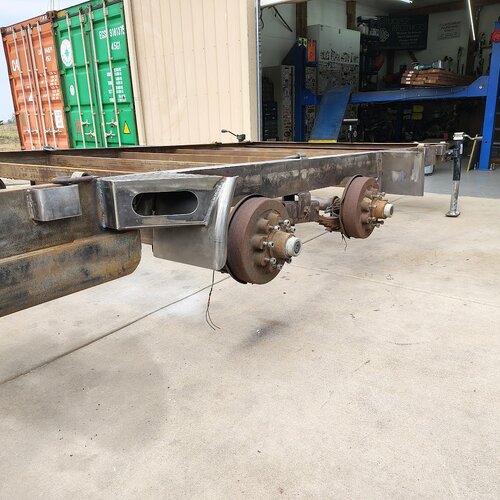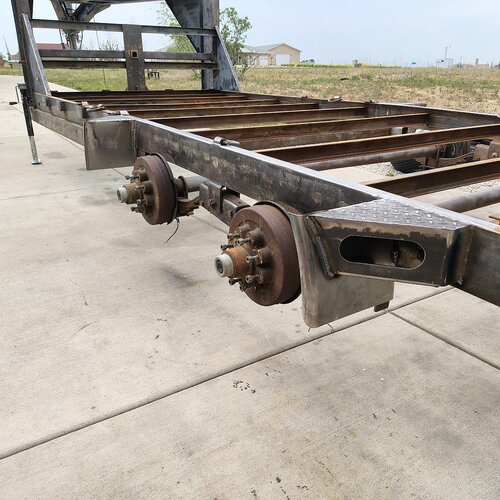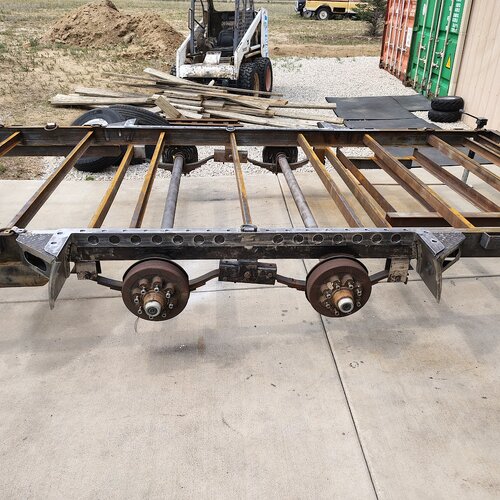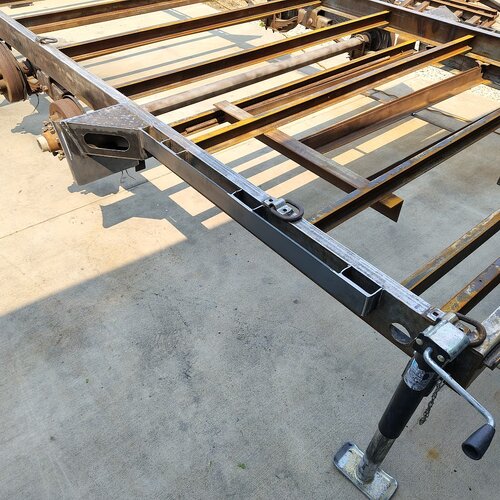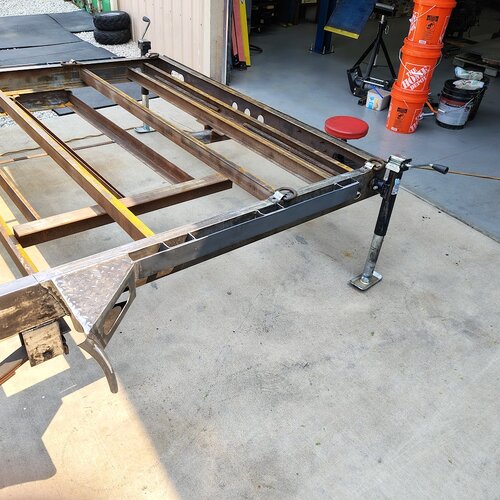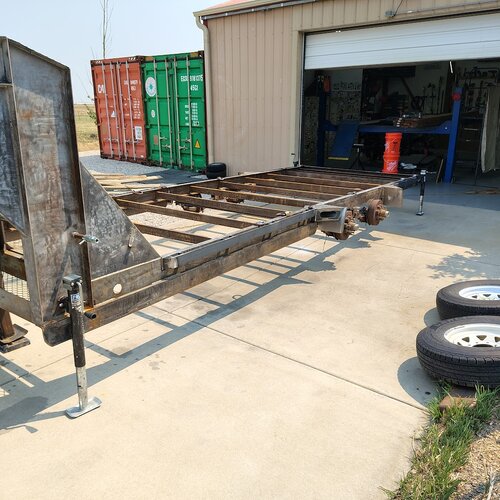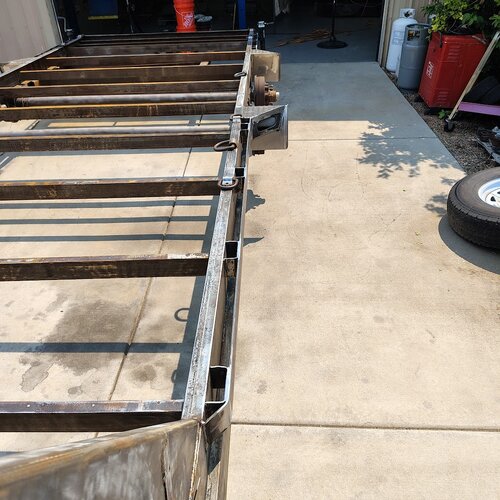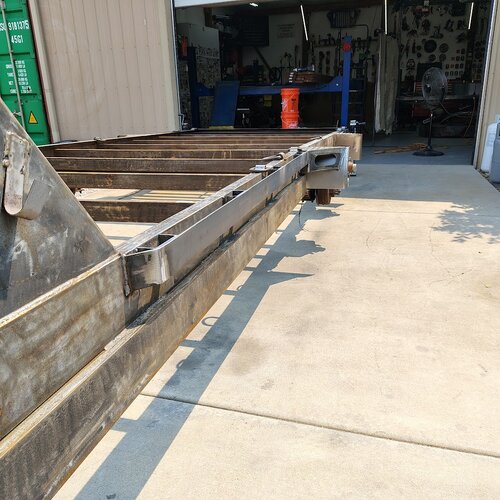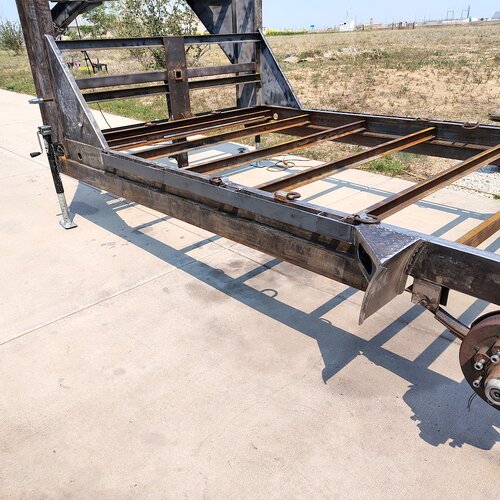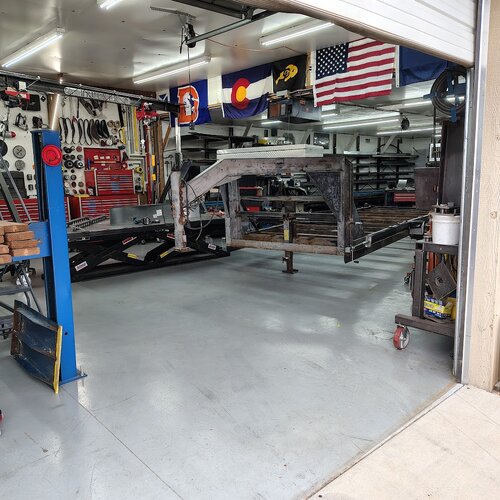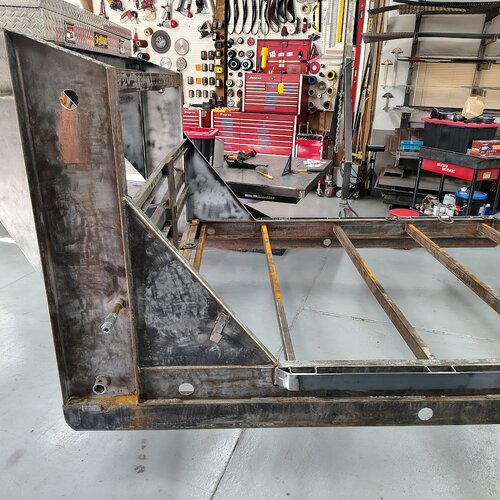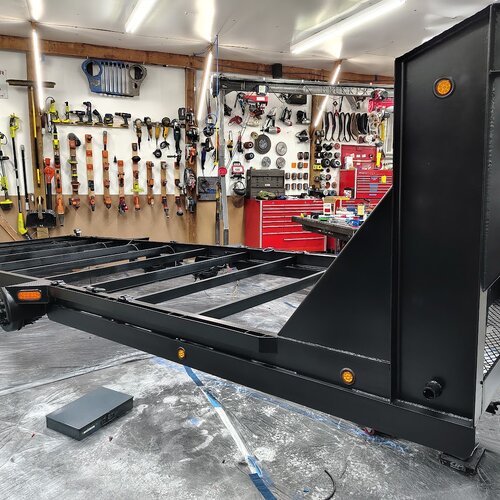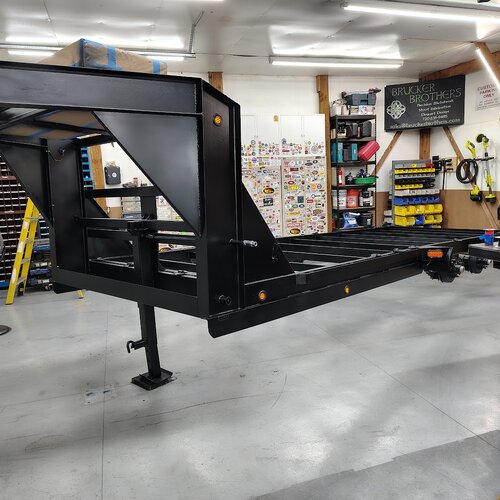
2005 PJ Trailers 20' Gooseneck Lo-Pro Equipment Hauler Revamp

Brucker

Hard Core 4+
Joined
Jul 10, 2013
Messages
1,186
Location
Broomfield, CO
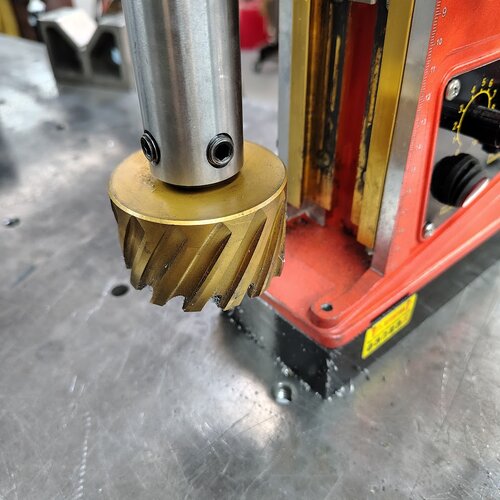
Can we take a minute to admire the power and precision annular cutters provide us?

Why did I ever use a hole saw?

You know how you need to cut a 2.5" round hole through metal? So you grab a 2.5" hole saw and watch as it dances around while it slowly cuts through the material. Then once it pops through you are left with a 2.75" oblong hole.

Sure, I am kinda exaggerating. But am I?

Annular cutters work much faster, cleaner, longer, and WAY more accurately.

Example:

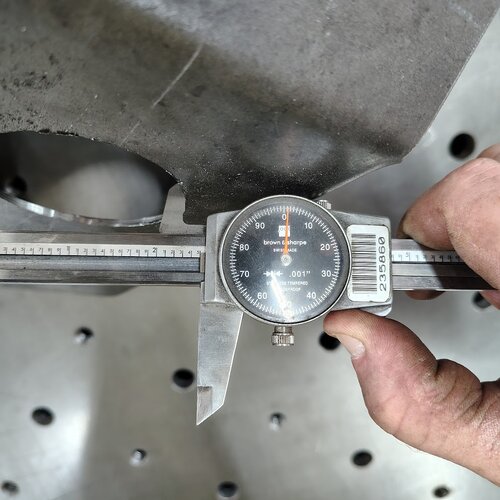
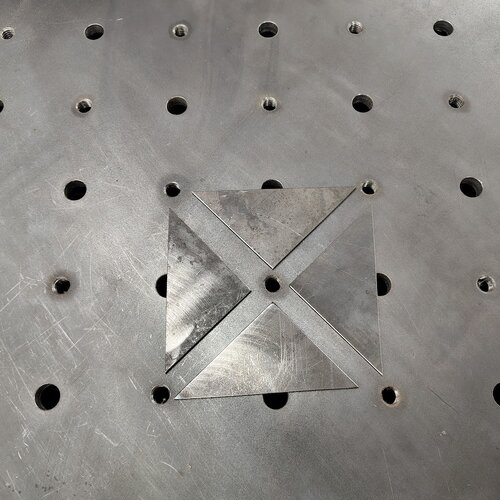
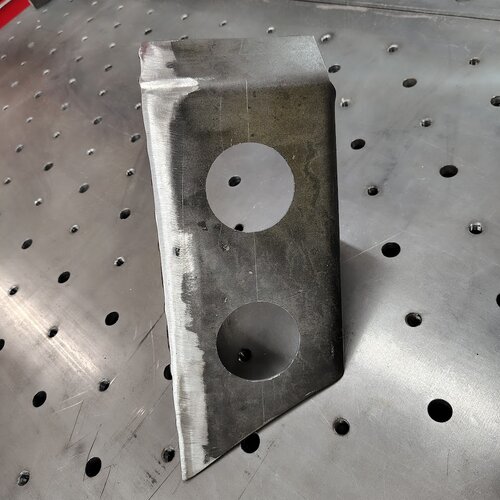
I need to cut two 2.5" round holes 4.5" apart. Then I will cut the area out between them and be left with the perfect mounting hole for the oval LED lights. So I grab a 2.5" annular cutter out of the drawer and pop two almost perfect round holes 4.5" apart. The photos show the holes before being deburred to accurately show just how clean they come out.
IMG_20260703_133524370_HDR.jpg

IMG_20260703_133142068_HDR.jpg

IMG_20260703_133124576_HDR.jpg

For those of you who are in the digital age, that reads 2.5015". Yup, a whole .0015" oversized.

Can your hole saw do that? Repeatedly?

BTW, the cutter in question is over 10 years old and has been used countless (I ran out of fingers and toes) times.

I'll get off my soapbox now...
 

Brucker

Hard Core 4+
Joined
Jul 10, 2013
Messages
1,186
Location
Broomfield, CO
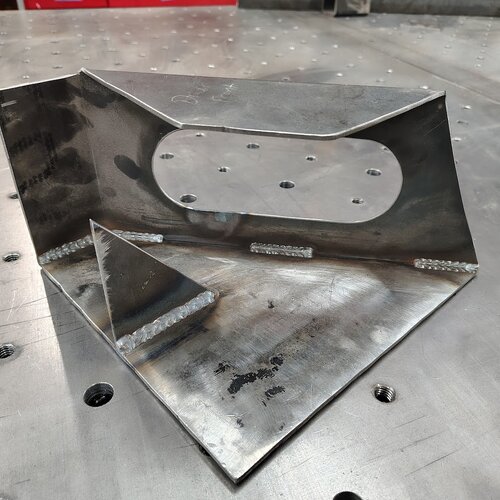
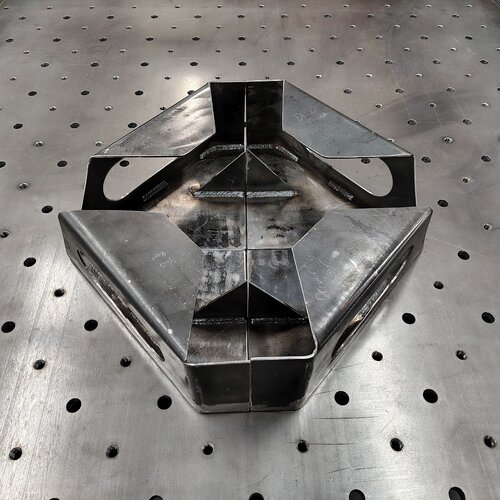
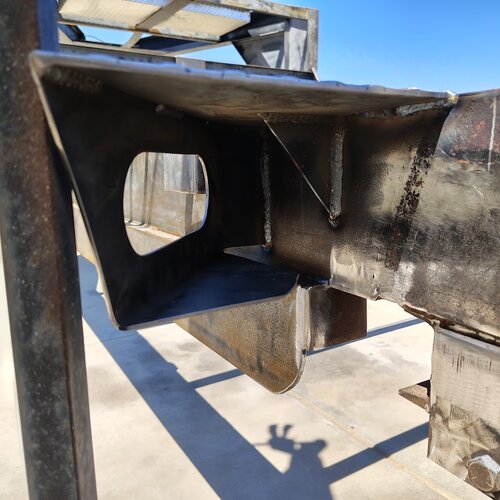
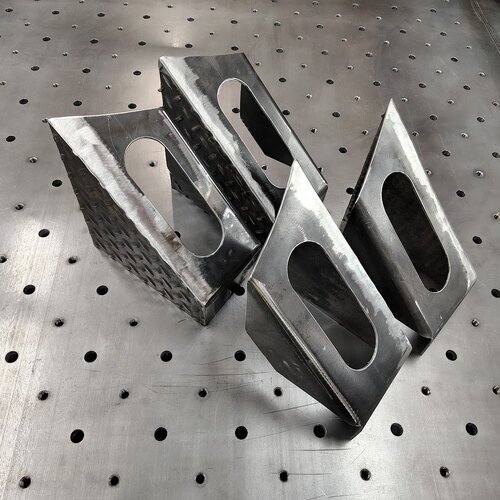
Finished out all 4 boxes and got them tacked into position. First I got the ovals cut out of each one.

IMG_20260703_152741222_HDR.jpg

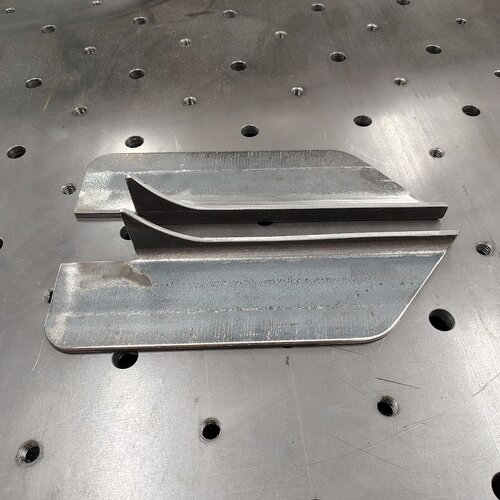
Then used some of the drops from plates I cut out 4 gussets, one for each box. Then welded them into position. These will add strength to the entire structure (since the rear of the box will just be sheet metal), especially when the fenders are off and wider equipment drives over the areas.

IMG_20260703_152756510_HDR.jpg

IMG_20260703_154507697_HDR.jpg

IMG_20260703_154438024_HDR.jpg

Wheeled the welder outside and tacked them into their new homes.

IMG_20260703_161551525_HDR.jpg

IMG_20260703_161557204_HDR.jpg

IMG_20260703_161607944_HDR.jpg

IMG_20260703_161459766_HDR.jpg

IMG_20260703_161453069_HDR.jpg

IMG_20260703_161516848_HDR.jpg

IMG_20260703_161511845_HDR.jpg

IMG_20260703_161526491_HDR.jpg
 

Brucker

Hard Core 4+
Joined
Jul 10, 2013
Messages
1,186
Location
Broomfield, CO
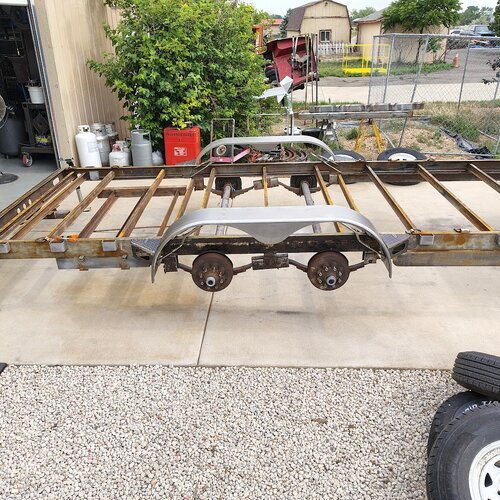
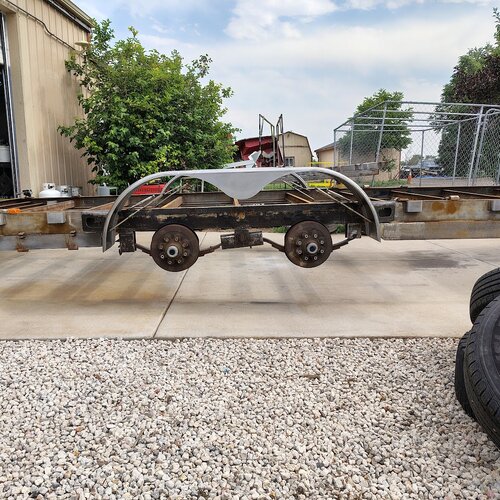
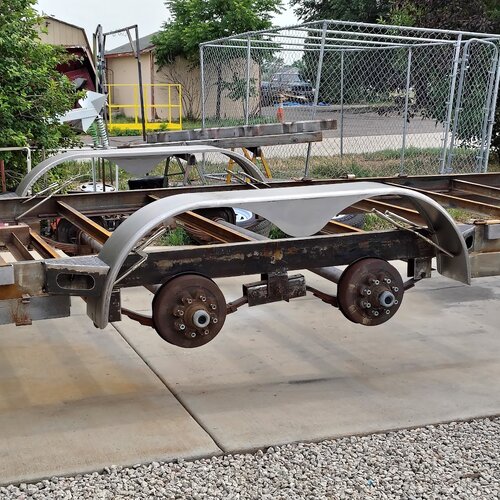
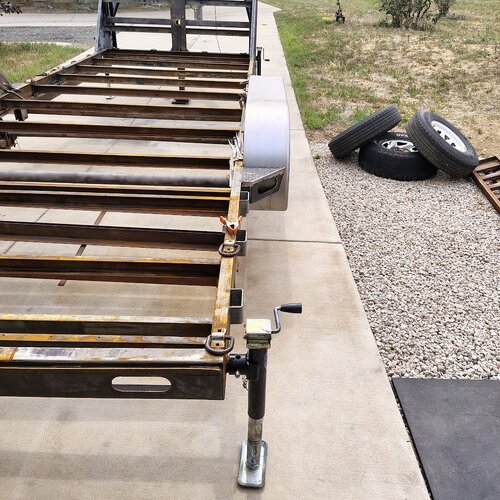
Made some time to make some more progress. Removed the fender shells.

IMG_20260703_174800438_HDR.jpg

IMG_20260703_174826393_HDR.jpg

Decided now was as good a time as ever to weld in the new D rings I want in the middle of the fender. See not all my welds are beautiful...
IMG_20260703_175912077_HDR.jpg

IMG_20260703_180107293_HDR.jpg

IMG_20260703_180114099_HDR.jpg

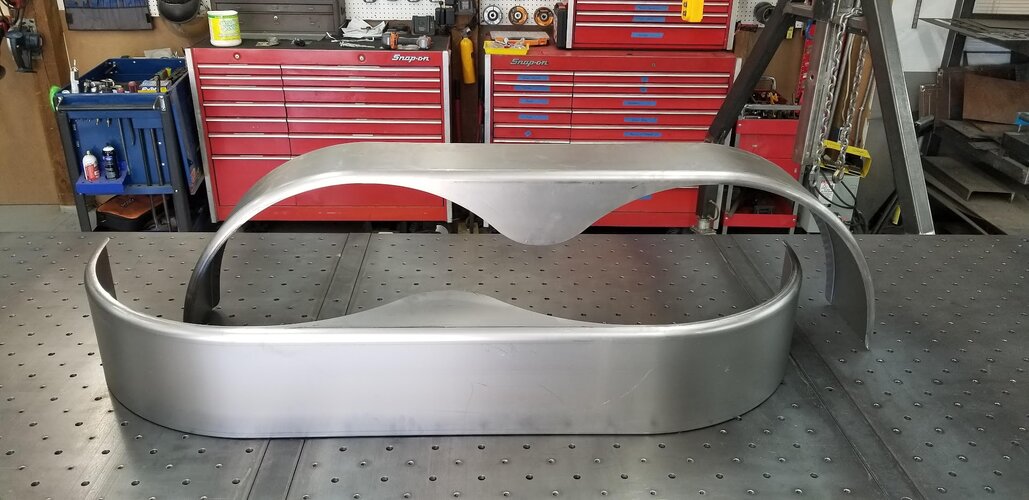
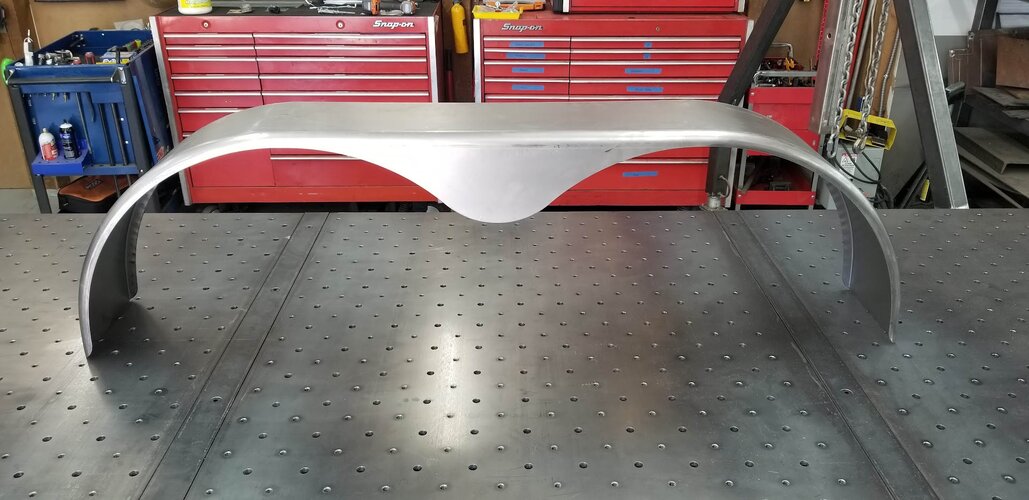
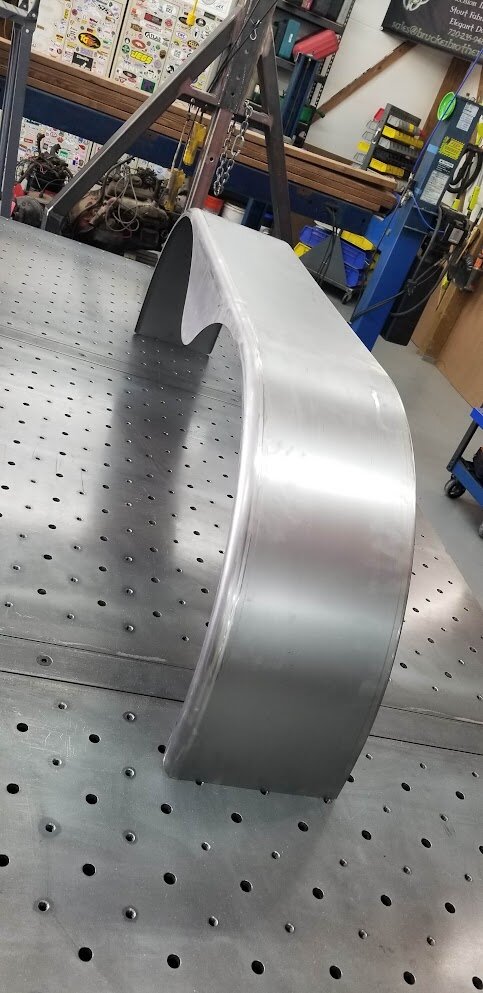
Time to cut up some perfectly good fender shells. Before:

20260611_143945.jpg

20260611_144000.jpg

20260611_144012.jpg

Lowrider fenders:

IMG_20260705_104719686_HDR.jpg

IMG_20260705_104741957_HDR.jpg

IMG_20260705_104728779_HDR.jpg

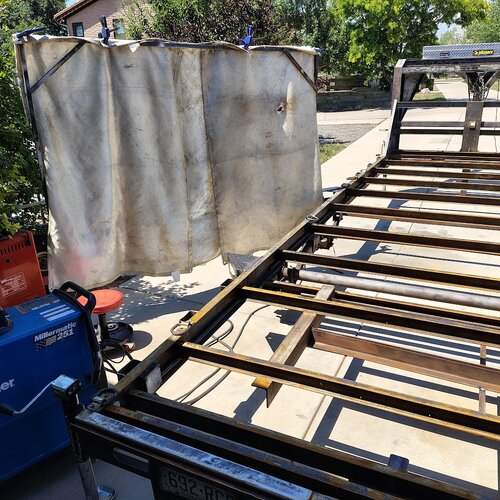
Then realized I should really weld out the new mounts fully inside before I skin the last side of them and lose all the easy access. There was an occasional slight breeze so I set up a wind break made of welding blankets instead of changing welding setups.

IMG_20260705_114049010_HDR.jpg

IMG_20260705_114027060_HDR.jpg

IMG_20260705_114104436_HDR.jpg

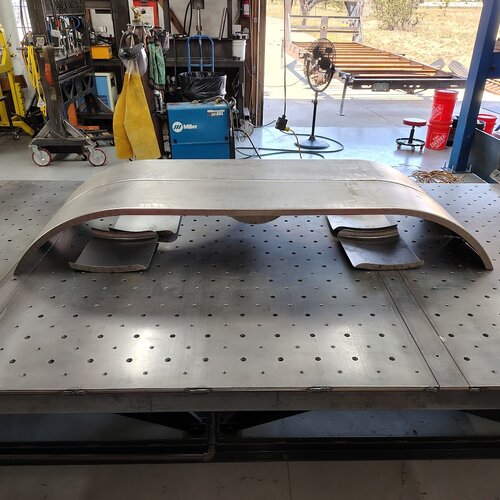
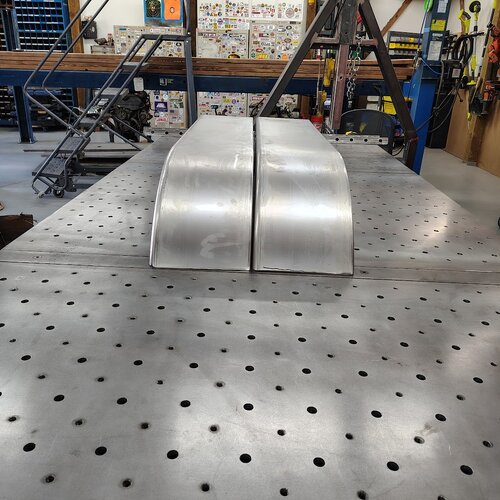
Wanted a break from the sun and the welder, so I moved on to creating the removable sections of the fenders. I want these strong since they will be abused. I know me, they will get dropped, stepped on, and tossed out of the way. But I also know me and I will avoid actually removing them if they are too heavy, too awkward, or take to long to attach/remove. So gotta make them out of steel, make them strong, yet keep them super simple and lightweight.

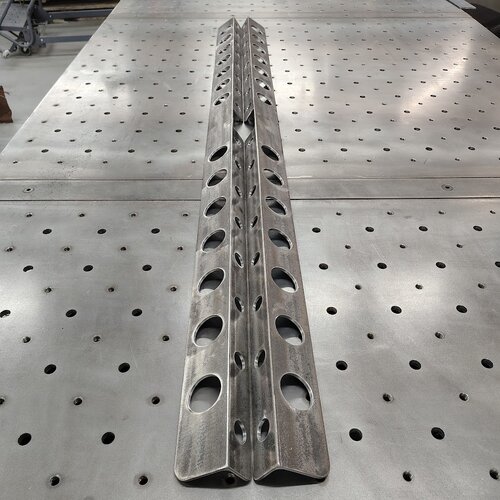
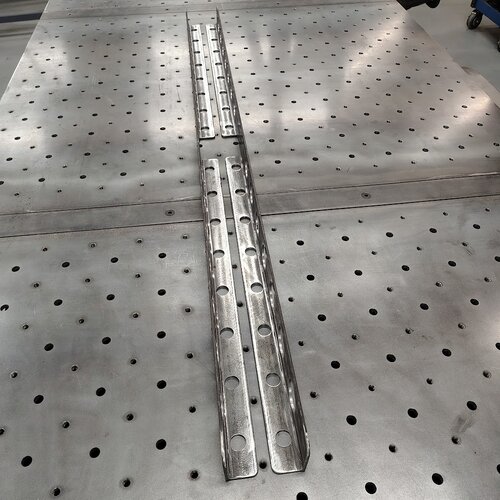
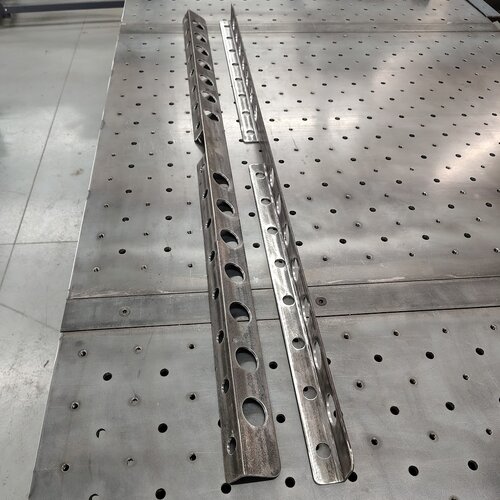
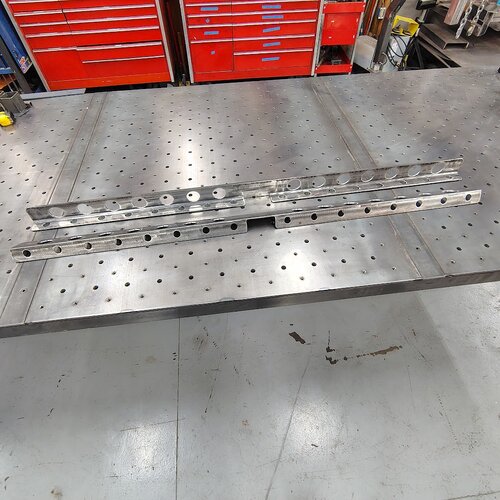
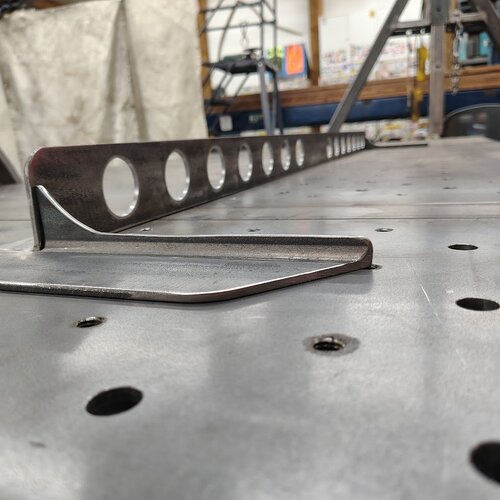
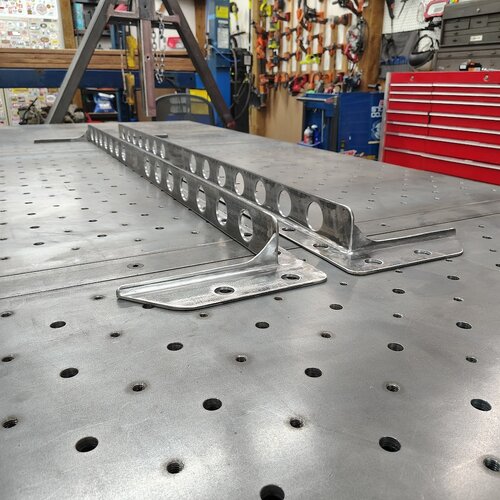
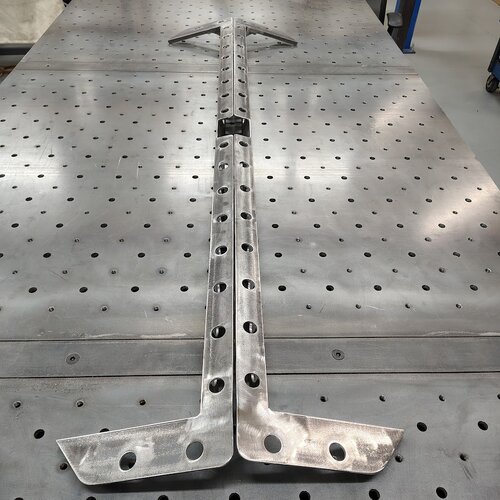
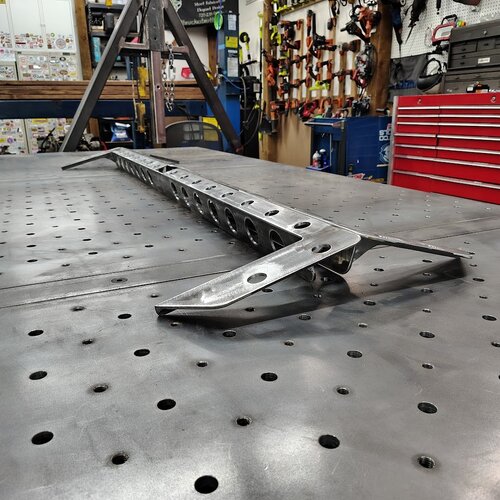
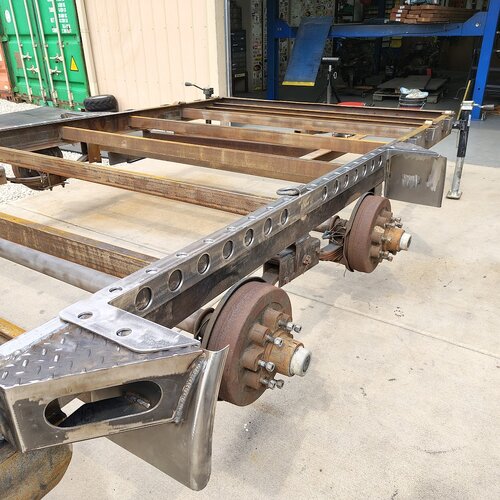
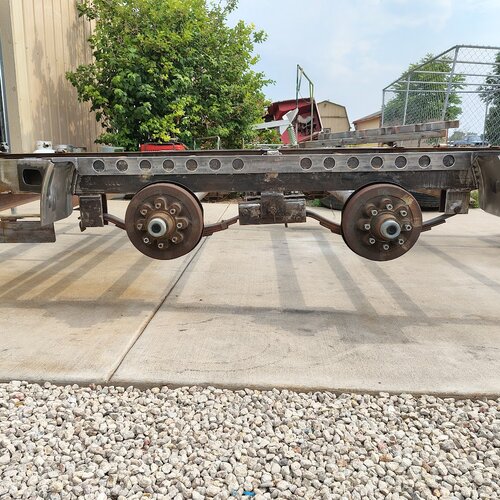
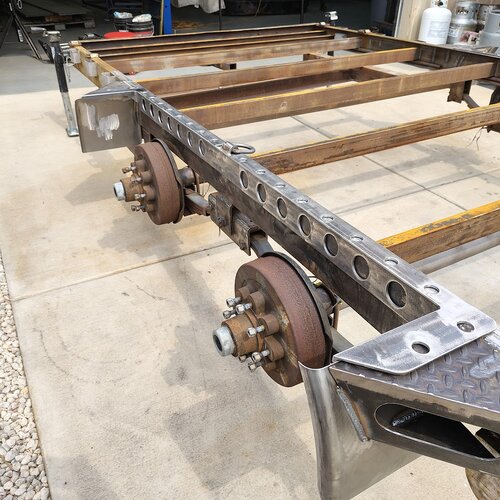
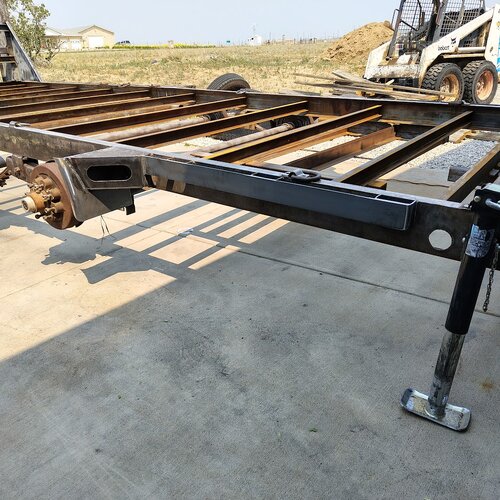
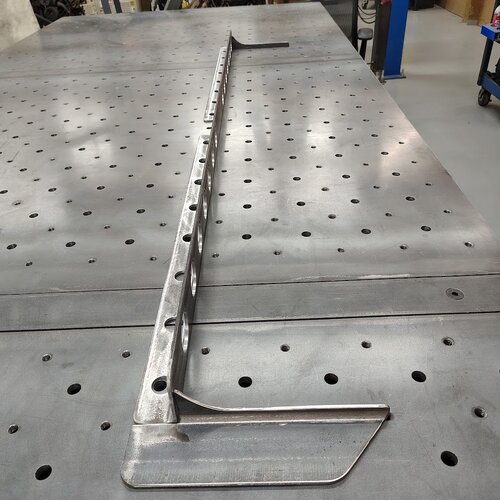
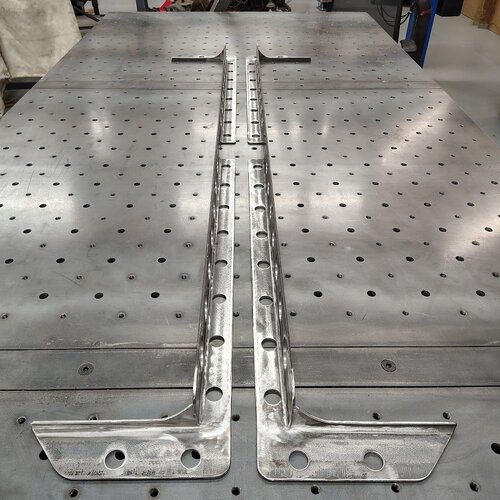
As I mentioned in an earlier post, I decided to use 2"x3" angle iron as the base for the fenders that will run along the C channel frame. This is WAY more heavy duty than just a formed piece of sheet metal. So it will be able to handle being dropped, kicked, and thrown much better. But it's heavy. So I changed that. Bring on the speed holes. Saved a little over a third of their total weight per piece and they will still handle abuse better than sheet. Plus it looks fancy. :cool:

IMG_20260704_181837331_HDR.jpg

IMG_20260704_181909883_HDR.jpg

IMG_20260704_181949134_HDR.jpg

IMG_20260704_182003275_HDR.jpg

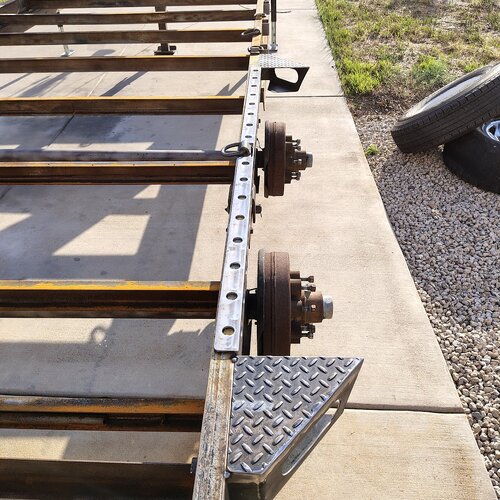
Then test fit them on the frame:

IMG_20260704_182159788_HDR.jpg

IMG_20260704_182208213_HDR.jpg
 

Brucker

Hard Core 4+
Joined
Jul 10, 2013
Messages
1,186
Location
Broomfield, CO
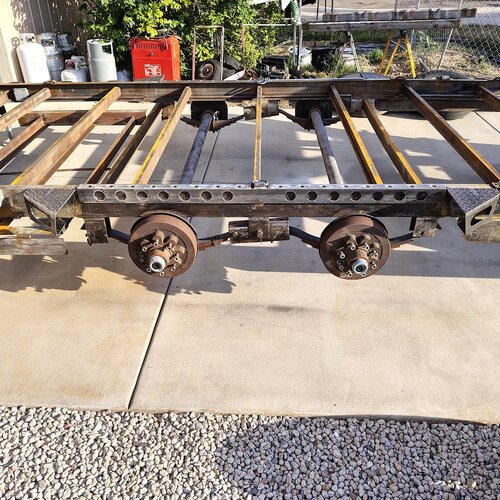
Continued to work on the fenders. Made the rest of the bottom angle pieces. Then fit them up

IMG_20260706_135453051_HDR.jpg

IMG_20260706_140121933_HDR.jpg

IMG_20260706_140135977_HDR.jpg

IMG_20260706_140114885_HDR.jpg

Then welded them up solid and smoothed out the areas that needed it. Then realized I hadn't bored the speed holes in the new pieces, so did that as well.

IMG_20260706_151324986_HDR.jpg

IMG_20260706_151332784_HDR.jpg

IMG_20260706_151356514_HDR.jpg

IMG_20260706_151404101_HDR.jpg

It was calm outside so I set up the wind blocks as a safety, and welded the small fender panels into the mounts to finish those off.

IMG_20260706_154049090_HDR.jpg

IMG_20260706_154056887_HDR.jpg

IMG_20260706_154103310_HDR.jpg

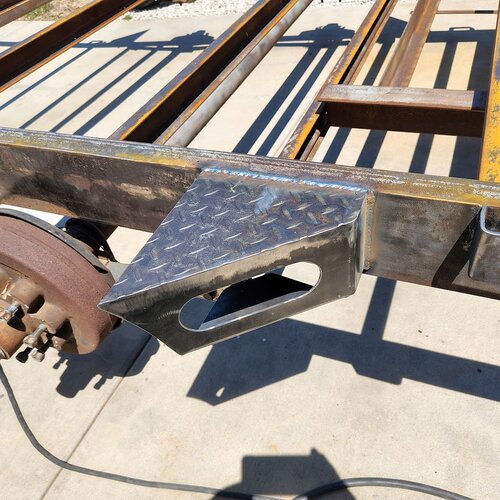
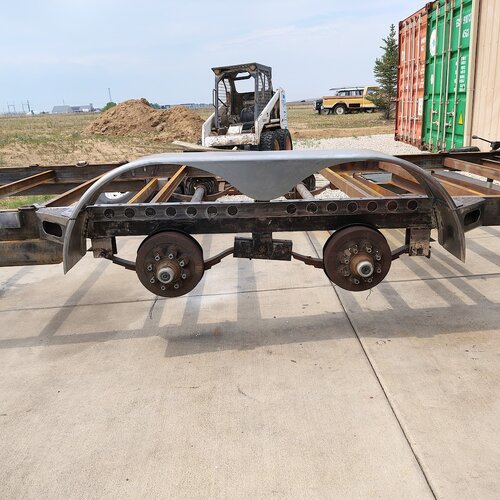
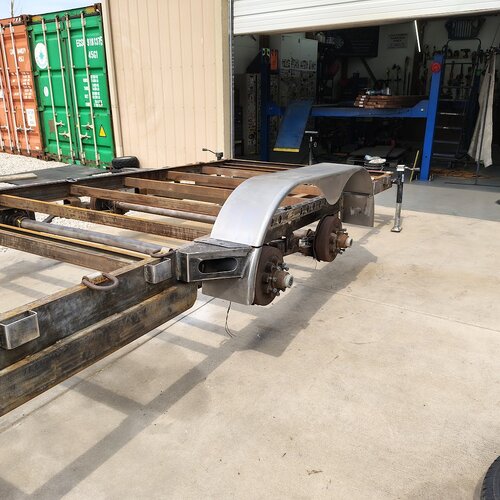
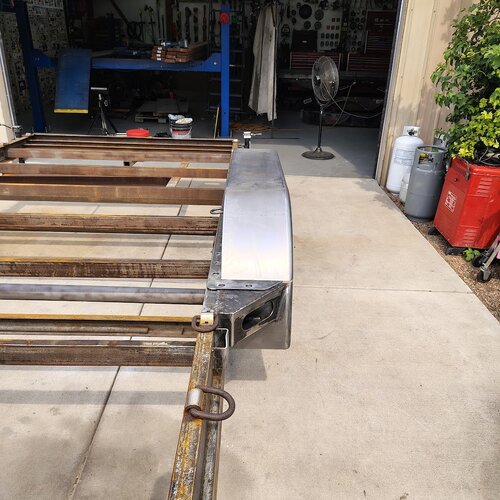
And test fit the fender bases on the mounts

IMG_20260706_154255472_HDR.jpg

IMG_20260706_154301569_HDR.jpg

IMG_20260706_154324592_HDR.jpg

IMG_20260706_154335855_HDR.jpg

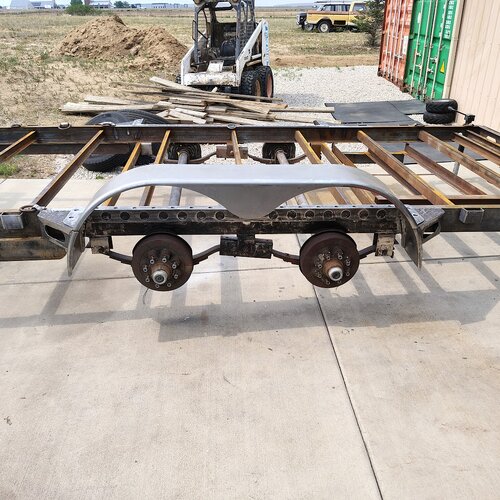
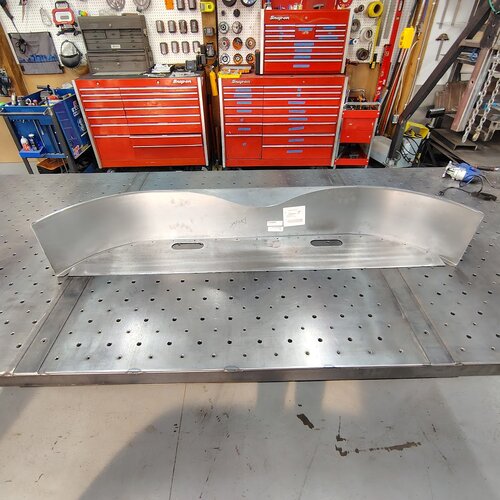
Then test fit the fender shells

IMG_20260706_154942997_HDR.jpg

IMG_20260706_154937468_HDR.jpg

IMG_20260706_154957005_HDR.jpg

IMG_20260706_154952012_HDR.jpg

IMG_20260706_154923385_HDR.jpg
 

Brucker

Hard Core 4+
Joined
Jul 10, 2013
Messages
1,186
Location
Broomfield, CO
Last night was a beautifully mild and calm evening. So I spent it in the shop with the doors wide open and the fans running. Great thing about living out where I do. No noise ordinances and the nearest neighbors are far enough away they wouldn't hear even a power hammer running at 2am.

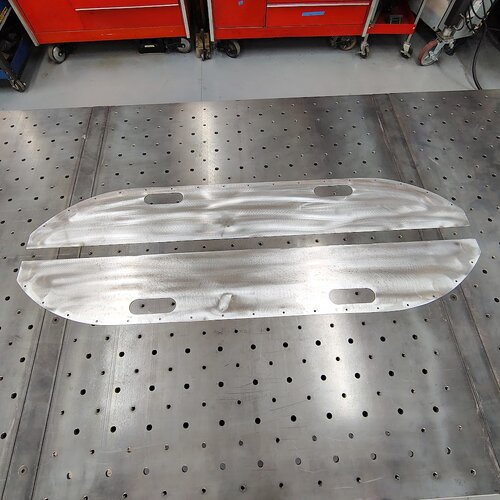
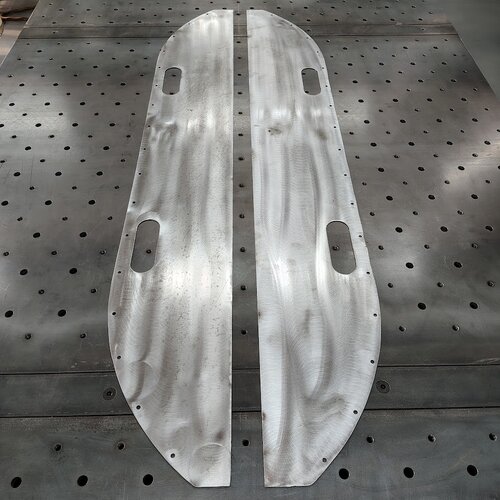
I started the evening out by making the back panels for the fenders. Besides the hold down clamps, they are really the last missing piece of metal needed for the removable fenders. I cut out 2 identical pieces of sheet then added holes for hand holds when carrying them, and some small holes along the perimeter for plug welds.

IMG_20260706_182635084_HDR.jpg

IMG_20260706_182620955_HDR.jpg

IMG_20260706_182729762_HDR.jpg

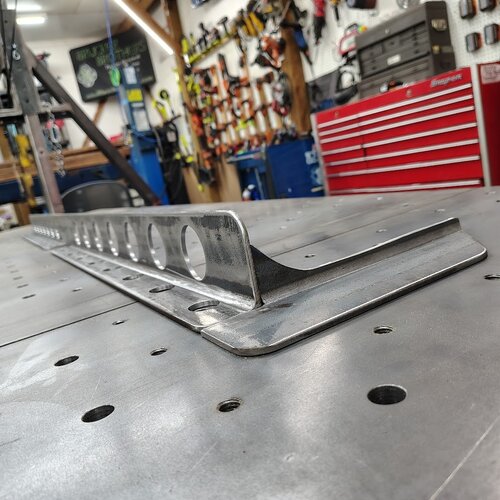
Since the night was so calm, I gave up on putting the fenders together and moved on to the bump rails. I cut the front and rear pieces, the bent the front sections up. Then clamped each in place, tacked them, them welded everything up. I ended up welding 3 slide of the stake pockets to the bump rail, leaving the bottom open for moisture to escape.

IMG_20260707_110406894_HDR.jpg

IMG_20260707_110502014_HDR.jpg

IMG_20260707_110455757_HDR.jpg

IMG_20260707_110441416_HDR.jpg

IMG_20260707_110435508_HDR.jpg

IMG_20260707_110430210_HDR.jpg

IMG_20260707_110420227_HDR.jpg
 
Last edited:

brettf

Lifted
Joined
Feb 13, 2017
Messages
139
Location
Golden
Your threads make me realize how slow, inefficient, impatient, and lacking in skills I am when it comes to metal fab. Equal parts inspiring and defeating!

Keep up the good work!
 

Brucker

Hard Core 4+
Joined
Jul 10, 2013
Messages
1,186
Location
Broomfield, CO
Sorry. Story time.

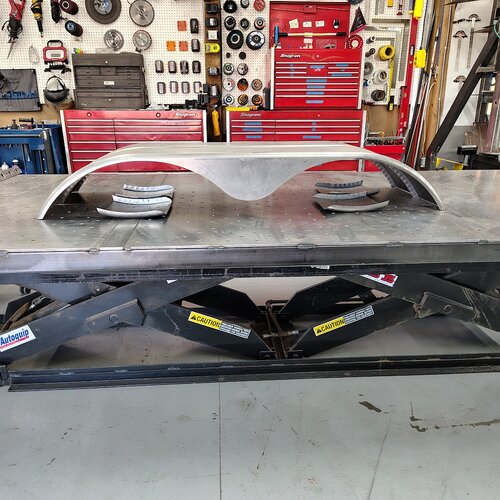
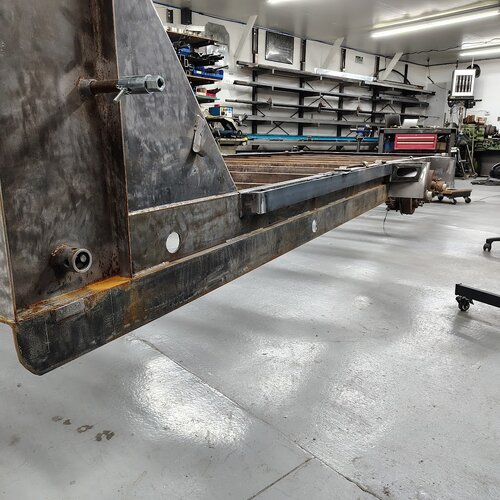
I have had my 12,000 pound capacity 4 post lift for the past 12 years or so. I've had it in 2 different shops now. It's a great platform for fabrication on vehicles and good for vehicle maintenance. But it takes up a LOT of room and is permanently mounted to the shop floor. Having limited shop space, and limited overhead door access, it has been a hassle to use. This past year I reorganized my shop and added two 40' HC containers next to it and filled them with extra equipment and tooling to clear floor space in order to make the lift more usable and user friendly. But it didn't help. Loading/unloading the lift takes a decent amount of time due to having to hug the overhead door opening. Because of this, I don't let anyone but me drive vehicle on/off the lift. And it also means there is VERY limited access on the other side of the door to the rest of the shop. So bringing anything in on that side is VERY tight as well. I am currently solving this issue, but I won't have it done for a couple more weeks. I will actually be uninstalling the lift this weekend. And hopefully delivering it to it's new owner the following weekend.

But for the time being, this means even if I have room for something like my trailer inside my shop, it may not be able to be maneuvered, or be too much of a hassle, to get it safely inside. But I got sick of cleaning the flash rust off the trailer, and the storms were moving in, so with the help of a couple dollies and my forklift with hitch attachment, I got the trailer inside. I really didn't think I would be able to. At least not without a lot of effort and some swear words, but it wasn't that bad at all. I kinda impressed myself. Took me only a few minutes.

IMG_20260707_163813774_HDR.jpg
 
Last edited:

Brucker

Hard Core 4+
Joined
Jul 10, 2013
Messages
1,186
Location
Broomfield, CO
Didn't have much time this afternoon to work on the trailer, but I got a little done. I bored the holes for the additional marker lights. I am not the biggest fan of the stock front marker light location, but they are already there and boring new holes lower along the frame and filling the old ones seems like a lot of unnecessary work.

Here are the new holes:

IMG_20260708_173832946_HDR.jpg


The one on the lower right is new, and so is the top left. The lower center was the existing. You can see the mark I made along the bottom where I would rather have the front lower marker. The silver + mark

IMG_20260708_155335531_HDR.jpg

I am hoping to finish prep for primer later tonight. Then once the 4 post is disassembled, I will move the trailer over and begin the priming process.
 

Brucker

Hard Core 4+
Joined
Jul 10, 2013
Messages
1,186
Location
Broomfield, CO
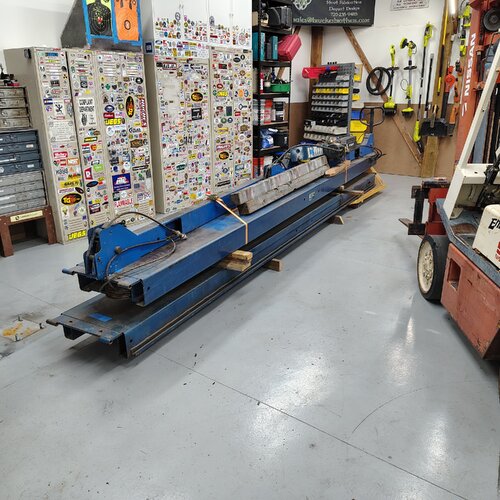
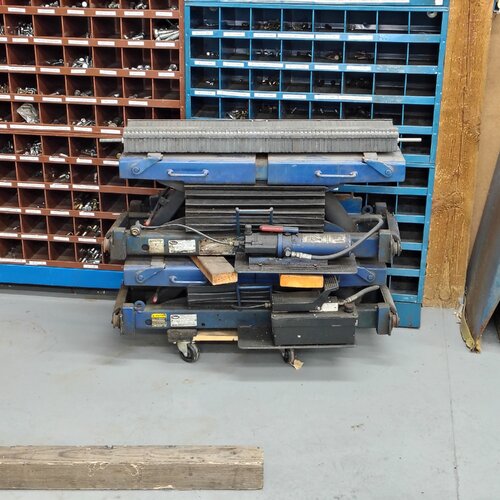
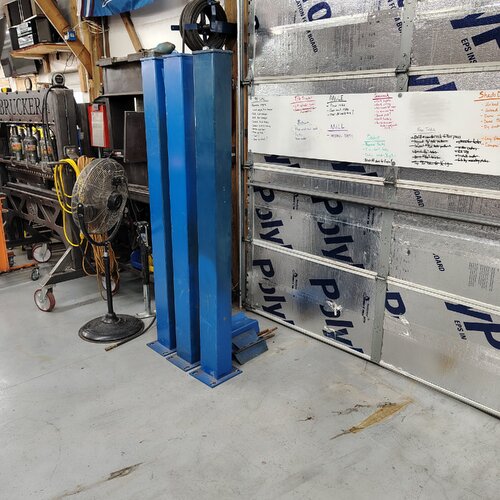
It's the end of an era. I have had this 4 post lift for over 12 years. And it's been in it current location for 8 years. Since we bought this property and I poured the concrete it sat on. It's officially sold, been disassembled, and stacked/packed for delivery.

1000009401.jpg

1000009403.jpg

1000009402.jpg

I cut the floor anchors and swept up. and for the first time in 8 years, this bay is completely open. So much room for activities!

1000009404.jpg

1000009405.jpg

1000009408.jpg

Now I just need to finish up the trailer so I have something to deliver this lift with.
 

Brucker

Hard Core 4+
Joined
Jul 10, 2013
Messages
1,186
Location
Broomfield, CO
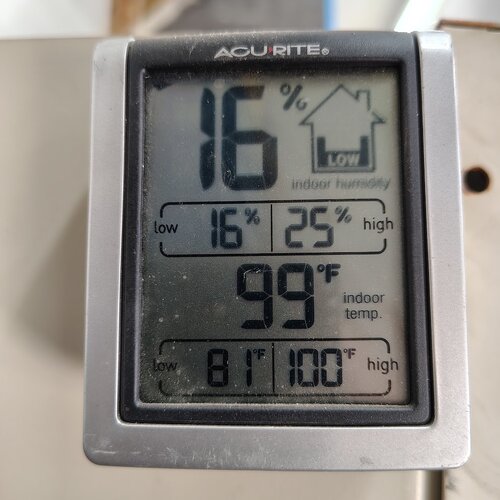
Things are going slower than hoped. It's been hot the past week. I am too cheap to pay to install A/C in the shop. Mostly because I have this plan where I will build a new, much larger shop on our property. And even though that may never happen, I am not ready to pay for A/C twice yet. And before someone suggests a swamp cooler, I will not run one in the shop. Too much money in raw steel materials to add extra moisture in the air. So long story short, it gets hot in the shop. Couple days it hit 97* inside the shop, but Monday was the worst at 99*.

IMG_20260712_173553032_HDR.jpg

IMG_20260713_173541964_HDR.jpg

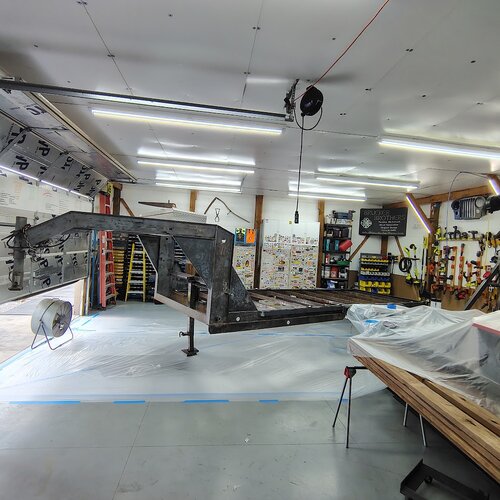
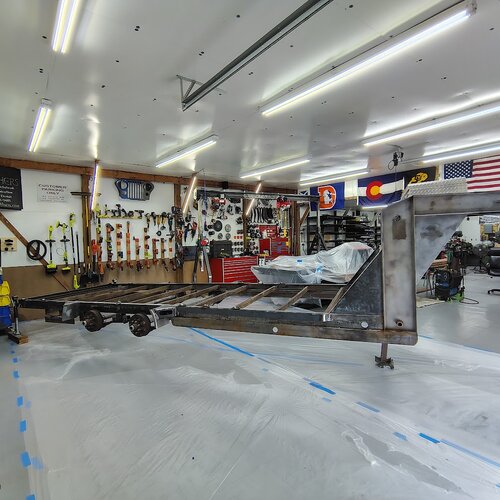
Even with the heat, I got some work done. Put some plastic down and moved the trailer over to the open bay.

IMG_20260713_163624152_HDR.jpg

IMG_20260713_163643870_HDR.jpg

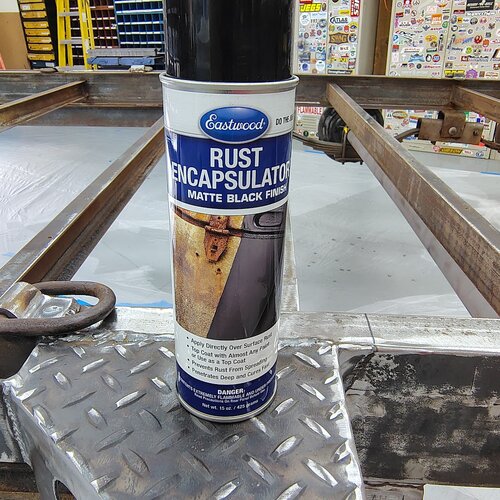
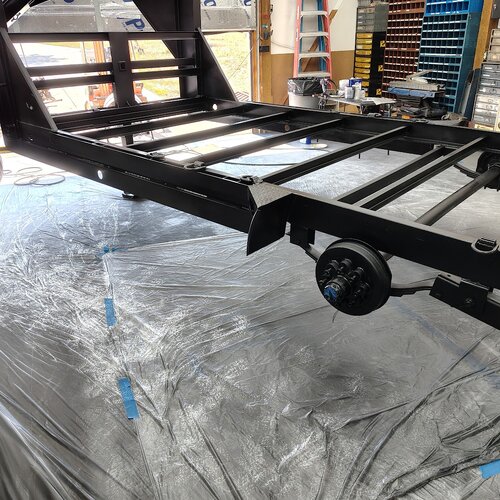
Masked off the tool box, set up some extra fans, and then started the priming process with Eastwood's Rust Encapsulator spray. Making sure to clean up any rusty spots before the areas get coated.

IMG_20260713_163704790_HDR.jpg

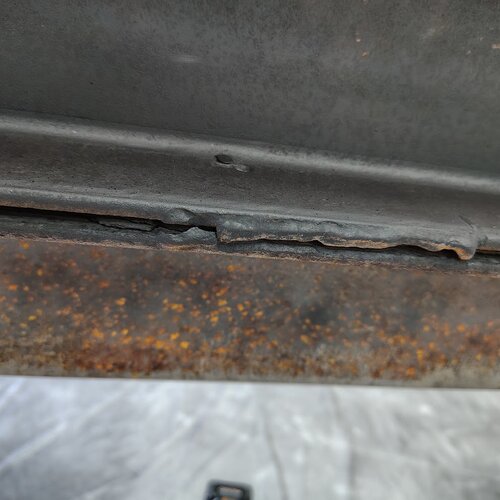
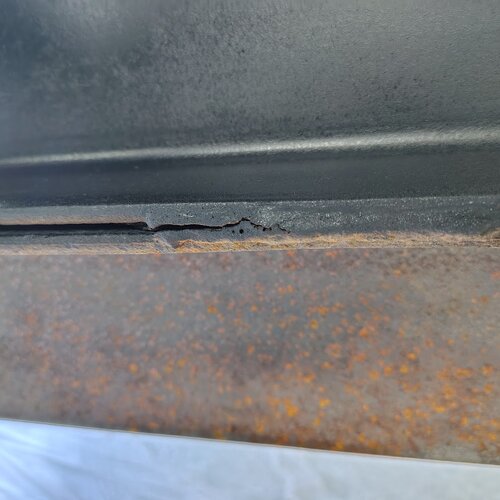
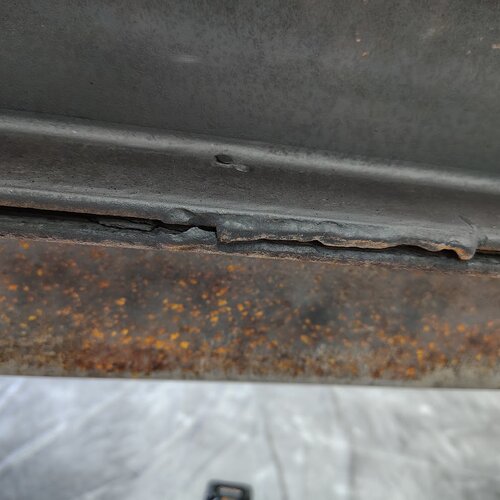
And while I was doing so, found some broken welds along the frame. Was a little upset that I missed them after looking everything over many times. But now is the time to get them fix. Not going this far just to skimp taking a small amount of time to make things right. Here are the 2 cracked welds. The welds don't look great from the factory. One broke all the way through and the other is about a 1/3 to 1/2 way through.

IMG_20260715_111426361_HDR.jpg

IMG_20260715_111433766_HDR.jpg
 

Brucker

Hard Core 4+
Joined
Jul 10, 2013
Messages
1,186
Location
Broomfield, CO
The weld in this photo wasn't exactly attached to both pieces. Looks like the welder at the factory missed the weld seam and only welded down the channel, missing the angle, except for a tack weld's length at one side. Probably what caused the other weld to start to crack. The flexing and general abuse I have thrown at this trailer dragging equipment and vehicles into and out of places trailers just shouldn't be, it's impressive there wasn't more damage.

IMG_20260715_111426361_HDR.jpg

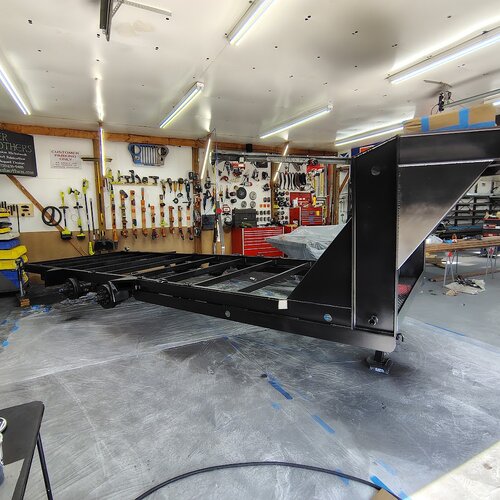
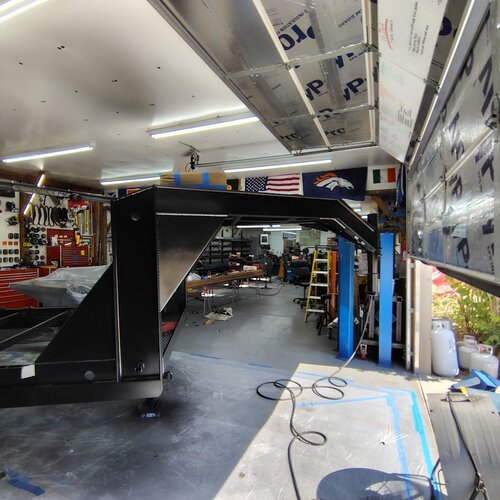
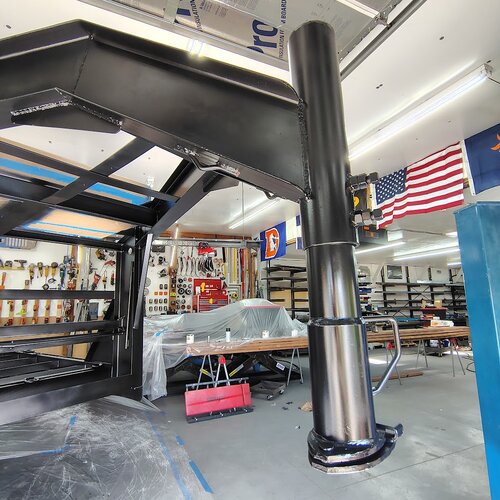
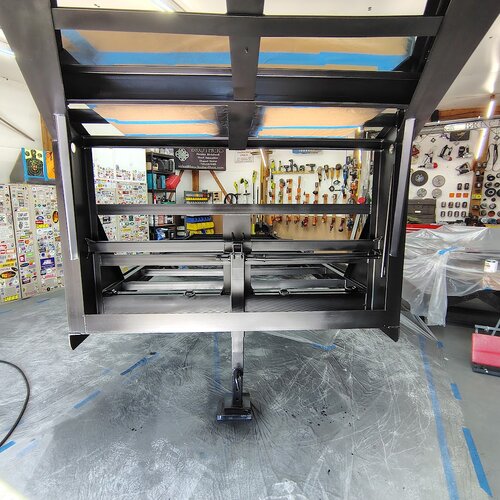
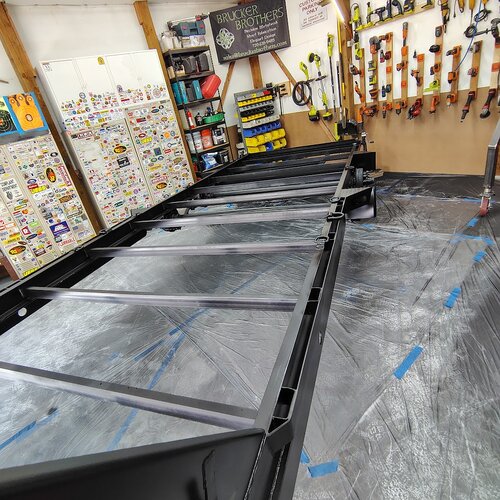
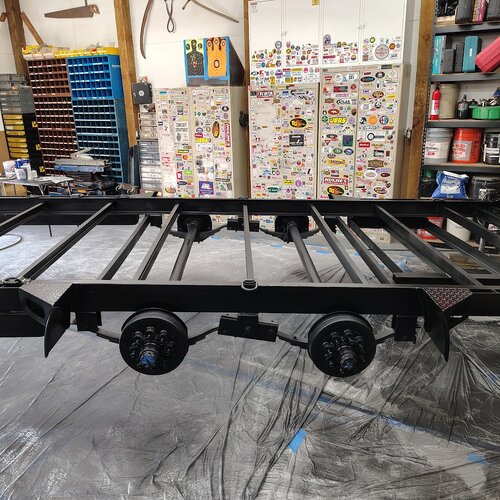
I got the welds repaired. Then moved on to priming and then painting. Everything got coated with at least 2 coats. After years of having to spray Rustoleum paint on client work, I can actually say I am getting pretty good with a spray gun. Whole trailer sprayed and only had to deal with one tiny spot where I tilted the gun to far back and dripped a drop of paint on a freshly coated surface. But no runs, no fish eyes, nor any orange peel.

I mixed the paint as usual using this ratio:

5 parts Rustoleum Satin Black paint
2 parts Acetone
1/2 part Hardener

The satin comes out a hair more glossy than without the hardener. So if you are mixing spraying from an aerosol can and a spray gun, just be careful of that. But the painted surfaces seem to hold up better with the hardener, without having to use a clear. Here are some of the photos from right after I finished up the last coat.

IMG_20260715_161324506_HDR.jpg

IMG_20260715_161340226_HDR.jpg

IMG_20260715_161342699_HDR.jpg

IMG_20260715_161403424_HDR.jpg

IMG_20260715_161356141_HDR.jpg

IMG_20260715_161411124_HDR.jpg

IMG_20260715_161422183_HDR.jpg

IMG_20260715_161432266_HDR.jpg

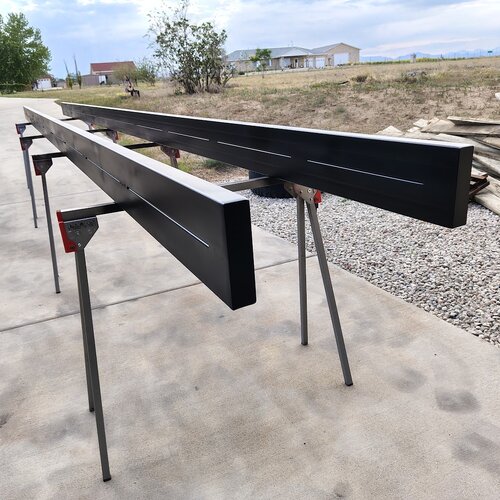
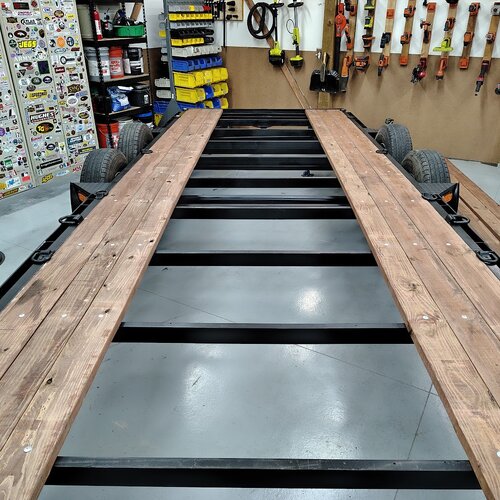
Next up is wiring than decking. Including the metal rails installation. They will get welded into place, but I wanted as much paint coverage as possible under joints where they will meet the cross rails. No need for trapped moisture hurting anything. Still hoping to have this completed by this weekend, but we shall see. Surprise client work popped up...
 

brettf

Lifted
Joined
Feb 13, 2017
Messages
139
Location
Golden
You might look into a minisplit unit for cooling. They generally do not increase humidity and can often decrease it. I like them for localized cooling when you are in that space.
 

ScaldedDog

Hard Core 4+
Joined
Dec 18, 2005
Messages
1,315
Location
Sedalia, CO/NSB, FL
Everything got coated with at least 2 coats. After years of having to spray Rustoleum paint on client work, I can actually say I am getting pretty good with a spray gun. Whole trailer sprayed and only had to deal with one tiny spot where I tilted the gun to far back and dripped a drop of paint on a freshly coated surface. But no runs, no fish eyes, nor any orange peel.

I mixed the paint as usual using this ratio:

5 parts Rustoleum Satin Black paint
2 parts Acetone
1/2 part Hardener

The satin comes out a hair more glossy than without the hardener. So if you are mixing spraying from an aerosol can and a spray gun, just be careful of that. But the painted surfaces seem to hold up better with the hardener, without having to use a clear. Here are some of the photos from right after I finished up the last coat.
This may be a separate thread, but what's your paint setup? (e.g. gun, drier (if any), etc)

Mark
 

Brucker

Hard Core 4+
Joined
Jul 10, 2013
Messages
1,186
Location
Broomfield, CO
This may be a separate thread, but what's your paint setup? (e.g. gun, drier (if any), etc)

Mark

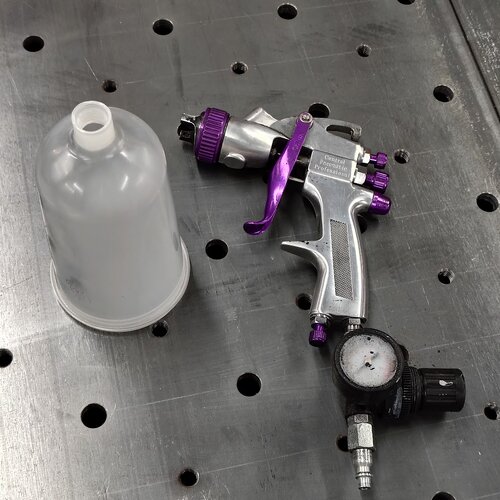
For this I used an old, cheap, gravity fed Central Pneumatic HVLP air gun with screw on disposable cups.

IMG_20260717_131327422_HDR.jpg


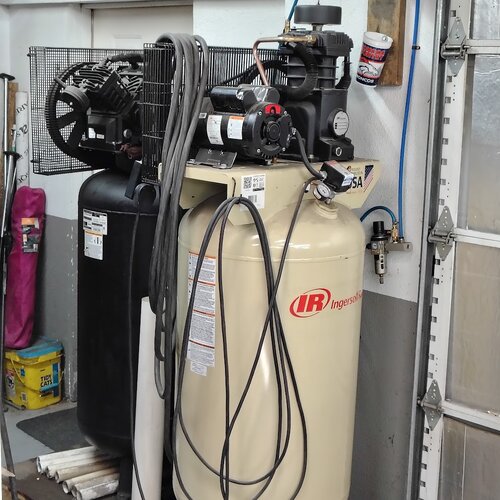
My air setup for the shop is made up of 2 different 80 gallon air compressors that are plumbed and wired together. So when air demand is high, both will kick on.

IMG_20260717_131350647_HDR.jpg

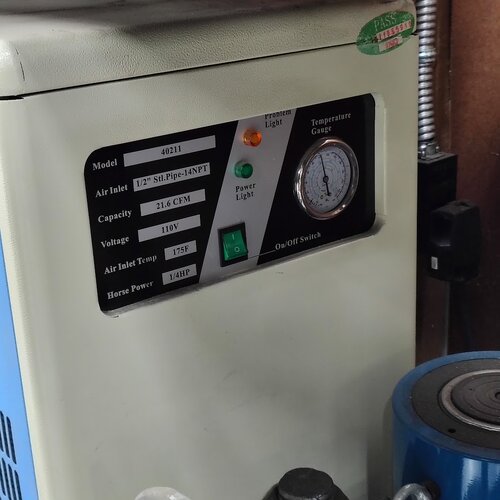
The air comes out of the compressors and flows through a regulator and moisture separator you'll see mounted to the wall behind the compressors. Then flows into a large air dryer. The dryer is a must for running a plasma and very helpful when painting.

IMG_20260717_131315028_HDR.jpg

From the dryer it flows through the entire shop which is plumbed with Rapid Air components, and there are multiple hose reels and extra ports. The air line feeding everything is a large continuous figure 8 loop that runs along the corners of the ceiling. This helps with consistent, constant pressures at each port. Each port drops from the main loop down to a quick connect fitting and then a drain at the lowest point of each drop. The hose reels are plugged into the quick connect fittings, each with their own pressure regulator. The main air lines run about 150 psi, so each port can get regulated down from their depending on the tools being used.

Hope this helps!
 

Brucker

Hard Core 4+
Joined
Jul 10, 2013
Messages
1,186
Location
Broomfield, CO
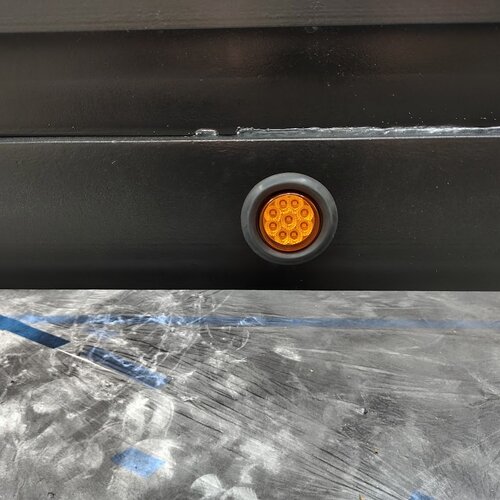
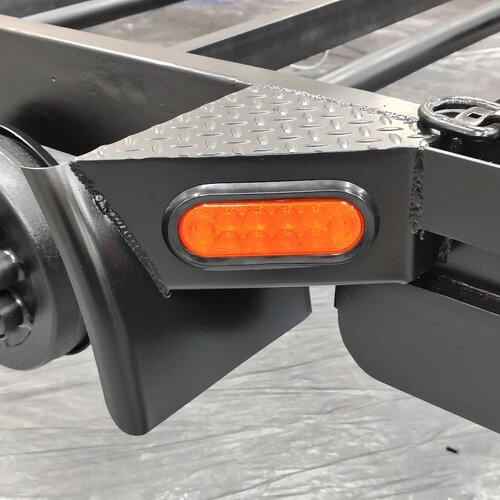
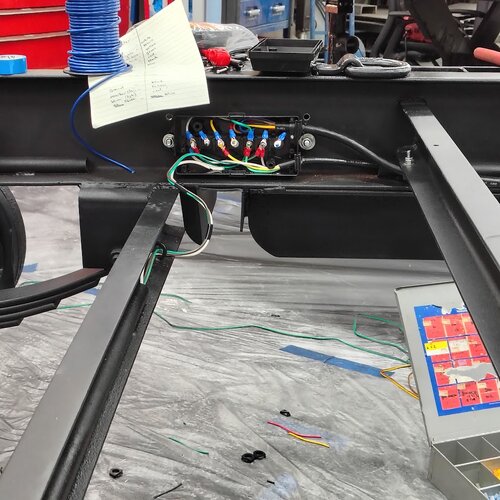
Got the trailer completely wired and installed the new lighting. Well, kinda. I did not install back up lights, or overhead spot lights. Those will probably get installed at a later date, but I am running out of time. The new lights are a great contrast to the black with the amber in front of the axles and the red for everything behind the axles. They also all are marker and turn signal combos. Meaning, people will not be able to miss the trailer or it's turn signals, no matter where they are located or what time of day it is.

IMG_20260717_222950188_HDR.jpg

IMG_20260719_120705758_HDR.jpg

IMG_20260717_134715120_HDR.jpg

IMG_20260717_134731990_HDR.jpg

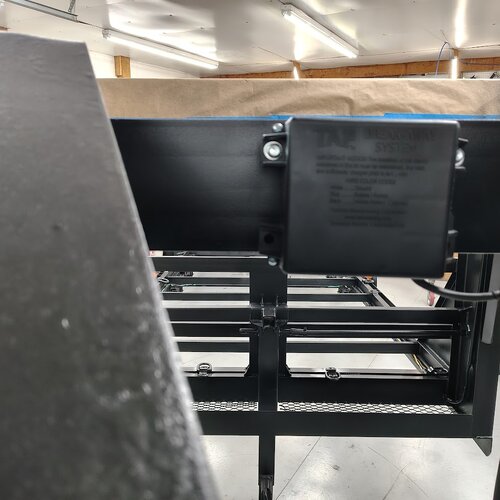
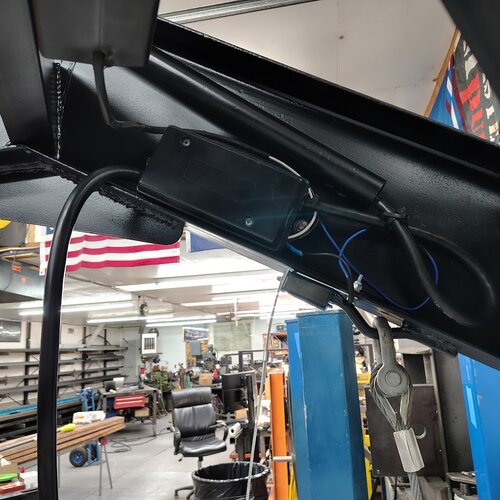
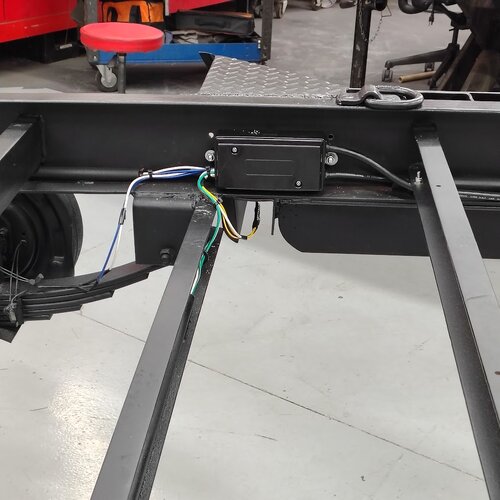
I used two water resistant junction boxes. One up front on the neck and one near the axles. Those two spots seemed to have the most connections, so the locations just made sense.

IMG_20260719_120720298_HDR.jpg

IMG_20260719_120748993_HDR.jpg

IMG_20260717_134759534_HDR.jpg

Then added a new breakaway setup including new battery and pull key. They remained in the stock location on the neck.

IMG_20260719_120736281_HDR.jpg

All the wiring is now color coded correctly. All splices were crimped together with non insulated zero ohm connectors, then 4" long heat shrink tubing pieces were added to extend at least 1.5" past the connection in both directions. It is a completely self contained system with nothing being grounded out using the frame. Every length was run long at each connection in case anything ever had to be redone for any reason. But the nice thing with the junction boxes, if anything does happen to a section of wiring, a new section of harness could be made and installed quickly for any light or axle, or the like. And all wiring is run through the stock tubing chases when possible, and zip tied up neatly and out of the way.
 
Last edited:

Brucker

Hard Core 4+
Joined
Jul 10, 2013
Messages
1,186
Location
Broomfield, CO
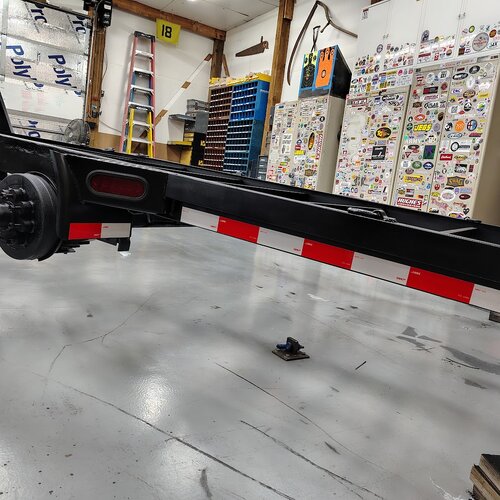
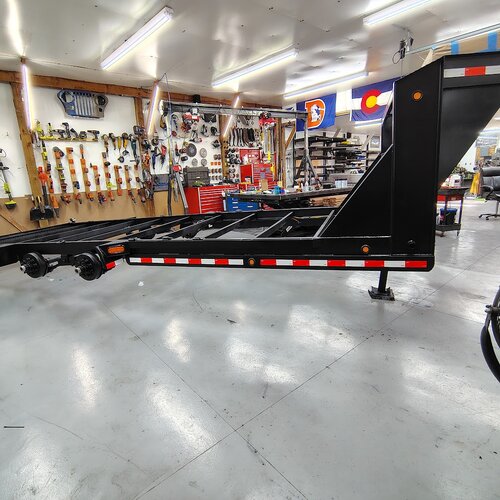
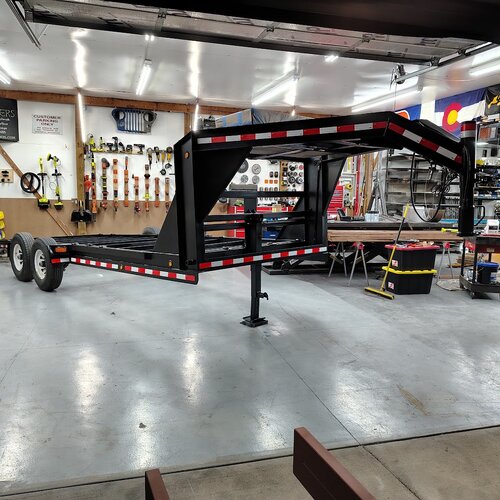
Safety is important. I want to make it home at the end of the day. And drivers are self-centered idiots being oblivious and blind to everything around them. So the more visibility the better. You might see a common theme here...
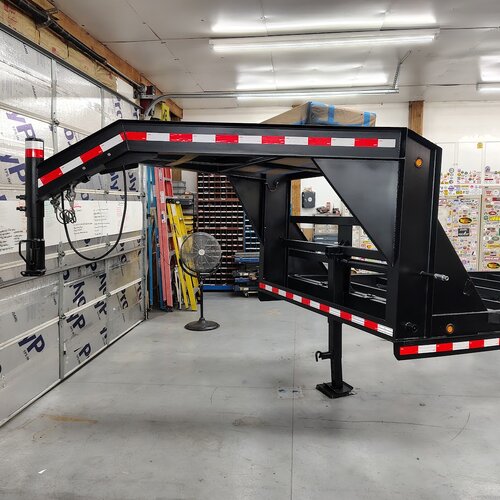
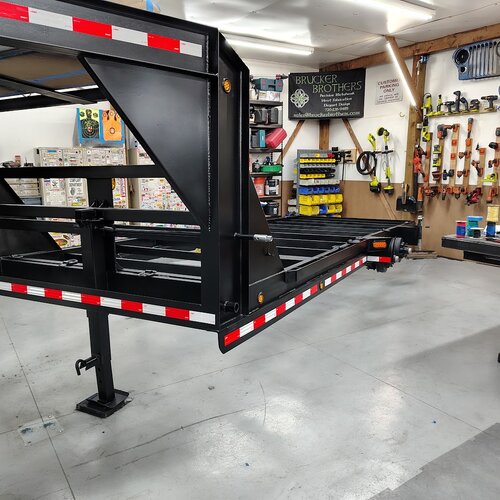
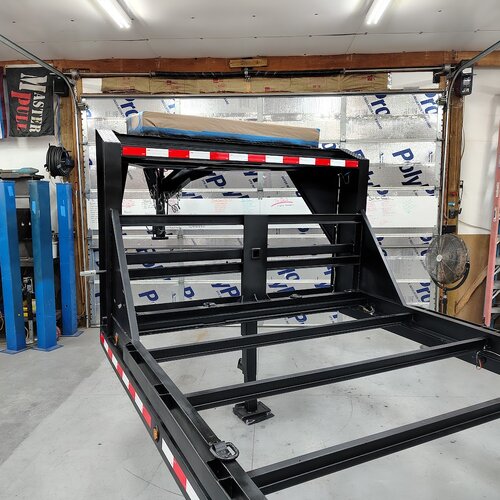
Installed the safety reflective tape. Probably overkill as is, but I honestly had to stop myself from adding more...
IMG_20260719_150036918_HDR.jpg

IMG_20260719_150042685_HDR.jpg

IMG_20260719_150116584_HDR.jpg

IMG_20260719_150106702_HDR.jpg

IMG_20260719_150144539_HDR.jpg

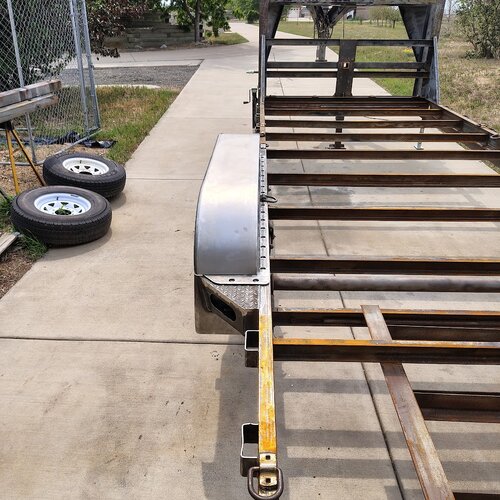
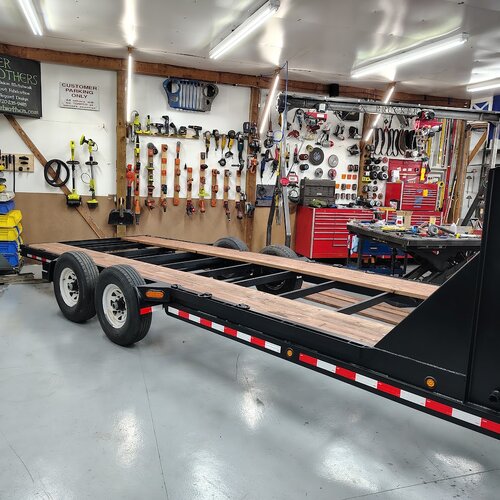
There is more on the rear too, but hard to take photos of where it is currently located so those will have to wait. I did also throw the tires back on so I could move it around again.
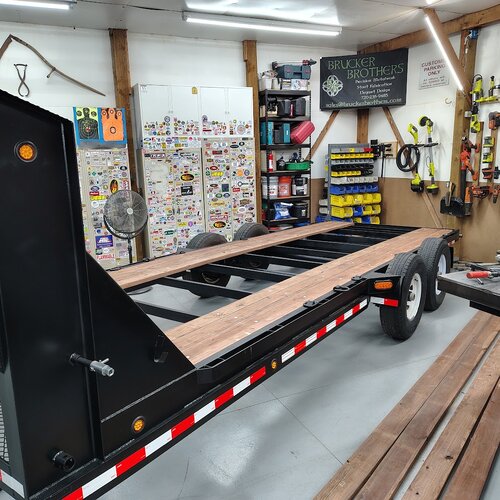
IMG_20260719_222313746_HDR.jpg
 
Back
Top