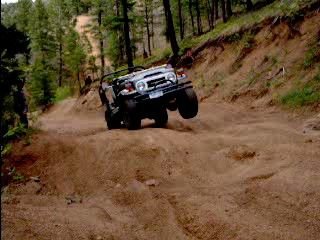
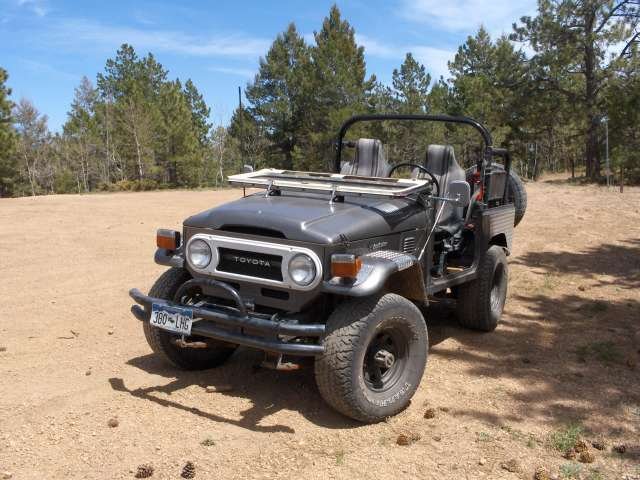
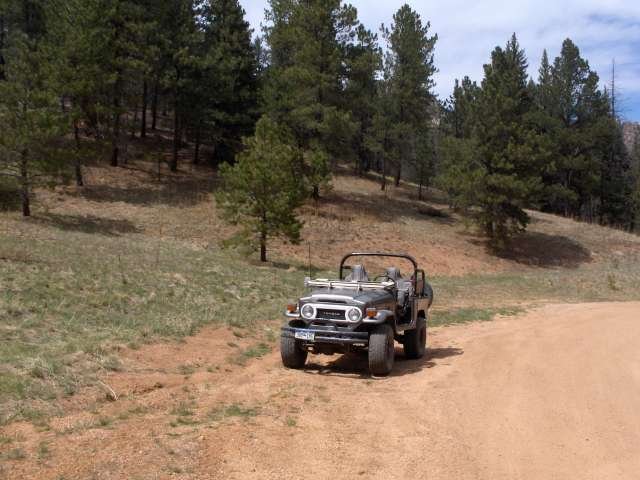
That's right folks, you've heard about the big event, and we're not here to disappoint! 
 Thanks to the55guy for providing the toys! Super easy job, easier than a front axle service, way shorter, and if you read the instructions given in the manual, supplemented with Jeff's writeup in TT (thanks Jeff!) and Romer's writeup on MUD (Thanks Ken!), and to a certain extent Woody's writeup, though he covers an out-of-vehicle assembly, then once you get in there and get your hands on everything it's a pretty brainless job. It took us a little over two hours because we were dinking around with it for a while.
The dry fitting was kinda weird for us though: there was almost not enough clearance between the shaft that goes through case and the c-clip caps (min. 0.005 on each side, we were right there)(1), but the distance between the two drivers was at about 0.165, with a maximum of 0.170 (2). So for those that know what I'm talking about, I don't think we could have used thicker thrust washers because though that would have decreased measurement (2) it would have also decreased measurement (1), which would have been bad. And if we had used thinner thrust washers we would have increased measurement (1) and also increased measurement (2), which is almost equally bad, because I think that distance between drivers is critical to the operation of the locker. And also this diff was SUPER clean and almost not worn at all! Ige are you sure this truck was even driven? I'm starting to think that maybe it's NOT 191K on the clock, but 91K! (I'm kinda being fececious, the odometer doesn't line up so I know it's turned over at least once...)
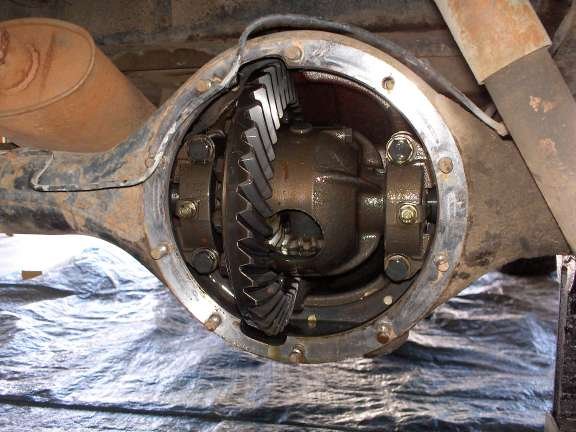
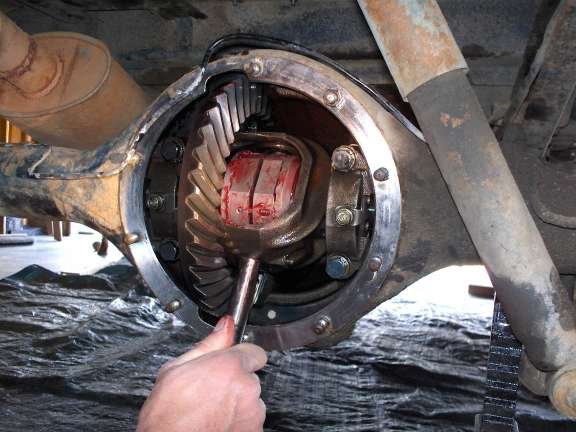
Anyway here's a couple pics, though other people have much better ones of the install process: and BTW the butterknife trick works just as well with your feeler guages...
Thanks to the55guy for providing the toys! Super easy job, easier than a front axle service, way shorter, and if you read the instructions given in the manual, supplemented with Jeff's writeup in TT (thanks Jeff!) and Romer's writeup on MUD (Thanks Ken!), and to a certain extent Woody's writeup, though he covers an out-of-vehicle assembly, then once you get in there and get your hands on everything it's a pretty brainless job. It took us a little over two hours because we were dinking around with it for a while.The dry fitting was kinda weird for us though: there was almost not enough clearance between the shaft that goes through case and the c-clip caps (min. 0.005 on each side, we were right there)(1), but the distance between the two drivers was at about 0.165, with a maximum of 0.170 (2). So for those that know what I'm talking about, I don't think we could have used thicker thrust washers because though that would have decreased measurement (2) it would have also decreased measurement (1), which would have been bad. And if we had used thinner thrust washers we would have increased measurement (1) and also increased measurement (2), which is almost equally bad, because I think that distance between drivers is critical to the operation of the locker. And also this diff was SUPER clean and almost not worn at all! Ige are you sure this truck was even driven?
I'm starting to think that maybe it's NOT 191K on the clock, but 91K! (I'm kinda being fececious, the odometer doesn't line up so I know it's turned over at least once...)Anyway here's a couple pics, though other people have much better ones of the install process: and BTW the butterknife trick works just as well with your feeler guages...
Attachments
Last edited:


 :yeahdude: