IH8RUST: FJ60

KC Masterpiece

Hard Core 4+
Joined
May 4, 2019
Messages
2,145
I remember also being a bit confused about how to setup the TPI alt when I swaped over the pulley. I guess I just lucked out and set it up the way you have now.

I still can't see how the plate would impact function other than reducing nut engagement by a single thread? The plates, shaft, and pulley should all spin together.
 

IH8RUST

Hard Core 4+
Joined
Jun 13, 2024
Messages
544
I remember also being a bit confused about how to setup the TPI alt when I swaped over the pulley. I guess I just lucked out and set it up the way you have now.

I still can't see how the plate would impact function other than reducing nut engagement by a single thread? The plates, shaft, and pulley should all spin together.

100%. I think that's it. My guess is the plate is affecting the nut engagement, likely preventing it from threading all the way through. Everything was spinning together, which made the situation more confusing.
 

IH8RUST

Hard Core 4+
Joined
Jun 13, 2024
Messages
544
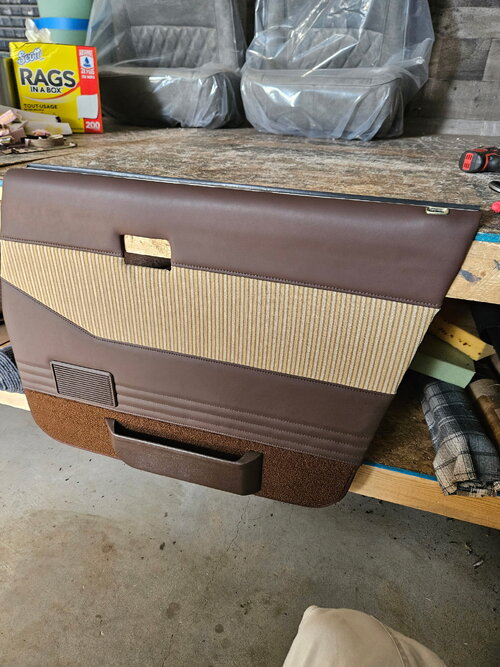
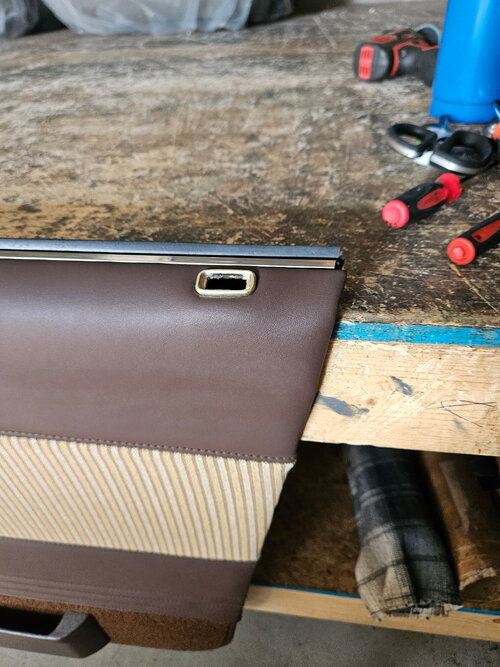
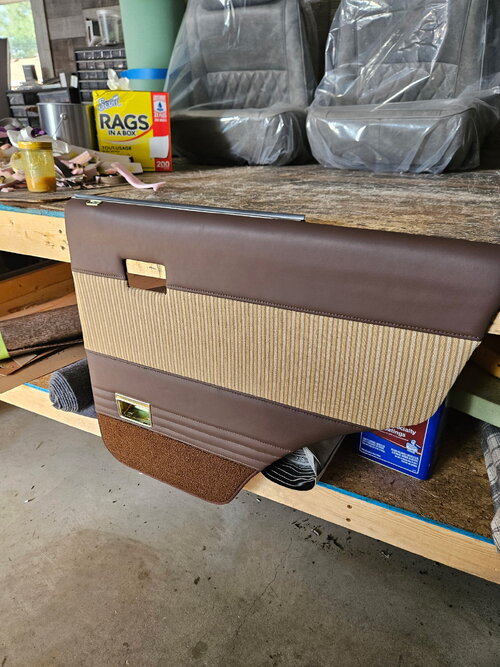
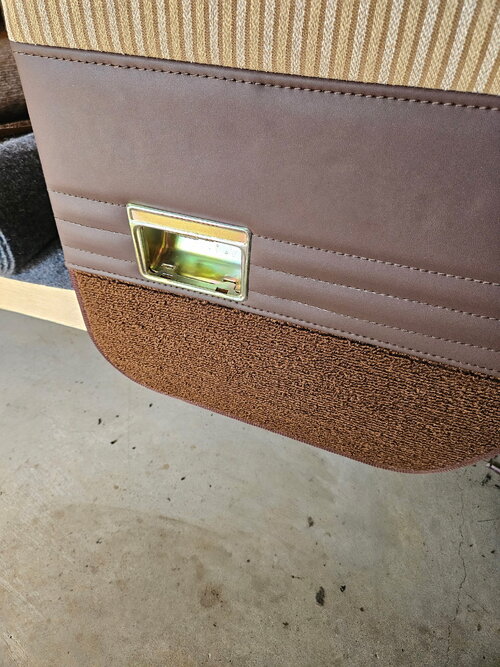
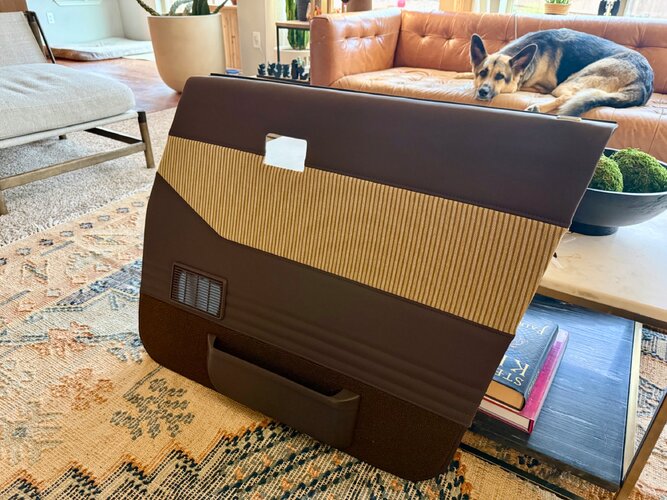
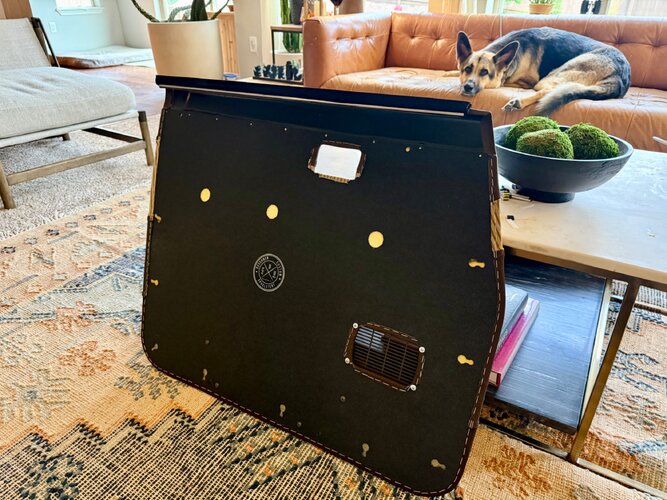
One more piece to go and it’ll be shipped back.


1000010906.jpeg


1000010907.jpeg


1000010908.jpeg


1000010909.jpeg


justcruisin

Wincher
Joined
Nov 19, 2024
Messages
95
Location
Aurora, CO
I can't find your build thread, but the last time I saw your Sunday driver in the registry, it looked like it was in good shape. What are you doing with it?
No build thread on the 60 yet. I will message you directly as I don't want to mess up your thread that's chock-full of purdy pictures.
 

IH8RUST

Hard Core 4+
Joined
Jun 13, 2024
Messages
544
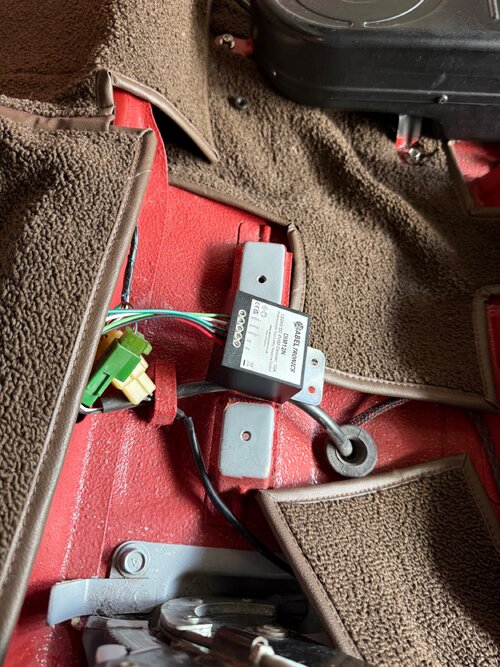
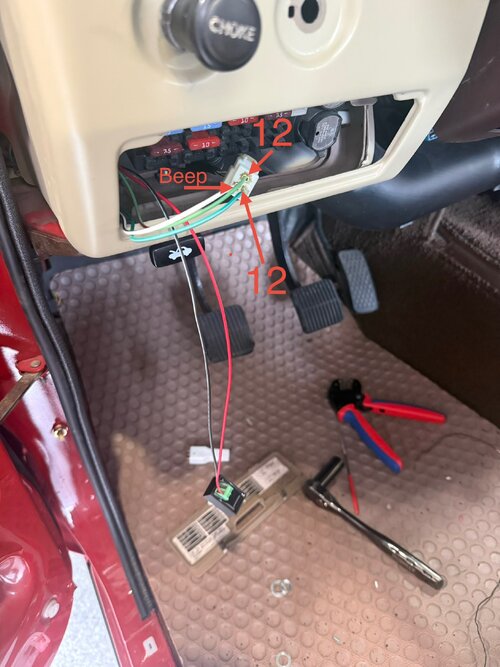
I finally wired the rheostat wiring to the module, goes in the center cubby because I couldn’t find a better place and I’m OK with that. Now the LED cluster lights are in a working order. A little more complicated than the OE.


IMG_1491.jpeg


IMG_1489.jpeg


IH8RUST

Hard Core 4+
Joined
Jun 13, 2024
Messages
544
12 load, 12 return and beep for ground because I was reminding myself what’s what in the picture. I even found wires that match the OE colors just in case.
 

Cruisertrash

Hard Core 4+
Joined
Aug 18, 2020
Messages
3,065
Location
Denver
I finally wired the rheostat wiring to the module, goes in the center cubby because I couldn’t find a better place and I’m OK with that. Now the LED cluster lights are in a working order. A little more complicated than the OE.


IMG_1491.jpeg


IMG_1489.jpeg
What’s this for?
 

IH8RUST

Hard Core 4+
Joined
Jun 13, 2024
Messages
544
What’s this for?
Oh, the saga. Here's the long version. You know this stuff, but I'll just mansplain it.

You know the Mud people that switch their instrument cluster gauge bulbs to LEDs? Yeah, that's me, and no one on Mud actually talks about this as far as I know.

The old dimmer is a rheostat; it's a variable resistor sitting in the ground path of the dash lights. It dimmed incandescent bulbs by wasting power as heat, no problem. Incandescents pull real current, so adding resistance meaningfully dropped what reached them, and they dimmed smoothly.
Then I converted the dash to LEDs.

LEDs use milliamps instead of tenths of amps. Running that tiny current through the rheostat's resistance causes almost no change because there is not enough current for the resistor to drop meaningful voltage. So the rheostat barely dimmed them. LEDs also don't fade gracefully with voltage; they hold brightness then cut out. This happened repeatedly until the rheostat died. I even replaced it with another working unit costing $50.

The truck's wiring made the dimmer load-bearing. FJ60 dash lights ground through the dimmer with an isolated ground and no direct chassis path. When the dimmer circuit's connection failed, likely after the paint shop, the bulbs lost their only ground, and the whole dash went dark. That was the original gremlin. I took time to rule out all wiring, fuses, and so on. The DIM12N fixes both problems at once:
  • It dims by PWM, switching the ground path on/off thousands of times a second and varying the on-time, which is how I dim LEDs properly: full current when on, adjustable duty cycle, smooth range.
  • It's negative-output (low-side), so it sits exactly where the rheostat sat: in the ground leg, using my three existing wires (#1 feed powers it, #2 return switches through it, #3 ground). No harness rewiring was my goal.
  • The only remaining task was to retrofit: find a remote pot to hide the module in the dash, with the factory knob location driving it to preserve the stock look.
Resistors dim by starving current, but LEDs don't draw enough current to starve. PWM dims by chopping time instead, so it works regardless of load. A low-side PWM fits directly into the rig's ground-side dimmer position.

If you ever feel brave, you should take the old units and do the same thing you did with the flasher unit. I'd buy one from you.

 
Last edited:

IH8RUST

Hard Core 4+
Joined
Jun 13, 2024
Messages
544
I also had to buy the unit all the way from the U.K. because no one seemed to have anything that came close to what I was looking for.

Here’s the end result:
 
Last edited:
Back
Top